I’m slowly working through the list of things that were wrong with the car when I got it. Todays task was to remove the 30-year-old radio, and look into why the RH rear window is dead.
First job of the day was to pull the battery out, again. I noticed the other day when I was under the bonnet that the little condition indicator had gone from red (bad) to white (charge), but started the car like a champion. I have taken it out again to give it another good long whack with the charger and see if I can bring it back to green.
I have almost managed to source a proper battery hold down, just waiting on payment details; no more rope, yay! Since the battery is out I will also be replacing the rather crappy condition original main ground cable from the battery. The wire where it joins the terminal on the guard is badly frayed, and only about half of the strands of wire are actually being used. No good at all.
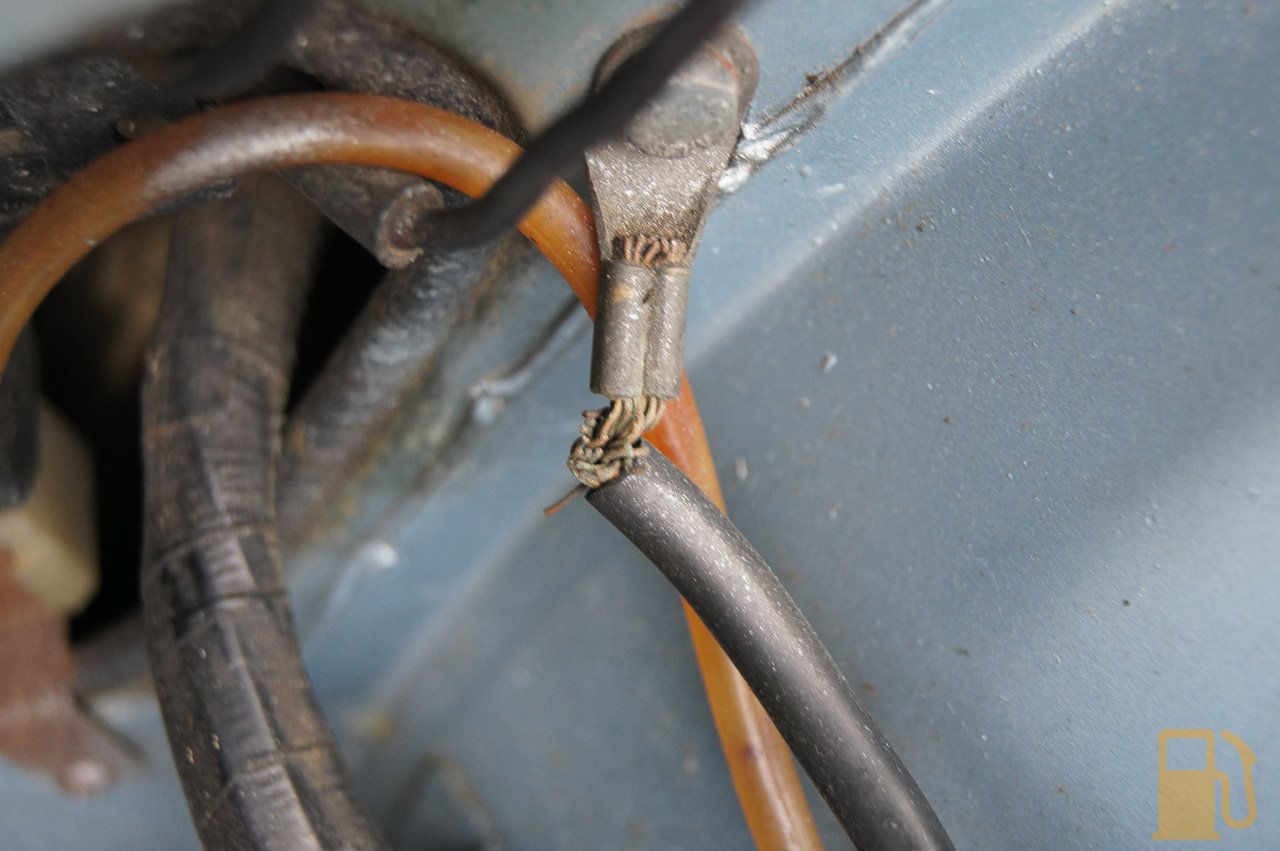


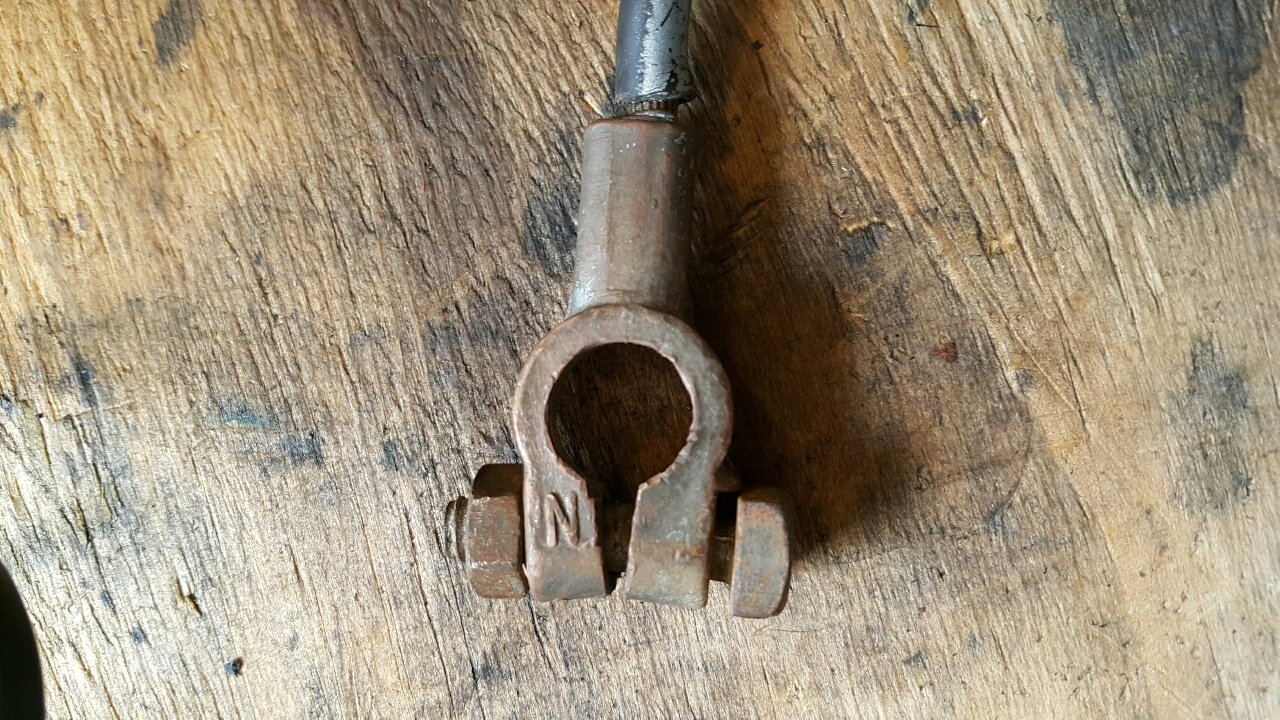
Probably doesn’t help that for a period of time the negative cable was the only thing holding the battery in place. I do have some new wire to go in, I just need to buy some terminals and make the cable up. I didn’t really want to use the last one I made up (from one of my skylines), it was a tad…. flashy.


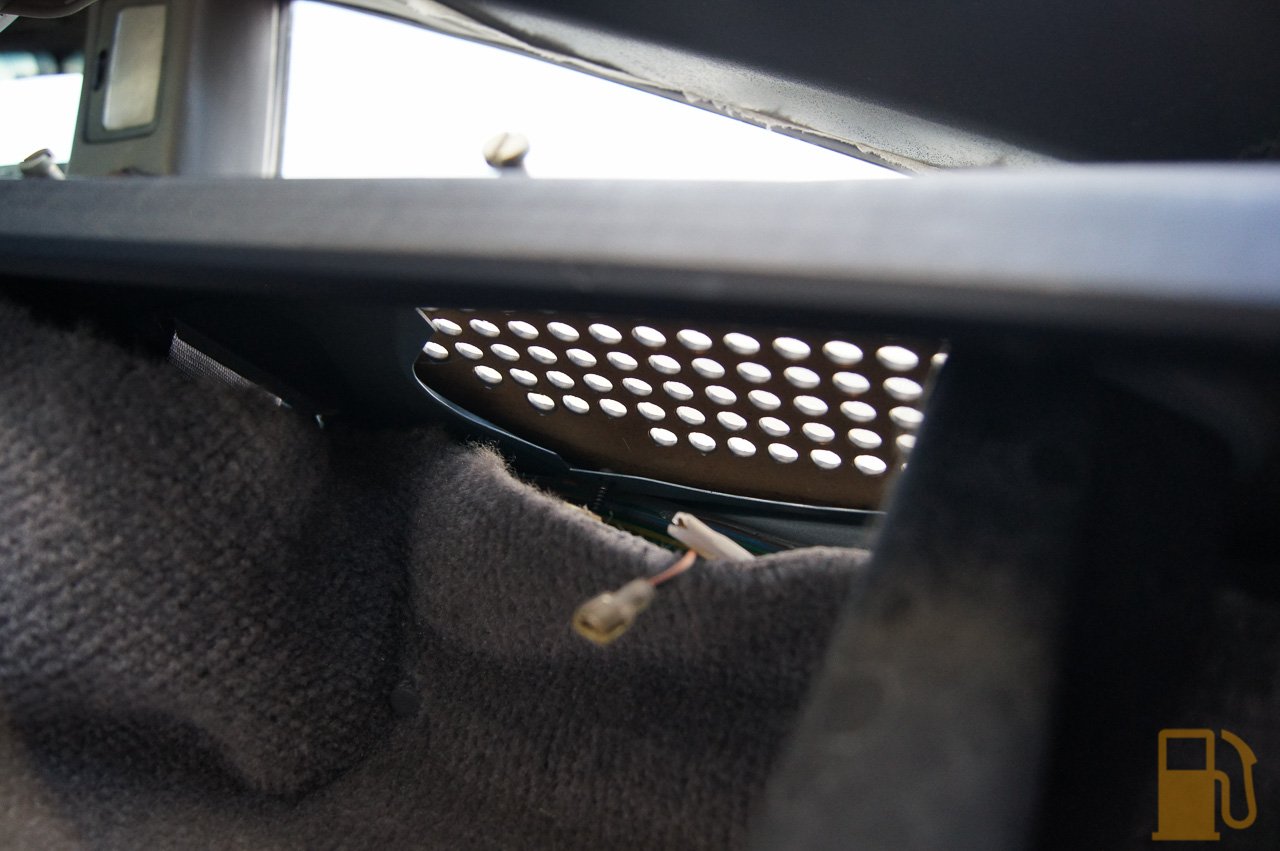
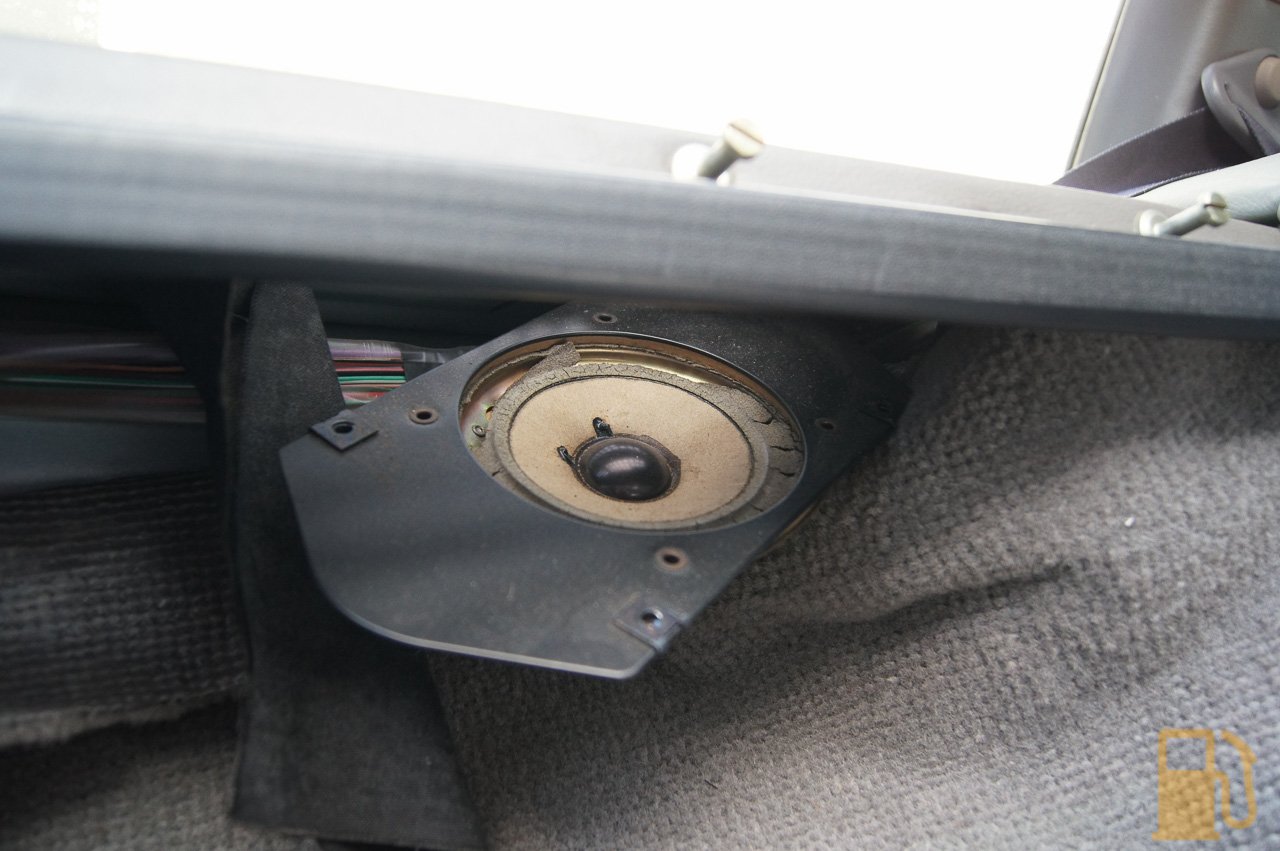
With the battery out and on charge, I was limited to things that didn’t need power. I have mentioned in the past that the speakers are shit…. well, the front ones are, they are both blown…. and the rears are gone (one was hanging by the cables, so I pulled it out). I have purchased a set of Pioneer speakers all round, with 4″ in the front and 6×9 in the rear. To get the most from this setup ideally I would run new wiring to all the speakers, but since im not overly crazy about audio quality, i’m going to reuse all the original wiring, including the fader in the center console.

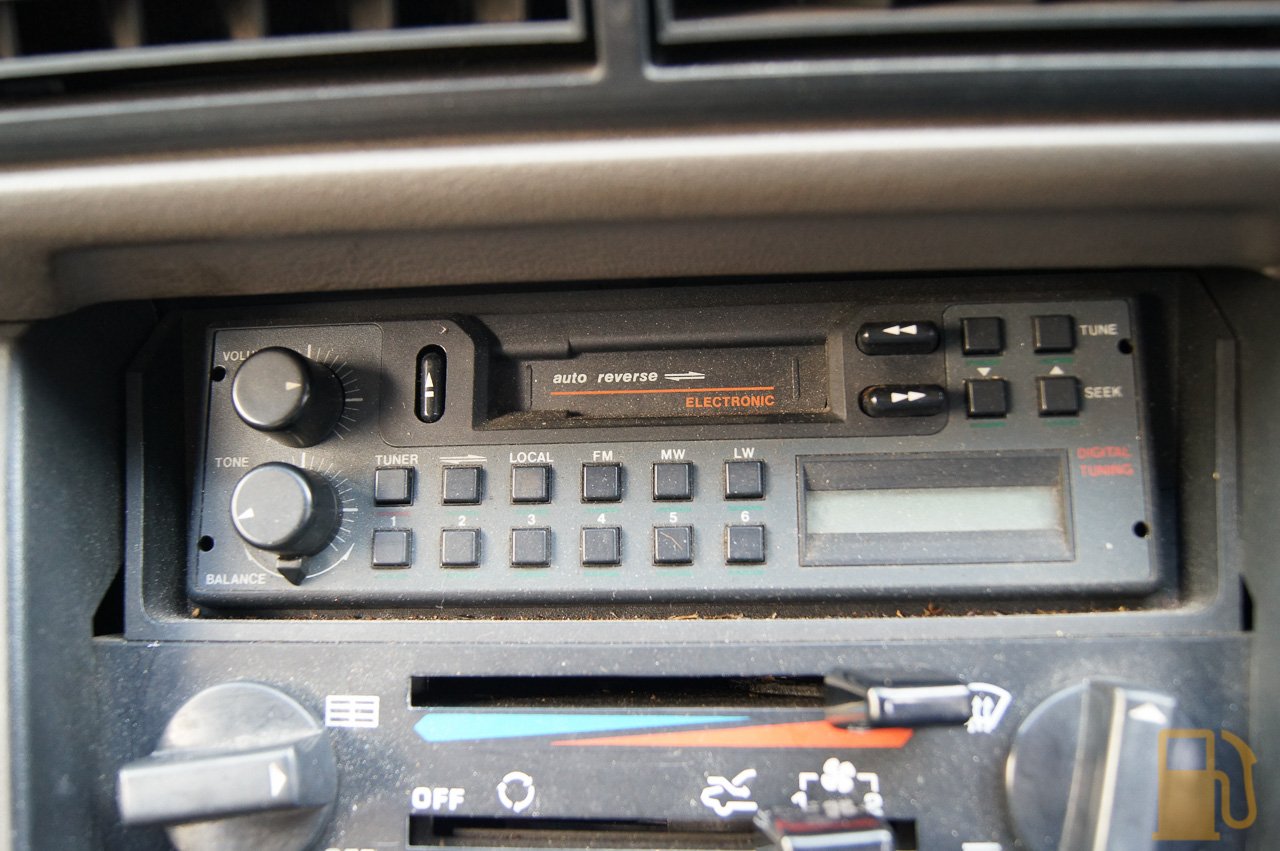
The standard cassette tape headunit had to go though, and will be replaced with my JVC headunit from the MX5. I can change the color of the buttons and display to match the standard backlighting, and has all the goodies like bluetooth.
Looking at the face of the original headunit one would presume that you stick some rods in the fours holes, and the whole thing slides out. Nope, I just couldn’t get it budge.
So I went into full Rip-It-Out mode. Pulled the LH knobs off, and undid the little retaining ring under the volume knob. The faceplate then folds down, and you can gently pull the ribbon cable out.


With the faceplate off, its kinda obvious what’s holding the damn thing in now. Its four little locking tabs, each with a ramp to release them. Obviously the tool I was using just wasn’t special enough to trip the ramps and unlock them.
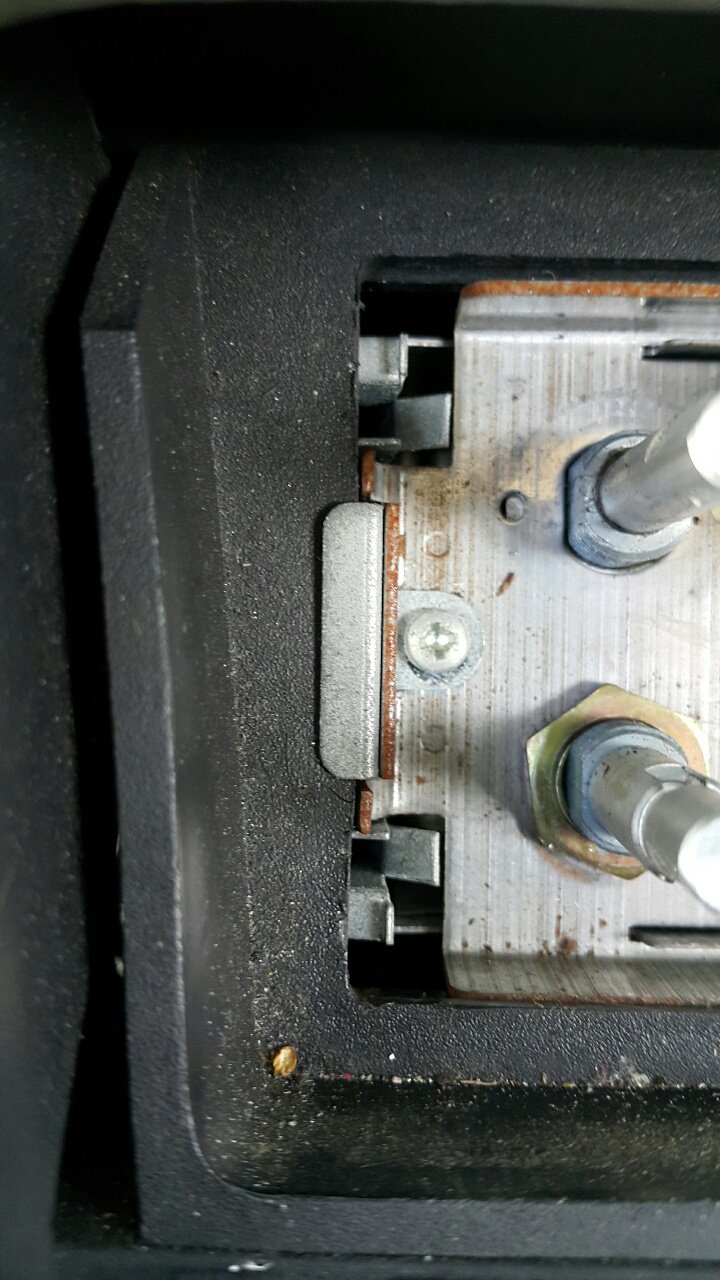
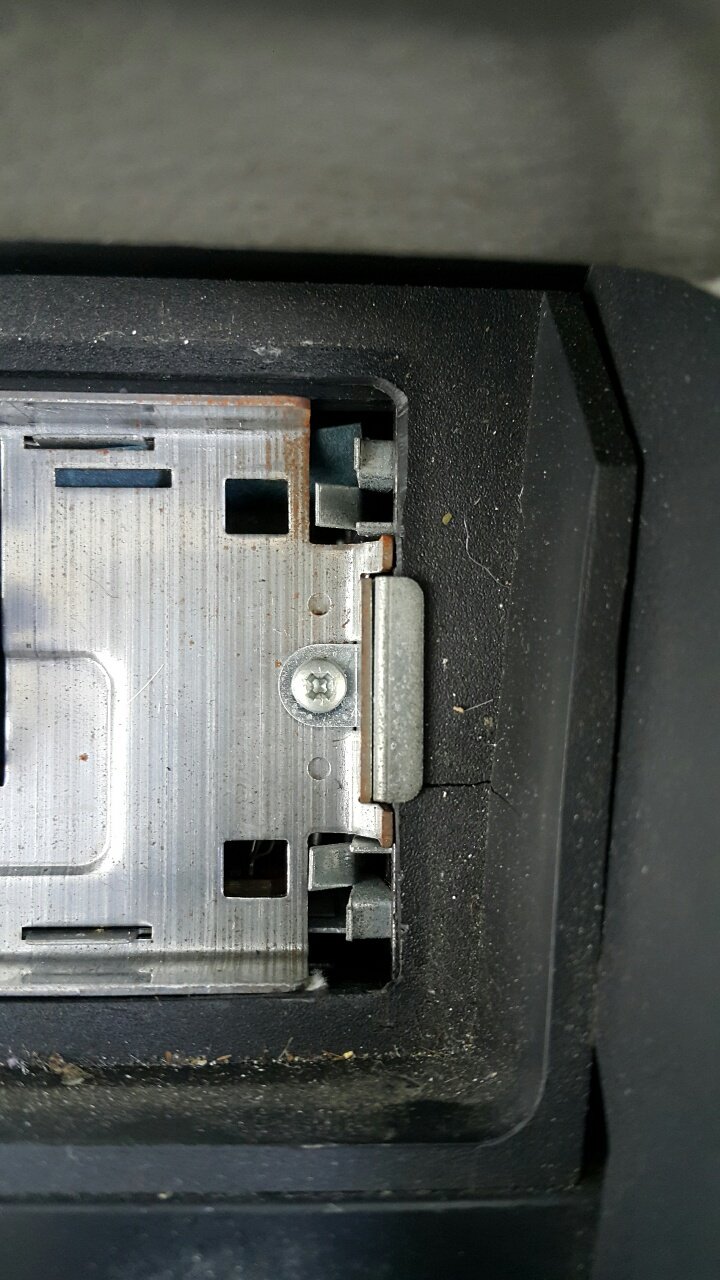

Even with the faceplate off I couldn’t release the damn things. More disassembling was needed. Off came the plastic surround trim, revealing a metal plate with two screws in it.

Whip those screws out, and GENTLY pry the metal plate forward. Being super careful not to pry against the heater controls, as all the plastic there is fragile. With the metal plate off, the radio finally slips out and can be removed.


With the radio out you can see the tabs that lock the thing in place.


The radio was made by Motorola England for Austin Rover Group.

The whole lot is wired in with two standard RISTS connectors. I can’t seem to find any plug-and-play ISO adaptors for these, so my only options are to chop the loom, or chop the plugs off the radio and reuse them. I know which one I will be doing….
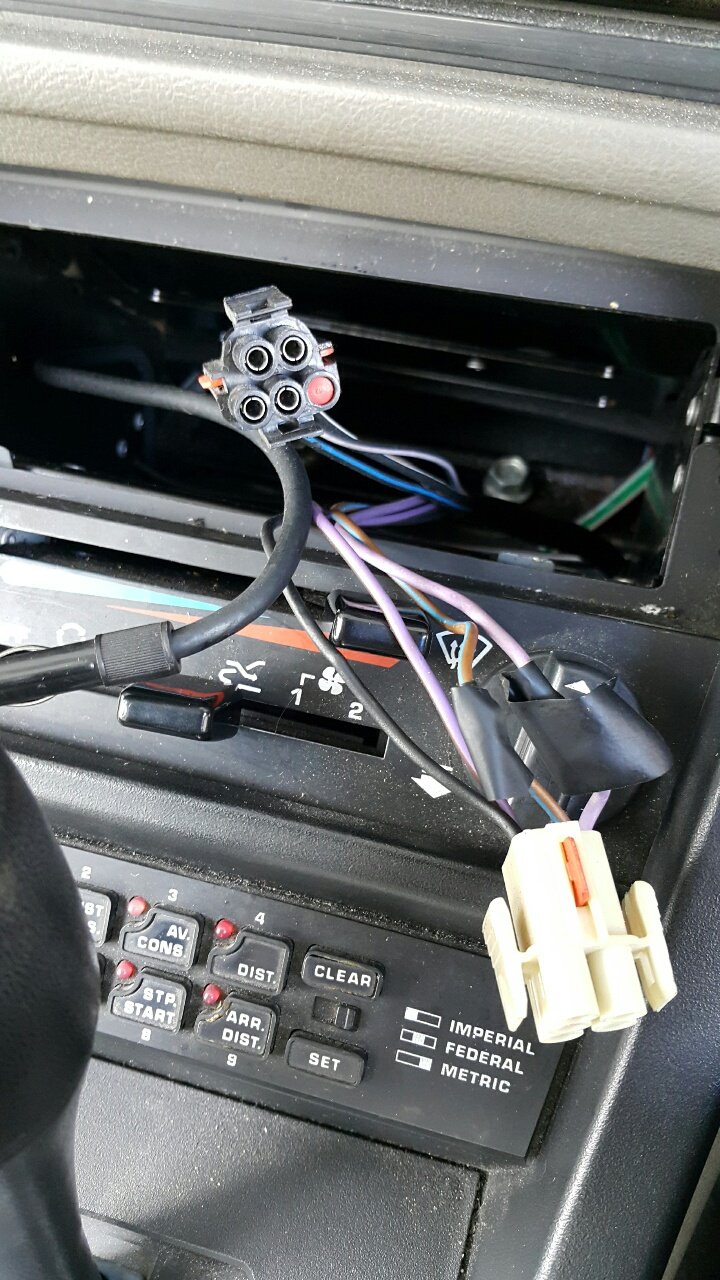


I wont be using the standard radio ever again, but I will keep hold of it, and will be sure to leave enough loom on the radio that the connector can be spliced back in if ever needed.
I’ll build the loom and install the new headunit once the speakers arrive.
Moving right along, I also decided since it was such a lovely day outside that I would also take a look at why the rear window doesn’t function correctly. It drops an inch or so by itself (and can be pulled up and down by hand, by that much), and doesn’t go up or down. The relays click when buttons are pressed, but the motor is silent.
Taking the door card off was easy, there is one screw on the front of the door card, in the carpet section, and a screw in the door handle. Take both of those out, and then using a trim removal tool, carefully lever the door card off the clips and then lift the whole door card out of the window channel at the top. The window switch needs to be disconnected too.


It was pretty obvious with the door card off, that I wasnt the first person in here….
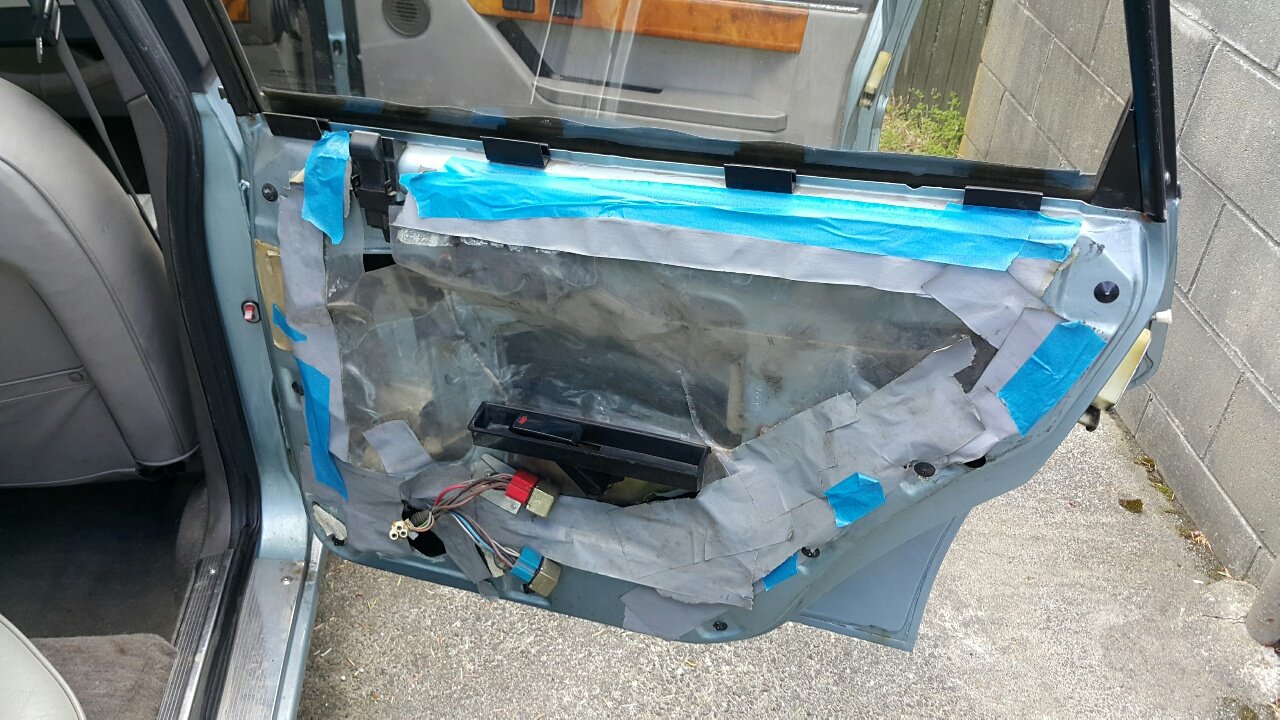
I suspect that no matter how bad BLMC build quality was back then, duct and masking tape probably weren’t original equipment for the moisture barriers. One of the relays was also just floating around, not attached to the bracket.
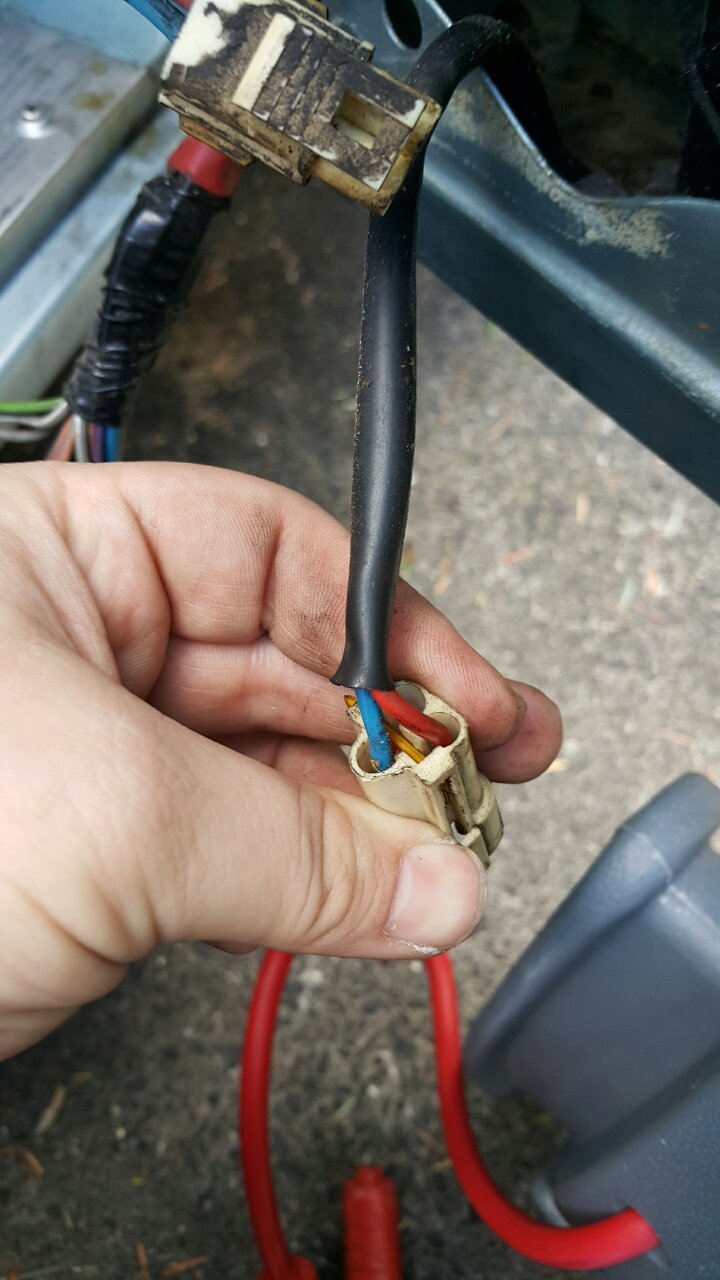
The window motor wiring had a big ziptie around the plug holding it together, but the motor is still riveted to the regulator so I suspect it may be original and someone tried to fix it and failed. everything in the doors looks good, no obvious rust, and all the rails etc look good. It’ll need a thorough greasing, but I need to get the motor working first.

I tried feeding 12v directly into the motor, but nothing happened. I tried feeding 12v in via an even bigger supply, nothing. I tried percussive “persuasion” whilst feeding the motor power, nothing. The reason for the window moving by itself seems to be related to the motor too. All the linkages are working, but the movement is where the main gear meshes with the motor. I don’t know what part is damaged there, hopefully its the motor.
I’m currently trying to source a replacement regulator and motor now, and will have to change it over. Not a job I’m looking forward to. In the meantime, the tape is back on the glass, and the door card is in the back seat. Classy.