
We left off the last post waiting on a set of new HKS spark plugs to replace the rather tired-looking ones in the car. They arrived, but did they fix the misfire?
I whipped the coils out, which is pretty easy on the Alto. Just remove the two bolts holding the airbox in place, remove the intake duct (pulls off), and loosen the turbo intake hose clamp and remove it from the airbox

This gives ample access to the coils and plugs.
The old plugs look pretty average compared to the new HKS M40XL. The gap on the old ones was about 0.1mm bigger than the new ones.


I’d say the coils were original. The previous owner had stuck heatsinks onto them with tape (not thermal pads)

I fit all the plugs, using my fancy new magnetic spark plug socket (so lush) and refit the coils.
So, did it fix the misfire? No. It still misfired.

I was sure it would be a coil. The RPM reading on the EVC6 was spiking all over the place and dropped to zero when it misfired, leading me to think it was spark, despite it not throwing a misfire code. It was sputtering at idle and broke down at higher RPM or under load.
Plenty of research was done and I decided to replace the whole set of coils. I could order some original R06A engine coils like currently fitted, or there are plenty of “high output” aftermarket coils on Yahoo JPN, of course there is also the option to spend heaps and get some brand name aftermarket high output coils (KC Technica and the likes).
I chose none of these and found there is an option to use genuine Suzuki coils from a Swift Sport ZC33S with an adaptor harness. This is a kit made by a Jimny owner called [email protected] and it’s top notch.

I ordered this kit and began the wait.
In the meantime, now was as good time as any to fit the genuine Suzuki weather shields I had bought from Japan.
The instructions are all in Japanese, but with some Google Translating, it wasn’t too hard to work it out. I started by cleaning all the areas the tape would stick to with grease and wax remover. I then carefully pulled out the window runchannels.
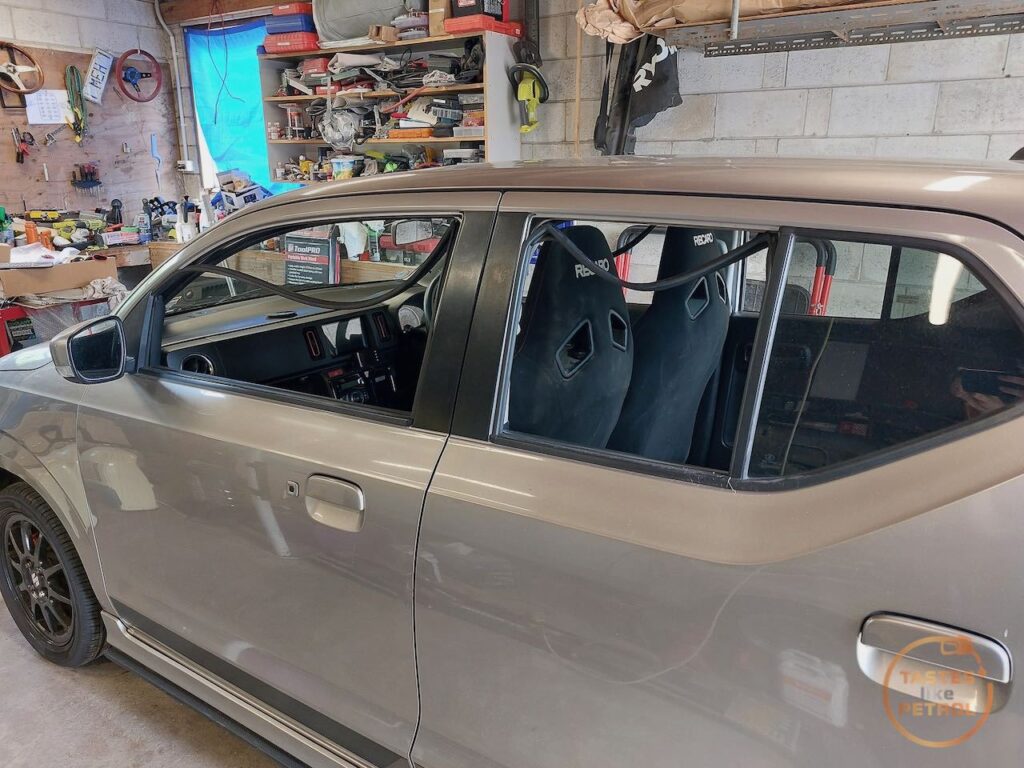
The reason for this, and one of the reasons I went with the genuine option, is that unlike the aftermarket ones that only stick on with tape, the genuine ones have clips that slide over the window frame and are retained by the rubber runchannel as well as VHB tape

I carefully worked my way around the car, measuring the areas the instructions told me to, to get the perfect gaps all around


Not gonna lie, I’m also a sucker for stuff like this.
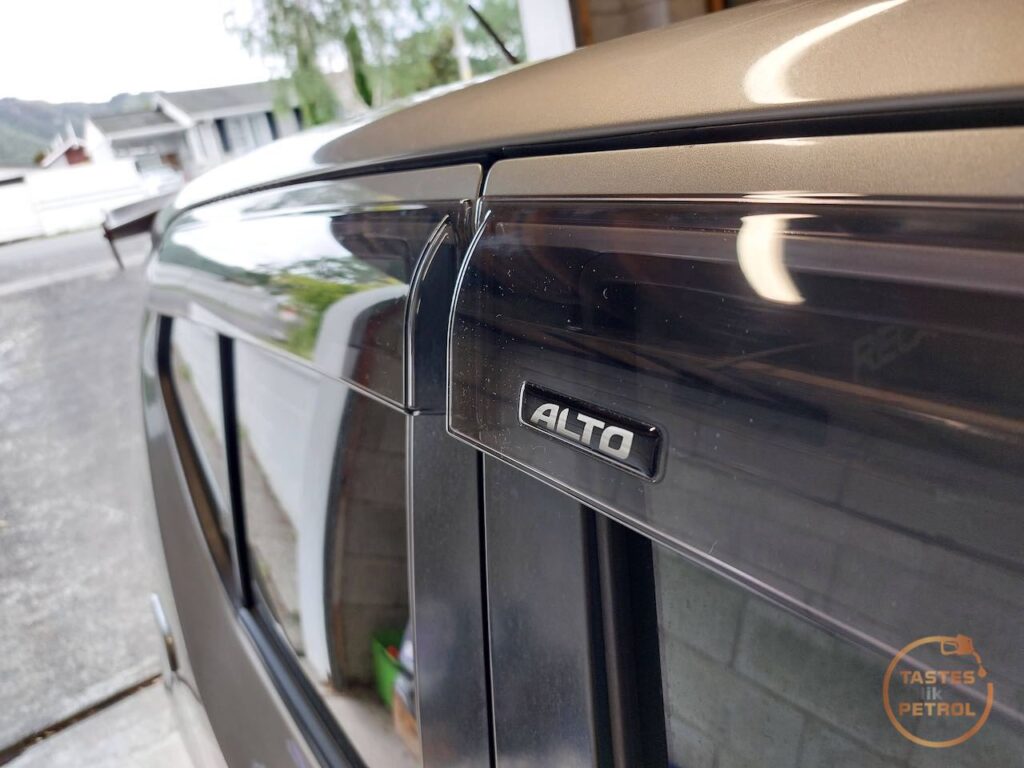
ALTO
I’m a huge fan of weathershields. I don’t smoke, but I do like being able to have the window slightly open to get that extra airflow, but keep the rain out and not be buffeted around in the wind. It helps a lot in keeping the windows clear in winter too.
While the car was in the garage I also took the chance to polish the carbon blade on the front of the bonnet as it was quite faded. The difference is obvious in the 50:50.


I used some Ultimate Compound on a foam ball on my drill


After that, the car got parked out on the drive and left while Christmas happened, and DHL flung my coils across the planet to NZ.
Finally, today, the coils arrived. Along with a new Greddy air filter to replace the old HKS foam one.

Fancy new Swift Sport coils and adaptors

The new coils are chonky bois compared to the original ones

I plugged the adaptors into the coils, plugged them into the engine harness and slotted the coils into place. They fit perfectly and my screws had no issues reaching (some cars may need longer screws due to the thicker mounting on the coils).
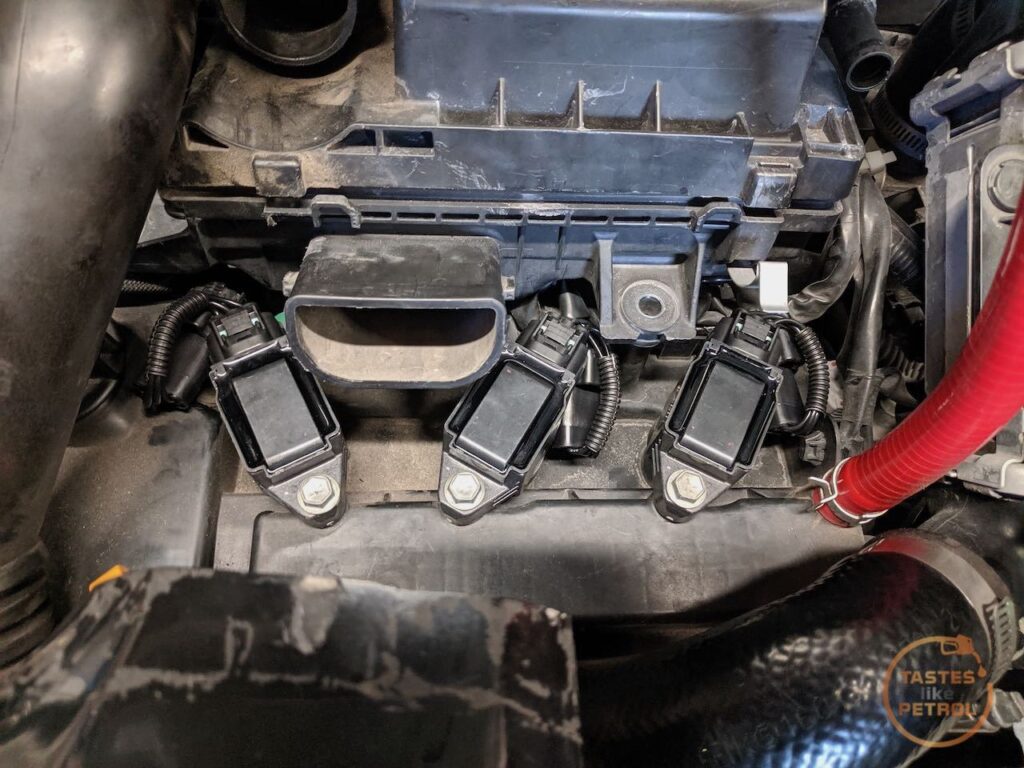
I slipped the new air filter in before putting it all together

So, did that fix it?
Heck yeah it did!

The engine runs smoother, idles smoother and under boost it’s like butter. I suspect the coil has been weak since I got the car and just gave up when I looked at it and uttered those fateful words, “Preventative Maintenance”
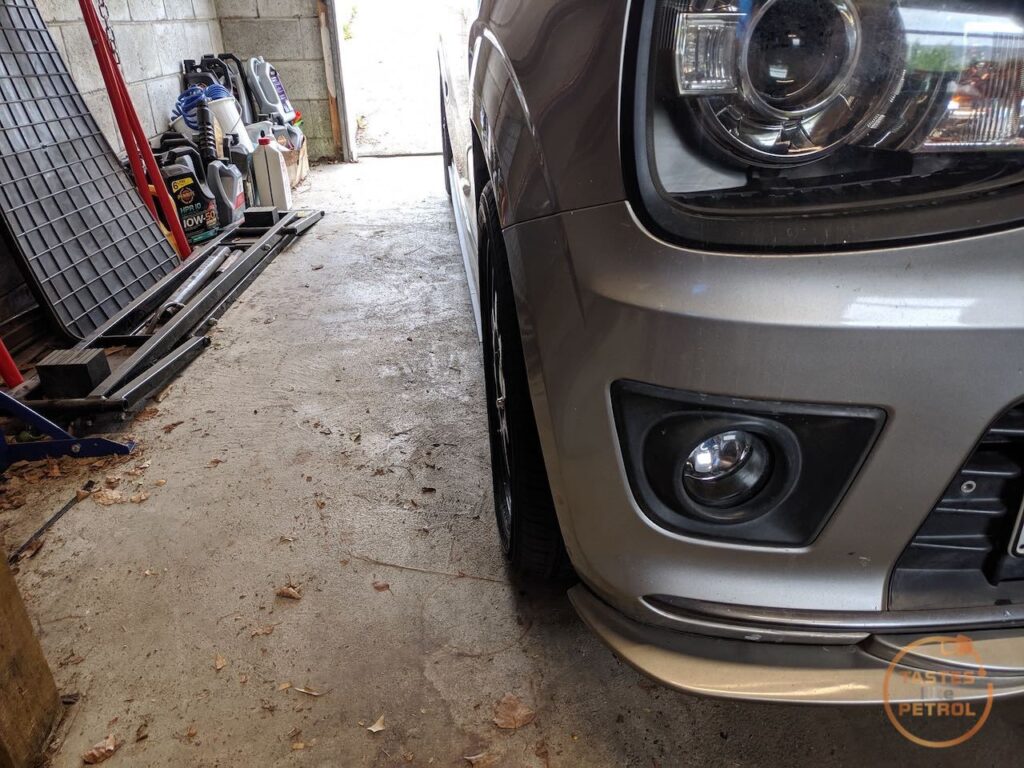
I took it for a quick run around the block to confirm the issue was gone but had to fix one more thing before a decent drive.
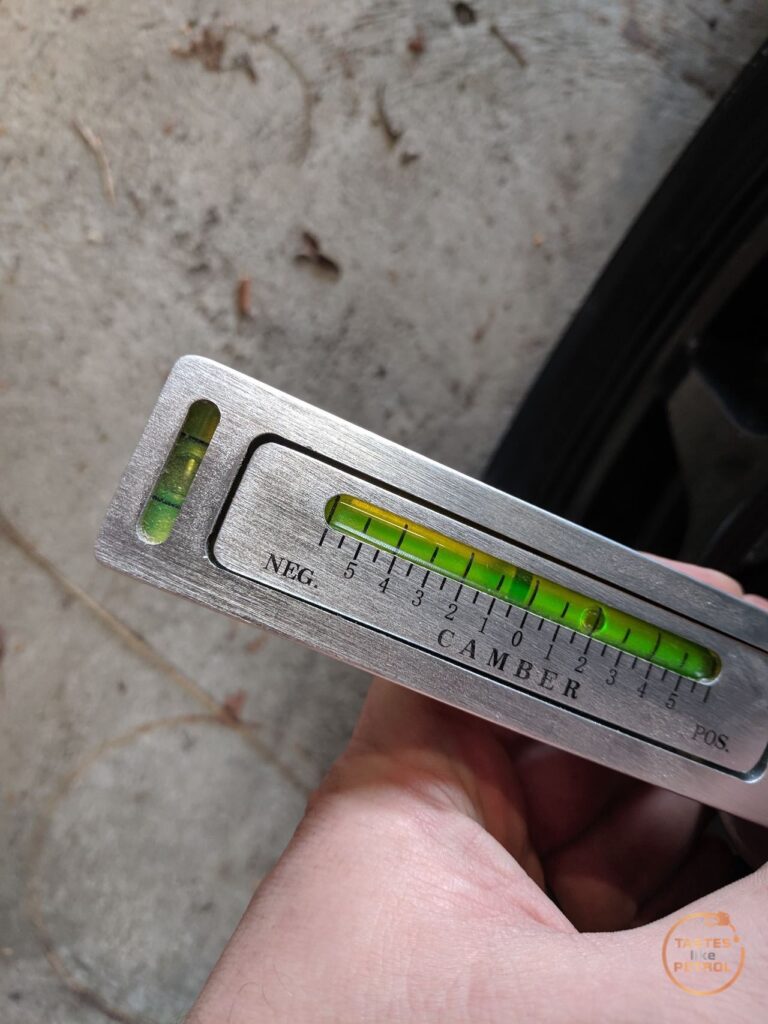
Back when the car was last in the garage I noticed something a bit weird… The drivers front wheel was cambered out at the top, meaning it has positive camber. Not good. The passengers side had ample negative camber.
The positive camber was really obvious when looking at it in person.
A quick and dirty check indicated I had about 2 degree positive camber on the RH side
and about 1 degree negative on the LH side
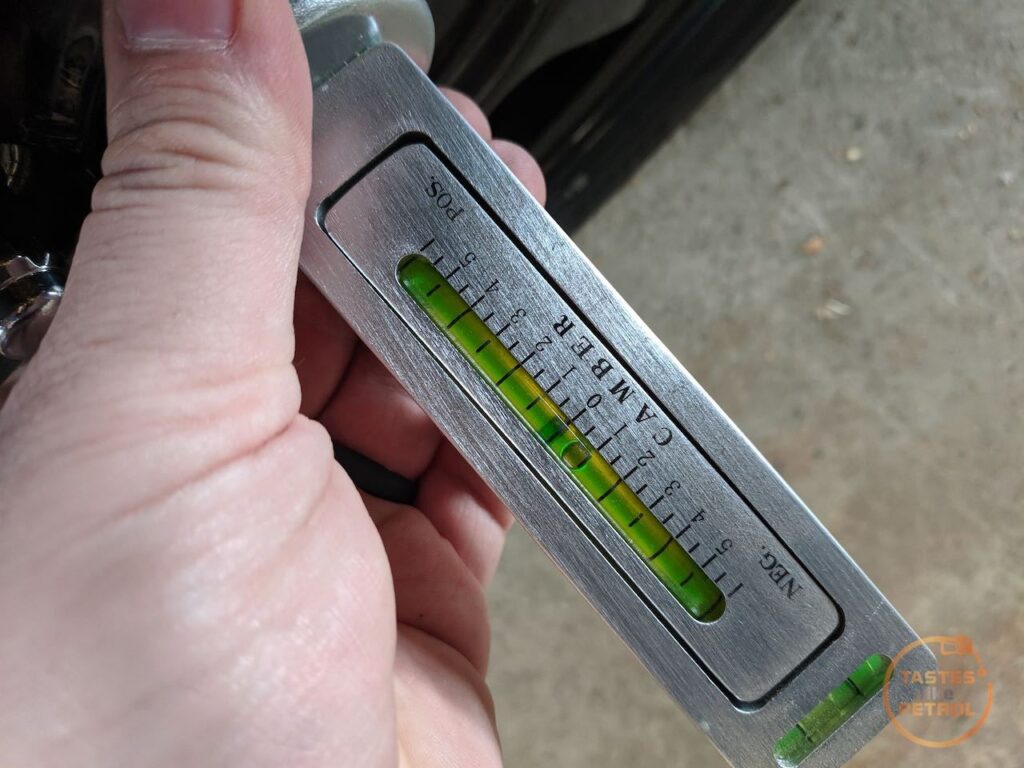
The wheels were literally like \ – \ instead of / – \
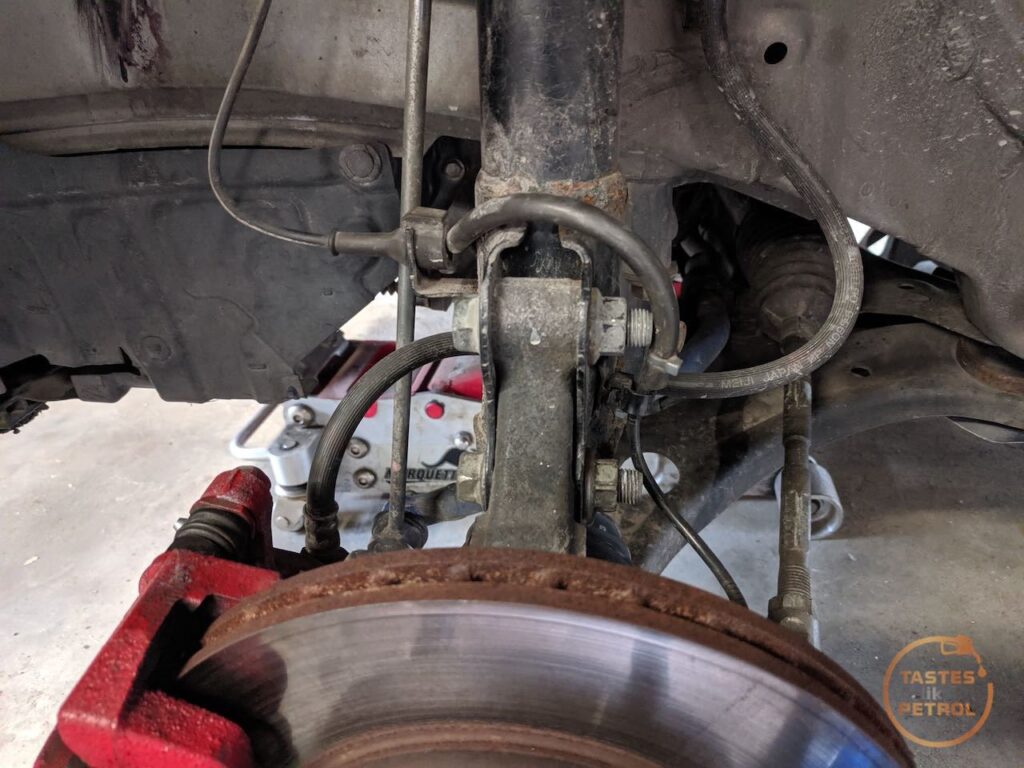
I recall I had read on the previous owners blog that he had fitted camber bolts at one point, so that was the obvious place to start. My plan was to remove them for now and just run standard bolts, so after a Pick A Part run to grab some of the correct part number from an old Ignis, I jacked the car up and had a look.
Sure enough, camber bolts fitted to the top of the knuckles


I could’ve just adjusted the bolts correctly and dialled the camber in how it should be, but at the end of the day the car isn’t lowered anymore, it’s on standard suspension and I don’t really need heaps of camber at this point. So out they came.

Both sides had been badly adjusted. I’m not sure if the guy I got it off who swapped the suspension forgot to set them, didn’t know how to set them, or just didn’t notice they were cammed bolts. Who knows.
The RH side bolts were barely hand tight too, which was a concern. I fit the replacement standard bolts and gave them a good elbow-clicking torque.
After reassembling everything, we now have about half a degree of negative camber on both sides


And what a difference it’s made. I took the car for a decent run over some twisty hill roads and it’s much more controllable now. Before, when you let off the throttle mid corner and the diff unlocked, it would dart sharply toward the middle of the corner (usually toward the center line) with murderous intent. Now it still noticeably unlocks and tucks in, but it is much tamer.
The car in general is running much better, much smoother and loves being driven hard. The diff just pulls the car around corners on boost. I’ve had cars with torsen LSDs before, but this plate diff is a different beast.
The new gearbox oil has improved shifting, and the diff seems a bit happier, although it’s still a clunky old thing when cold. I can live with that, we’ll call it character.
Now that we’re back up and running, I’m looking forward to getting some Ks under the new tires and seeing how this little thing really goes. So far, I’m loving it.
Hopefully it’ll be on the track next month as I have another track day booked. That’ll be exciting.
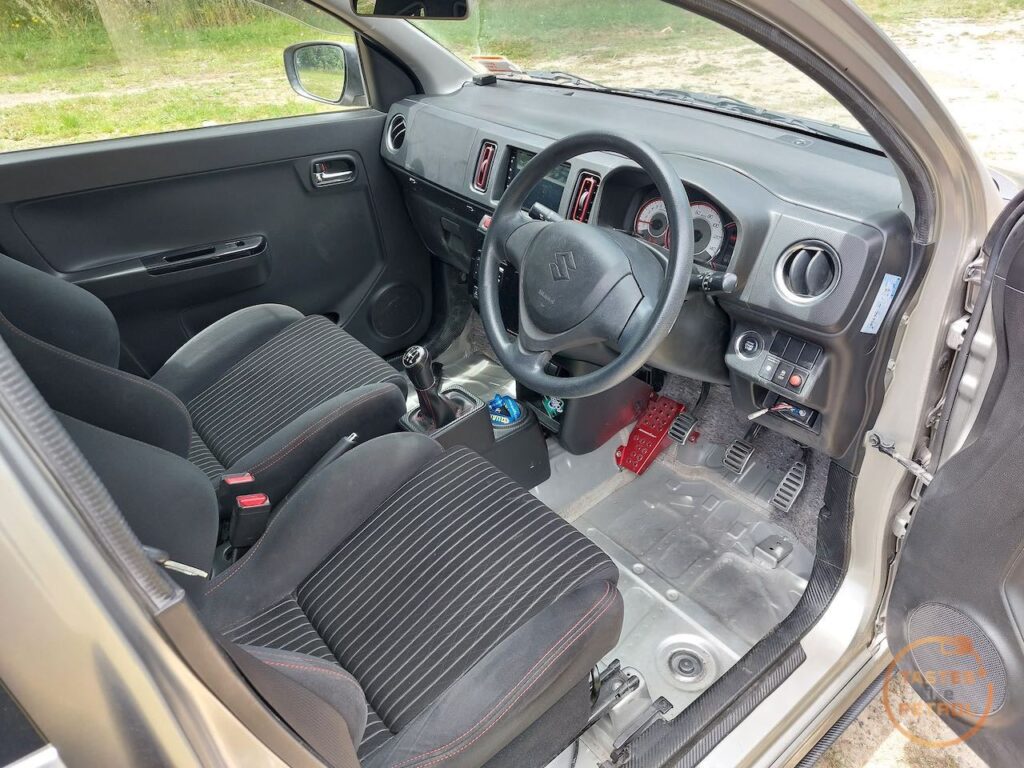
Finally, here are some photos of the car that aren’t in my garage, sans stickers and with weathershields.


The carpet should be here in the new year, which I’m really looking forward to.
Now you can drive it without a misfire, how does it go?
Its a lot of fun. No one could mistake it for “fast”, even on 14psi, but its zippy and entertaining to drive. I think i’ve put about 200km on it in 3 days since fixing it.
Great posts! It’s hard to get good content on the ha36s in english still so this is a goldmine.
Still thinking about the 5th gear ratio swap? I have 10min of highway driving each day and am curious if the alto would be liveable for that.
Hi, Thanks 🙂 I agree, English info on the HA36S is real limited, so most of my research is done with copious amounts of Google Translate. The 5th gear ratio swap is still on the list, but way down for now. It depends on what your “highway” speed is; at 110kph it’s sitting bang on 4000rpm, which it’s fairly happy with and 10 mins will be fine (I’ve made a couple of trips recently at 100kph for 30 minutes without issue), but higher than that would start to be a bit much after a while.
I did the 5th gear swap in mine and it’s completely changed the car. Totally civilized at highway speeds, I cruise right at 100kph for 4 hours every other week, it’s even lowered my fuel consumption to ~5l/100km. It wasn’t difficult to do either, if you jack up the passenger side of the car high enough, you only leak a few ml of transmission oil so you don’t even have to refill it.