Finally, It looks like I might be coming to the end of fixing the previous owners neglect and bodges.
When I first got the car and drove it home it shook like crazy under any acceleration. This turned out to mostly be the coil, leads and plugs that had done their dash. Once they were replaced the shaking got a lot better, except under a couple of conditions.
The worst was when I’d pull out, foot flat, to pass another car around a bend. The whole car would vibrate, but this time there was no loss of power and the engine was pulling hard. It was something else, and I had my suspicions.
One of the items on the PPI was the “RH Inner CV boot coming off”. The previous owner took this as the need to replace the clamp on the boot, which he did before I collected the car.
I noticed when I had the front subframe off that it was covered in grease, and the clamp the previous owner had fitted to the boot wasn’t a CV boot clamp (a narrow thin metal strap) but instead a standard hose clamp. I guess it was working as the boot was still there, but everything in the vicinity was greasy. I decided to remove the hose clamp and fit a proper clamp, but thought I should check inside the CV joint and see how much grease was in it first.
I slid the boot back, and nothing. A small smear of grease on the tripod, but otherwise it was running dry. The cup also appeared to show signs of discolouration from heat. Bollocks.
Holding the inner CV cup in one hand, and twisting the axle or outer CV resulted in a defined click and visible movement in the inner CV. Double Bollocks.
CVs do not like to run dry. It’s the second quickest way to kill them. The first would be to replace the grease with grinding paste.
Since I didn’t have a spare joint or axle at hand I packed the joint with grease and refit the boot with a proper clamp, just in the hopes it might be a bit better and keep going. It wasn’t better, but at least it didn’t get worse. Since new inner CV joints aren’t available a new RH axle was ordered from RockAuto.
The axle arrived the other day and it was time to crack on and replace it.
Car went up on Quickjacks, wheel was taken off and then the axle nut threw up the first battle. These are tight, and the staking on the nut needs to be straightened out to help spin it off. After some bashing and rattling, it gave way and we were on a roll.

With the nut off I could already tell the splines were free in the hub, not rusted and seized like some. Winning.
To get the outer CV out of the hub you will need to swing the hub outwards. To do this the lower ball joint and tie rod end need to be disconnected. This was easy to do since the ball joint was new, and the tie rod end recently disconnected.
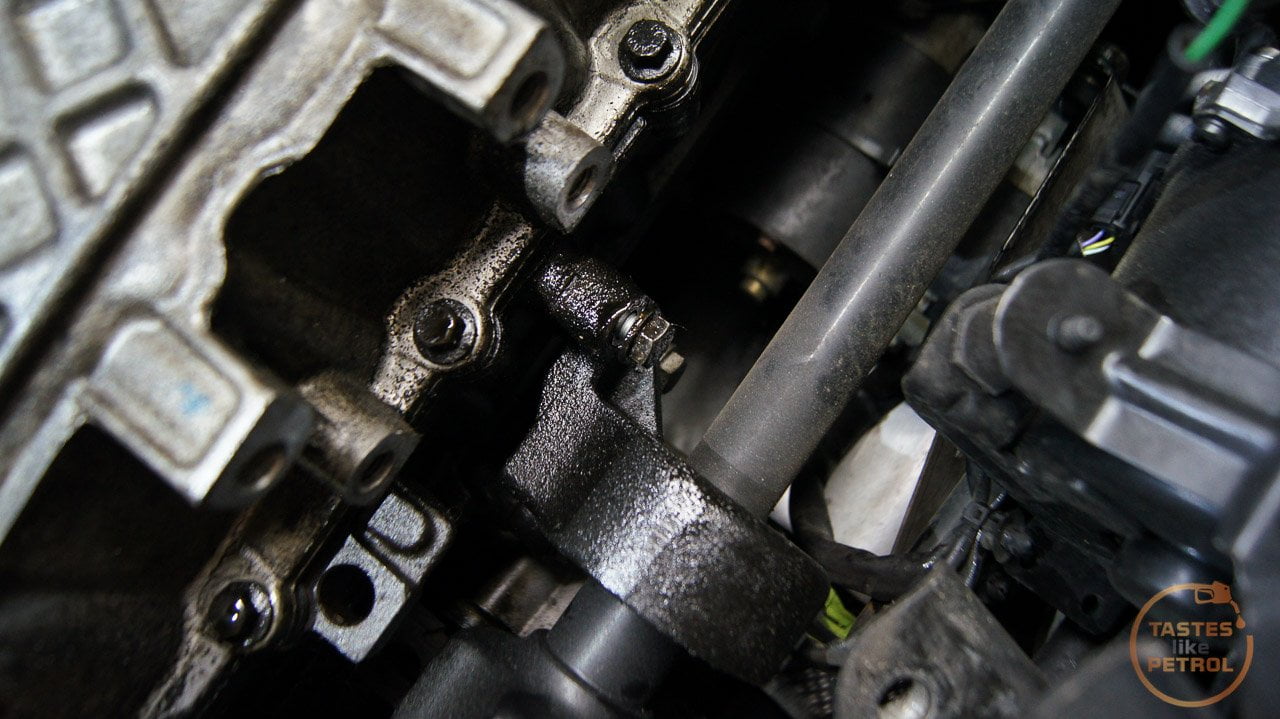
The PS fan and lower torque mount need to be removed to access the bolts that hold the hanger bearing in place

Now the hanger bearing bolts can be attacked. Two are easy to get at (one partly loosened already in photo) with a ratcheting spanner, but the other (LH side of photo) is tucked up behind the axle with limited room. A ratcheting spanner is a must here, and it will eventually come out far enough to remove with your fingertips

Next swing the hub outwards and slide the outer CV out of the hub and let it hang freely.
Now it’s just a case of pulling the shaft out of the gearbox. I gave the hanger bearing a couple of taps with a hammer and the axle slid right on out. No oil came out of the gearbox, but apparently, if the car isn’t level it can leak once the shaft is removed.
Wiggle the shaft out, spinning the hanger bearing to clear everything it tries to get stuck on

Easy.
Since the replacement shaft I got is aftermarket and not genuine, the hanger bearing housing will need to be transferred over. To the workbench we go.
This housing is held in place with a large internal circlip

Awesome, I thought, I can finally use the sweet circlip pliers I bought ages ago.

They’re rubbish. Too short and too floppy due to their design. Don’t bother with interchangeable ones, just get a proper pair of single purpose pliers. Like these, which I had to run out and buy for this job

And they worked a treat

Before removing the housing I also needed to transfer over the little dust shield, so to stop that being damaged by the housing I used a hammer to carefully tap it off

The hammer was once again employed to bash the housing off. It’s a bit of a light press fit on the bearing, but will come off with some hitting in various places around the perimeter.

Now it was time to build up the new shaft. Mmmmm, shiny.

Refit the circlip first. Trust me, its a lot easier than doing it once you have hammered the housing onto the bearing. Then the housing goes on, as does the dust shield. Ensure the circlip is correctly seated in the groove.


Its pretty decent quality considering it costs so little. The boots are all soft rubber, the splines are nicely cut, and the CV joints are all nice and tight. There is zero play when twisting the shift, unlike the old one.

Refitting is simply a case of carefully slipping it back into place, making sure that the hanger bearing housing is rotated the correct way before slipping the shaft into the box. Ram it home, bolt the bearing into place, slip the outer CV into the hub, and reassemble everything else.
The hub nut is about 180nm, so I got my favourite helper down into the garage to sit in the car and stomp on the brakes whilst I swung off the torque wrench. Stake the nut, and that part is done.
Before fully reassembling I took the chance to fit a SuperPro insert into the lower torque mount. The mount was new, but it still felt a bit soft to me and there was some thumping when coming on and off the gas, or changing gears. SPF2426K

These are just inserts that fill the voids in the standard mount. Easy to fit, just slip them into the mount and refit.


The results of the work are all pretty immediate. The axle has completely removed the shuddering when accelerating, it is like a new car. I can push it as hard as I want around corners and nothing. The mount insert is also fairly obvious. The car feels a lot more direct and connected not. The gearshift is tighter, and the thumping has near enough gone. There is some vibration in the cabin at low RPM, but I think that was there beforehand. Well worth it for a simple upgrade. You could probably use it on an old, slightly torn, mount too.
I’m very happy to finally be at the end of fixing the issues that the car should not have even had. Now I can enjoy the car without worrying it will shake its self to bits.