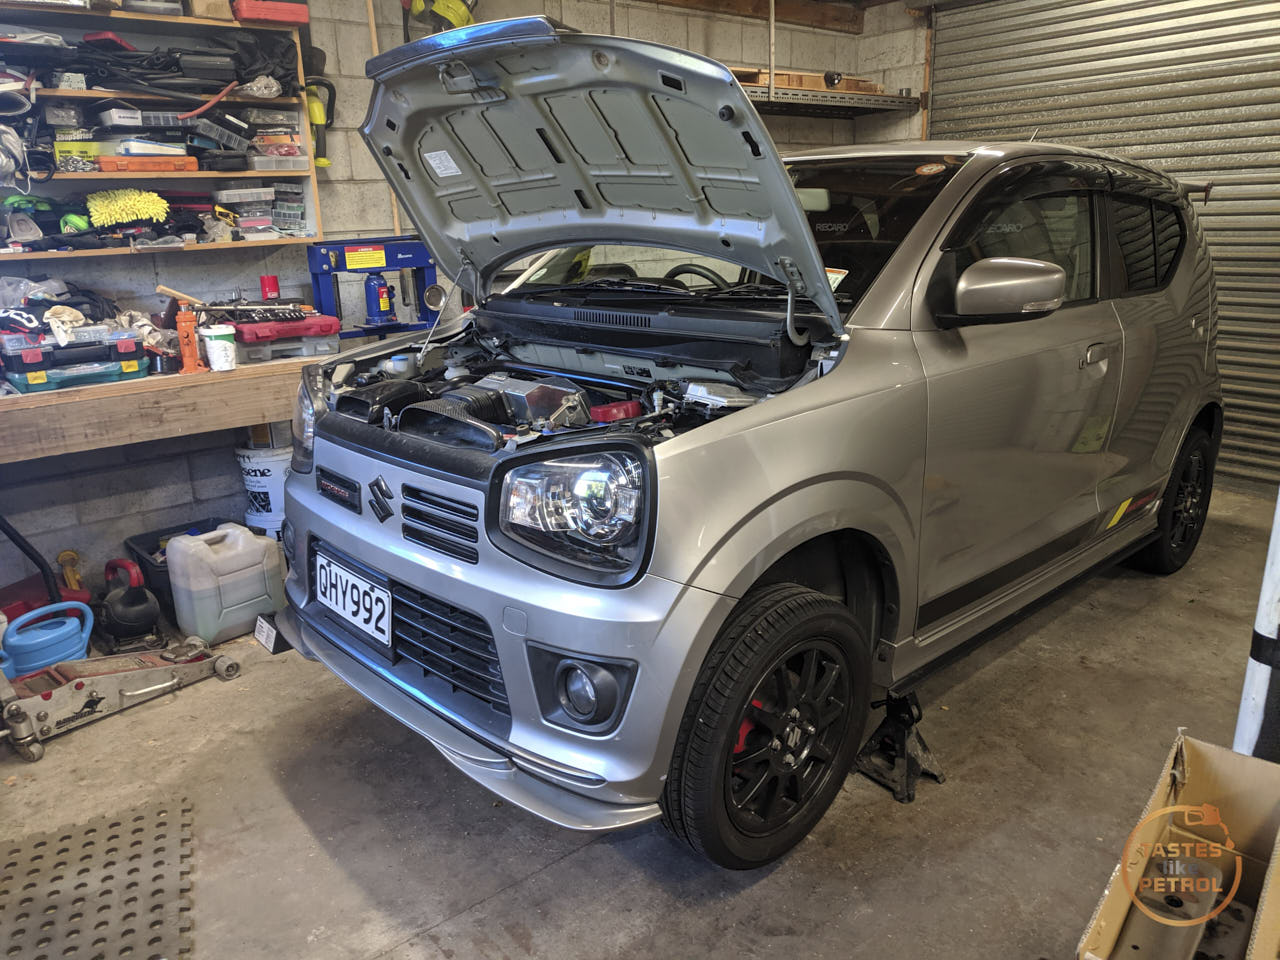
Another thing I had been wanting for a while but was hesitant to buy due to cost finally came on sale, so I snapped it up.
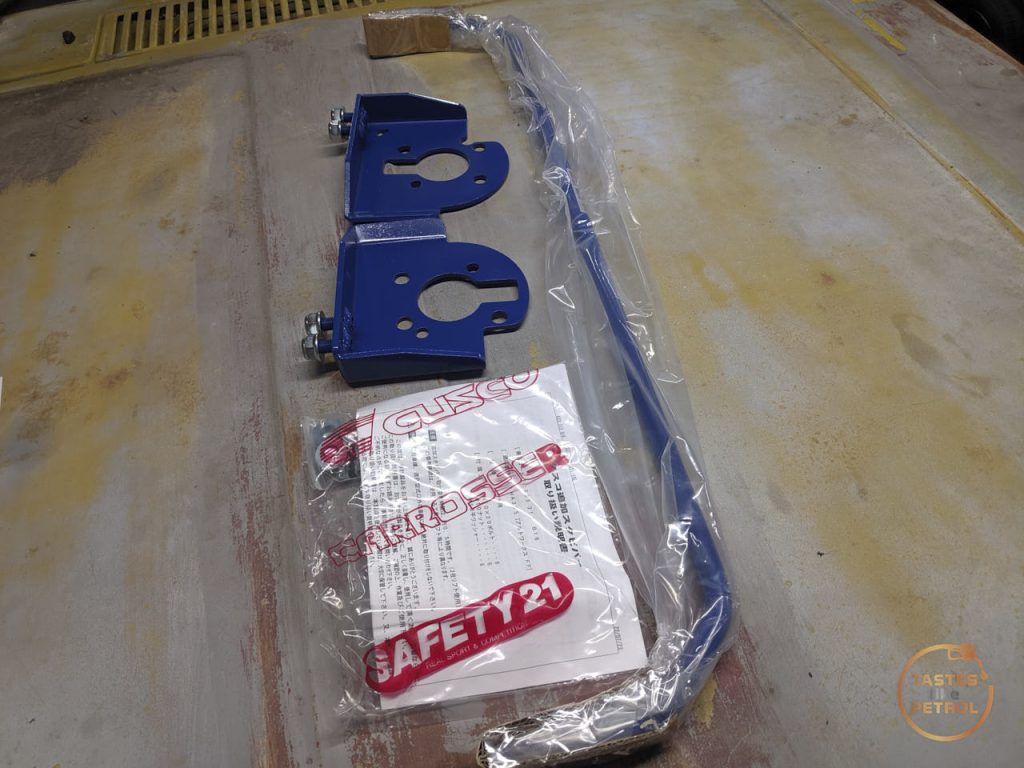
Since my car was a track toy in Japan it came with some goodies still attached, one of which was the Cusco front swaybar. This apparently takes the swaybar from the standard 18mm up to 20mm, which Cusco claims is “ratio with standard 138%”, whatever that means. Either way, it’s stiffer.
The bar is so dirty it’s hard to see, but it’s definitely thicc and blue.

I suspect this, along with my blown rear shocks and wrong rear springs, worked together to cause the handling at the last track to day just be straight up hostile. The car would not rotate, it was all over the place, and really wanted to push on in corners.
Since I’ve fixed the shocks and springs now, the one thing left to do to balance the handling was to fit a rear swaybar. The car originally had one when it was in Japan, but it went missing at some point before I got it (likely before it left Japan). The Alto Works apparently has a standard rear swaybar integrated into the rear beam, but I haven’t seen how big this is, I suspect tiny.
I’ve been watching the auctions for ages now trying to catch a bargain on a used bar, since they weren’t cheap new. I had no luck, but by chance I was having a nosy over on RHDJapan and noticed the exact bar I was looking for was on sale, so jumped at the chance.
So, here is my new Cusco 16mm rear swaybar.
It’s both easy to fit and a real pain. The bolts that hold the end plates to the rear beam have to go under the lower spring pads. Trying to lever the pad up with a trim tool with one hand, whilst using the other hand to push the bolt through, is not my idea of fun

It also makes it hard to get the hex key into the bolt to stop it from turning as you tighten the nut. In hindsight, I would probably drop the rear shocks off and lower the rear beam until there is no pressure on the spring and just lift the pads up.
I got there in the end though, and the bar fits nicely.

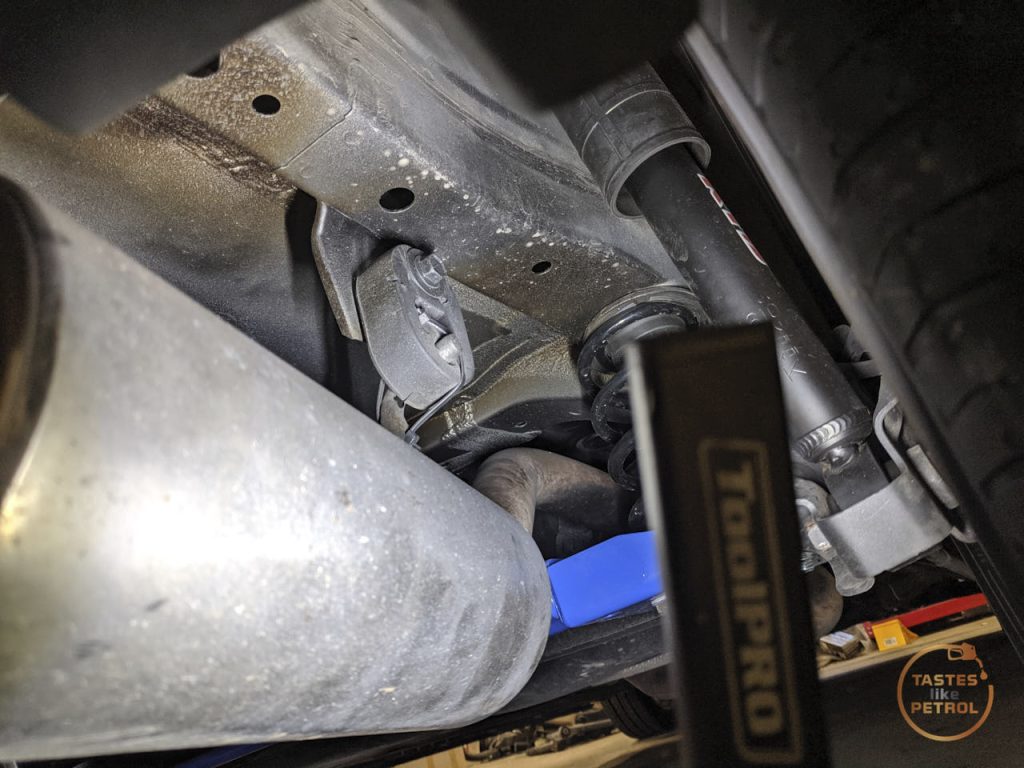
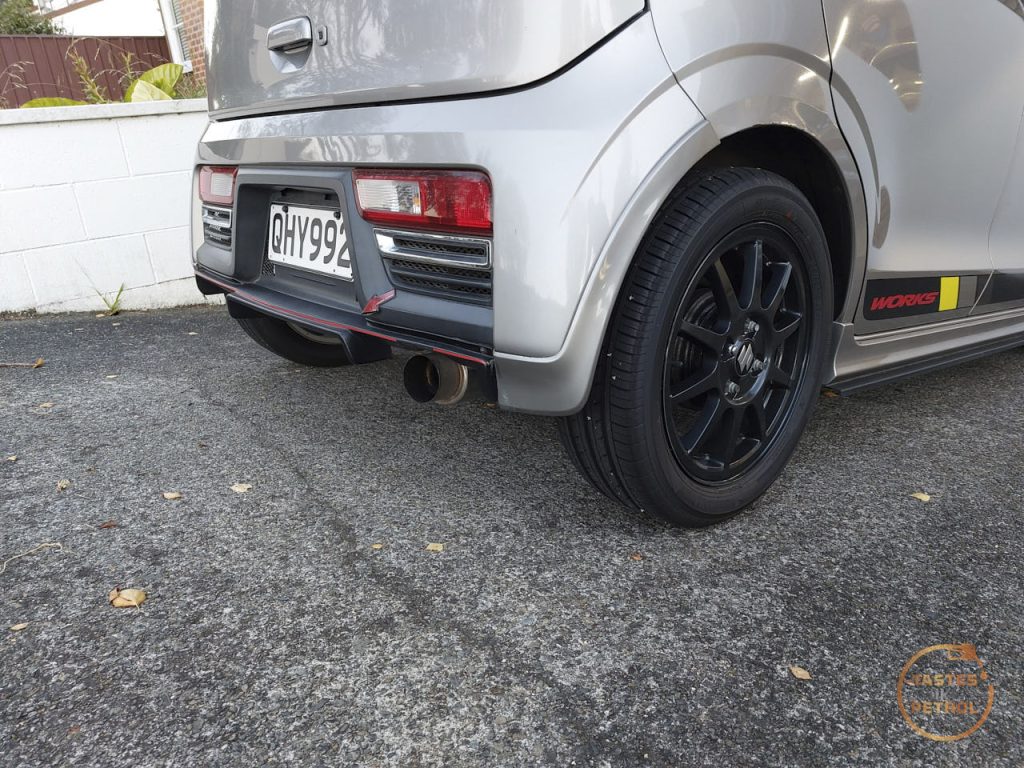
As soon as I started the car I noticed a rather large issue; the pipe before the rear muffler was knocking on the swaybar end plate, badly.
Doing some research, it seems this is a common thing and the first thing to try is flipping the exhaust hanger.
I pushed the car up a ramp on one side to give me some extra clearance

Mine started on the stock side, albeit it had been raised up above the normal height (possibly for clearance when the car was lowered)
Zero clearance

I undid the bolt holding the hanger in place and moved the hanger to the other side of the bracket. I then reinstalled the bolt down into the stock hole, which has the captive nut (the visible nut is just a locking nut the previous owner used to secure it to the upper hole, which doesn’t have a captive nut)

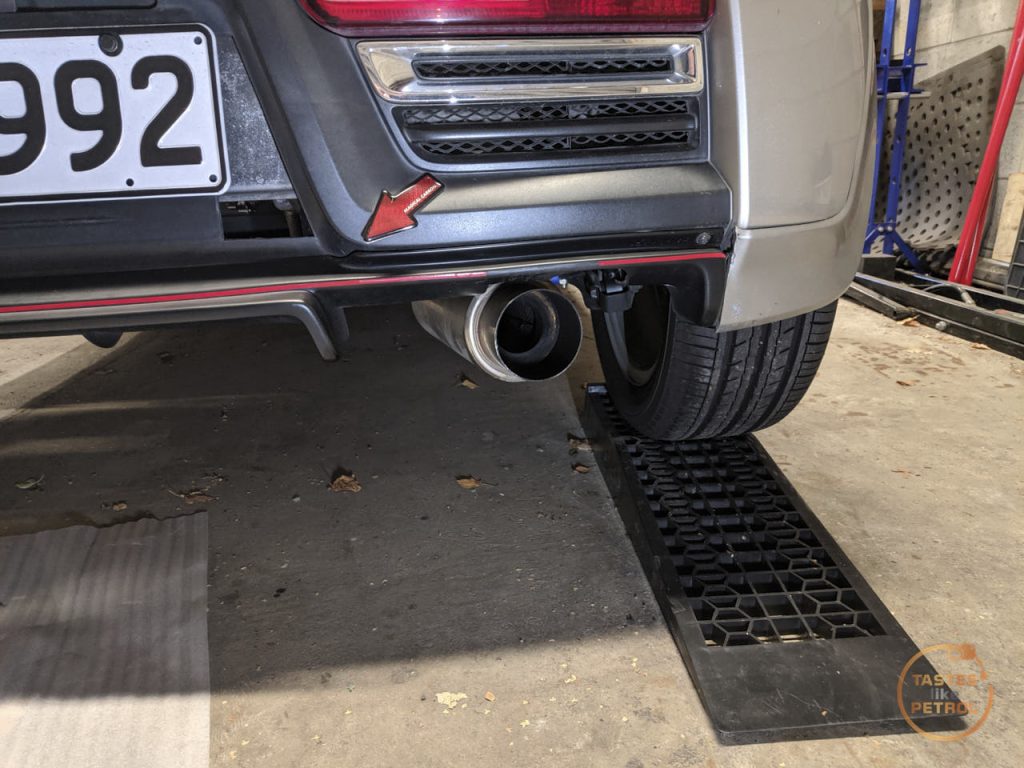
This gave me ample clearance

As a bonus, the exhaust is no longer obscured behind the rear bumper
As opposed to
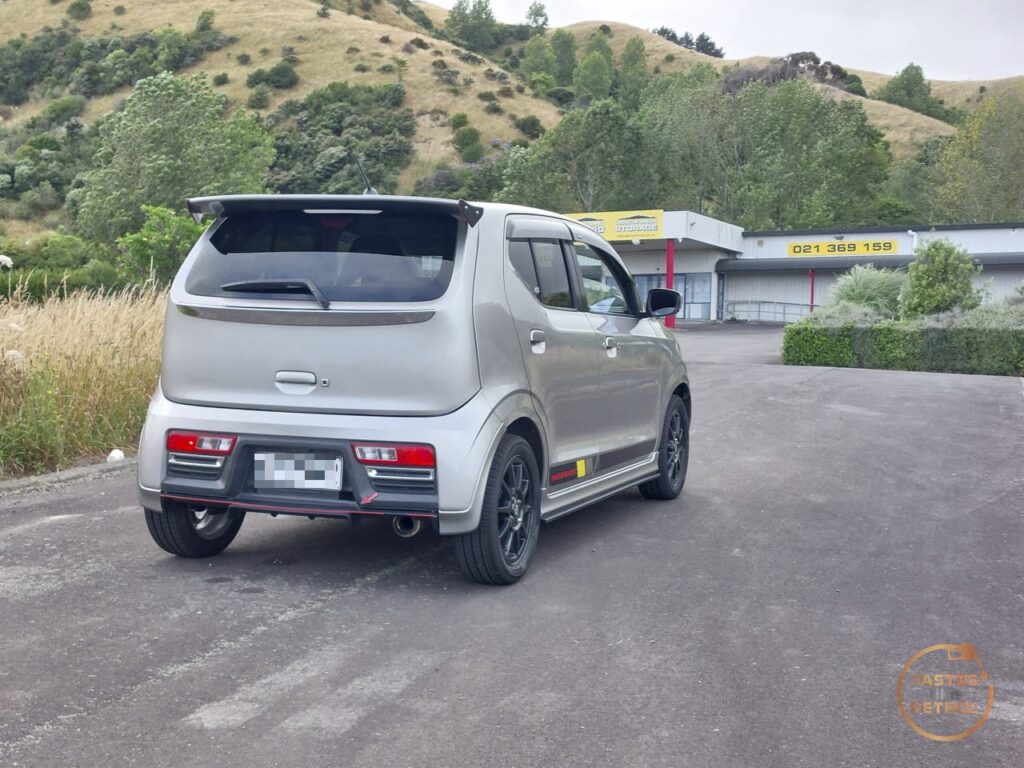
A quick drive shows that the exhaust is no longer rattling its little head off, so that’s a success. I haven’t had a decent chance on the twisty roads to test the new swaybar, but already the car seems to corner flatter and feels more confident in corners. I’ll take it to work later in the week and hit some twisties and see how it feels.
Since the car was already in the garage I took the chance to do a couple of other changes.
One was to replace the rear engine mount with a newer genuine part, and a Silkroad insert. The standard Type 1 mounts are known to be softer than the later mounts, so the new part alone should help tighten it up and fitting the inserts should improve it further, without the harshness of solid mounts.

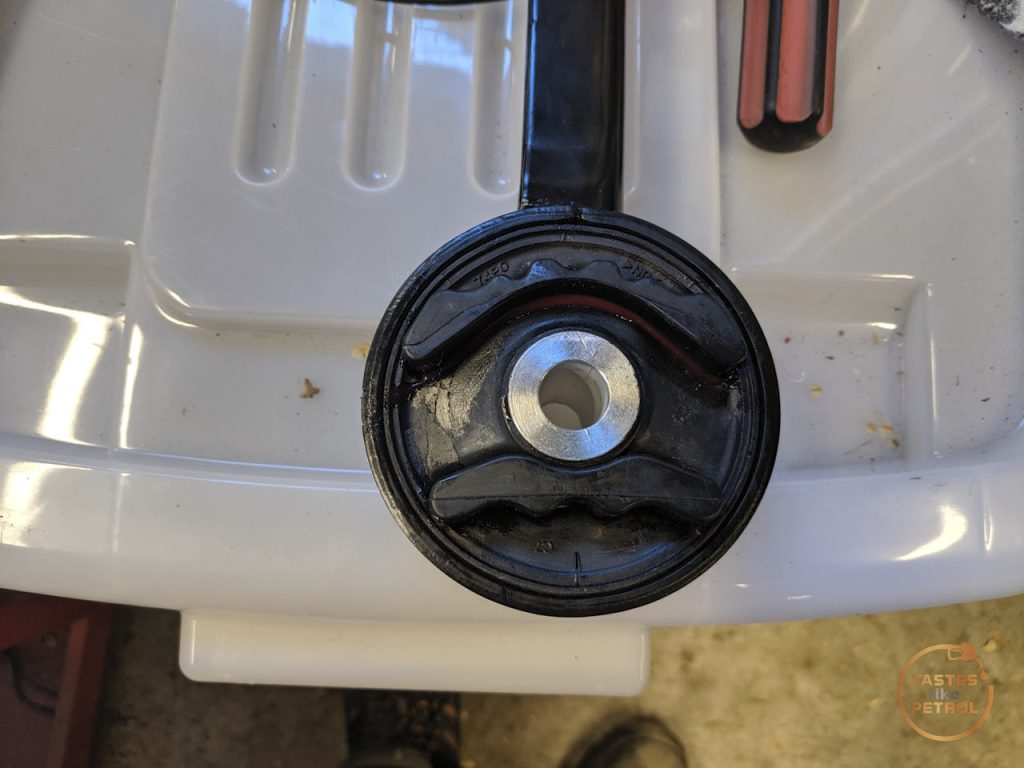
New genuine mount, and inserts

The inserts fill these gaps

Like so. I slathered them in rubber grease and used a mallet to hammer them into the mount. The inserts are a flexible polyurethane.
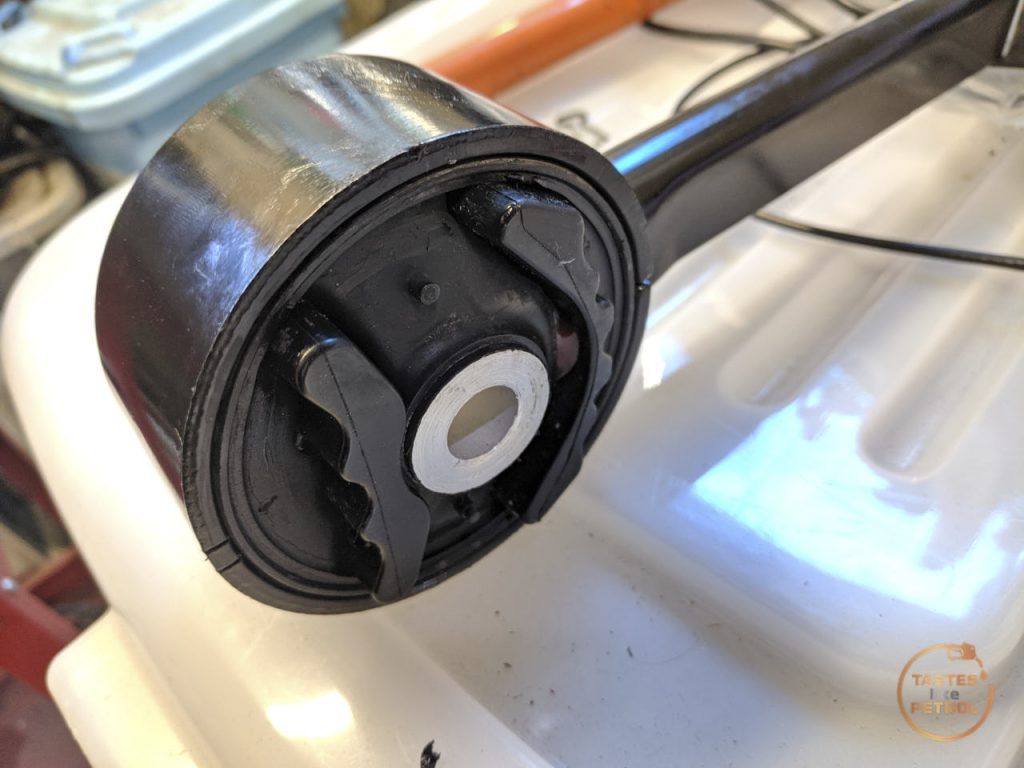
Interestingly the inserts stick out on both sides of the mount

Here’s the old mount in place.

I first tried to remove the bolt that goes through the small end of the mount and soon realised that no, it doesn’t fit

The solution was to take the bracket off the gearbox

There’s a little plastic cover over the hole in the subframe the big end of the mount lives in. This is held in place with a clip on each end, obscured by the swaybar


I don’t know if it’s because of the bigger swaybar, or if it’s an issue with the stock one too, but there was no way the mount would slip out passed the bar. I ended up having to undo both swaybar links, and unbolt one end of the D bushes that mount the bar to the subframe, so I could lift the bar up high enough to slip the mount out


It turns out the previous owner had given stiffening the stock mount a go at some point. He had slipped some rubber sheets into the gaps and then slathered the whole thing in.. something. Glue maybe?

It didn’t really help, there was heaps of movement in the mount

I slipped the new improved mount in, bolted it all back into place and reinstalled the swaybar.
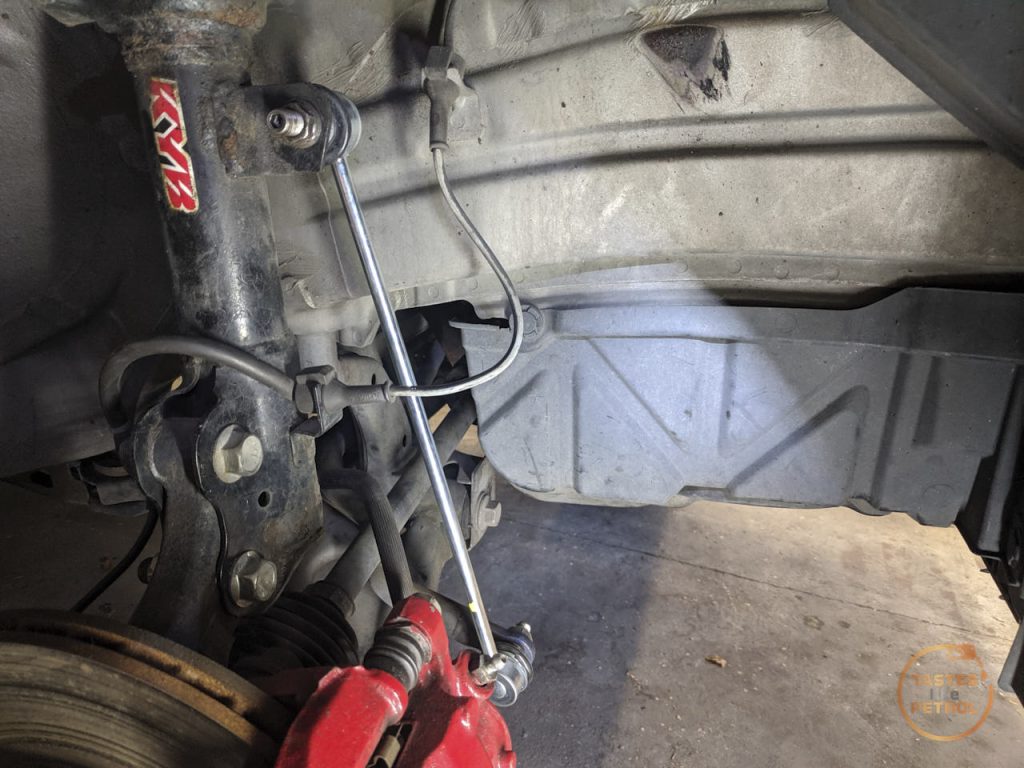
Since the links were off, and I had new ones (because I had previously noticed that the old ones were stuffed), I replaced those too.
Unfortunately the nut on one of them was stuck and someone had stripped out the hex in the balljoint (not me)

So out came the spinny death wheel, which made quick work of it.


And the new links went in with no issue. I did have to source a new nut from my stash though, as genuine links don’t come with new nuts (!).
With everything tightened up, and the wheels back on, it was test drive time.
Immediately you could notice the mount was stiffer. At startup and idle there is a noticeable vibration in the cabin. Not horrible (like my Integra with solid mounts), but it’s there and causes a couple of small rattles. Once the revs are above idle though, the vibration is gone, and boy does the mount make a difference. There is no backlash in the engine coming off throttle, and gear changes are even more direct (they were already bliss). Everything just feels more solid.
I’ll live with the vibration, it’s just part of having a road going little track toy, but A+ definitely worth doing so far.
Finally, one last small change. I finally got the courage to add a third stage to the boost controller. I know from information about what the previous owner did, that the car used to have three settings programmed by CADCARS on the boost controller before it was exported, “comfort mode” – 14.5psi, “circuit mode” – 18psi and “mountain pass mode” – 21psi. Stock boost is 8psi, and that could be achieved by turning the boost controller “off”.

I’ve had it set so A is stock 8psi, B is 14.5psi and C wasn’t set. Since I was confident the car was happy on 14.5psi, and knowing it previously ran up to 21psi without issue (I’m not going to push it that far), I finally set C to 18psi and holy moly, I thought 14psi was fun!
Accelerating through the gears to 100kph is pretty rapid, but the real fun is around town, where you can just rip around like a madman, whilst still under the speed limit. Coming out of corners, second gear, 18psi, with the LSD gripping like crazy, whilst doing 45kph, leaves you with a massive grin.
AFRs seem happy, although intake temp does climb pretty quickly, indicating the little spooly boi is getting pretty close to its limits for not just making heat. Thankfully the massive Greddy intercooler recovers quickly and the temps drop back as soon as you’re off boost.
Right, I think that’s about it for now… *opens Yahoo Auctions Japan*