I’m ticking off things on the to-do list, getting ready for its WOF check. Someone had made a mess of the rear seat hinges, so that’s where I started.
It might not be a Warrant issue, but having a rear seat back that doesn’t lock into place properly, or even fold up and down properly is a bit of a pain.
The previous owner supplied the car with replacement hinges for the seat, so that made life a bit easier.
First step is to remove the side bolsters. Once again, push down the on seat base below the bolster, and you can feel around for the small Philips head screw. Remove that, push the bolster upwards and out it comes. Bad flashbacks doing this job, it’s what I was doing last year when I busted my knee.

The seat back is then held in with a couple of bolts per hinge. They are a T40 torx


I removed the whole back section from the car.

I don’t know what happened to the hinges but someone had Hulk Smashed both of them. I presume the hinges may have seized.


It even went so far as to bend the mounting plates

The hinges are held to the seat back by four large Philips screws. Use a BIG bit on these so you don’t strip them. Mine were all loose, but they shouldnt be. To access the screws you need to pop some clips for the seat back trim.


Replacement hinges fitted. I thoroughly lubricated these before fitting to make sure they were nice and free, and shouldn’t rust or seize. This is how they should function. They are a bit over complicated because they lift the seatback upwards when you fold it down.


With the hinges in place I set about cleaning the rest of the rear seat area. The seat base just lifts up from the back as it has two hooks in the front edge There was a fair bit of dirt, grime and rubbish under the seats.

There is also zero doubt now that this car was at one point in its life a Moonraker Blue car, not original black. Not a big deal, but interesting.

With all the gross vacuumed up, I refit the seat, including the original head rests.


I hate refitting the bolsters, but found that they were easier to refit with the seat back folded down.
Since the car was in the garage out of the sun and I was on a roll, I decided to move on and tackle the tailgate release, which was missing

Once again the car came with a couple of spare parts to fix this. It wasnt a simple as just popping a new tailgate lock assembly in place and calling it a day.
First I removed the number plate lights and tailgate garnish. Just a few screws


One of the plate lights was really on its last legs. The connector was literally held together with one strand of wire


The previous owner taped over the tailgate vents because the exhaust design lets fumes in. Half the vent flaps were just floating around in the tailgate. I removed these vent flaps and stored them safely for when I change the exhaust.


The old tailgate catch was looking worse for wear. Someone had also tried to remove it and butchered the screws. Both were jammed and stripped

During test fitting I couldn’t get the release lever to engage with the old catch. I’m presuming the old one is worn out, and maybe why it was all in bits in the first place
Its bit of an average design. The white plastic bit just pushes again a tab on the catch to release it

When the key is inserted and turned, it slides the rusty bit on the left across and engages and disengages the handle from moving the plastic bit.
I removed and replaced the catch with the replacement (whilst reusing the original screws which with some copper grease still work fine), and refit the lease lever assembly. It is secured to the tailgate with a pair of M4 nuts and washers. I didn’t have the originals so found some substitutes.

Now the catch and lever works properly, but unfortunately the key is a different key. I don’t have the original lock (or not that I could find) or I would swap the lock barrels. If I happen to come across it I’ll swap them over. In the mean time it just means I have two of the same key on my keyring. It’s also missing the central locking solenoid, which I may sort later.
Whilst refitting I cleaned the number plate lenses and fit some LED bulbs like I fit to the EFI. The wire got a new terminal crimped on it.


The car is getting more complete by the day.
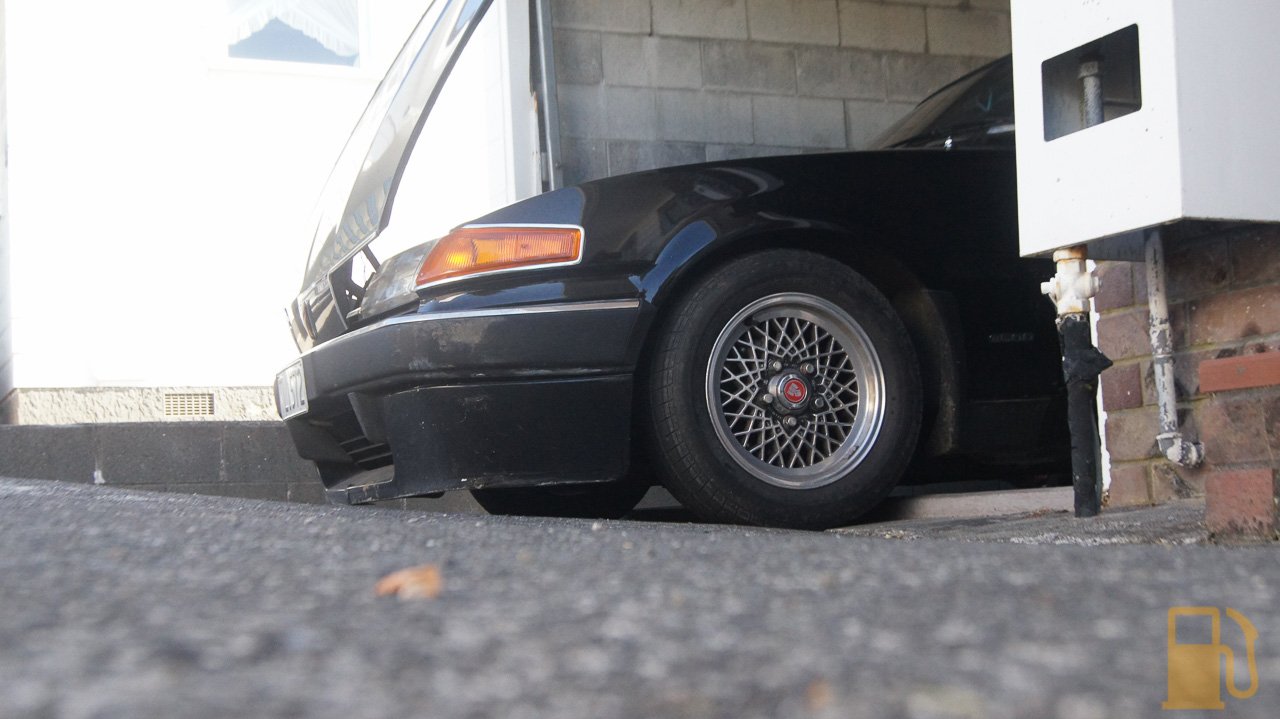
I did notice one slight potential issue for the future


It JUST makes it to the entrance of the garage, but I havent tried to see if it clears the bump at the garage entrance yet. I might need to use some planks to get it in without slamming the spoiler. I’m not overly enjoying this low life, too much caution.