
The final task on the original Rolla was to stick the Carib suspension into it, and basically revert it back to the car as I bought it, but slightly better.
As mentioned in my last post I had removed all the suspension from the Liftback to swap into the Carib, and left the poor little Liftback a hovercar.
Well, over the past couple of days I have been working hard swapping the old Carib suspension back into the liftback so it can return to being a driveable, functional car again.
It’s a pretty straightforward job, made only slightly complex by having to wrangle a bunch of bits up and over the exhaust. Completely doable solo though, with a little creative thinking.
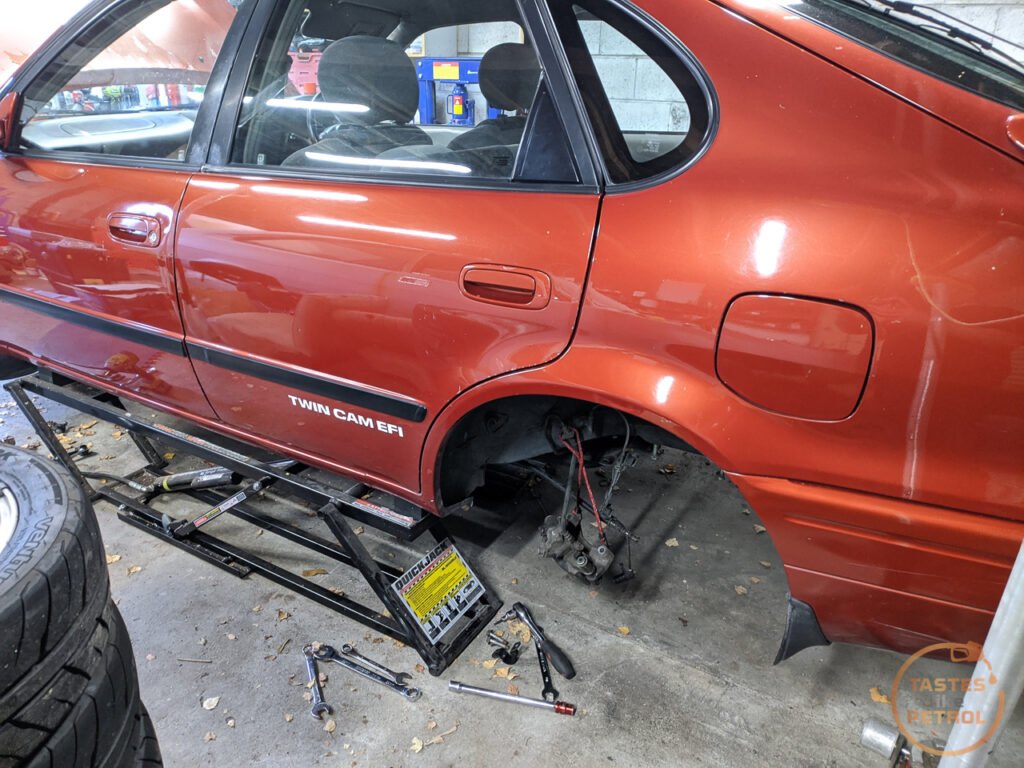
I started on the rear, as that was always going to be the harder of the ends to work on, since there is a lot more to it, and a bunch of the work has to be done from under the car. The hardest bit was getting the lateral links mounted on the subframe, since they had to be left attached to the knuckles (as inevitably the lower bolt will be seized and its a prick to free it up) and the bolts cannot be fitted with the subframe mounted due to the proximity to the fuel tank. Some creative use of the jack to lift the knuckle up, got the bolts through the subframe and the subframe mounted.
Before fitting the struts I did need to replace the RH rear strut as it failed its WOF for leaking, which it certainly was; it was covered in oil. I ended up removing the spring and transferring the spring and top mount over to one of the shocks that originally came out of this Corolla (good thing I’m lazy and hadn’t been to the scrap metal yard yet). Then it was a case of mounting the two struts at the top and swinging the knuckles into them.

Before I was done with the rear suspension, I had to fit the rear calipers. Another WOF fail was that there was a horrific imbalance, with the RH rear brake only having 30% effectiveness. Upon splitting the caliper from the bracket, it was obvious why.

A twisted and torn boot, and signs of moisture around the piston. I wound the piston out and removed the old boot. Behind the piston was a bunch of really old grotty fluid.
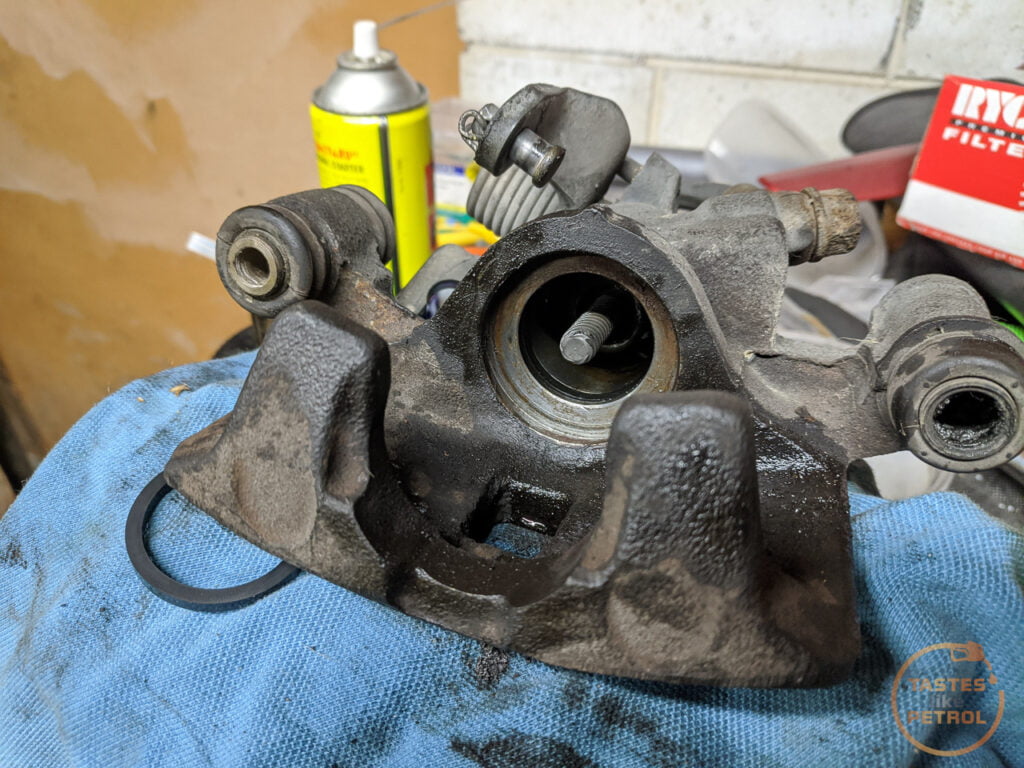
The piston was manky as, but cleaned up well. No rust or pitting. It might be stainless?

I removed the old piston seal and fit a replacement from the kit and after lubricating the seal and piston, carefully wound the piston back in.

Next was to fit the new boot. I left the piston out a little and slipped the boot over the piston first. I then used a tiny flat blade screwdriver to carefully push the boot into the recess around the opening for the piston. This was followed by the spring clip, making sure it seated properly. I wound the piston out a little further to check the boot had seated correctly.

Once the piston was wound right back in, the sliders greased, and the pads had some copper grease applied to them (they had been fitted dry previously and were almost jammed solid in their bracket) the caliper was done.
The other caliper was in much better shape, with only a tear in the slider boot.

So this was also replaced with a new one. Who knew one caliper kit could do so many calipers, albeit bits here and there.

All that was left was to fit the calipers to the rear knuckles. The last WOF fail for the brakes was to swap the brake hoses for the ones from the Liftback as the Carib ones were cracking.

Moving onto the fronts, this went a lot quicker. It worked out at a smidgen over 5 minutes to install the strut, and mount the knuckle, per side. This is quite simple in comparison.
The front calipers were in decent shape, with only the same issue as the rear pads; they had been fitted dry and were jammed in their bracket. That sure as hell won’t help the braking effectiveness.
The only catch was that on the LH front hub I had bent two of the studs trying to remove the hub nut. This meant a quick trip in the rain to Pick A Part to grab a couple of studs from a donor there.
The old studs were a little tweaked

Compared to a replacement stud

I used the same method to remove these as I did on the other hubs when I fit the longer studs. A balljoint press to remove the stud, and an open ended nut to pull the replacement through.
With the replacement studs in, the rotor went back on and the front calipers were fitted.

I used a hand vacuum bleeder to suck fluid through the calipers, which worked fine on the front, but for some reason the rears had nothing coming through. I removed the bleed nipples to look further into it and sure enough, both rear bleed nipples were completely blocked with rust.
I spun them up in the drill and ran them against a wire brush until I could see where the hole should be.

And then cleaned the hole out with a pin until it was clear
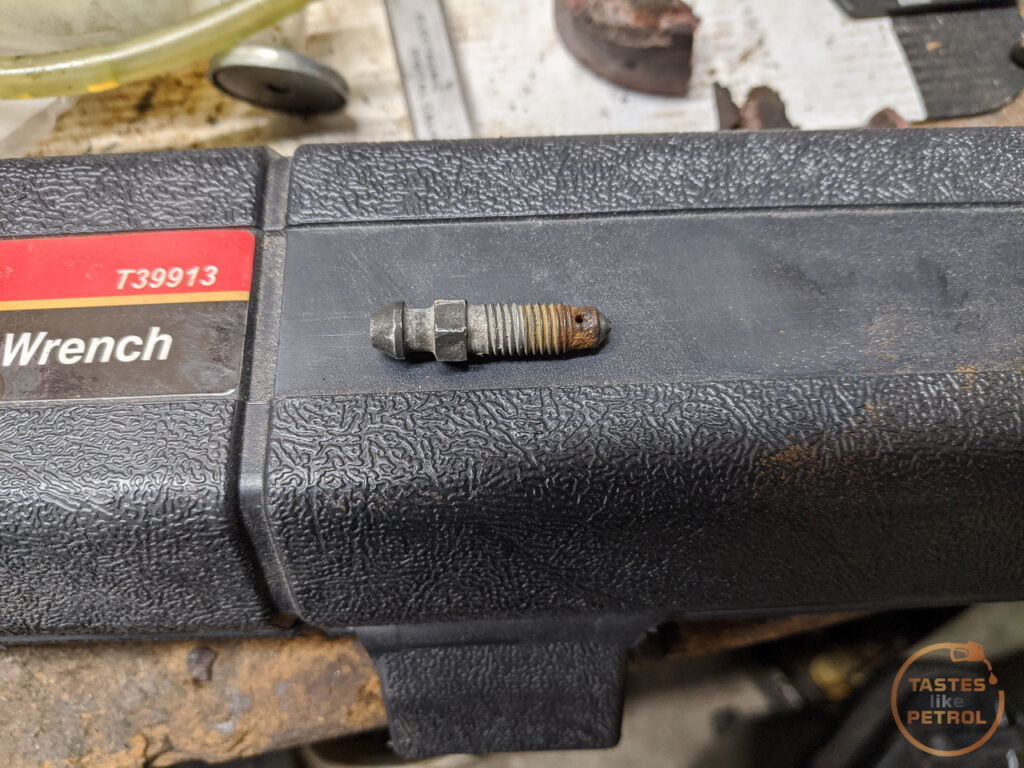
The actual sealing surface of them was perfect, but I suspect these brakes haven’t seen any maintenance in a few years.
Fitting the bleed nipples, I finally had fluid coming from the rear brakes. After bleeding all the brakes, I had a good pedal and a working hand brake.
The only thing left to do was to back the car out of the garage, give the wheels a quick clean (it didn’t help much, the brake dust is well baked on), and go out and take some photos.

The photos were so I could list the car for sale today. Hopefully in about a week I should have a buyer for the car, and it will be on its way to a new home shortly after.


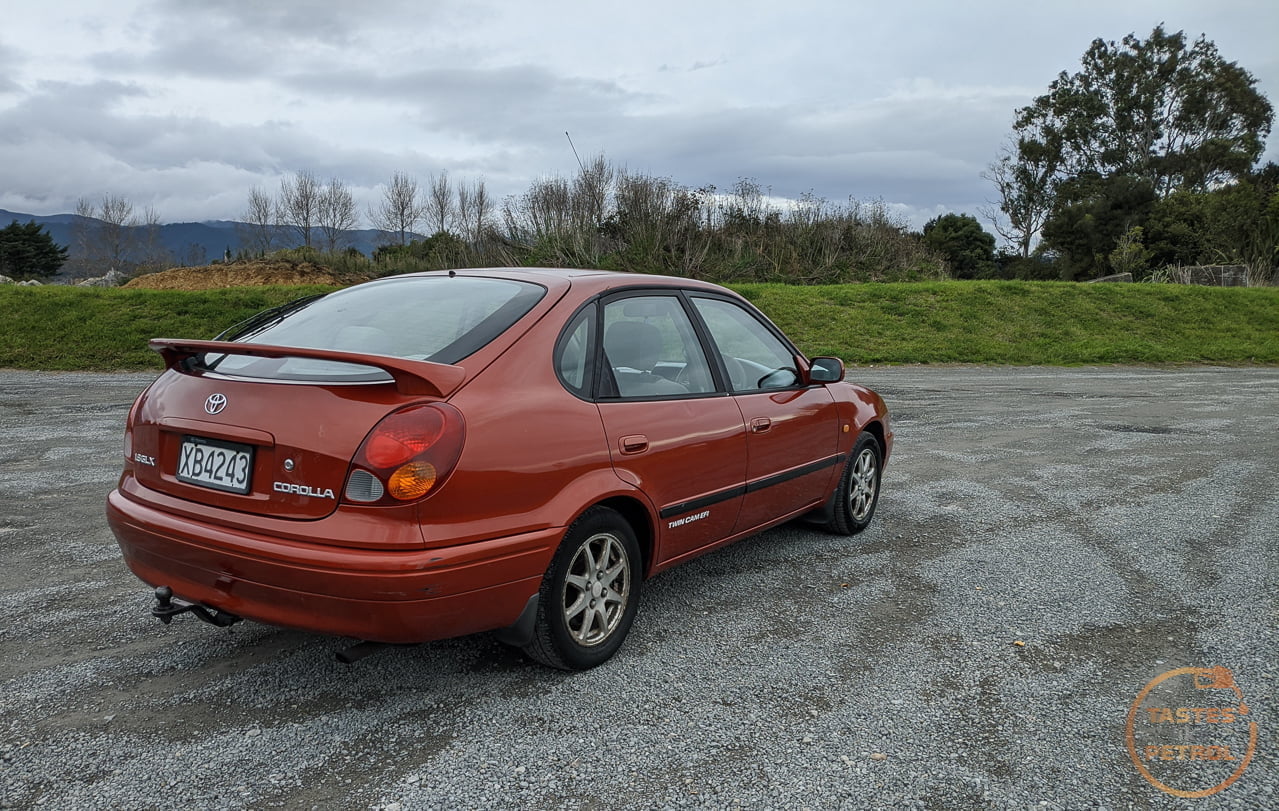


Even with the worn-out old Carib suspension in it, it drives better than it did when I got the car. It rolls a lot, but doesn’t drive like a leaky old boat this time around. It’s a much better car than when I got it, even if it’s kinda back to standard now.
Not even kidding, I will miss this car. I forgot how fun it is to bash around in it until I was driving it to take these photos. It’s a great little car, and it will hopefully do someone well as cheap transport.
I just have to hope the Carib lives up to the little Liftback. I’m sure the 4AGE should keep me entertained.