After a little more work to get it ready, it was time for Nuggie to venture out of the garage and onto the road, for the first time since at least 2012.
The first job was to torque up the hub nuts and stake them. I jammed the brake pedal down, and then torqued them to the required 200NM-and-a-bit-more (the spec is 150-260NM). I then used a punch to stake the nuts so they can’t come loose
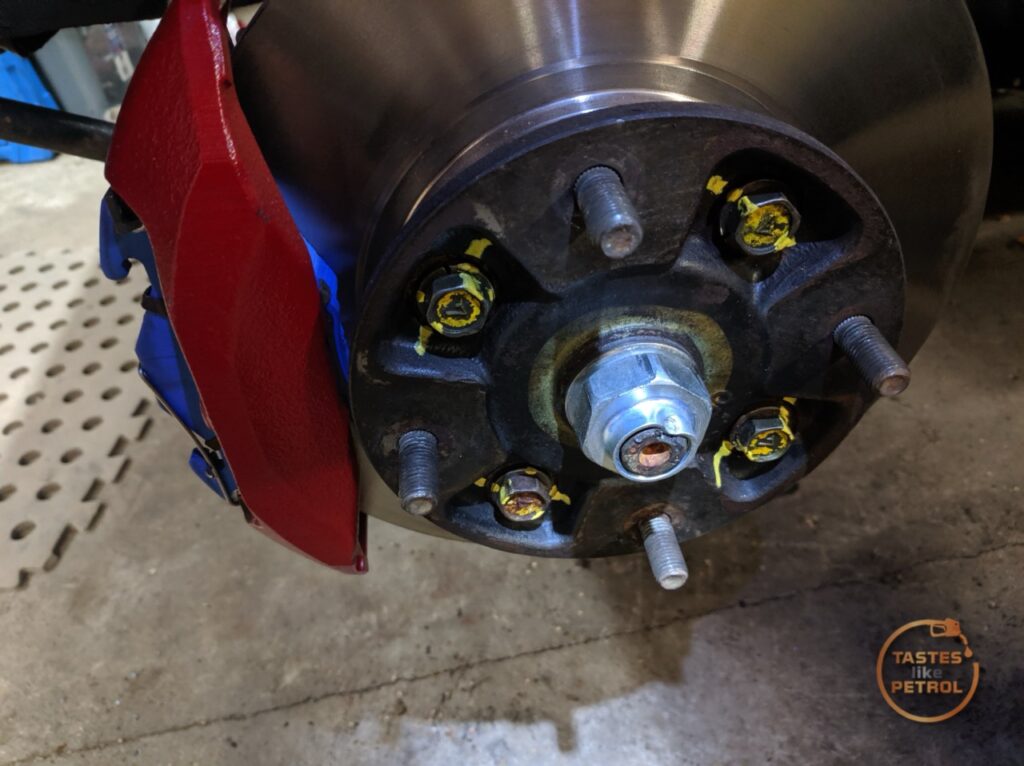
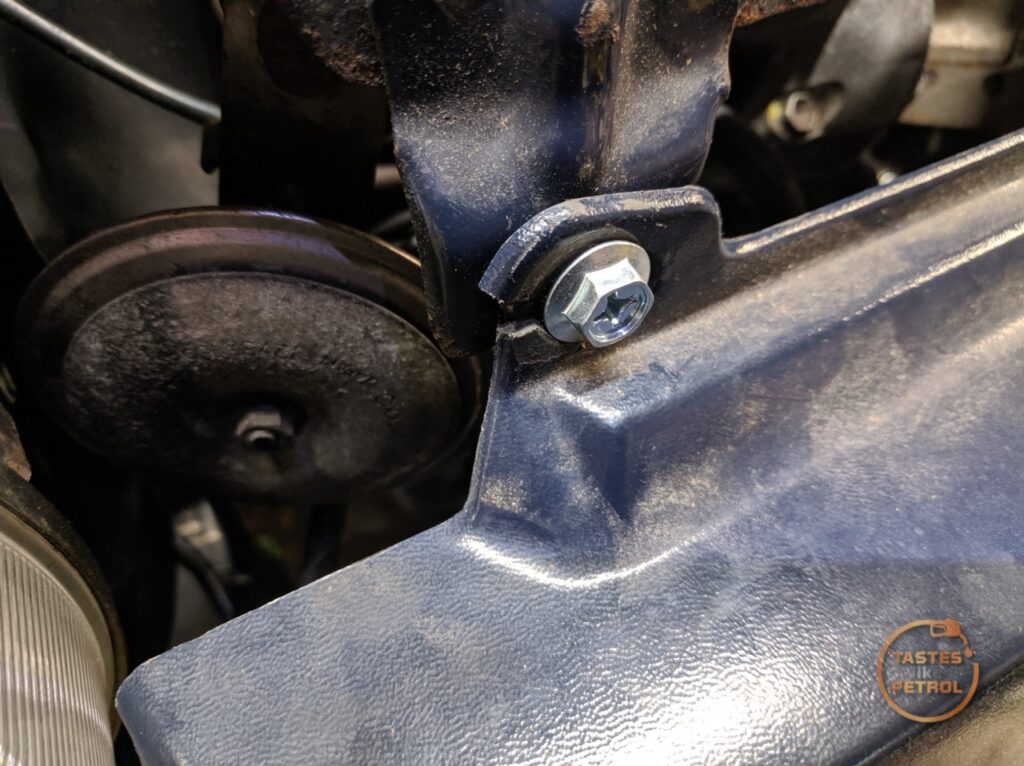
Whilst there, I also jacked the hubs up and torqued the swaybar end nuts too.
Another quick fix was fitting three new wiper blades. One of the front ones was missing, and the rear was perished. I went with 450mm and 350mm for the front, and 350mm for the rear.
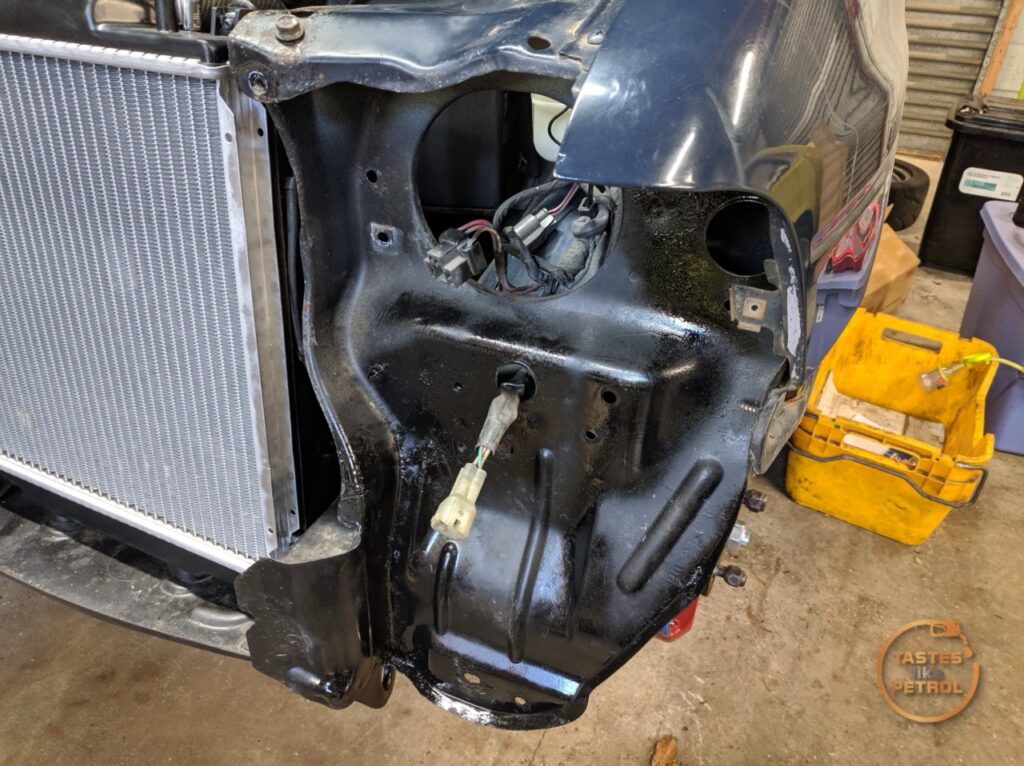
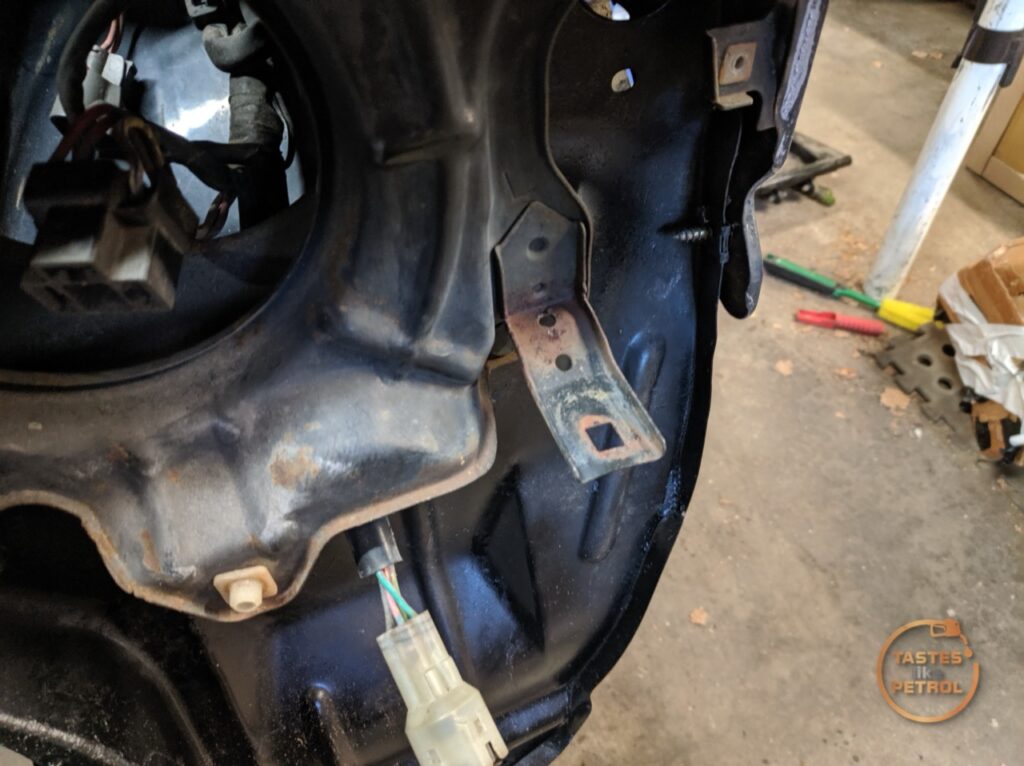
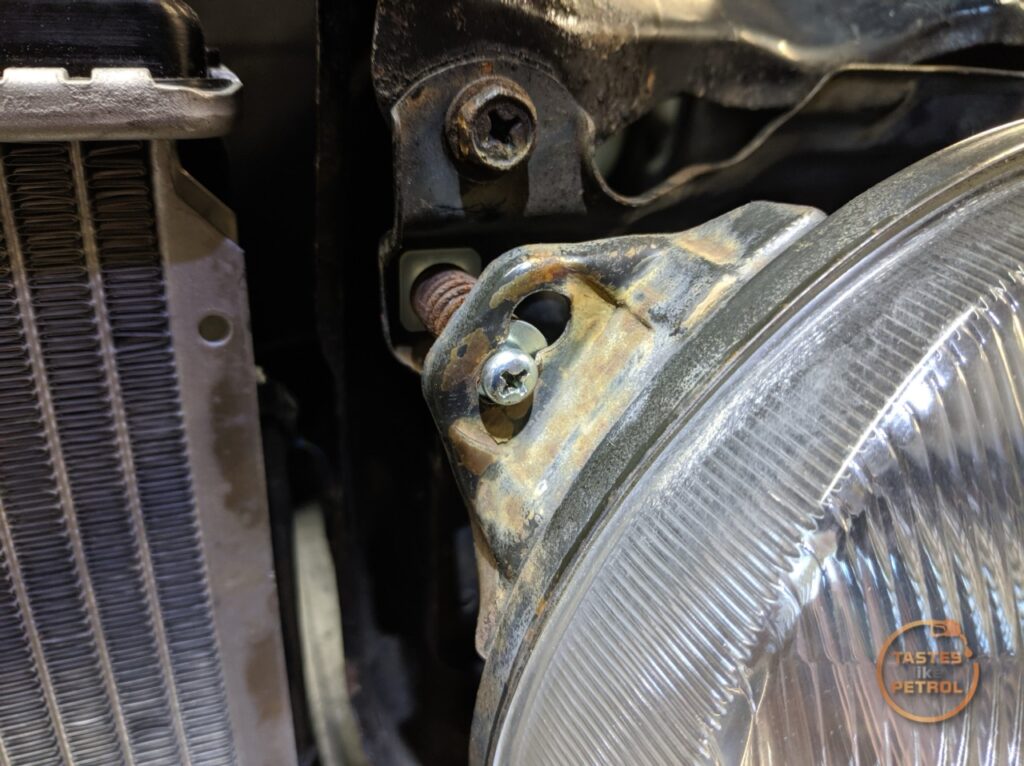
Moving to the headlights, I wanted to remove and replace the brackets that the light units attach to. The RH side was OK, but the LH side was rusty, and the corner garnish was holding on by hopes and dreams
As it turns out, the dreams were dashed, and the bracket came off with the garnish when I removed it

The bracket is held in with one bolt on the slam panel, one nut in the engine bay, and two more nuts inside the wheel arch (liner needs to be removed or the front loosened). With it removed, I could wire brush the surface rust and give it a quick shot of black zinc
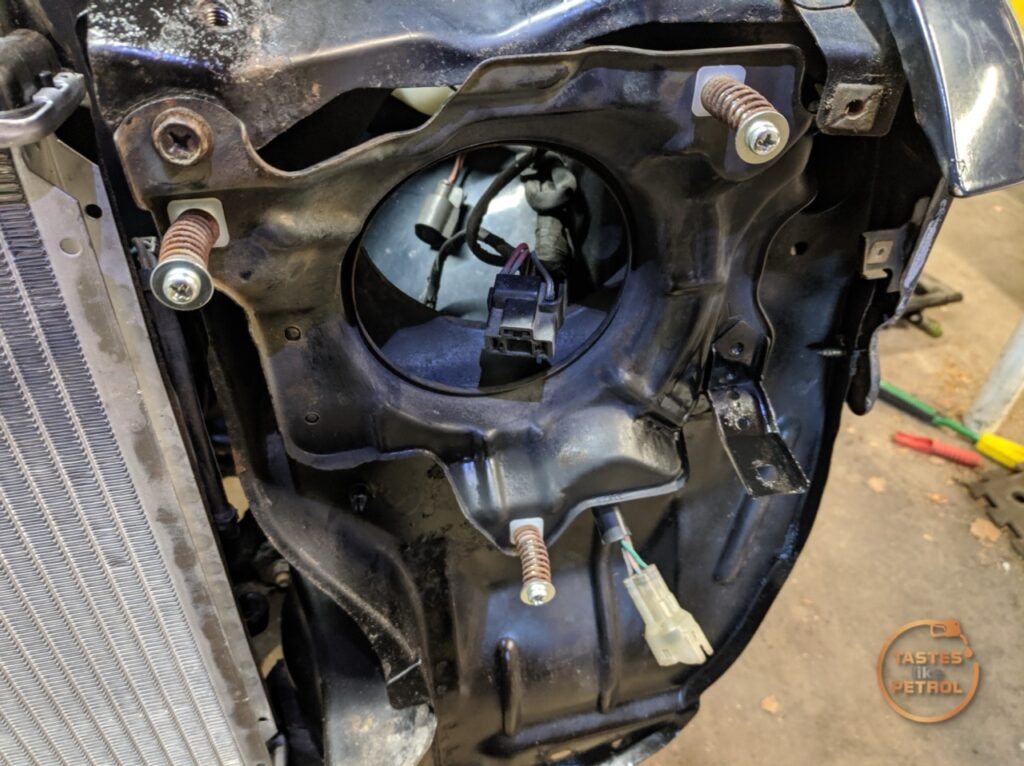
The new bracket was then fitted into place, without the lamp or its mounting hardware. The bracket for the garnish is on the bottom right, sticking forward.
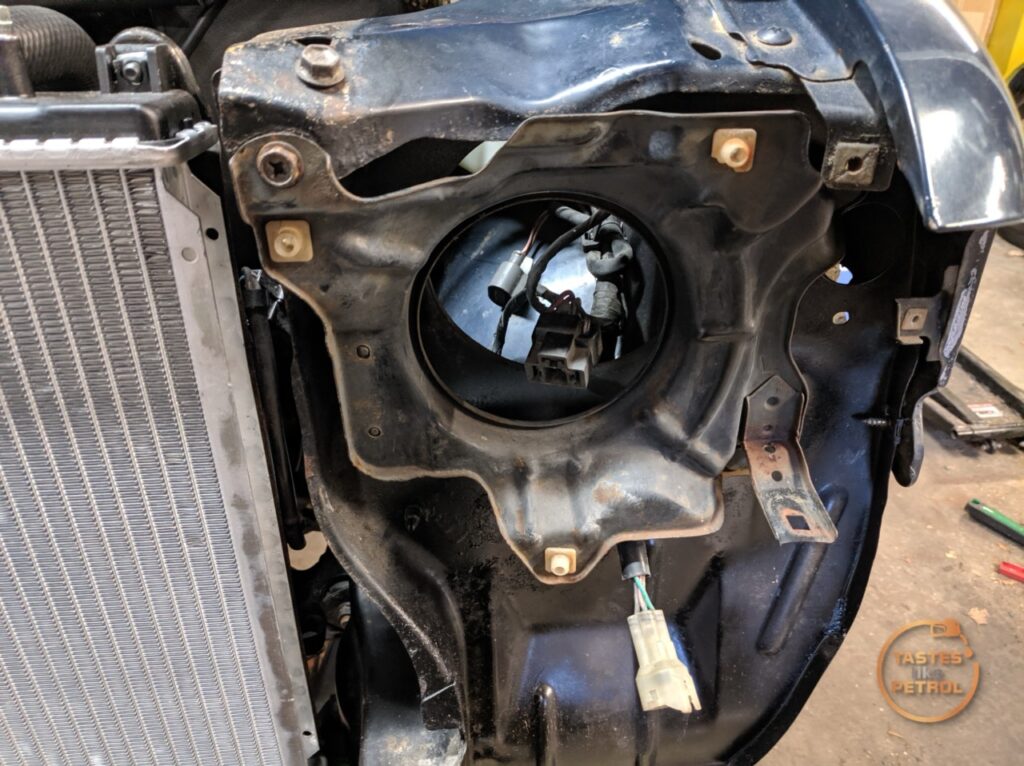
I cleaned the bracket up and gave it a coat of black zinc, to hopefully keep the corrosion at bay. I replaced all the headlight adjustment screws and the plastic blocks they go into. I didn’t replace the springs, and I probably should’ve; they’re a bit ugly.
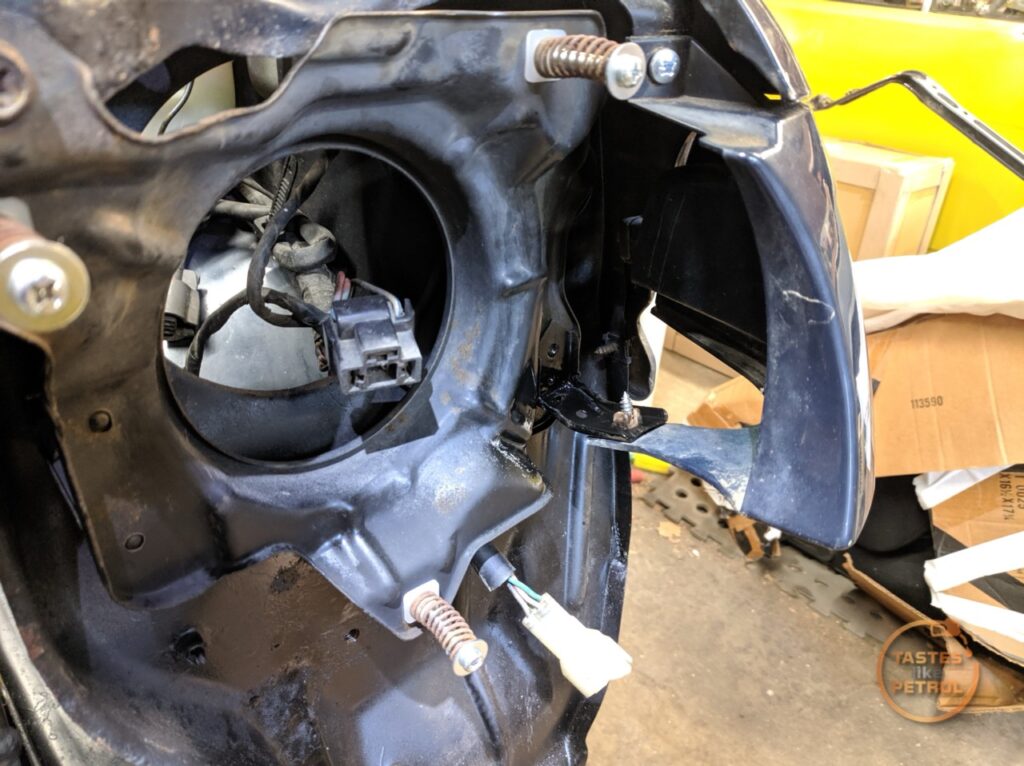
The garnish was refitted. I had to recover the plastic grommet from the old rusty bracket
If the mounting screws are good, the light actually just slips over them and then twists into place. This one on the car was wrong; the washer goes behind the light. There’s no way to remove the light unit to change the bulb.
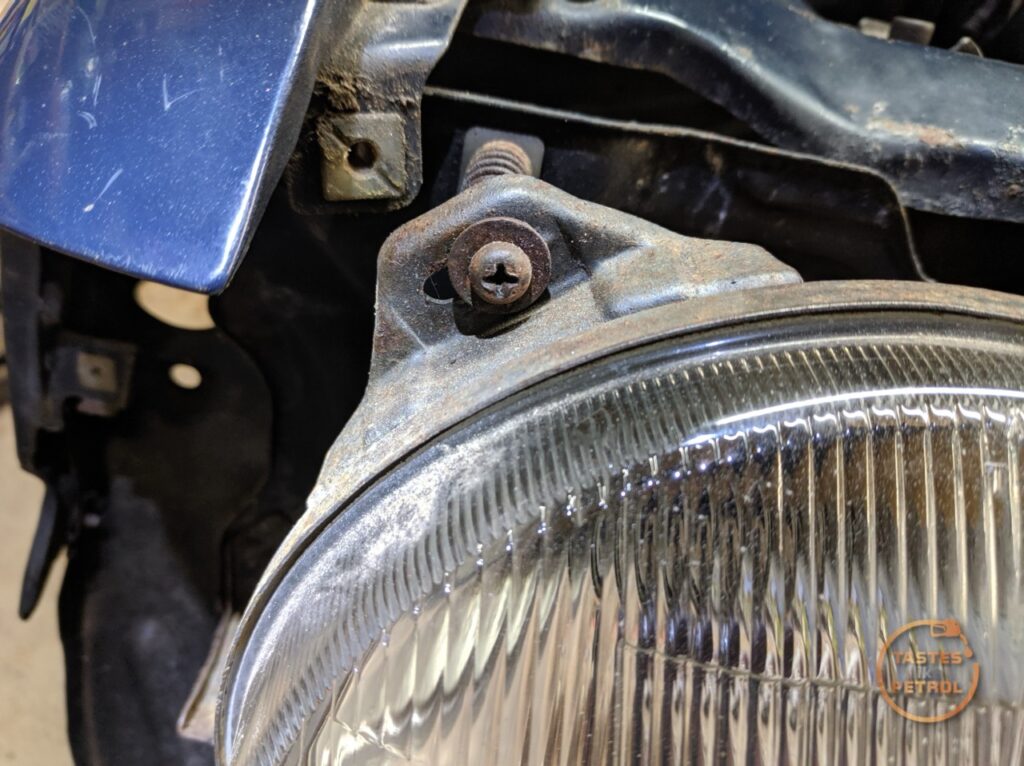
This is the correct fitment
After replacing the other side too, I gave them a quick setup, but I really need to align them before I try to take it for a WOF, at least to get them in the ballpark.
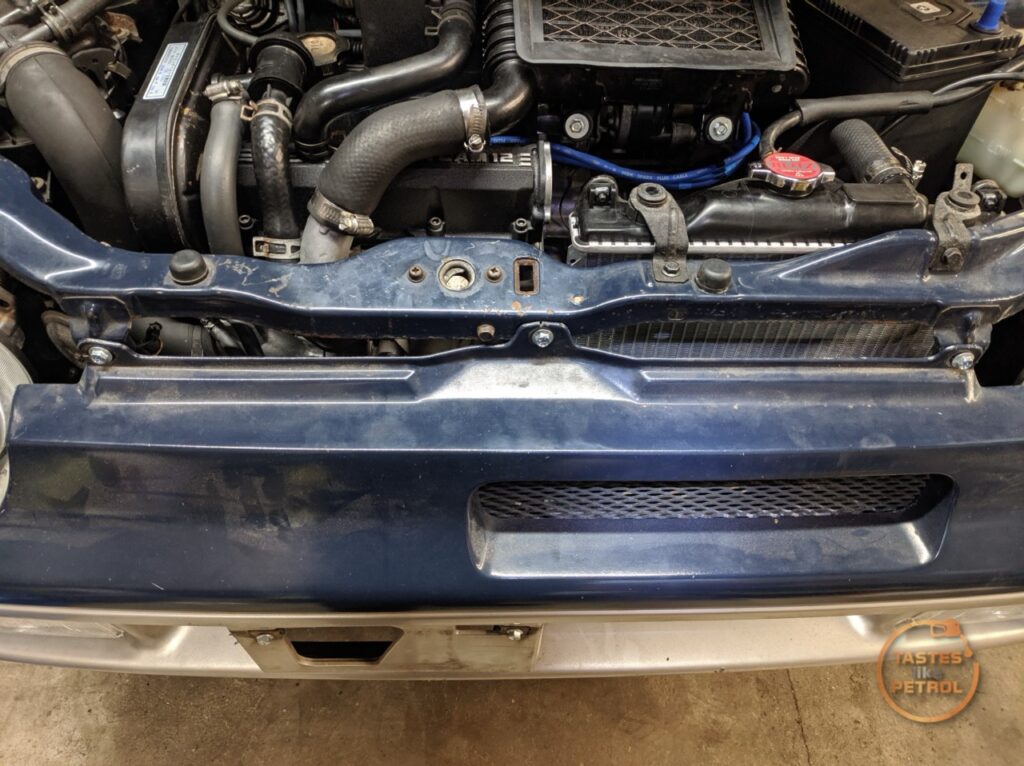
With those replaced, I could refit the bumper, once and for all this time (or for a while, at least)
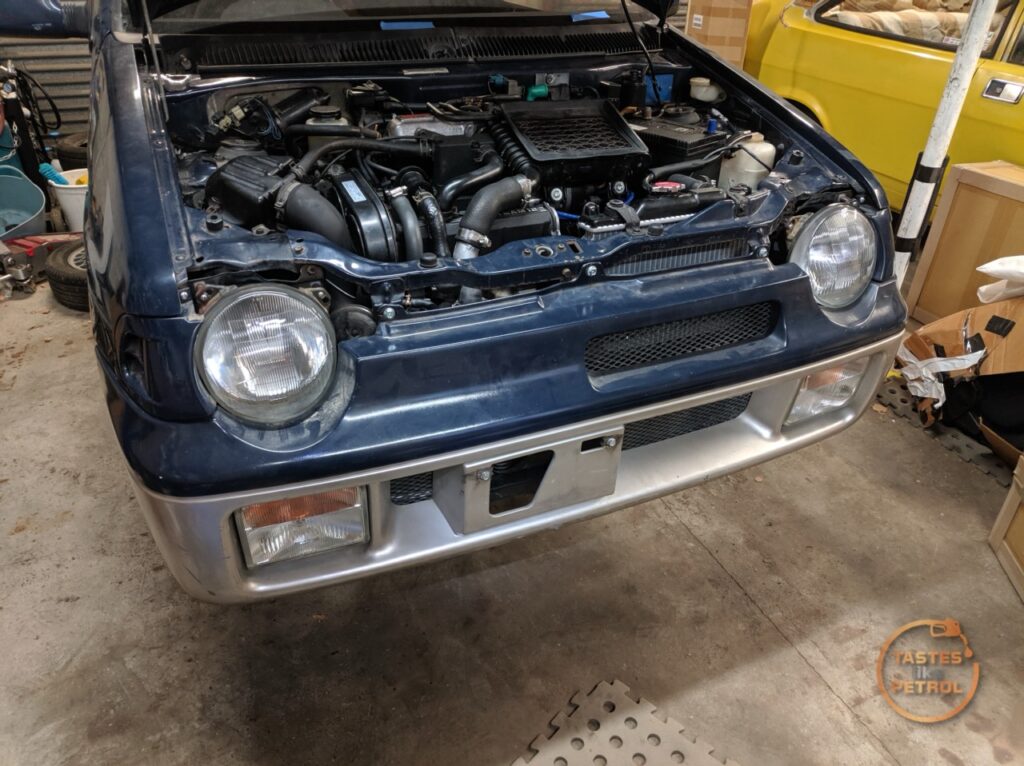
I sourced some of the correct screws for the top edge. These have a step in them, so the head of the screw doesn’t crush the plastic
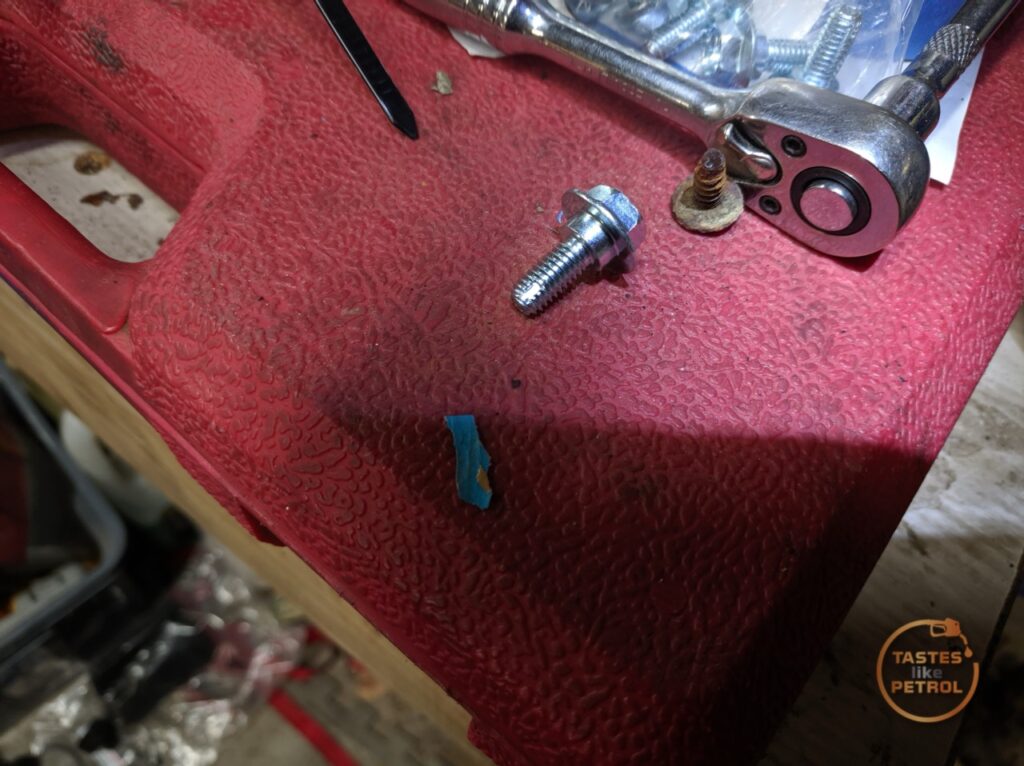
This is what happens when someone has replaced them with normal bolts in the past, the plastic splits
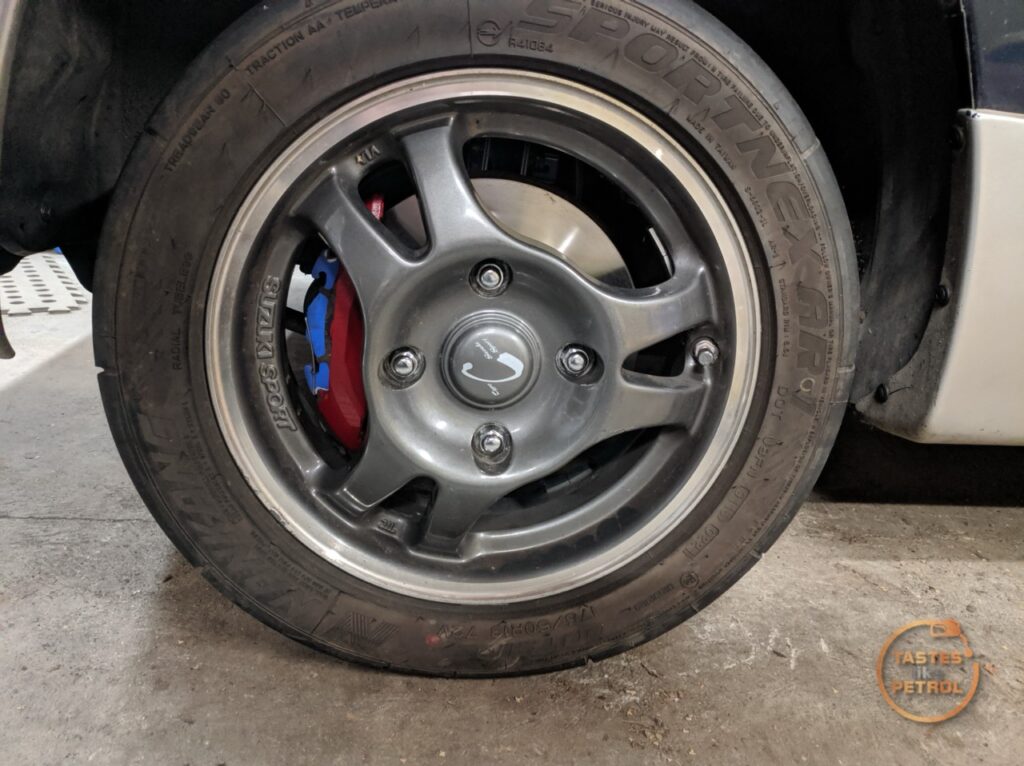
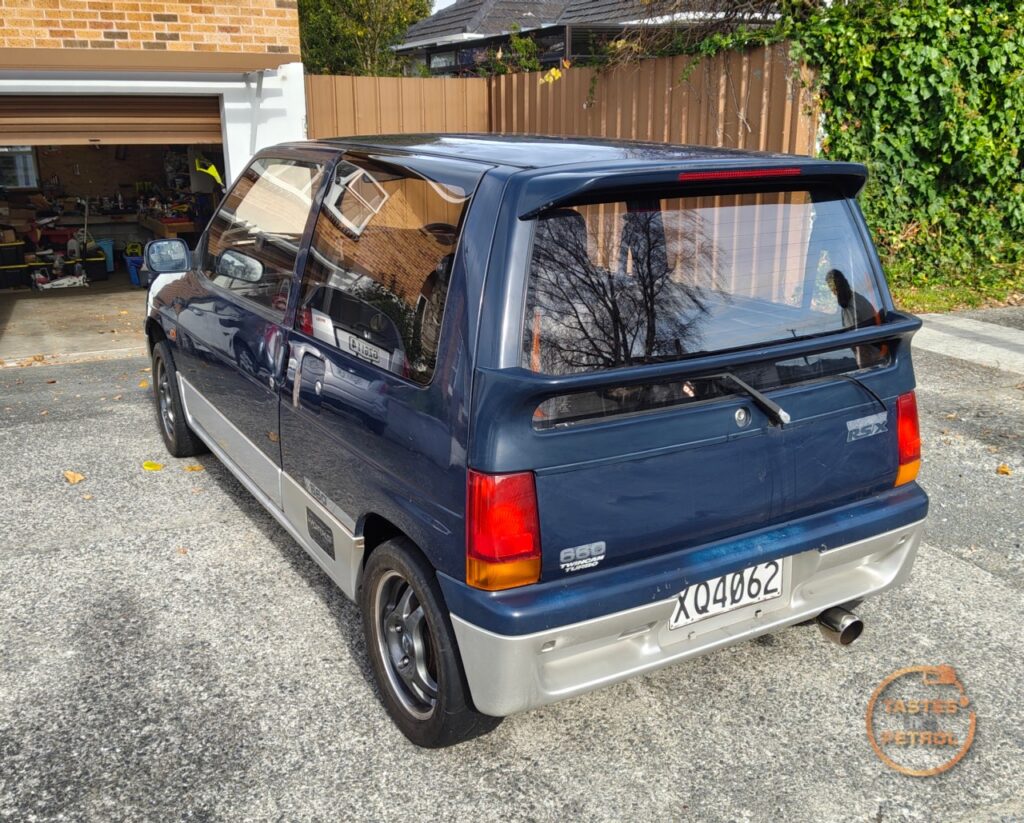
With that done, I could finally install my new wheels and get the car on the ground for the first time since I got it, way back in October.
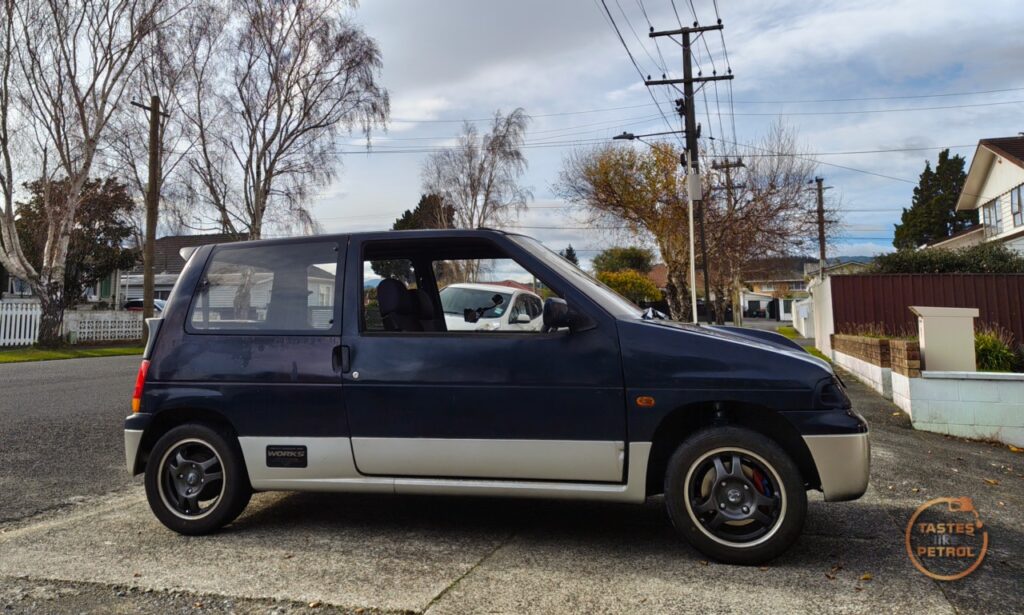
The new wheels came with some Nankang AR-1 semi-slicks. They’re a tad wider than the old 165 width tyres…
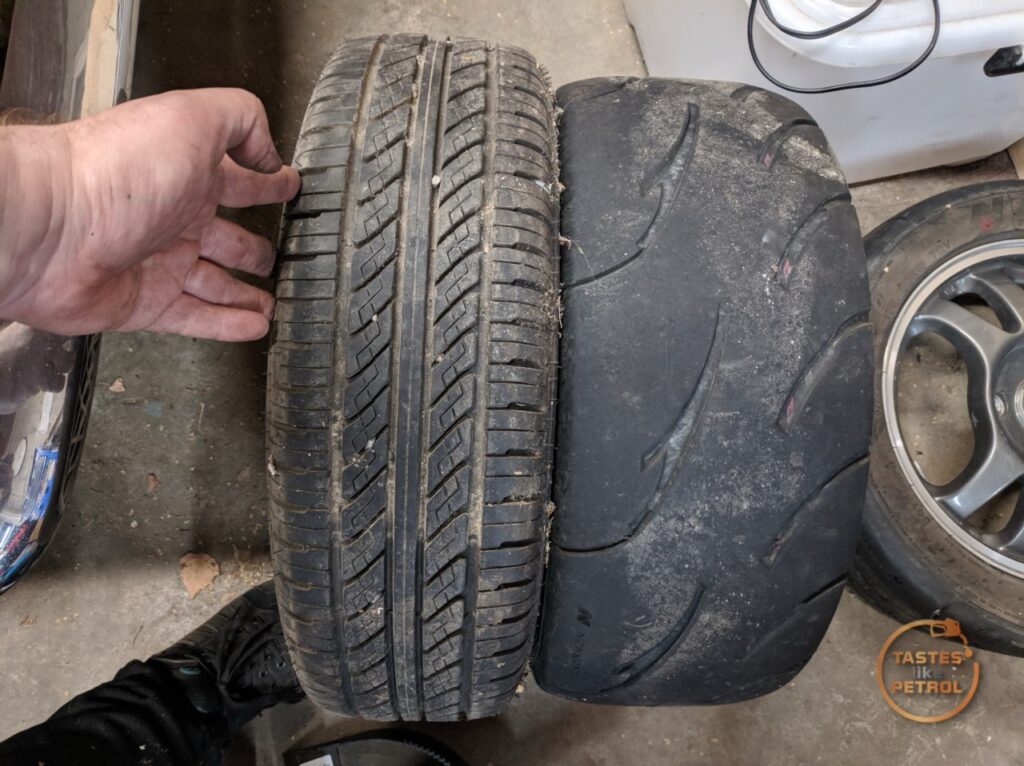
They’ll stay for a bit, just because they’re near new and do the job, but longer term I’ll get rid of them and fit the correct size Yokohamas. The 175/50R13 has slightly too small a profile, and the width is a tad extreme. Not to mention, an 80 treadwear tyre is madness for on the road.
I won’t lie, I’m pretty happy to see it off the stands and on its own wheels
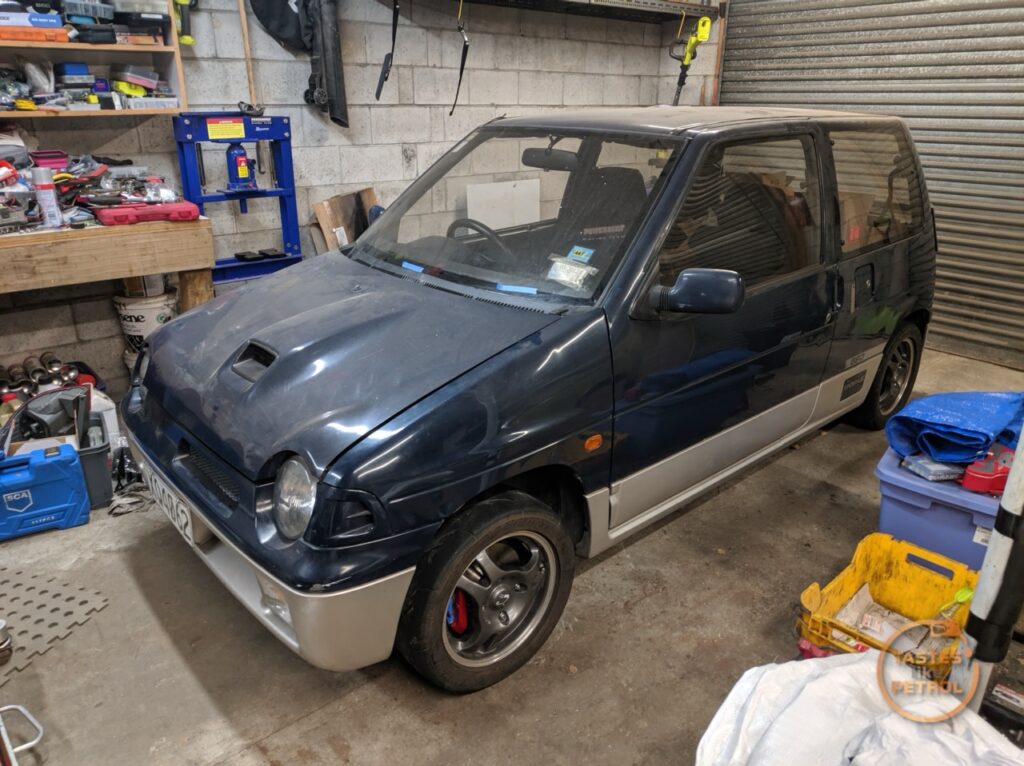
The Suzuki Sport Type-C wheels are perfect for it. I like the original mesh wheels, but mine are in very poor condition.
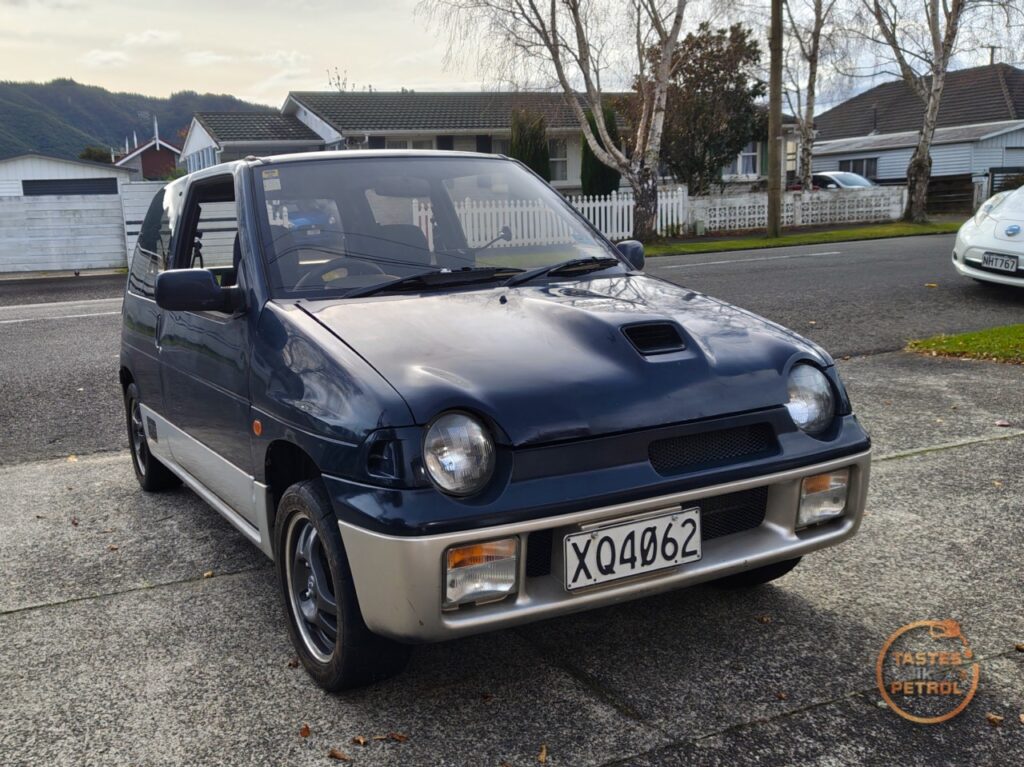
The car was completely covered in thick dust, and still needs a good clean, but I used some waterless wash and got the worst of it off. The glass all got a thorough clean too
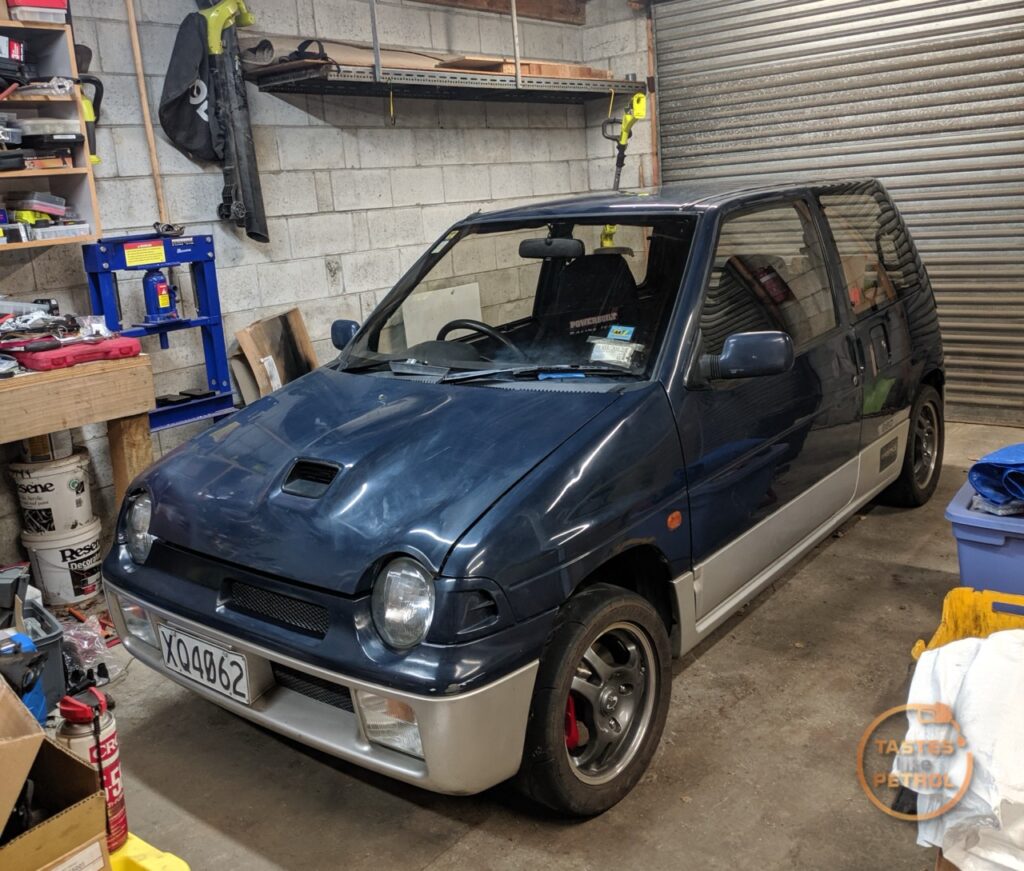
It looks better than it is. I really need to clean it and then give it a machine polish.
This is also the first time the engine bay has been completely together
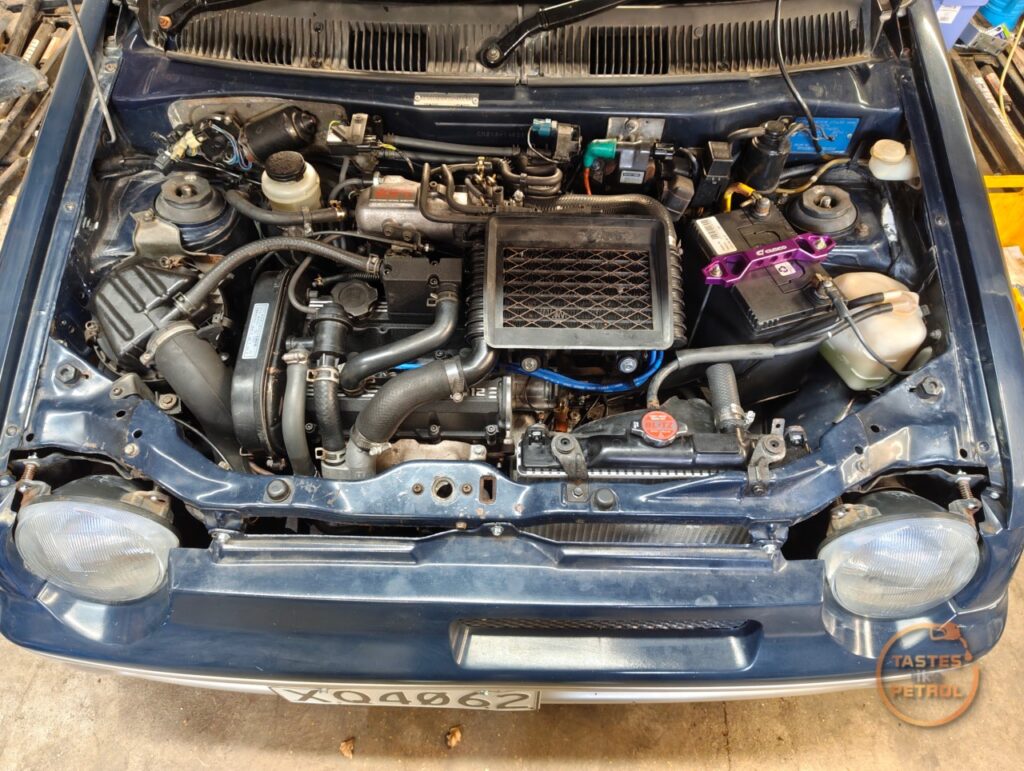
As a small side note, having looked into what the solenoids on the firewall are, one is something to do with the auto trans (only fitted to autos), and the other is the idle up valve for the AC. Neither of these are fitted anymore, so I tried blocking the pipes off to see what happens
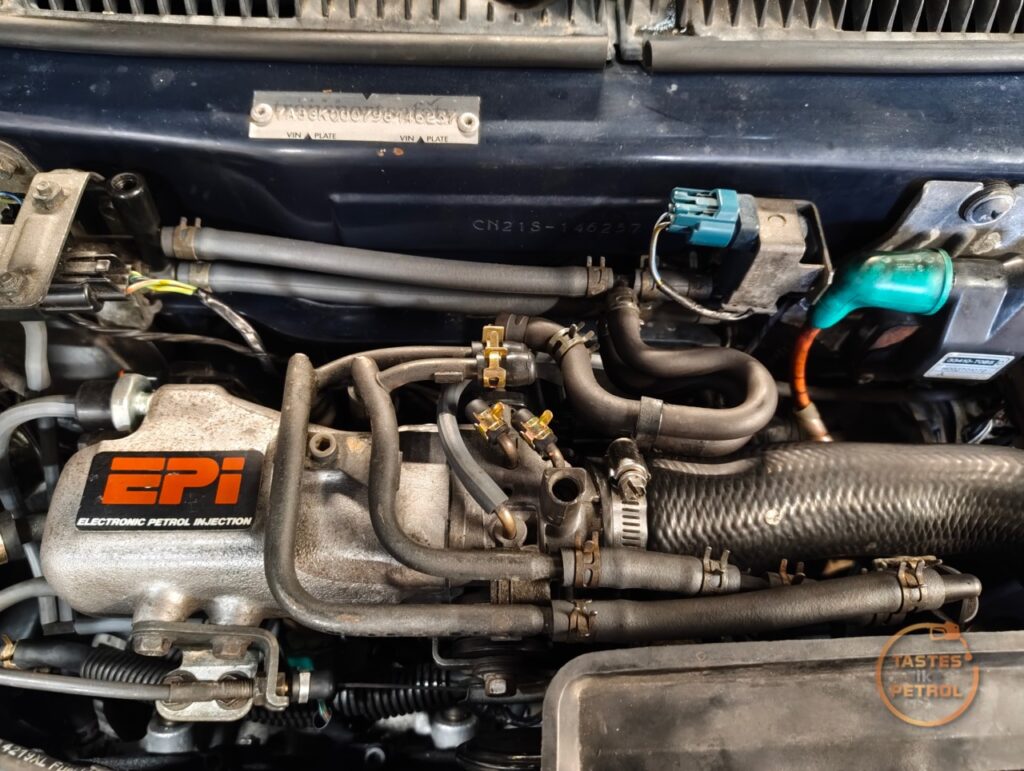
I’m not sure if the ECU will throw a code if I actually remove them, but we will see. So far, the car starts, runs and idles better than it did with them connected. It’s no longer trying to fight the idle up solenoid, and relying on the cold start valve for the cold start idle up, and then the actual idle screw for warm idle – how it should be.
Anyway, I connected the battery, turned the key and away the engine went. Good oil pressure, no noises it shouldn’t be making.
I jumped in, and for the first time, I drove my C-Chassis Alto Works.
Because the engine, brakes and clutch are all minty fresh, I was taking it easy, keeping the revs down and minimal boost (it’s hard, it comes on boost at the twitch of the foot), and lots of engine braking to seal the rings.
Despite trying to give it an eye-lignment before I left, the alignment is well cooked, so the car was a little wayward to drive, but that is an easy fix.
Everything did as it should. The gearbox is a little noisy, but nothing I wouldn’t expect for its age, and it might get better as I use it more – No grinding through. The engine responds well, feels nice and strong, the turbo makes boost, and it makes all the right noises.
I’m very happy with how the initial shakedown went.
Now I need to pull it to bits again, replace the rear arm bushes, give it an alignment, touch up a couple of spots on the body, and then I think we’re ready to go for a WOF and see how badly it fails.
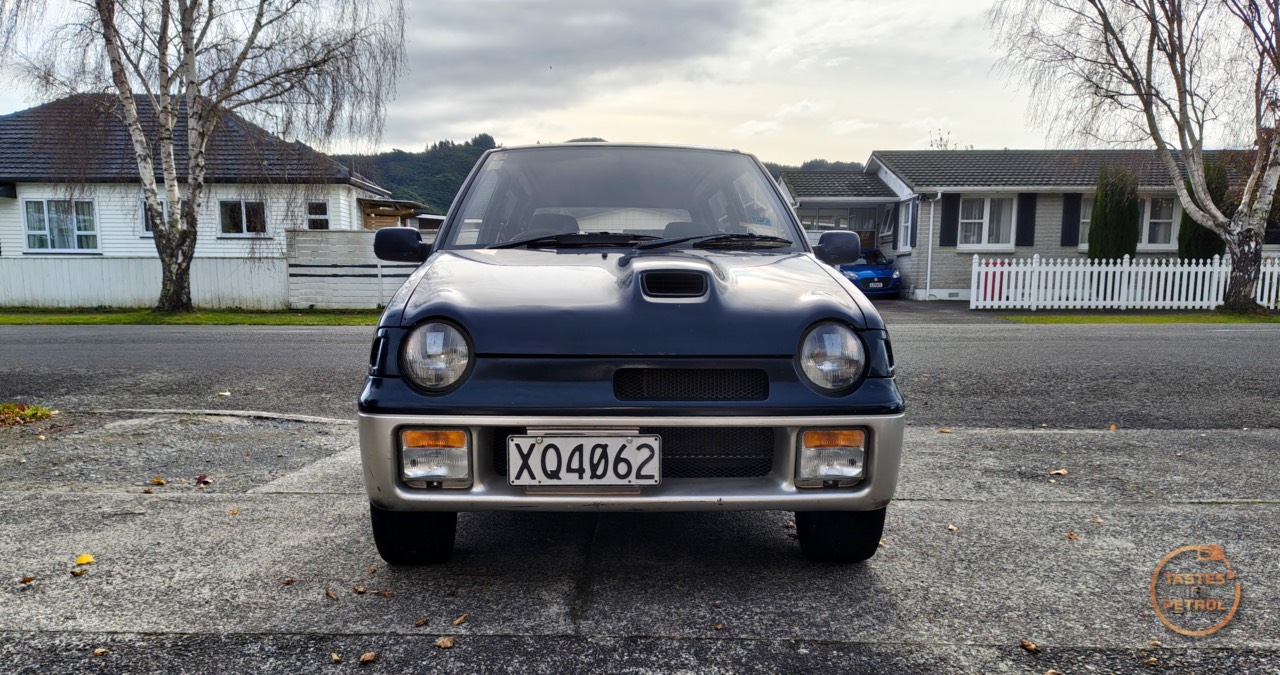
Of course, we got some shots of the car out of the garage. The last time it was out here, it had no engine and was being pushed into the garage.

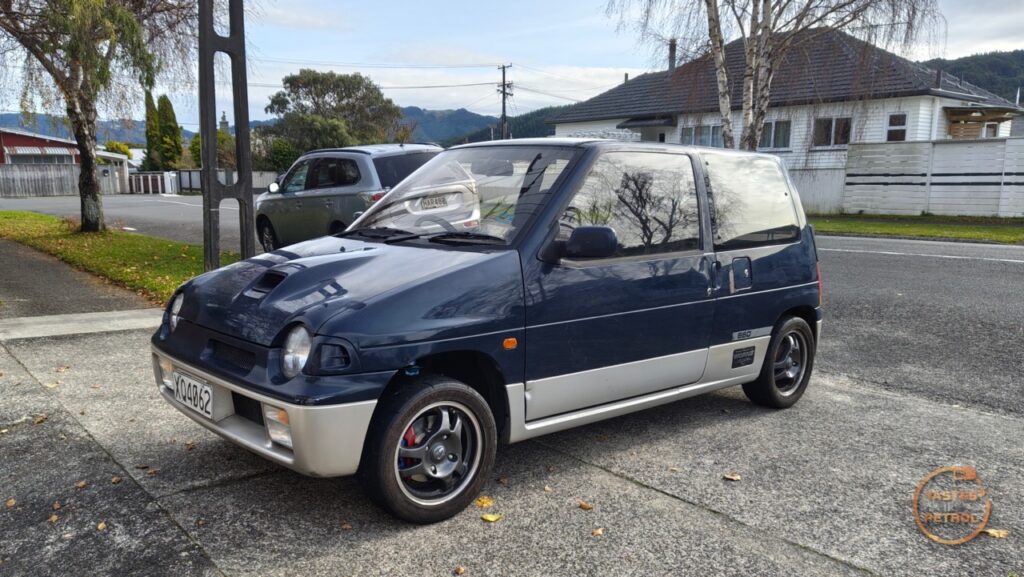
I’m hoping the reverse rake gets better over time. I’m hopeful that it’s because the front springs haven’t had any weight on them, probably since about 2012, when it came off the road. The lower profile tyres won’t be helping the look either, but I can’t do much about that right now.
What a cool wee car.
Excellent, nice work!
That first drive is a combination of elation and trepidation. All the feels.