
Today was a big day, spent turning two average cars into one good one.
I’ve made the decision to keep running this as Project Rolla, as it’s more a continuation of the work I was doing on the Liftback than actually being a full replacement. It’s kind of a body and engine swap, whilst everything else, including the future plans, are the same.
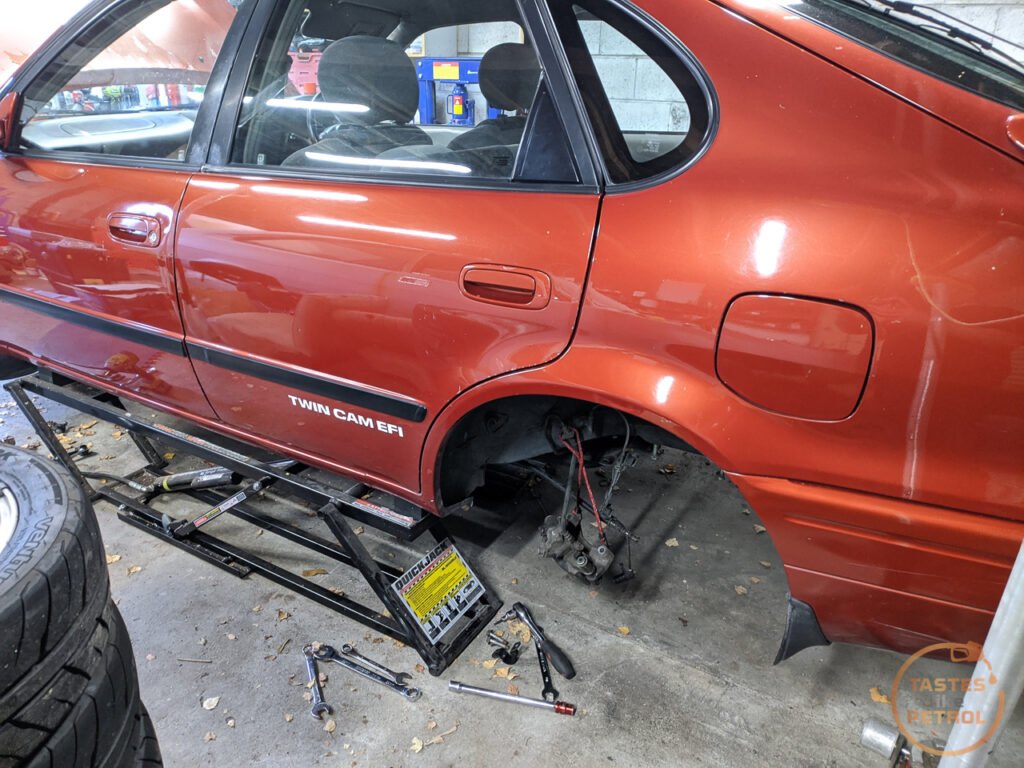
So a couple of weeks ago, as you know, I picked up the Carib and dropped it at a friends lockup. I hadn’t seen it since.
During this time I had been working on stripping the good bits out of the Liftback, ready to transplant them into the Carib.

I’m not sure if I mentioned it, but way back when I did this work on the Liftback I noticed that the lower pivot bolt in one of the hubs had almost no bolt poking through the nut when torqued up. I knew it was tight but wondered if I had cocked up and used the wrong washers or something. No, as it turns out, someone had cut the end off the bolt…

Well, I guess that’s why it was shorter, someone had taken a cutoff wheel to the end. I don’t know why, but I replaced it with a spare I had anyway, to be safe.
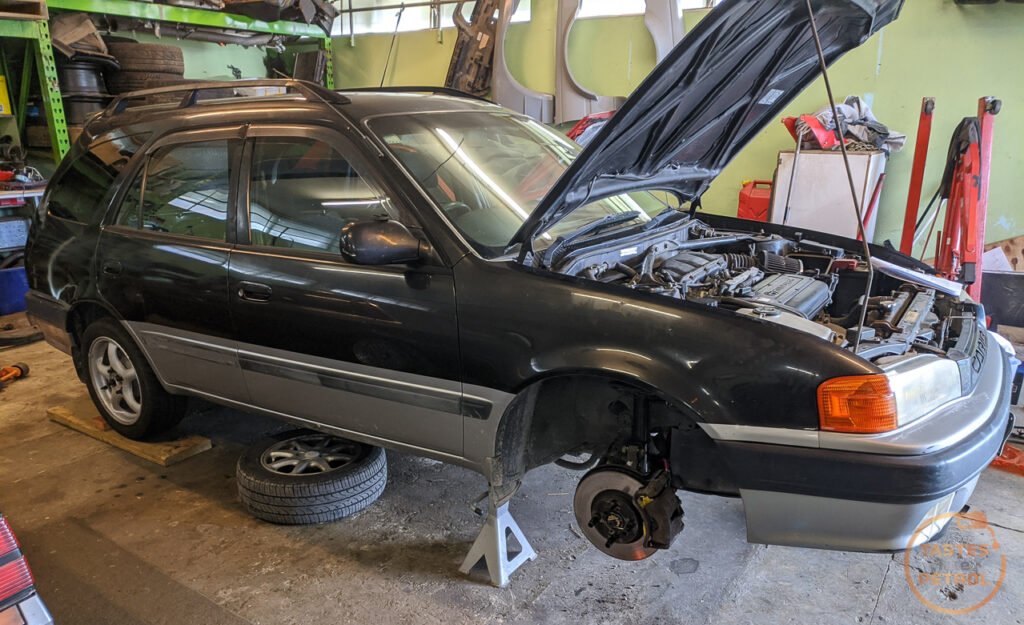
It’s pretty clean under there, much better than the Carib, as it turns out.
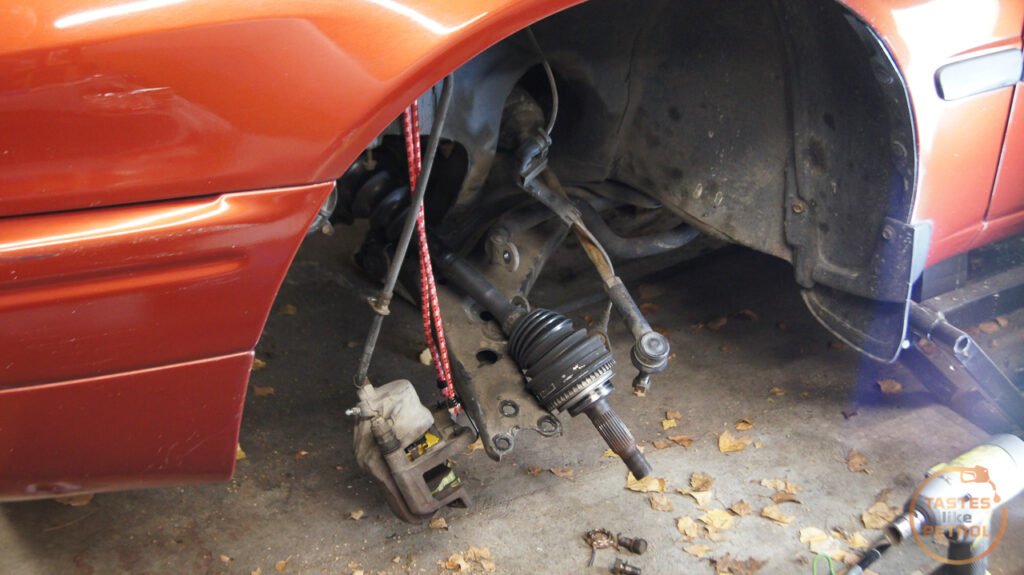
I left the calipers to last so I didn’t end up with a bunch of brake fluid leaking everywhere for too long. I also took this chance to check the calipers over and give them a tweak. The fronts were good, only needing some debris removed from the gap in the middle of the pads.
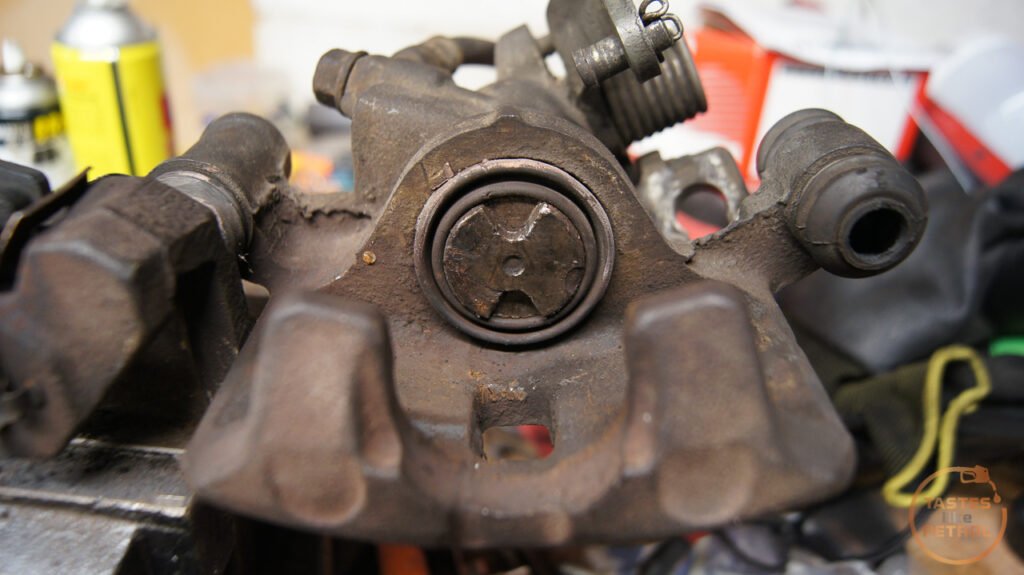
The rears I split to clean and grease the slides. Hopefully this makes the handbrake work a bit better as it’s never really been good. One thing to take note of when assembling these calipers is that the rear has a piston that needs to be wound in to retract. This piston needs to be aligned so the notches are at the top and bottom, aligned with the bump on the housing at the top in the photo
I found one of the slider boots torn and not working as it should. As I had a rebuild kit spare (for the sticking caliper on the Carib) I pinched the boot from that. The old one was stuffed

The new boot was a different design but worked the same.

Hopefully that helps.
With that checkover done, everything was put aside ready to be transplanted.

Today was the day, the everything was loaded up into the back of the Honda, and taken to the lockup to be transplanted.
There aren’t a lot of photos of this work as it’s all been covered in previous posts, and we were working to a short timeframe.
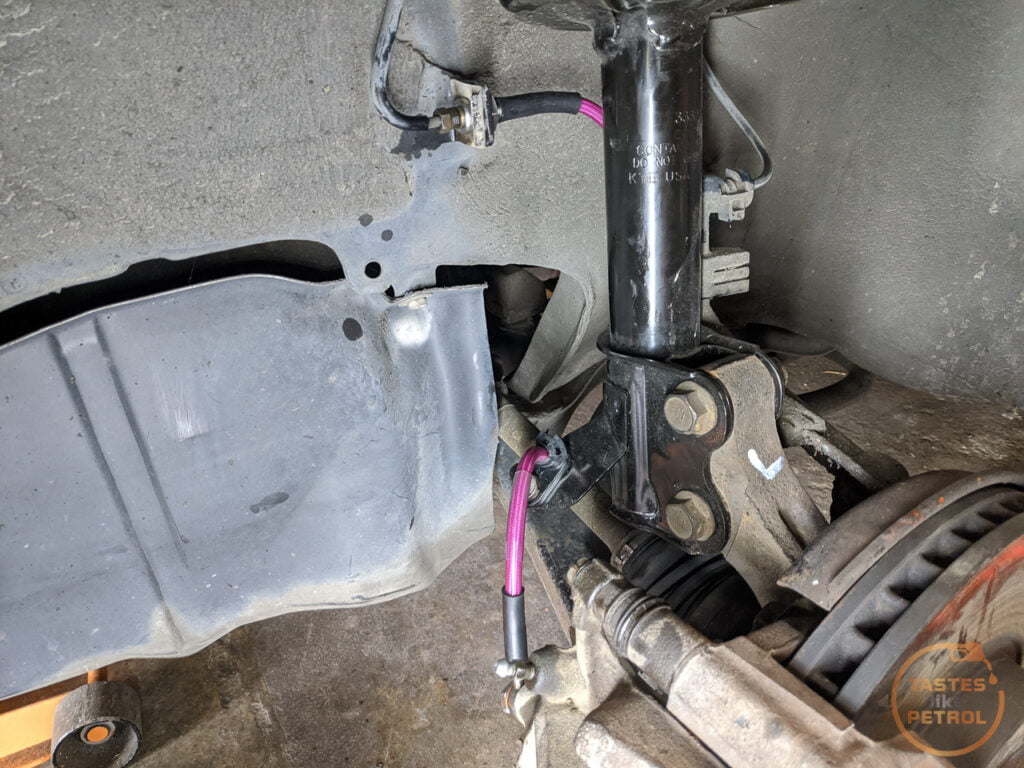
The rear came apart and went back together easy enough. Nothing too major, except finding the rear muffler hanger has almost rusted completely through, so will need to fix that soon. The first of the new HEL transparent purple braided brake lines went in too.

They look quite pink in the harsh light, but they are actually quite a decent match to the purple of the Vogtland springs.
We had some real issues removing the hub nuts. We suspect someone turned the ugga dugga gun to 11 and just went full send. On the Liftback, we torqued the nuts to the required 250 odd NM, and to remove them I used a long pry bar in the studs to stop the hub rotating whilst I used a big breaker bar to crack the nut. I tried that on the Carib and only ended up with a couple of bent studs and a bent and broken pry bar.


This bar used to be straight

It’s probably my own stupid fault for using a jack handle on the end of that long breaker bar. The amount of force when the pry bar let go and shot across the workshop was shocking. Thankfully everyone was well out of the way and only the pry bar got hurt.
In the end, the winner of the day was my trusty old Ryobi cordless rattlegun. I didn’t expect it would ever touch it, but after a bit of ugging and dugging it spun that nut right off. I’ll be going straight to the gun for that in future.
With those off the front could be swapped too, which meant more braided lines. But first, we had to remove the old struts, which are utterly caked in old CV grease, and exceed the threshold for festy and into some other realm of extreme grot.
The old, manky, black brake fluid was flushed through and the system bled. Full hovercar was required for this.

Once the brakes were all bled up nicely, we dropped the rear of the car down on its wheels, lifted the front higher and I slid under to replace the rear engine mount. This is a real bastard of a job, but it seems the easiest way to do it is to remove the mount through-bolt, remove all the bolts in the subframe, lower it down and pull the mount out that way. We supported the engine with a crane but it seems that might have been a bit overkill.
I found it easiest to barely line the mount mounting bolts up in the subframe but before raising the subframe up again, wiggle the mount enough to get the through bolt in place first. If you do it later you’ll find the engine sags and is miles away from lining up the hole in the mount. Once the through bolt in you can lift the subframe up again and bolt it in. I took the time to replace the front swaybar bushes here too since all the bolts were already out.
And that was that, the wheels went on and the car was loaded with all its remains. This caused some laughs at the rear ride height, as it was well dumped with all that weight in it.

Hopefully it still retains some lows with all the weight removed, but I’ll need to wait and see.
Before heading home we snapped some more Corolla gang photos since my friends Corolla had arrived back today from having some work done.
Corolla Gang 1.0
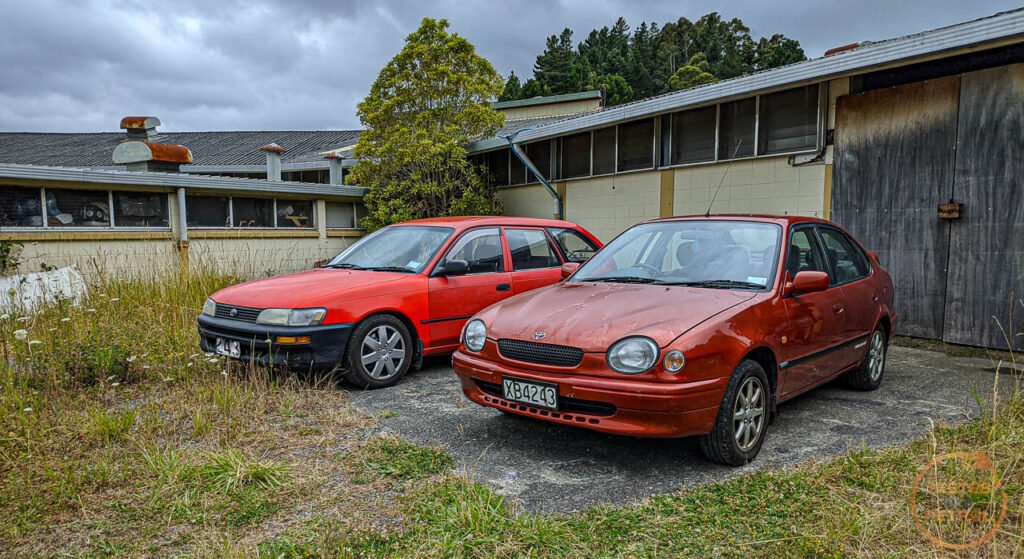
Corolla Gang 2.0

The drive home was interesting. having to try and dodge as many bumps as I could due to all the loose stuff rattling around in the boot, but I did notice it retained the nice ride quality of the Liftback, as well as the nice progressive brakes. What it’s lost is some down-low torque, but it also gained many thousands of RPM to play with at the top end. I’m looking forward to driving the back roads in anger in this thing. Keep the RPM up, and keep the engine singing, seem to be the go.
Unfortunately, a couple of issues were highlighted, the main one being the RH CV joint being destroyed. It makes horrific noises when turning, and even makes noise when accelerating. Ugh. I kinda guessed this by the boot being split and ALL the grease being on the surrounding suspension components.
Thankfully I know a guy down south that wrecks Toyotas, and sure enough, he has a good axle, so that will be with me next week. I can’t install it until the garage is free though, so need to get cracking on the liftback, fitting all the old Carib parts to it and get it driving again.
It also needs a wheel alignment, but that will happen after the front arms get polybushed. I’m waiting on the bushes to arrive at the moment.
I’m still not sure if it’s a better looking car than the liftback or not. I guess most people probably think it is as the bugeye wasn’t the most loved design, but I like both designs. The wagon is a hell of a lot more practical though, with its low loading floor and high roofline. Its also got a split rear seat base which the Liftback didn’t have, which means one side of the rear seat can be completely folded flat and the other side still a useable seat.
There’s more work to be done yet, specifically a WOF, but it’ll be a couple of weeks before I can get on to that.


