With my very first track day looming, I had a lot of work to do to get the Jazz ready and add some nice little improvements along the way.
The first thing I needed to do was to look into an issue that presented itself on the drive home from work, only a couple of days after buying the car.
The engine was warm, I had slowed for a roundabout, and started to give it some throttle in second gear to slingshot around the roundabout. BAM. The engine stuttered. I backed off, and tried again; BAM, it was like an ignition cut, the engine just stopped responding.
If I was easy on the throttle and babied it, it was fine, so that’s how I drove it home. It was a nervous drive in heavy traffic, not knowing if the next time I let out the clutch the engine would respond or not.
I did some research that night and came to one conclusion, either the spark plugs were worn out, or the coils were having a bad day (or both). The issue is particularly prevailent if the rear set of plugs are old and worn or there is an issue with the coils, as the wiring for the coils is run with the wiring for the crank position sensor; if the coil misfires, it causes an EMF spike that can upset the crank sensor, and will act like an ignition cut. Sounds familiar.
These 1.3 iDSI engines are a dual spark ignition setup, with 8 spark plugs and a coil-on-plug system.

One bank of coils/plugs is on the front of the head, the others are on the rear
It’s a well-known issue with these engines that a lot of mechanics won’t change the rear plugs, because either they don’t know they’re there, or they’re “too hard” (which is a cop-out, they’re very easy).
Two screws hold the engine cover on
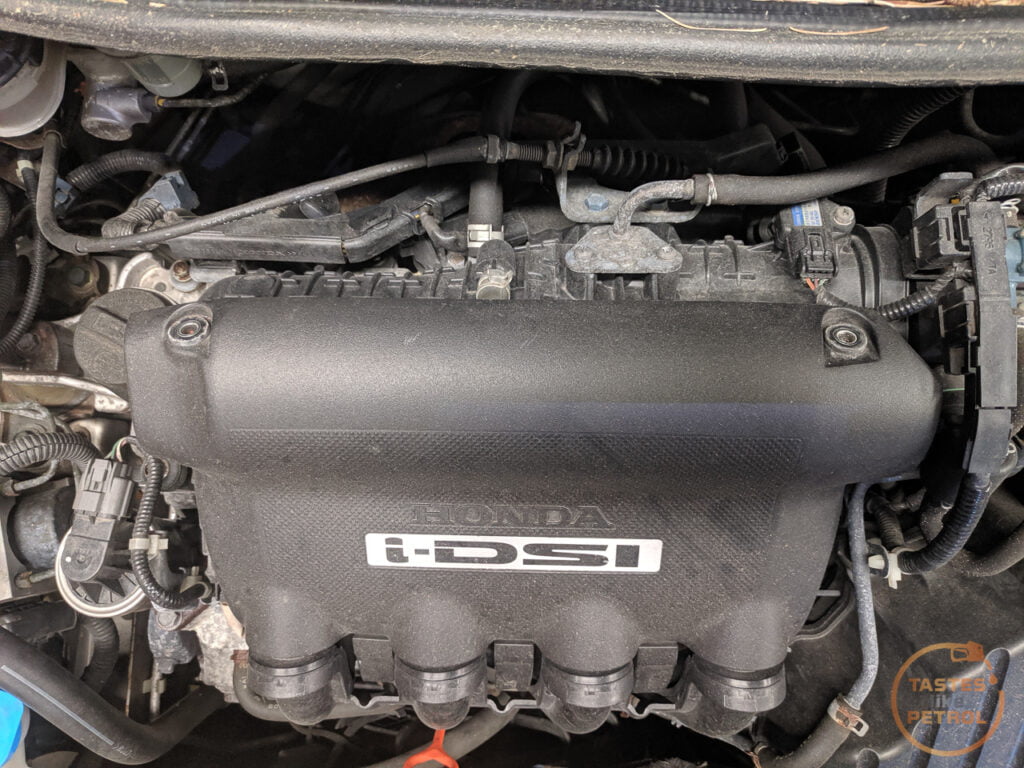
Once removed, you have easy access to the front coils and plugs
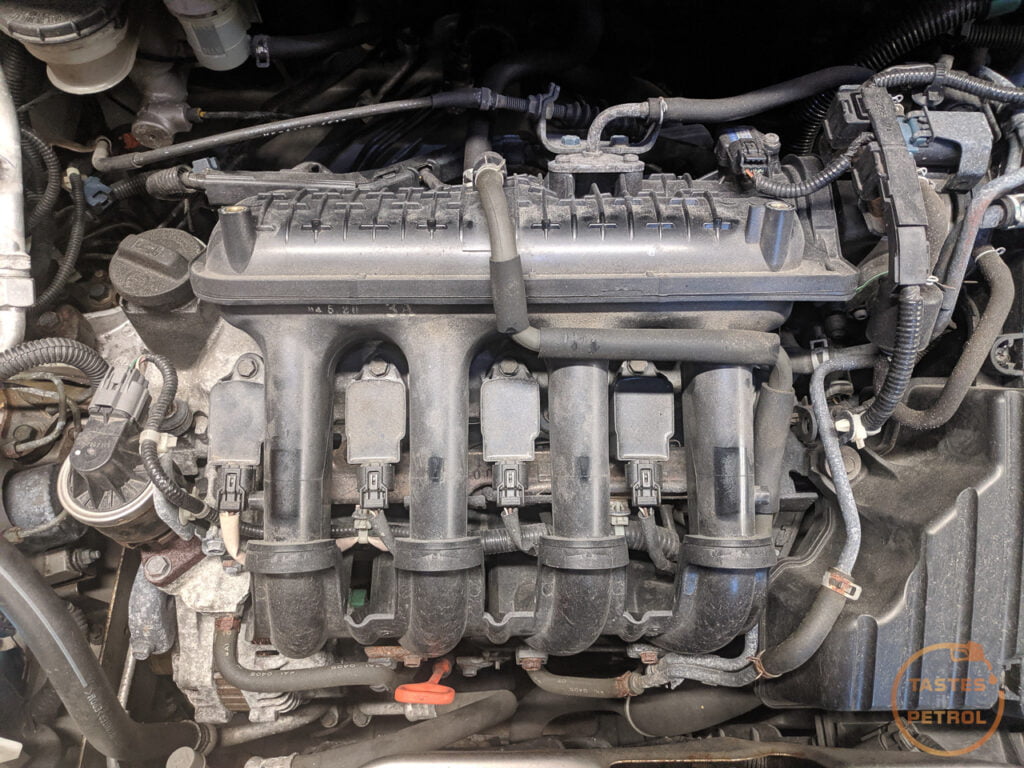
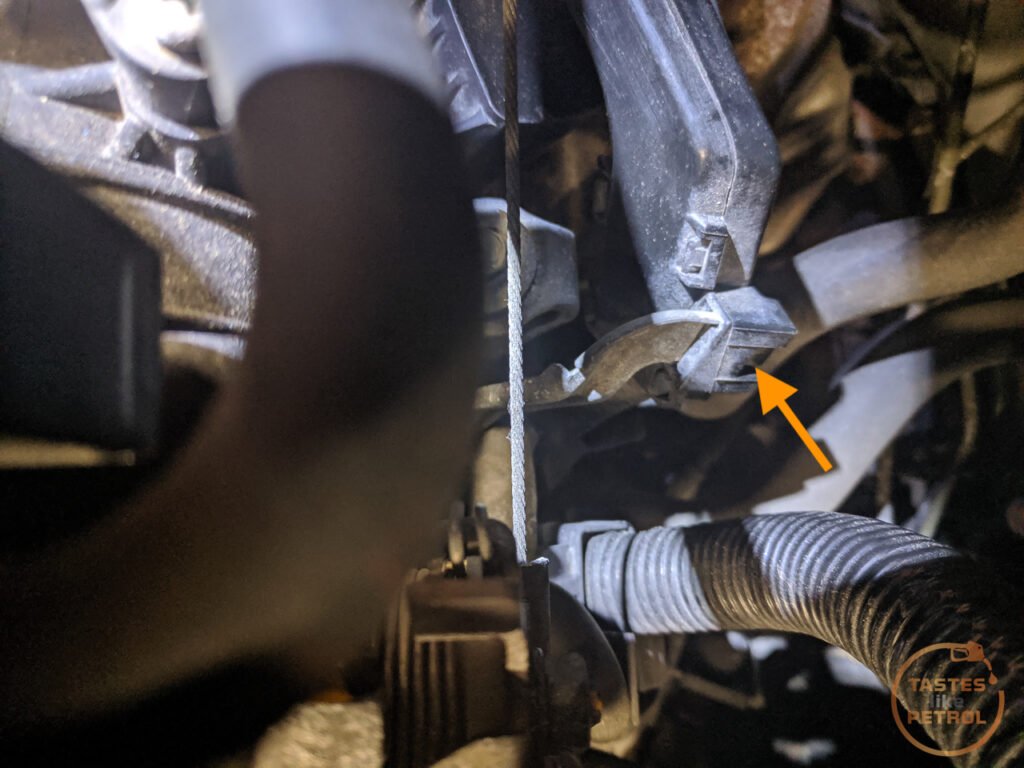
The rear bank takes a little more work, but not much. You can access them without removing anything more, but I found it best to unclip and push the wiring harness behind the engine out of the way. This is done by unclipping the clip on the LH side of the harness conduit by gently pulling the clip away from the metal tab and then sliding the conduit towards the rear of the car
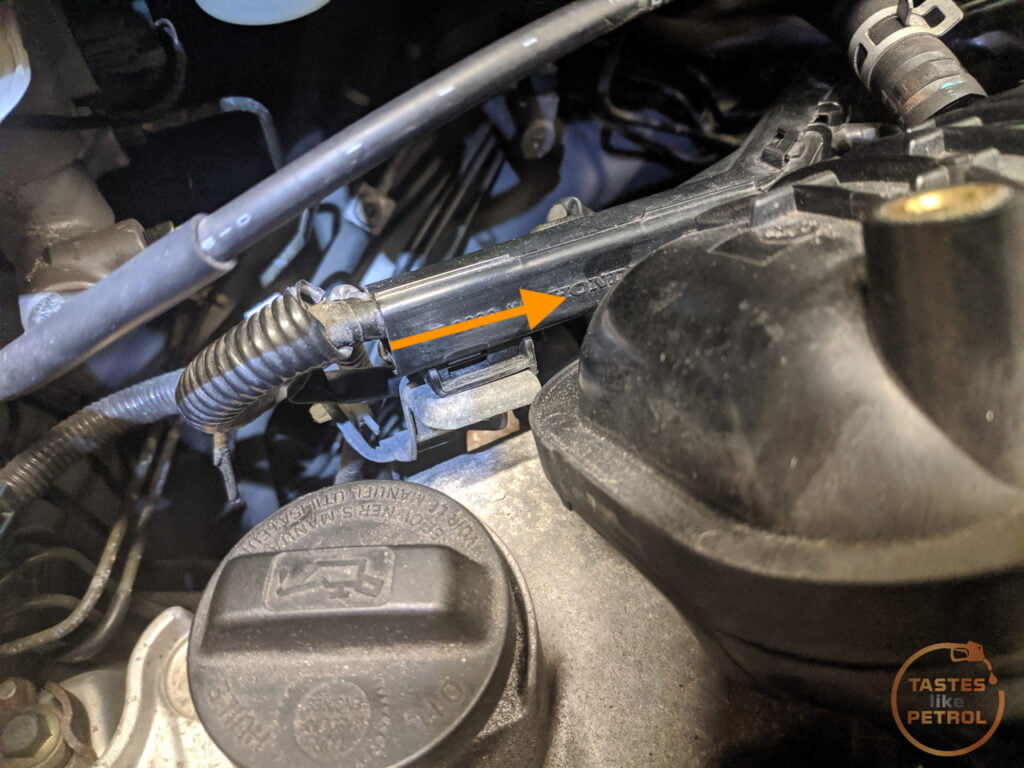
The other end is just slid into the bracket, and slides towards the LH side of the car to unhook it
The spark plugs looked okay. All had the same wear, marginally over spec, so the rear plugs had been done at the same time as the front ones. I swapped in some nice new plugs anyway.
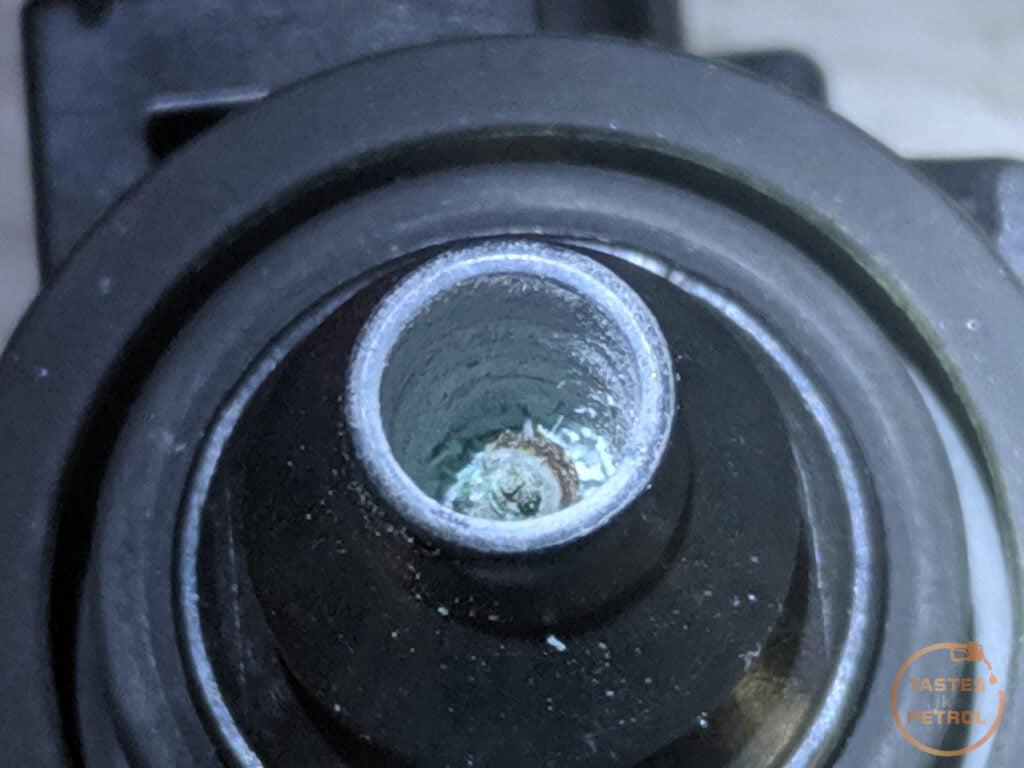
The coils on the other hand… I had heard these can cause issues with corrosion on the internal resistor inside the coil stem. To access this you need to remove the stem from the coil. This is done by carefully twisting and pulling the stem away from the coil, but do not bend the stem or try to wiggle it on an angle. The plastic of the coil is very fragile and you will break the end off the coil. I found out the hard way
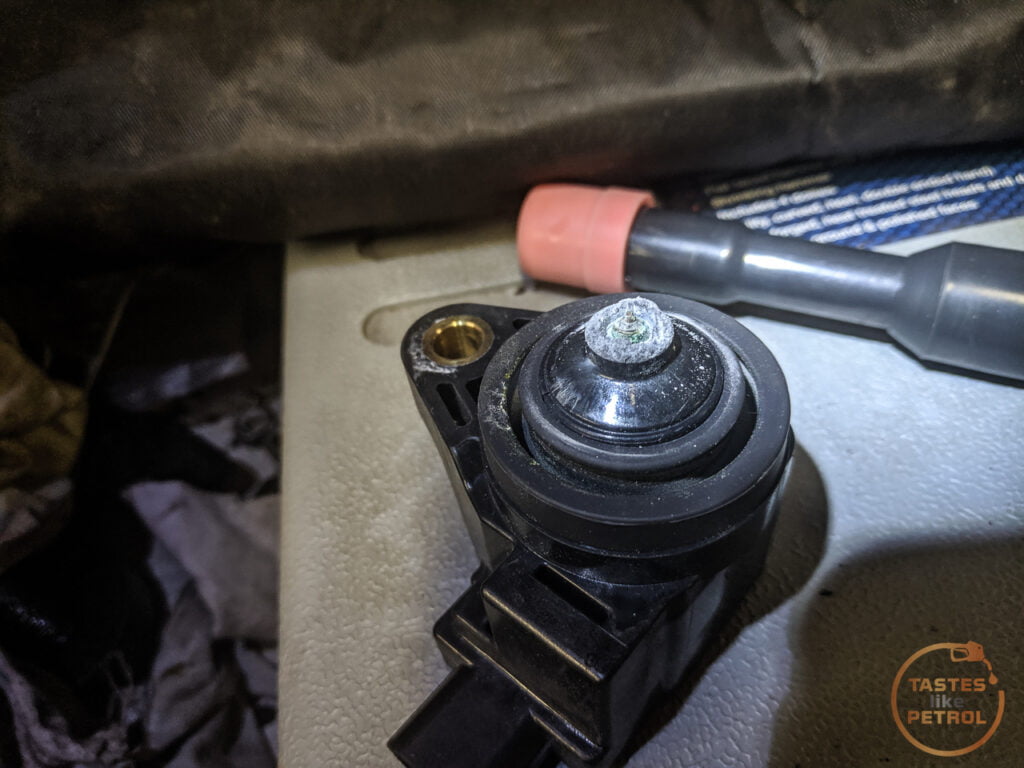
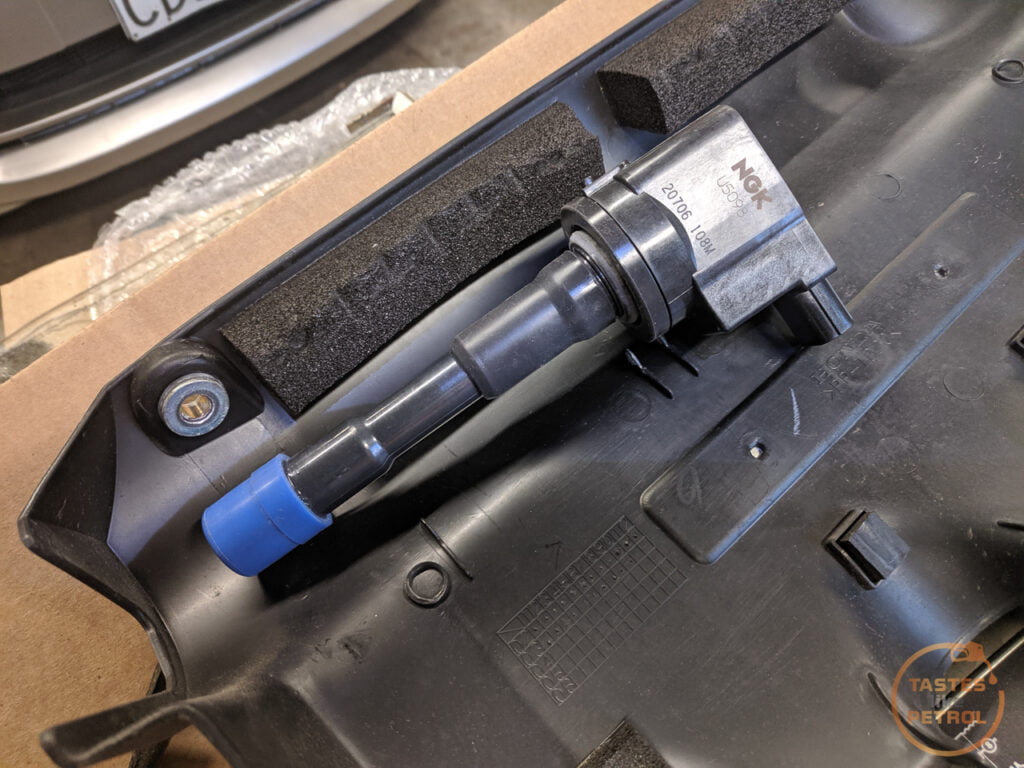
It should look like this
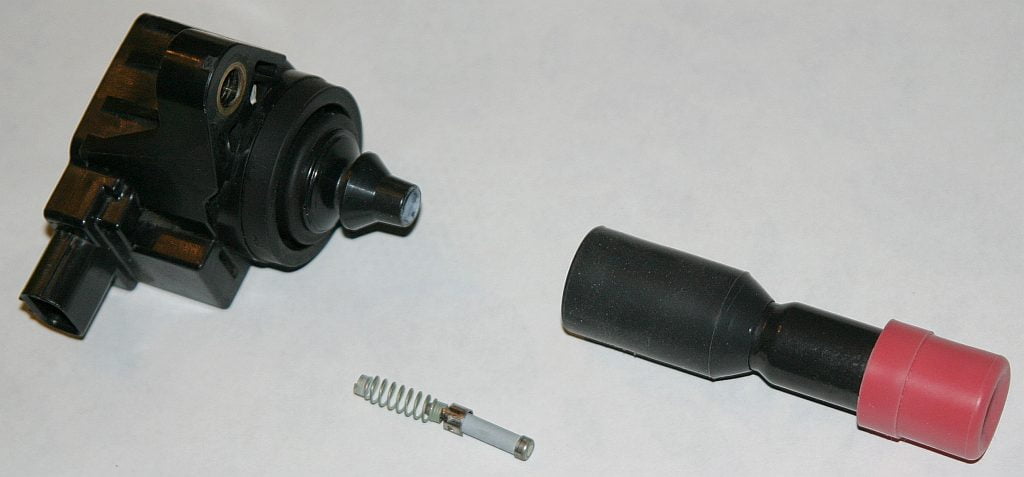
In the middle of the coil, there should be a metal stud. Its not meant to look like its been under the sea.
Same with the spring and little resistor pill
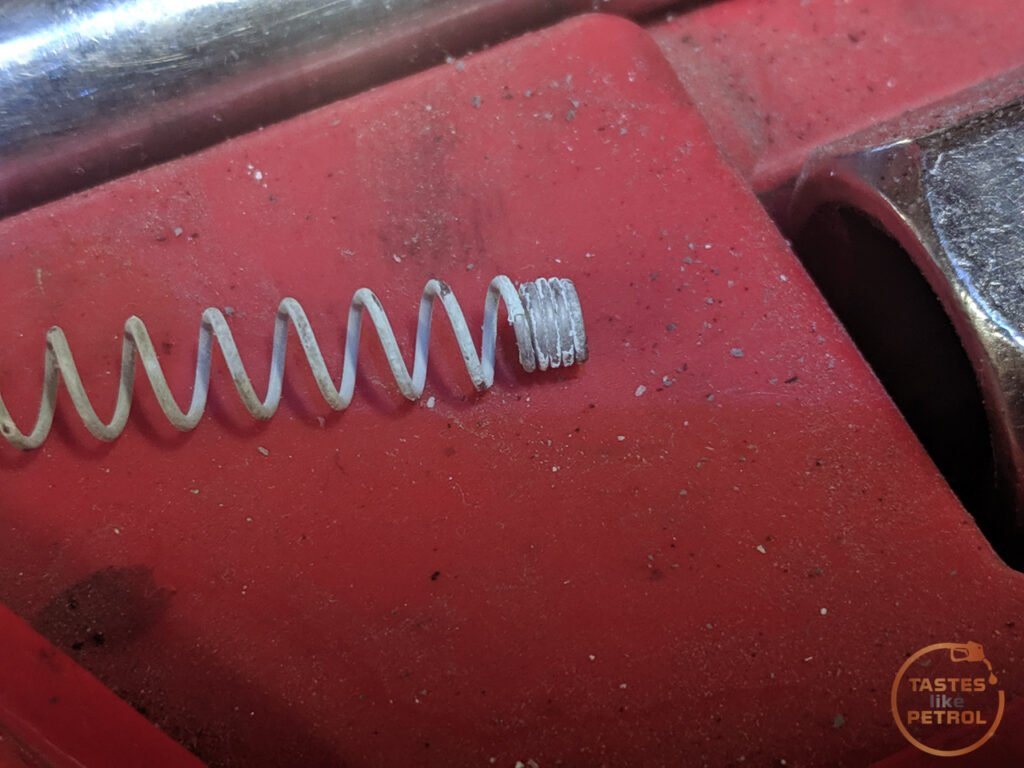
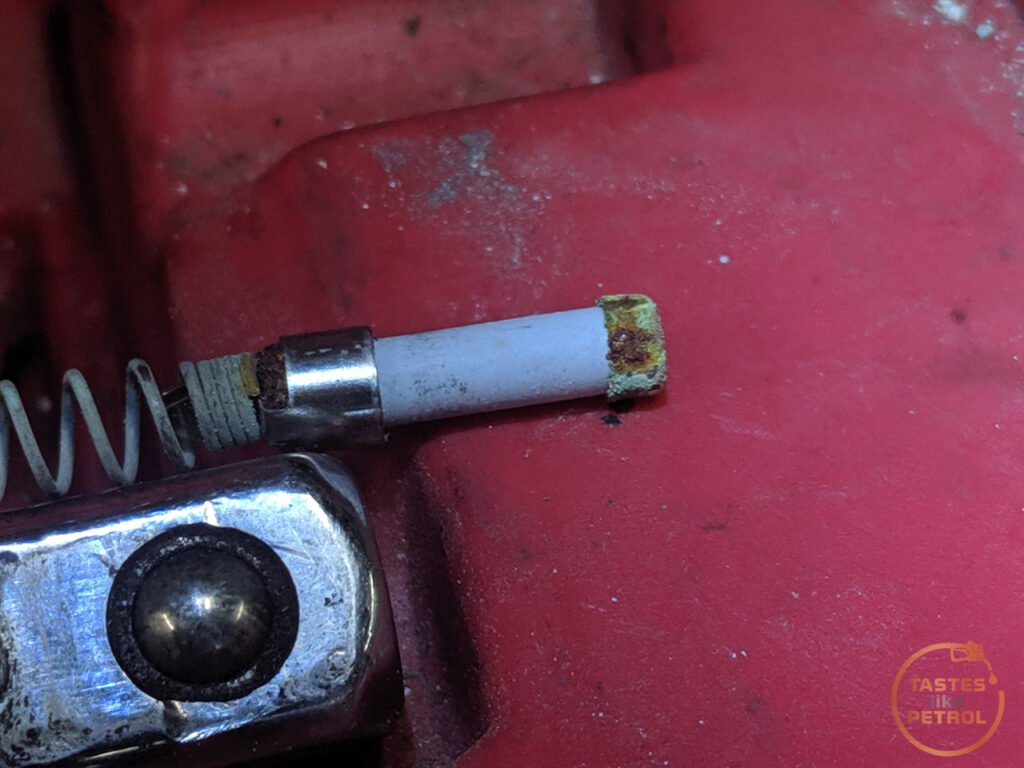
Each point that has corrosion instead of bare metal makes it harder for the coil to send spark to the plug. This stresses the coil and can cause them to fail; at the very least, it causes a weak spark.
I thoroughly cleaned each contact point with a combo of contact cleaner, a wire brush and for the metal stud in the coil, pressing the spring onto it and twisting it back and forth (to let the sharp end of the spring scrape the metal clean). This worked quite well. Once clean, I lightly coated the ends of the spring and resistor in dielectric grease and reassembled.
Unfortunately I did have to fork out for a new coil or the one I broke. As an aside, the front and rear banks of coils are physically different and cannot be interchanged.
Since replacing the spark plugs and cleaning all 7 (and replacing 1) coils, this issue hasn’t popped up again.
Since I was here anyway, whats a racecar without some intake noise? I needed to replace the air filter anyway, so out came the wallet and in went the pod filter.
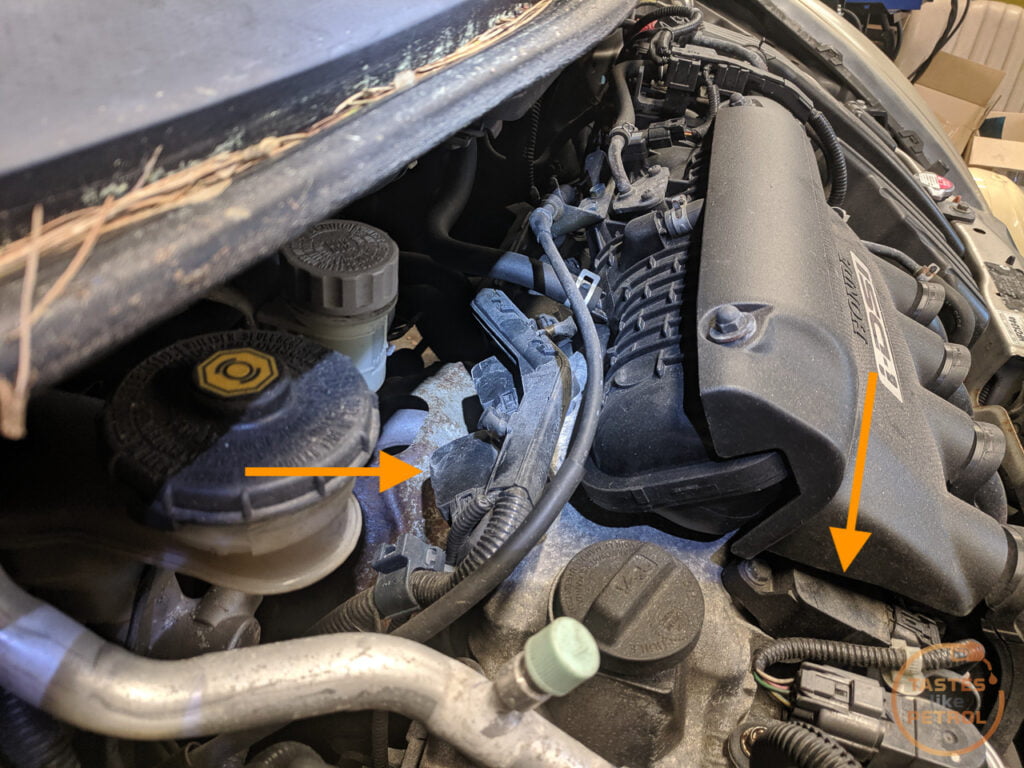
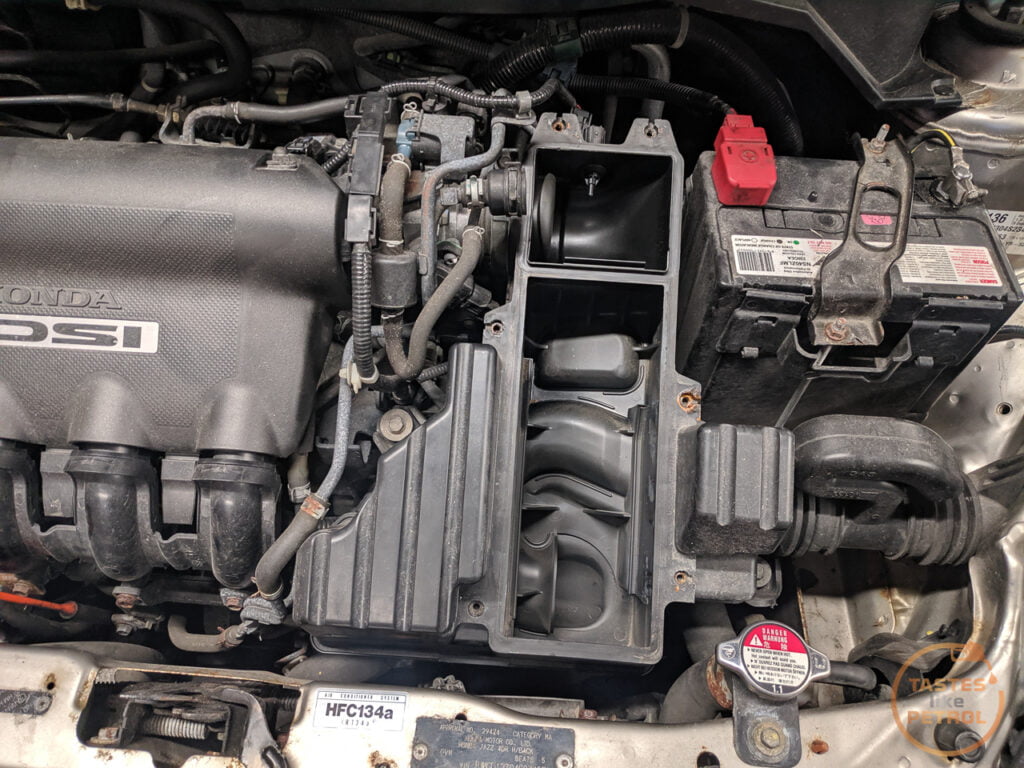
The early airboxes like mine have heaps of resonator chambers, and take up heaps of space for quite a small narrow filter. The air comes in from the feed on the right of the image, below the battery, flows through a pipe in the bottom of the air box to the ribbed chamber on the left, and then pops out on the bottom of the large rectangular area. It then goes up through the filter, into the airbox lid (removed in photo), and into that small square chamber in the top, which is the feed to the throttle body.
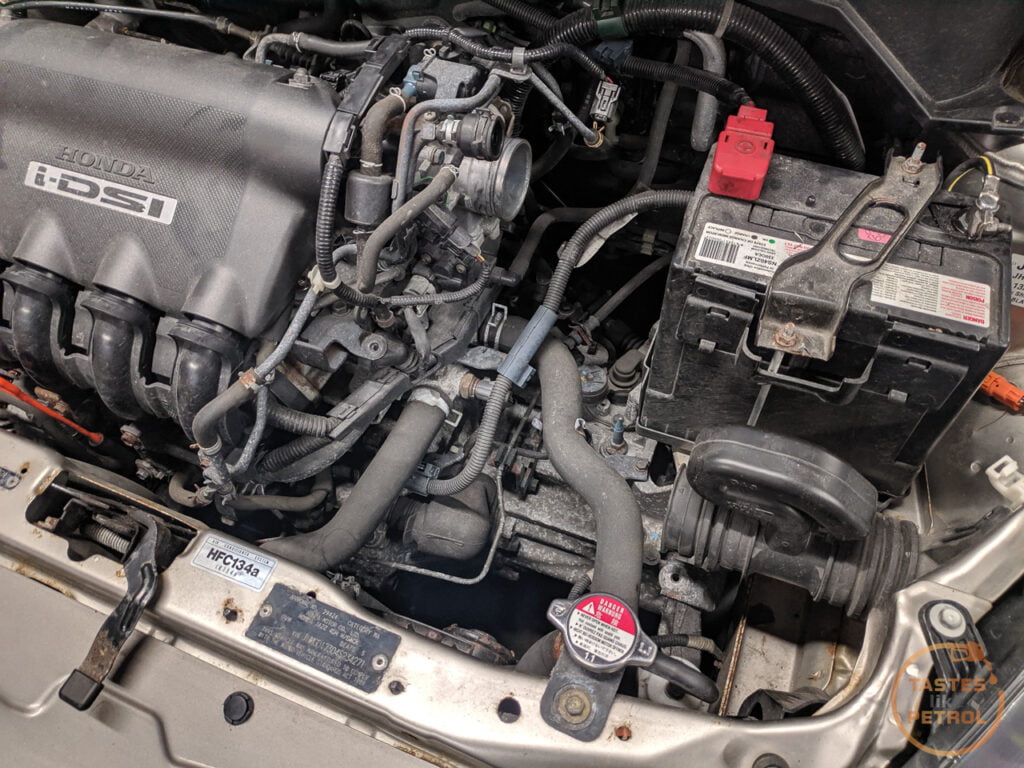
Heaps more space without it
Using a 90 degree 63mm to 76mm silicone reducer, a 76mm joiner pipe (to join the reducer to the pod filter) and a generic filter with 76mm inlet, we had a new intake.
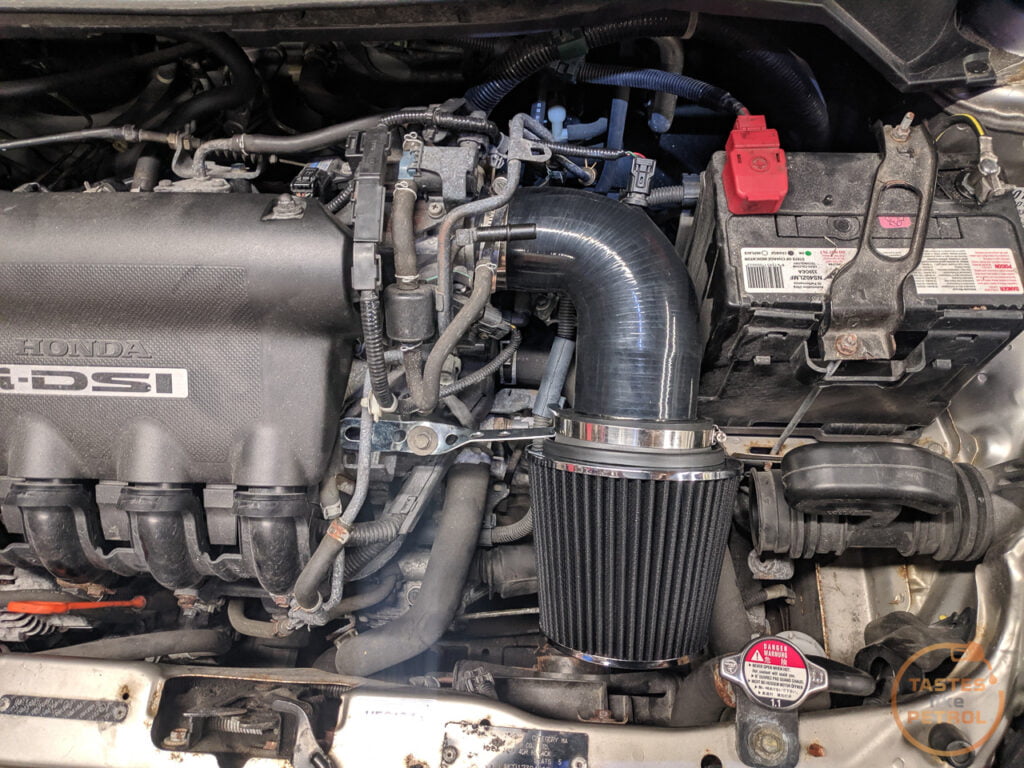
I used a universal filter bracket to secure it to one of the standard airbox bolts, and fit a small breather filter to the breather
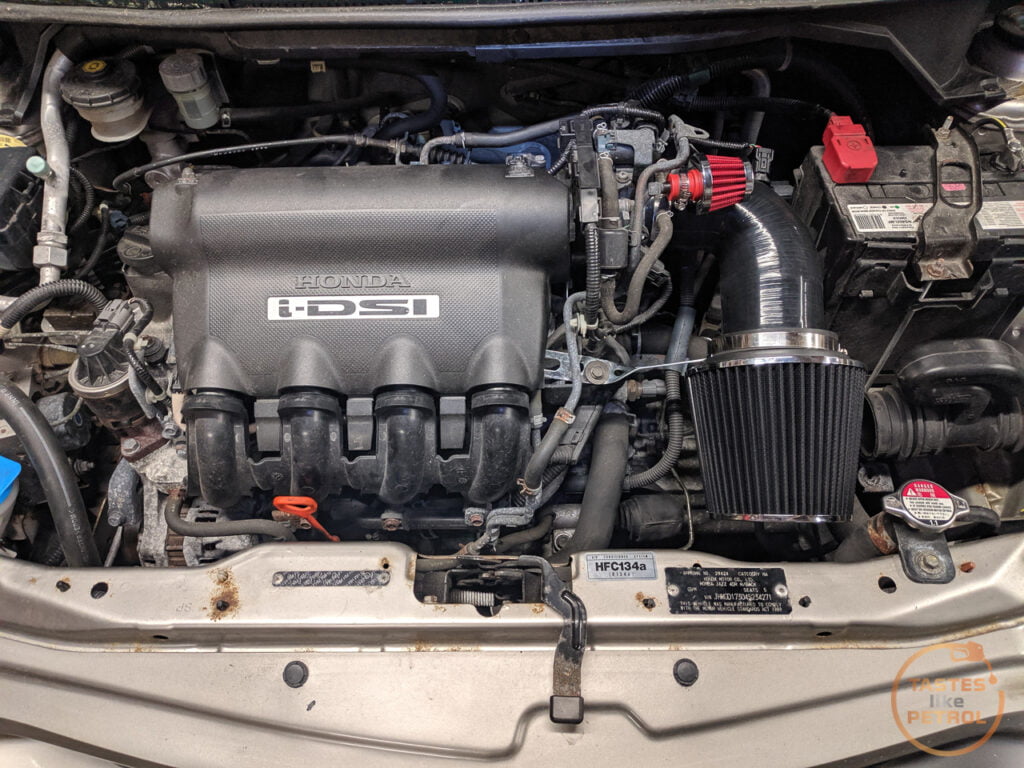
Its quieter than you would expect, but it does make some noise, particularly up in the higher revs, which is a change from the engine making no noises at all. I know it probably reduces power, but its already slow, I don’t care.
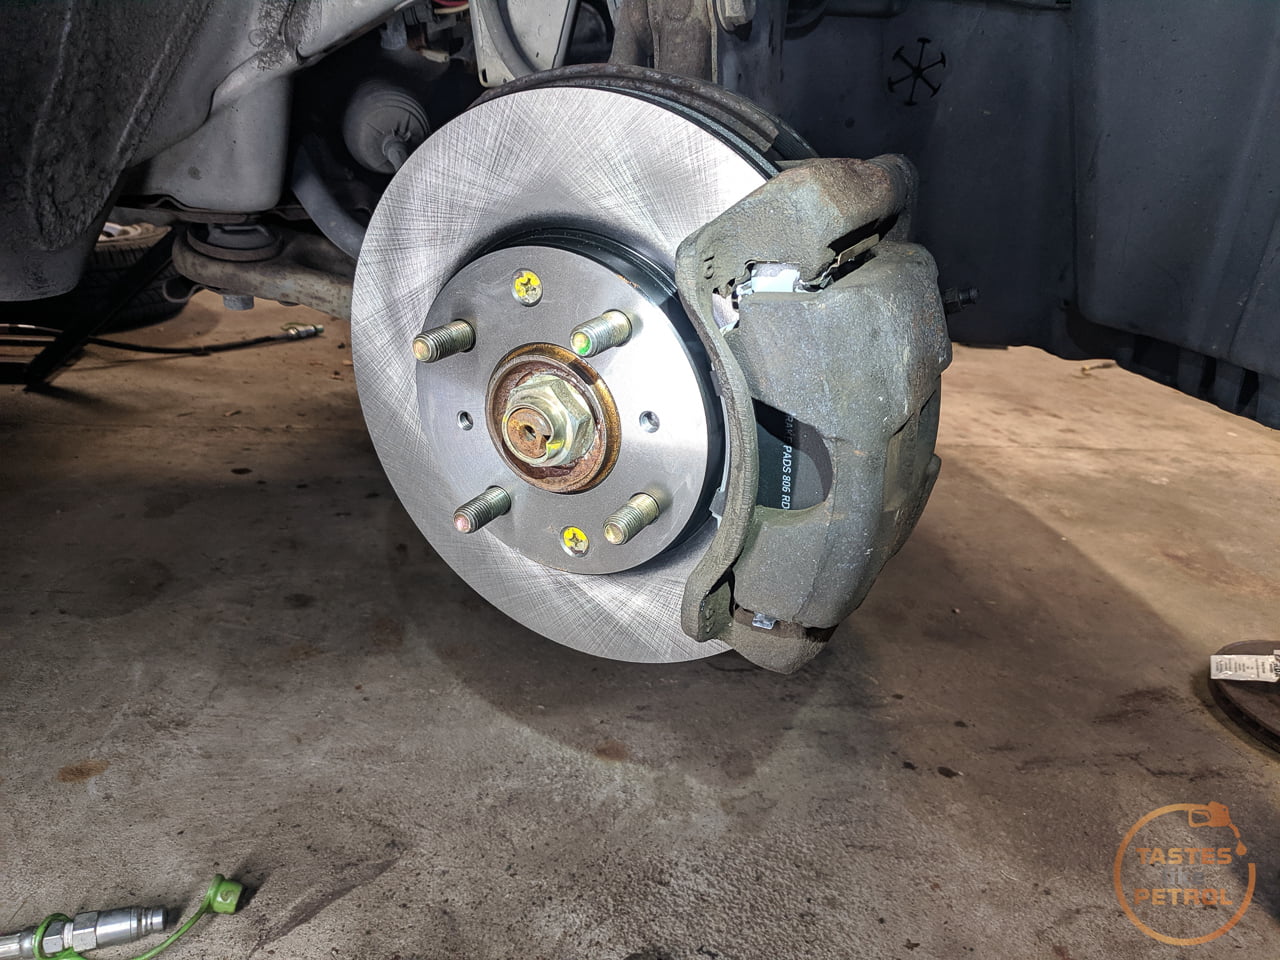
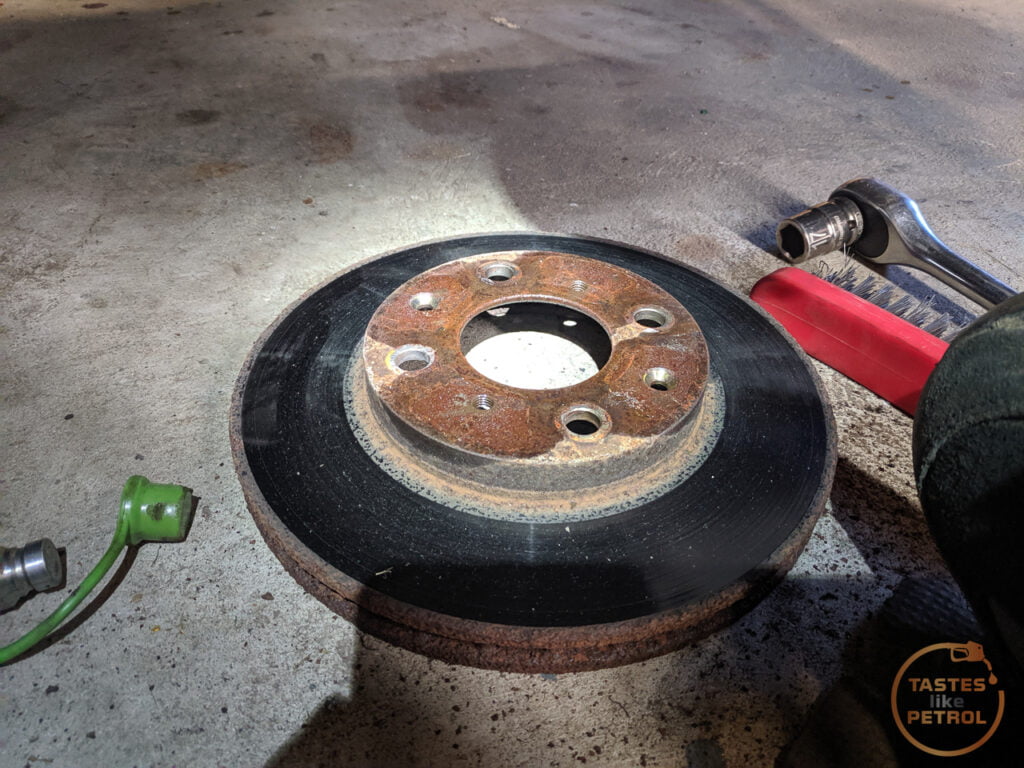
Finally, the brakes needed some work. They shuddered quite badly when slowing from speed, and that was no good if I was to safely do some laps on the track.
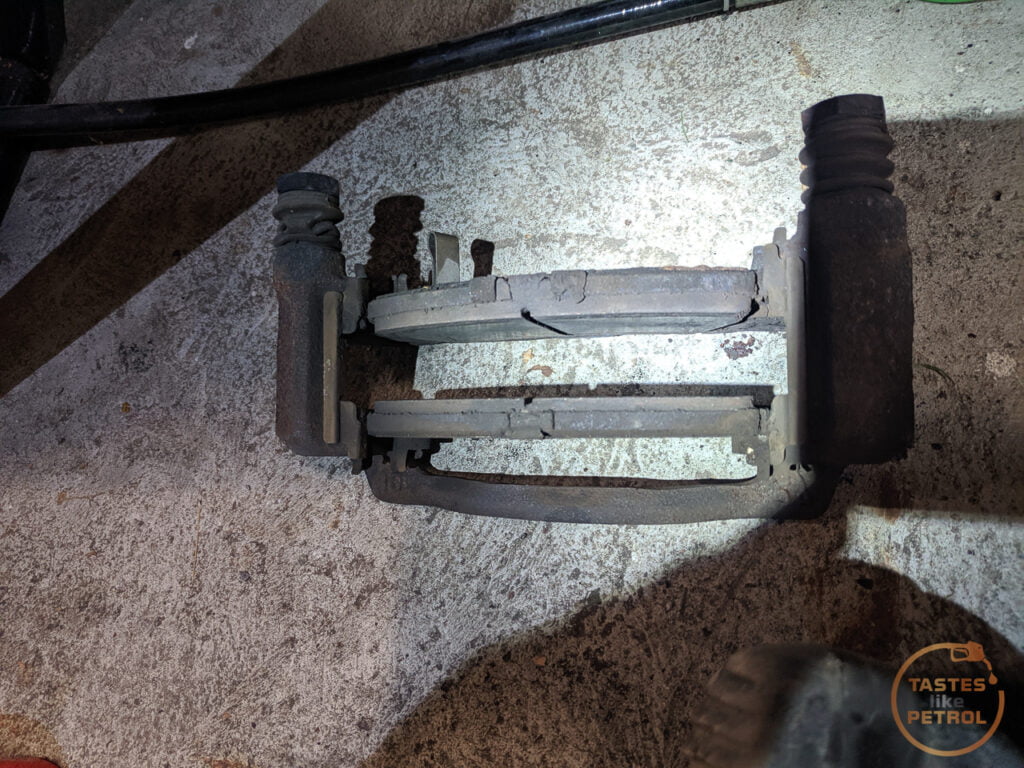
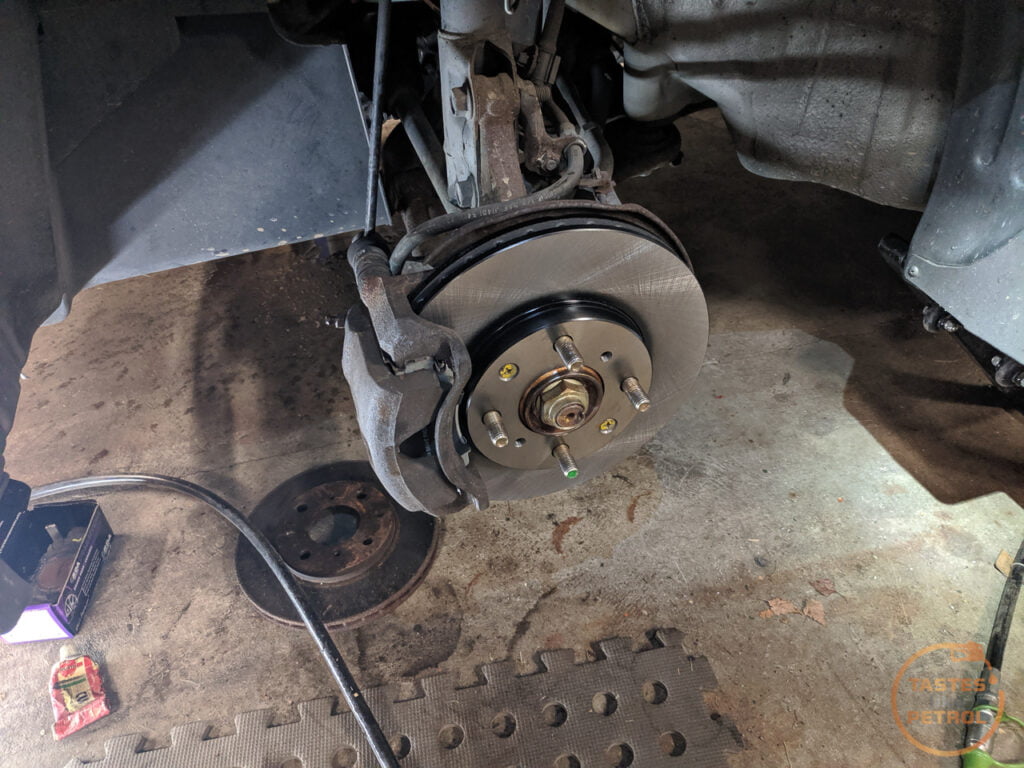
I stripped the caliper, bracket and rotor off. Surprisingly it all came off without issue. The pads were a bit low, and the rotors a bit rusty, but nothing too major.
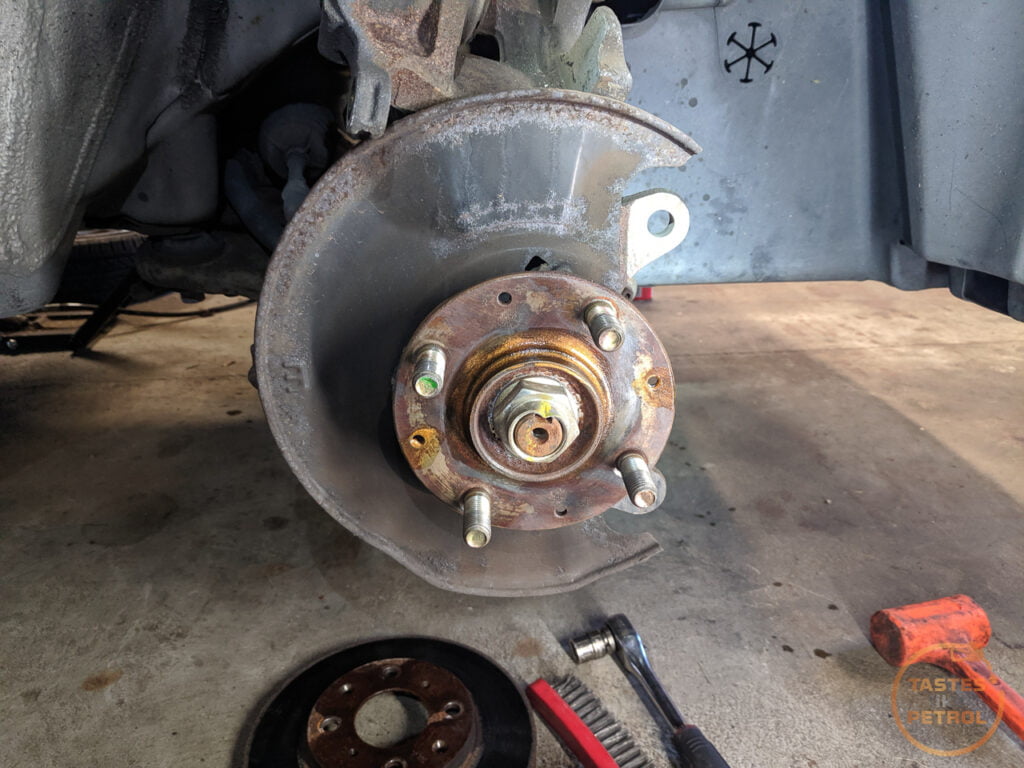
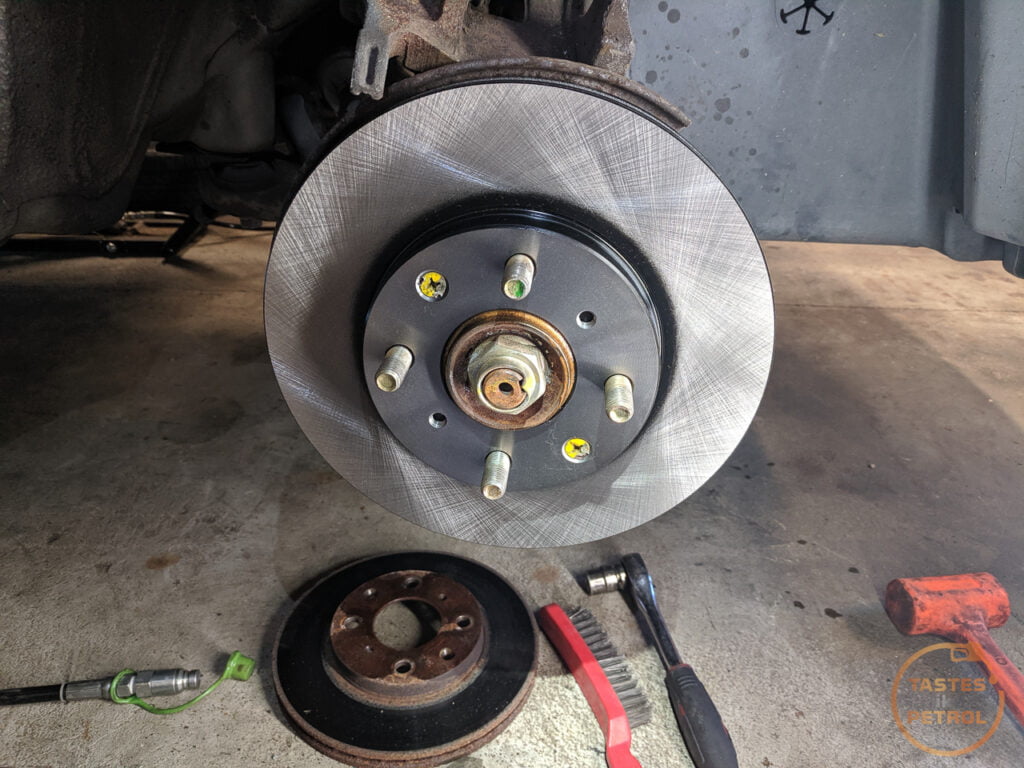
I cleaned the hub faces up with a wire brush, and fit my nice new (clearance bargain) TRW 240mm rotors
The slider pins were sticky, so they were cleaned up and the supplied “brake” grease used to grease all the sliding areas of the bracket and pins
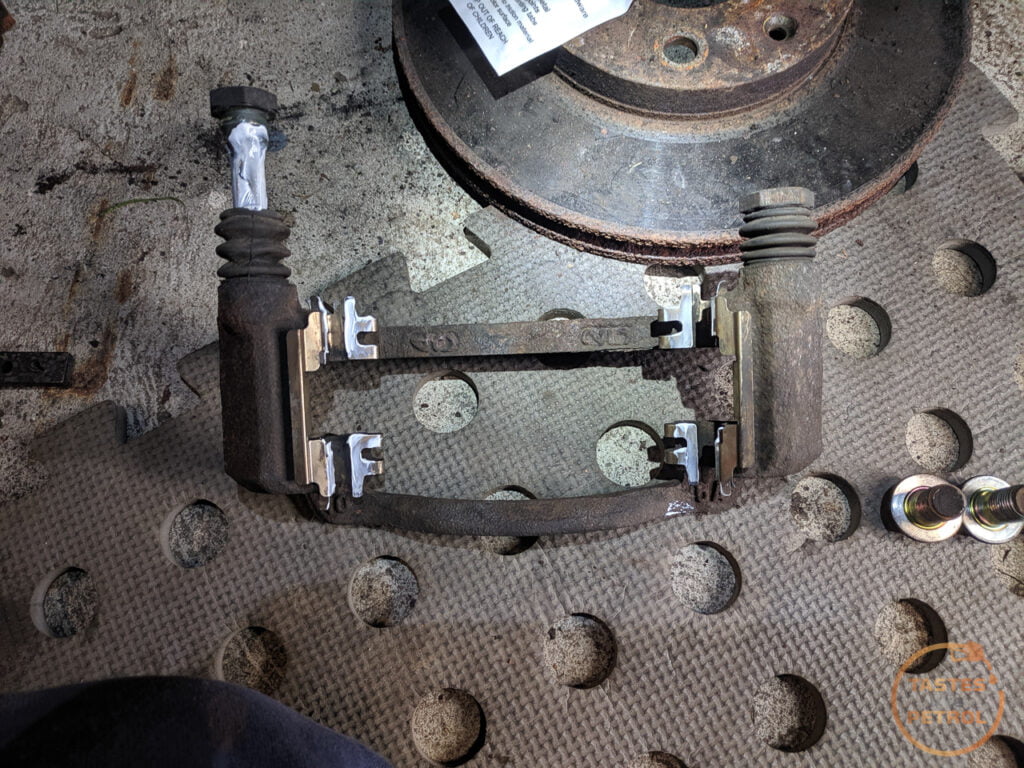
And the brackets were refitted
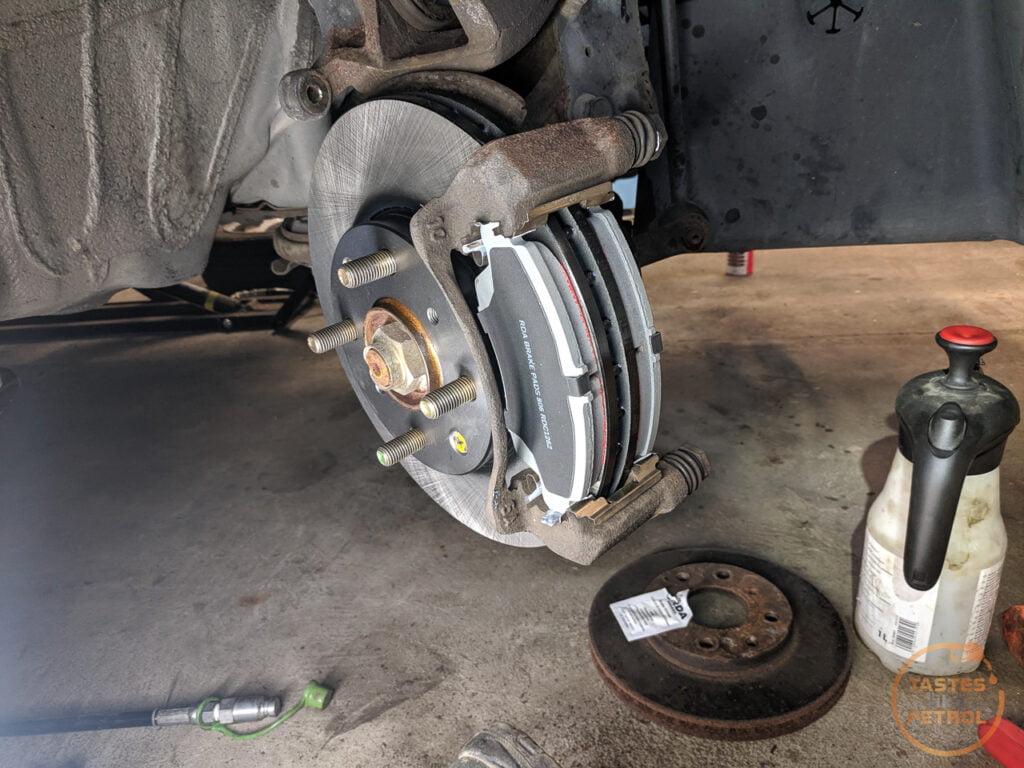
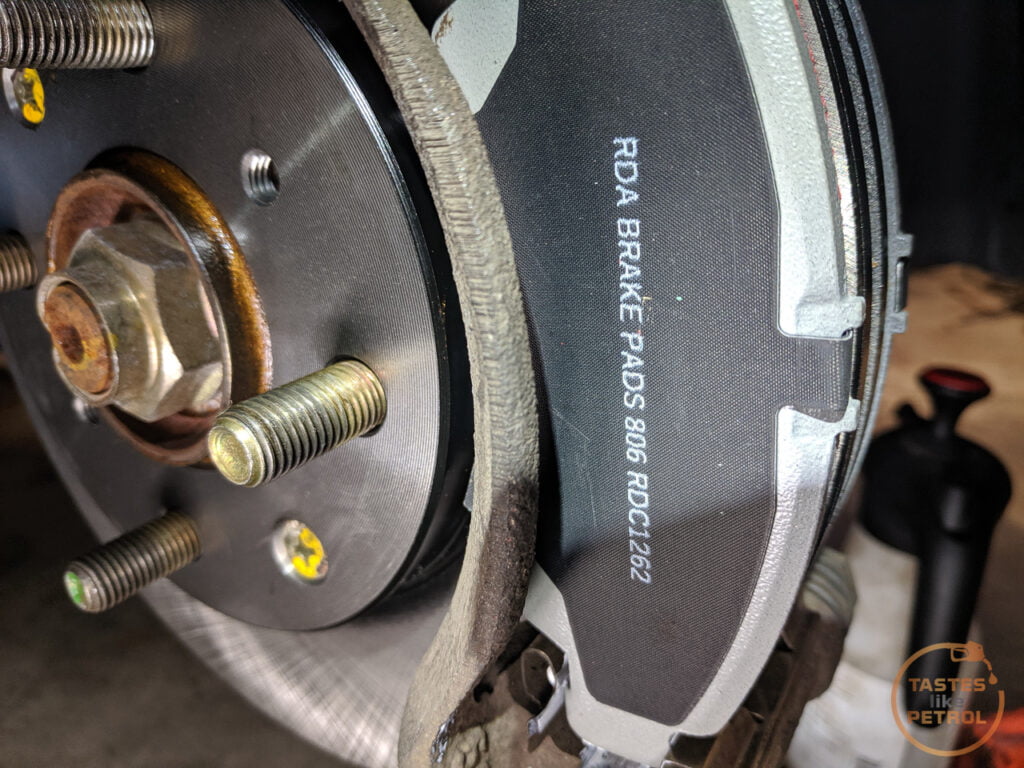
The pads I chose were a set of RDA Phantom ceramic RDC1262. These are sold as a “fast road pad for aggressive driving” and has low fade at high temperatures. Just what I need for a slow car on a track.
Having tracked these pads now, I have nothing but good things to say. Zero brake fade despite all the laps I did, and braking hard into the corners, and a nice progressive bite to the pedal. Braking when cold and on the commute feels like normal too. I’ll be getting a set of these for my next car, if possible.
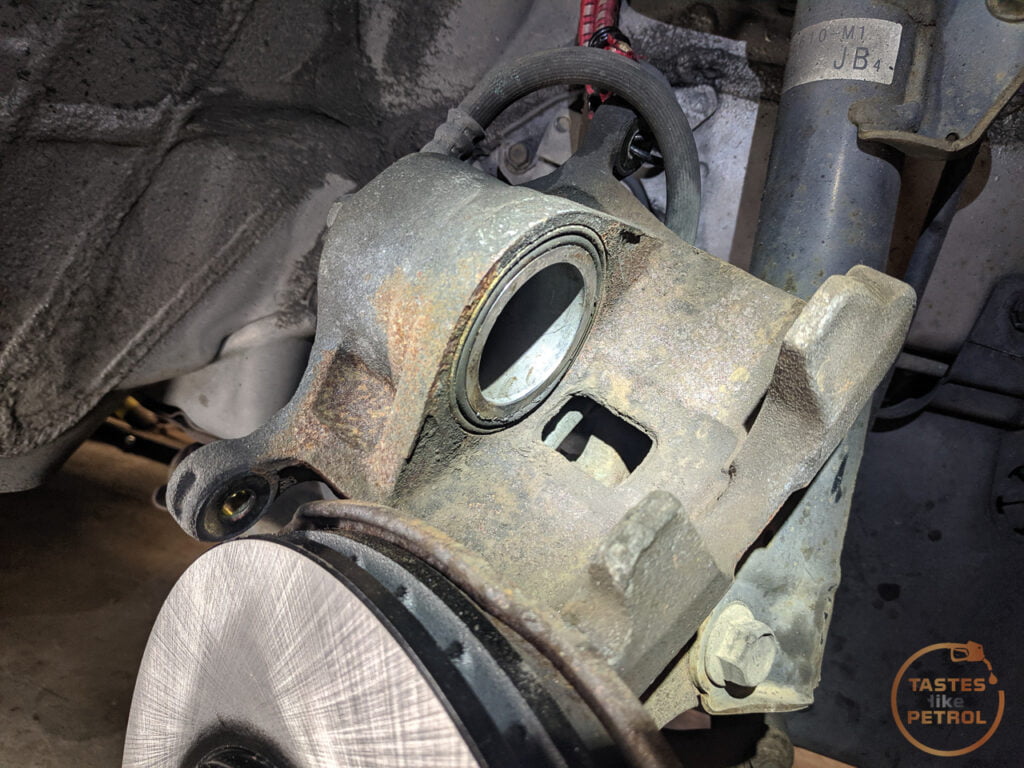
Anyway, because the new pads were much thicker than the worn ones, I had to press the pistons back. I used an old spanner to spread the load and a clamp to push it back into the caliper. Its not stupid when it works.

I do enjoy the look of new brakes. So clean.

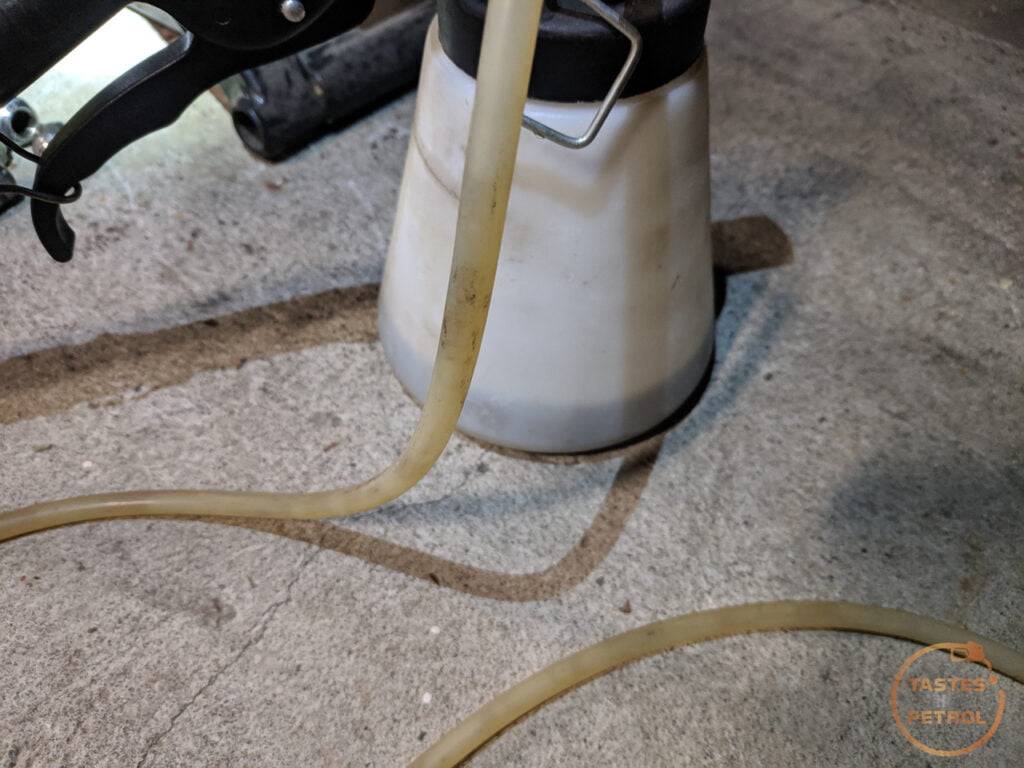
I then flushed all four corners with my vacuum bleeder. The fluid was quite dark, so I suspect it hadn’t been changed in a while.

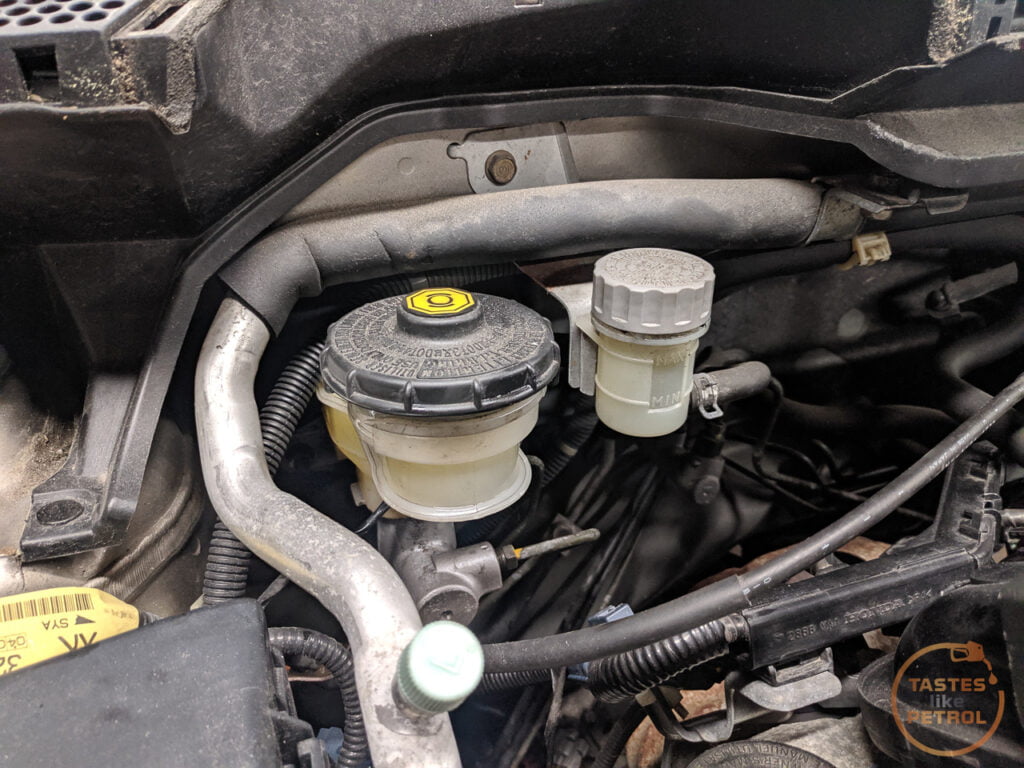
What was shocking was how disgusting the clutch fluid was. It was black and thick. I drained and flushed this with a lot of new fluid before it started to come through clean.
I also pulled back the boot on the clutch fork, and applied a small amount of white lithium grease to the slave cylinder rod and the pivot point on the fork. It had quite a loud squeek, and this has now stopped it (other than the pedal, which is now developed a squeek too).

While the car was up. in the air, I treated it to an engine oil and filter change, along with a gearbox oil change. I wanted it to all be nice and fresh for the track.
Next, it as time to see how it goes on a track. All 82hp of single cam, non-vtec fury.