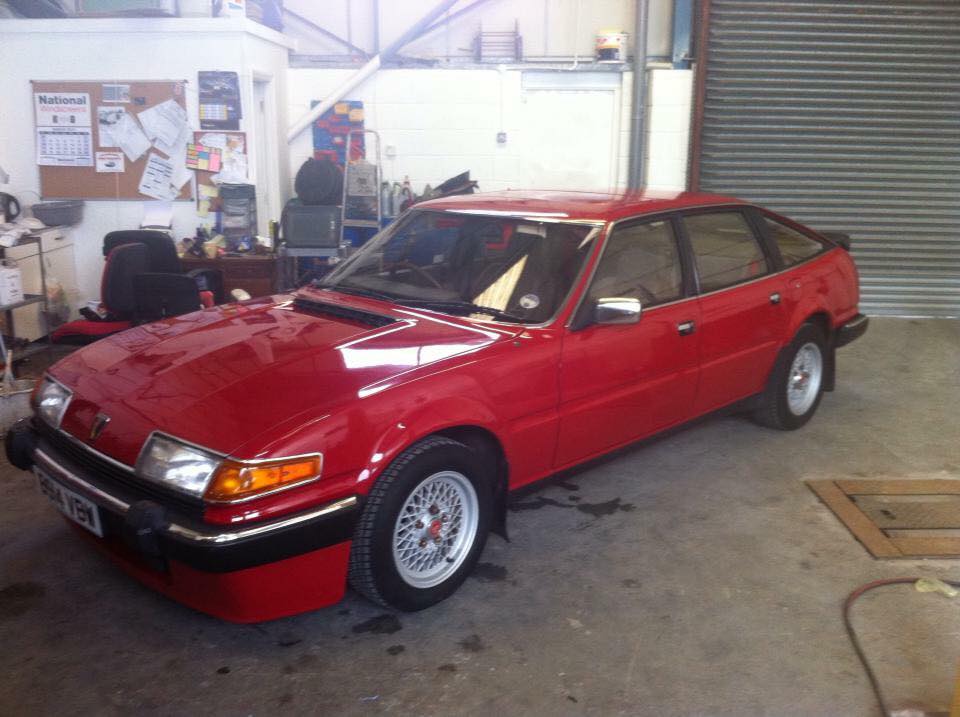
Its time to fix the reason I havent driven the SD1 since the day I purchased it. The leaking fuel return hose.
WARNING – PLEASE READ THIS BEFORE PURCHASING HOSE
I knew it was going to be a big job, but its in dire need to be done, because it’s a serious risk not to. Unfortunately this is the result of a failed fuel EFI fuel line. This poor chap on the SD1 Facebook group lost his beautiful car, and it’s utterly heart breaking. All EFI owners NEED to check their hoses.


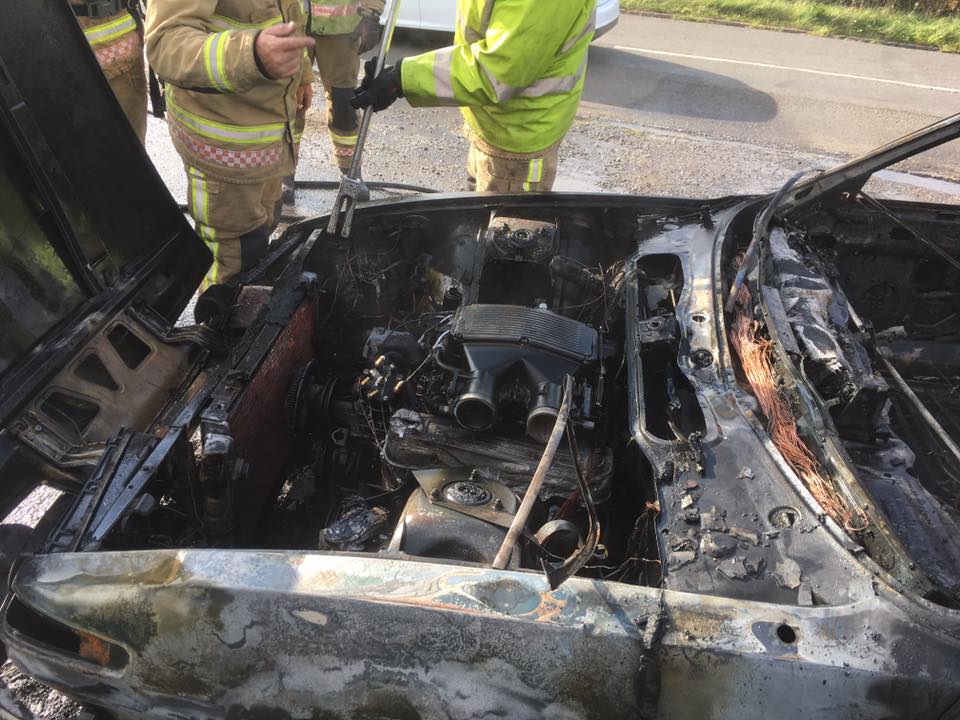
I’m extremely lucky that I noticed my fuel leak before it got to that point. I’m amazed that I didn’t end up in the same situation on the drive home, and that the previous owner didn’t end up flambéing his family.
I noticed it when poking around under the bonnet, and sniffing a strong petrol smell. I noted it when I viewed the car, but disregarded it as just being “an old car” and making smells. When I looked, it was pretty obvious where it was coming from. It was literally dripping from the return line off the fuel pressure regulator, down the back of the engine and onto the bellhousing…. right next to the exhaust Y-Pipe.
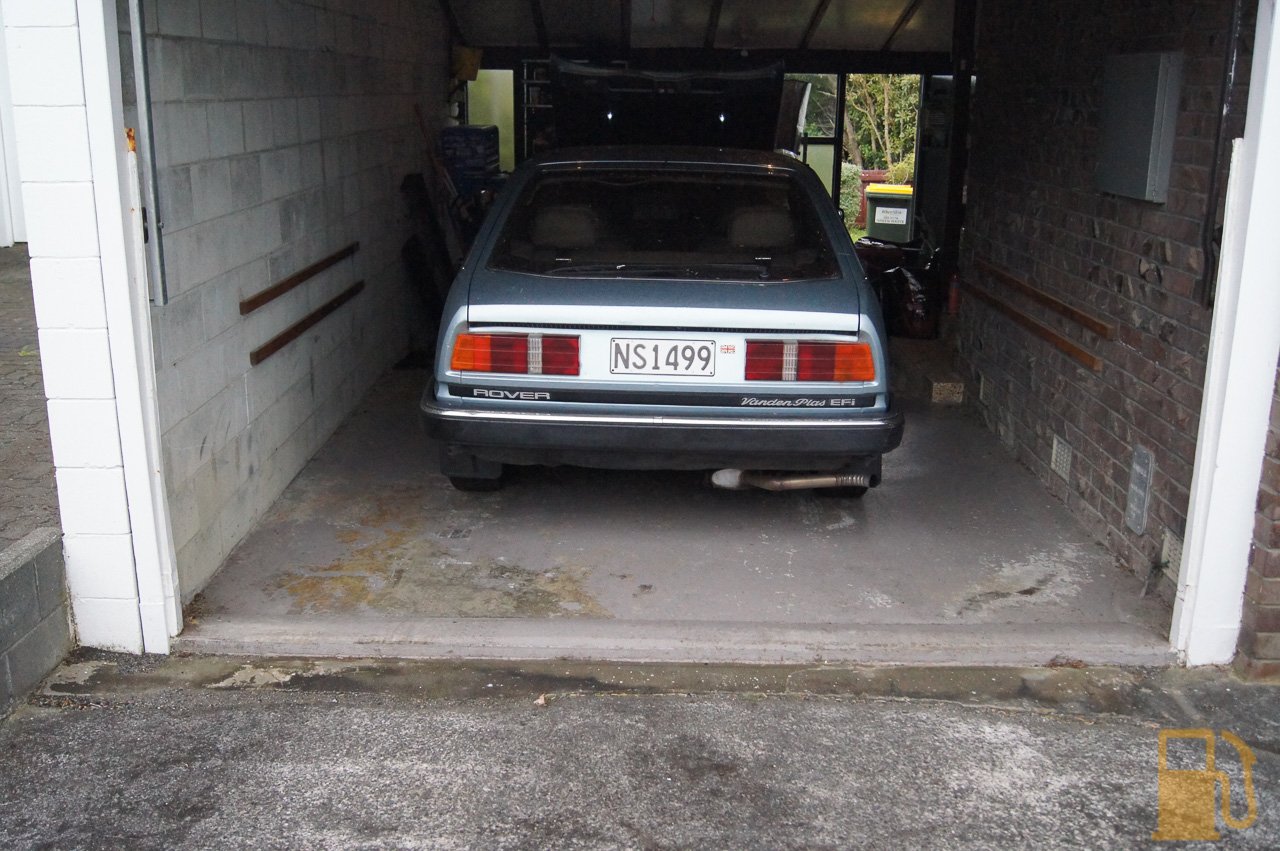
Since all the parts finally arrived, I moved the Rover into the garage today and began pulling it apart.

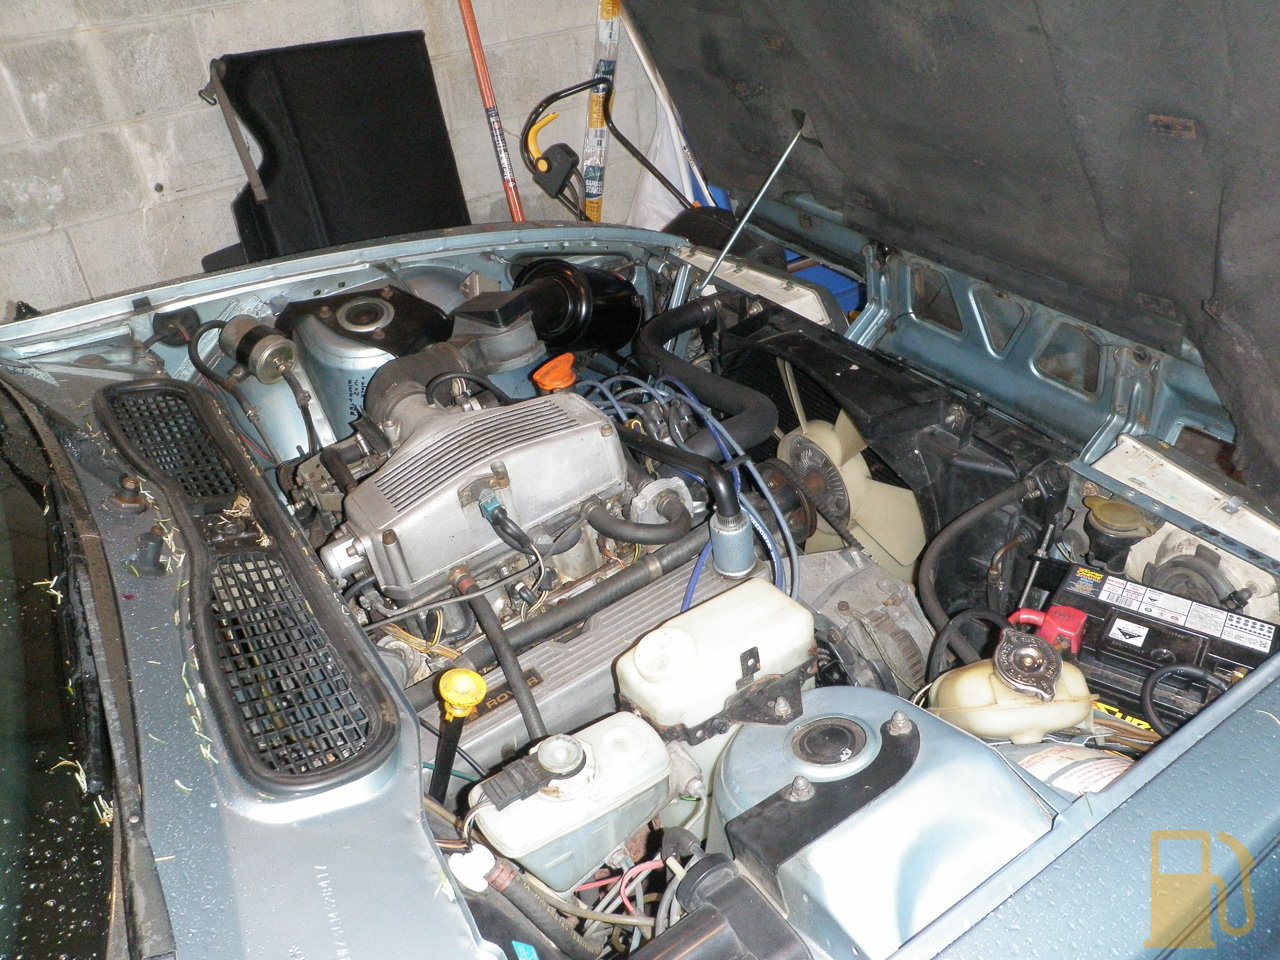

It’s actually amazing working on this engine. I’m used to Japanese cars with everything crammed in, with small fine threaded bolts and lots of complexity…. the Rover is the exact opposite. Its simple, well laid out, big coarse threaded bolts, and no complexity at all. The only pain is working with both metric and imperial bolts.
The first steps were to remove the intake plenum top. I removed the intake piping, all the extra air pipes, and disconnected the coolant pipes under the throttle body. Six large hex bolts, and it lifts off easily.


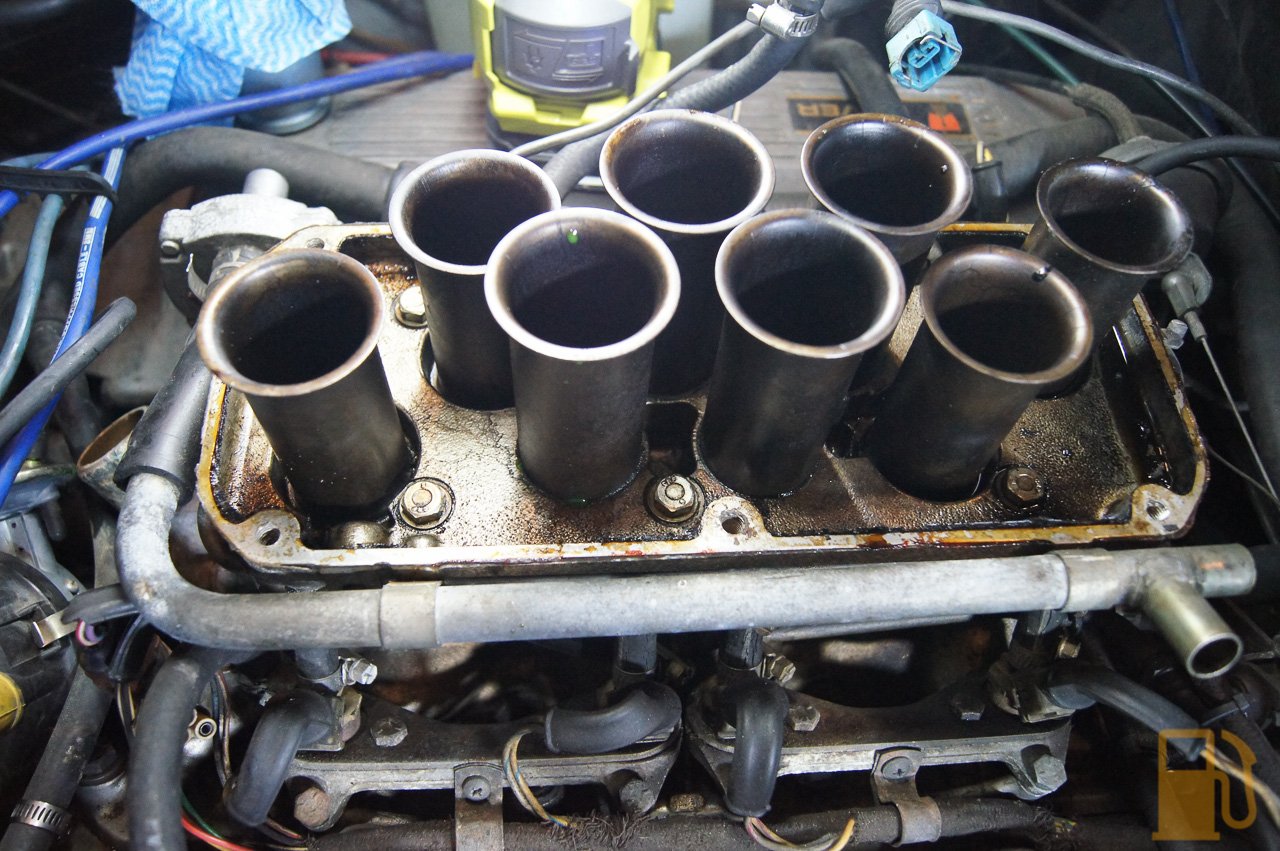
There was some traces of oil in the trumpet base, but nothing too major. I’m quite pleased with the condition really, although there was very little sealant left between the base and top, and what was there was sticky and degraded, so that may have been leaking air.

Six more bolts, a couple of air lines, and the plenum base was off too, leaving me with a clear inlet manifold and access to the fuel rail.


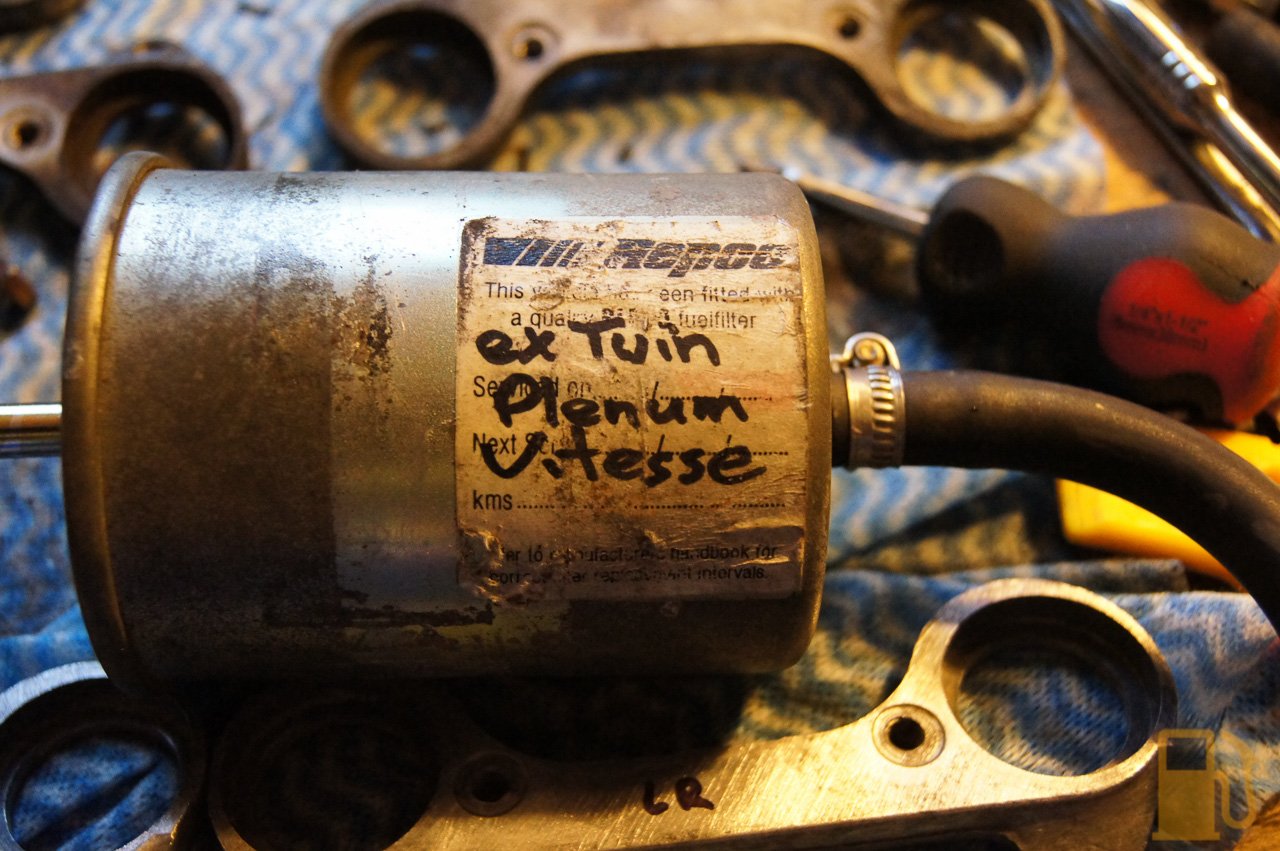
I also removed the fuel filter, because that will be replaced, and all the rubber hoses need replacing too. Interestingly the filter looks old as hell, and has a sticker indicating that it was removed from the previous owners other car and fitted to this at some point.
With the plenum off I got a real good look at all the injection hoses, and it wasn’t pretty. It was only a matter of time before the whole lot started jetting pressurised fuel everywhere. On one side you had massive cracks in all the injector hoses, on the other side you had injector hoses that didn’t have massive cracks but instead had all the wrong hose clamps which were biting into the hoses, and the wrong size hose. I also noticed that all the feed and return lines were cracked too.


After undoing heaps of bolts, spilling petrol everywhere, and noticing all the injector electrical connectors are worse for wear (it’s OK, I have new ones to go on with the Speeduino loom), I pulled the fuel rail and injectors off.


The lower injectors seals were perished and showing signs of cracking. I noted that there were some proper EFI clamps on some hoses, but they were corroded and in bad shape.


Removing the injectors was a pain in the arse. The upper seals were corroded into the aluminium retaining plates. I had to use a small pick to dig into the seal and lever it out of the housing. They obviously hadn’t been out in a while.

Once the retaining plates were off, I proceeded to remove all the injectors and hoses from the rail. All but one injector hose came off the rail easily, one had to be cut off. You can see the effects of using the wrong style clamps on the hose, and also the two different hoses used left to right.


All the hoses had to be cut off the barbs of the injectors, there was no way they would pull off.


I had a price to test and clean all the injectors, but it worked out to be about $400 and quite frankly that’s more than I want to spend on these old injectors for now. If I was going to spend that much I would change to a hotwire plenum with the new style injectors and rails (and no more hoses for the injectors). Instead, I decided to have a whack at giving them a basic clean and check the spray patterns.
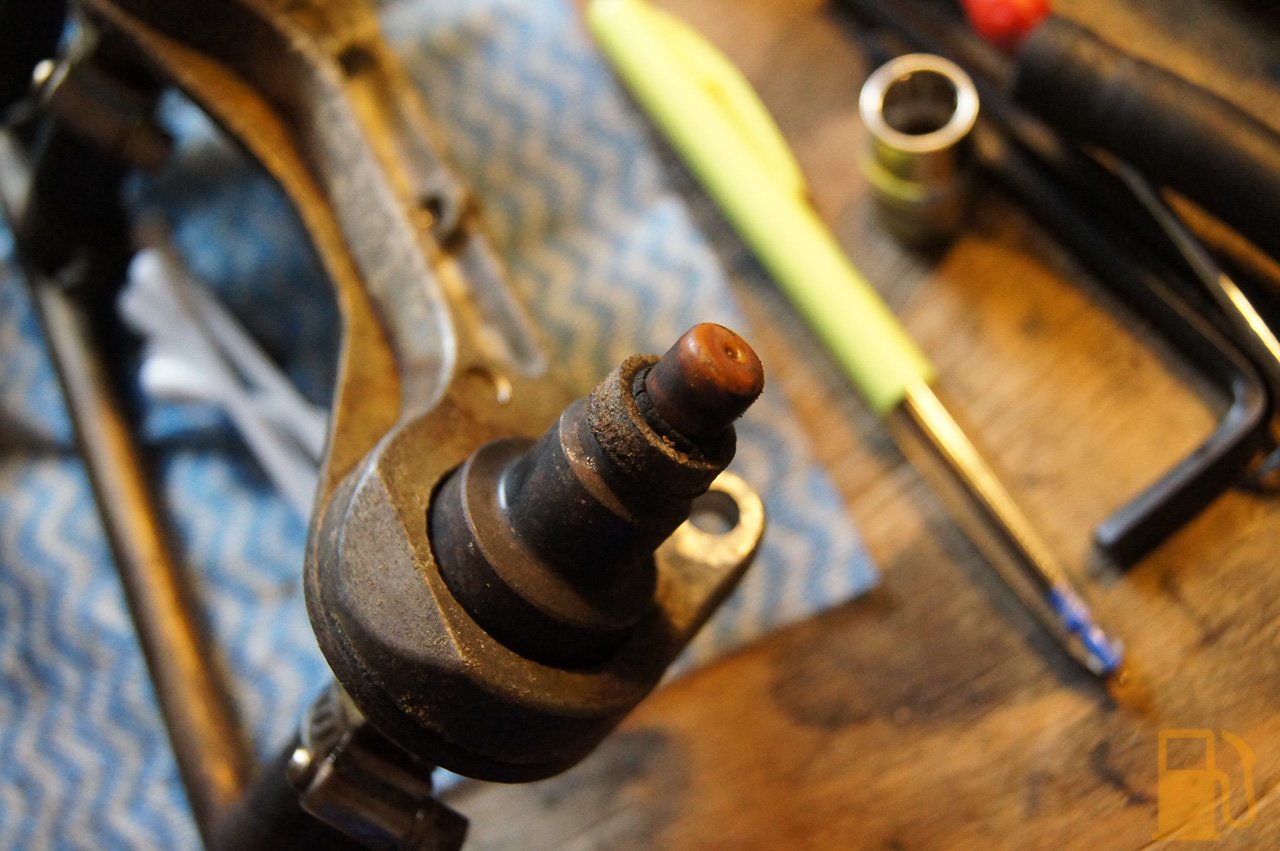
I set up a container, and a can of brake clean with some vacuum hose on it. Plug the injector into the hose, press the button on the brake clean to pressurize the line, and use a 3v power supply (in my case, 2AA batteries) to trigger the injector.


Worked like a treat, the spray patterns seem to be OK. There will be some improvement with a proper service but I lack the parts to service the injectors themselves. I’m happy with them for now.
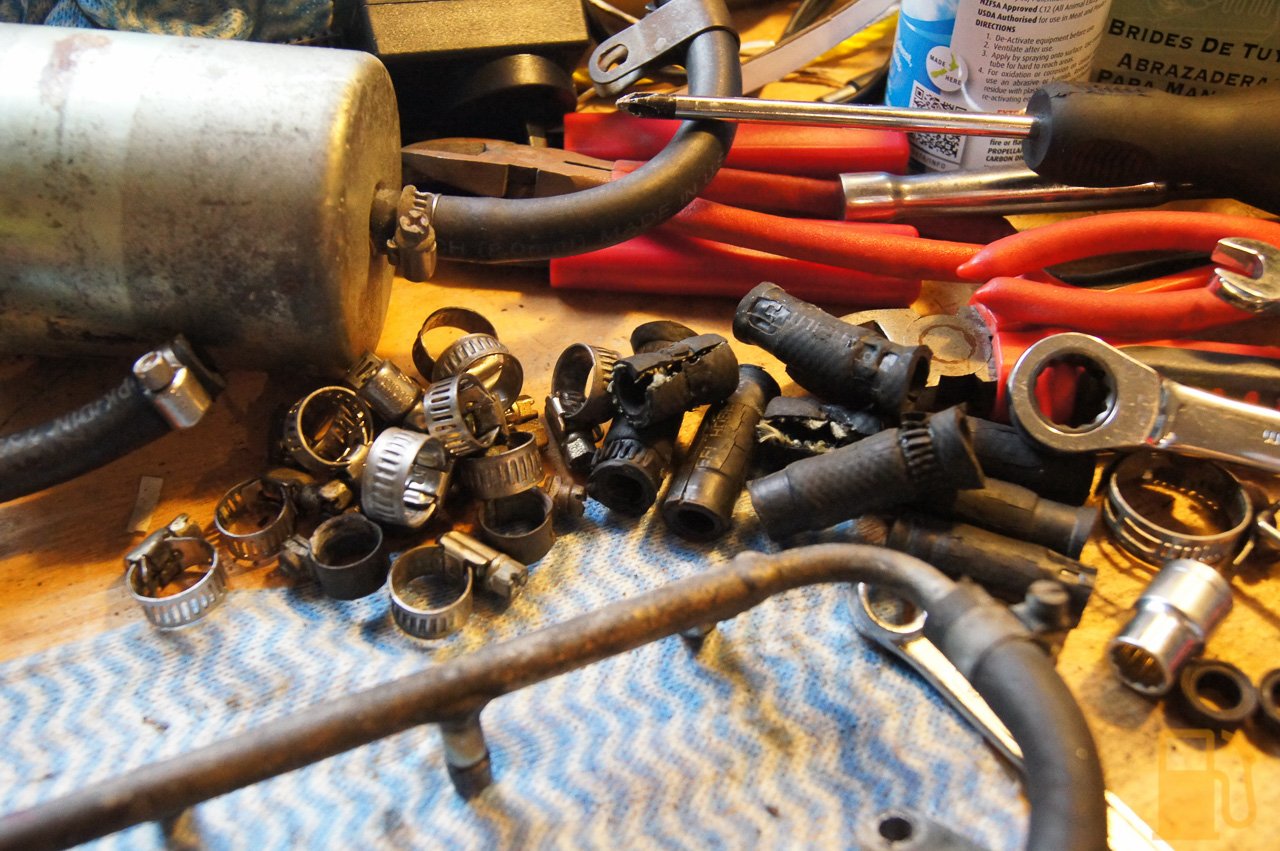
This was the graveyard of injector hoses and old clamps.
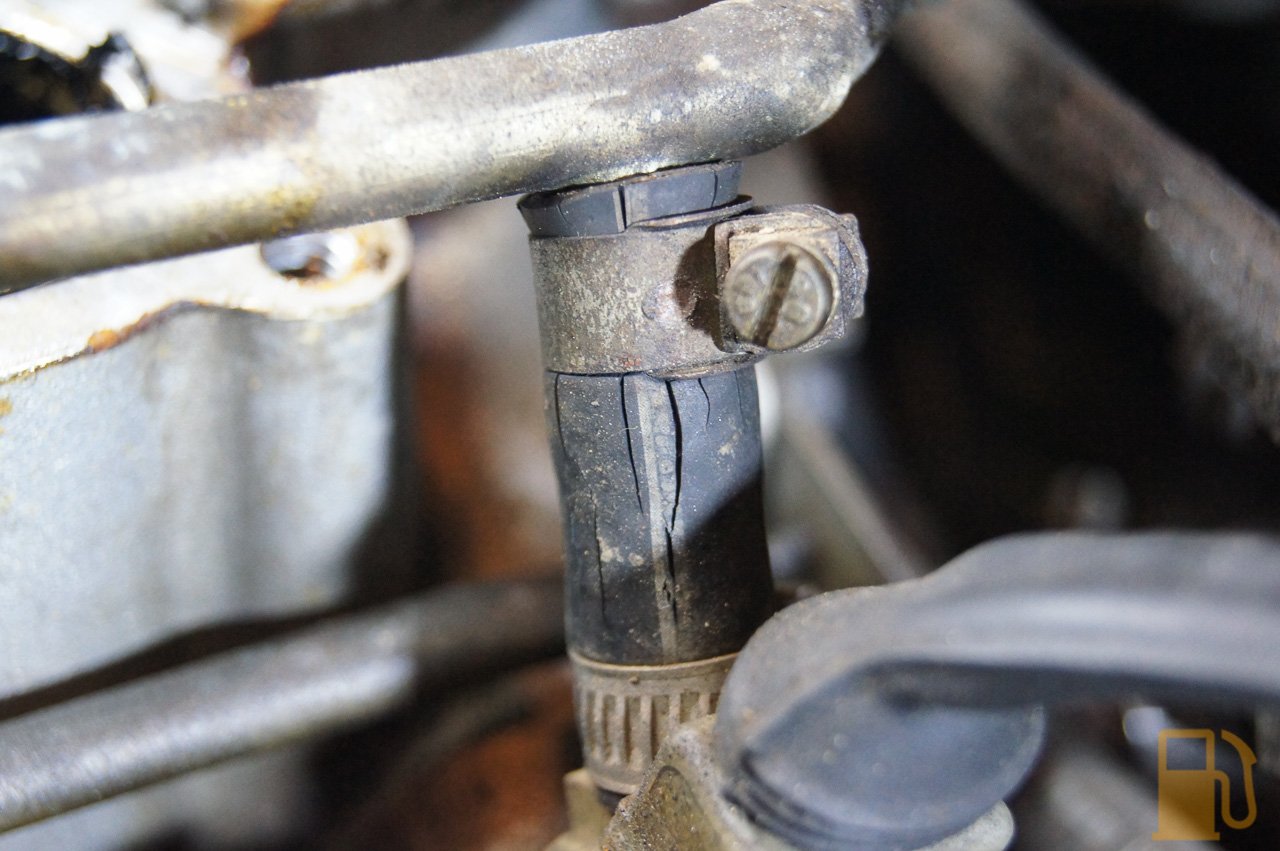
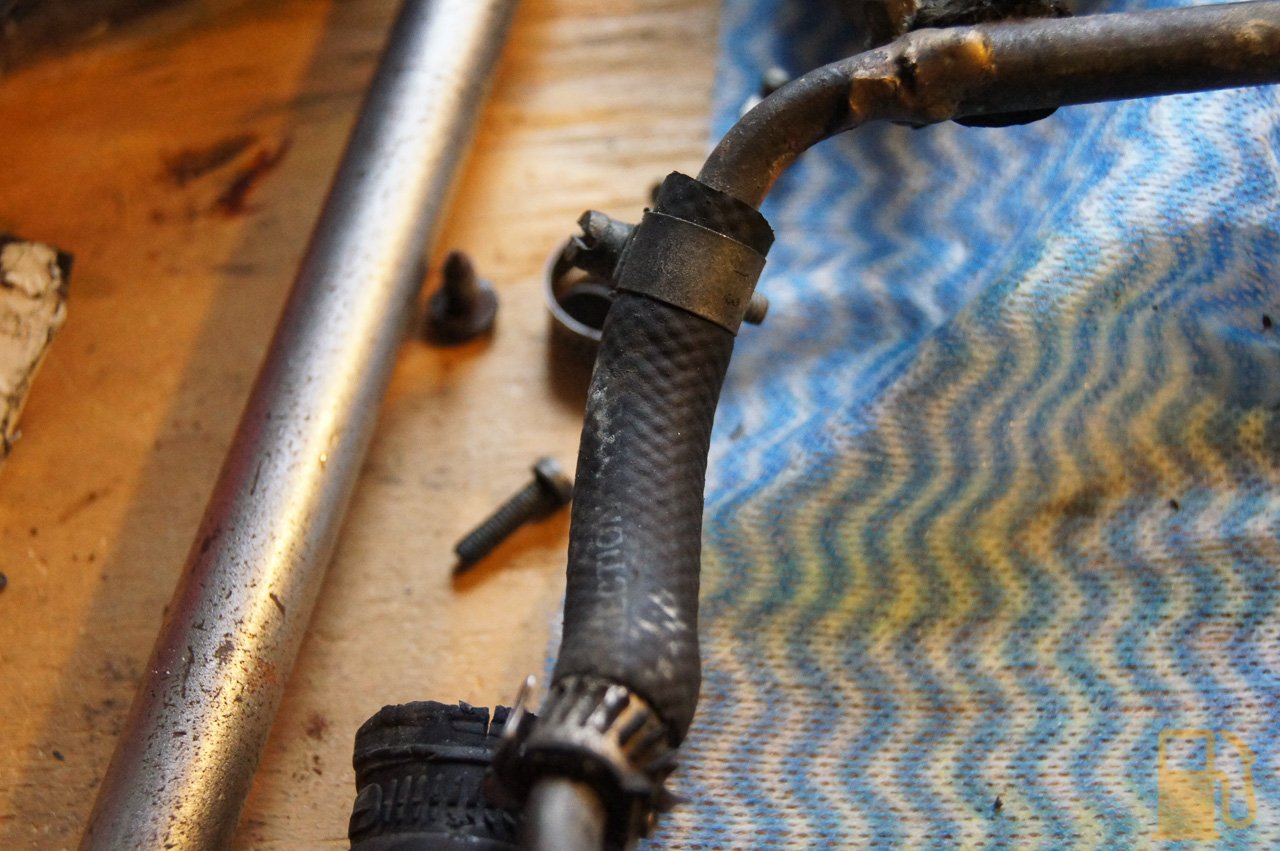
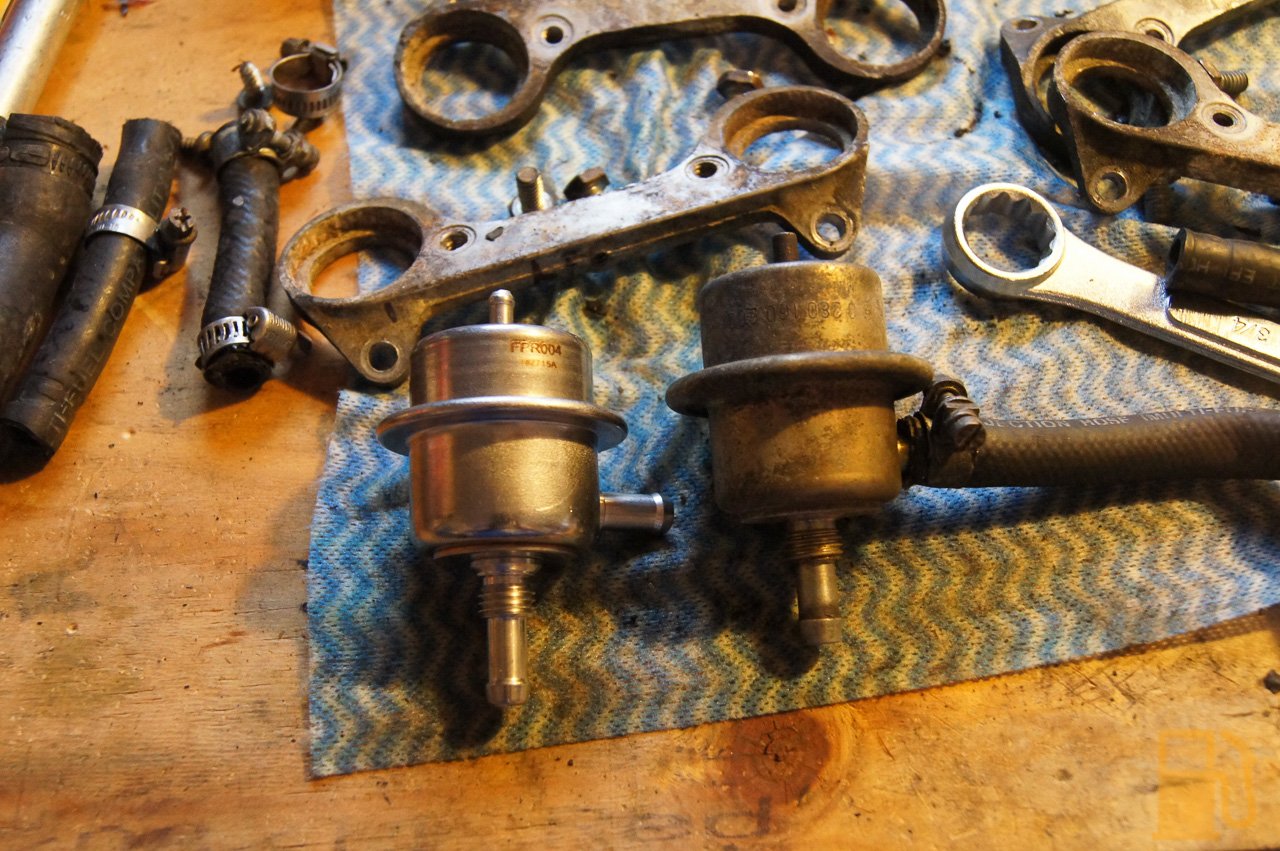
I pulled the fuel pressure regulator out too, so I can replace the leaking hose on that. The hoses were badly perished, with lots of large cracks in both. The leak wasnt out of one of the big cracks though, it was from a small little split in the hose, where a hose clamp had previously bitten into the hose. The vacuum hose was on its last legs too, with multiple large cracks in it.

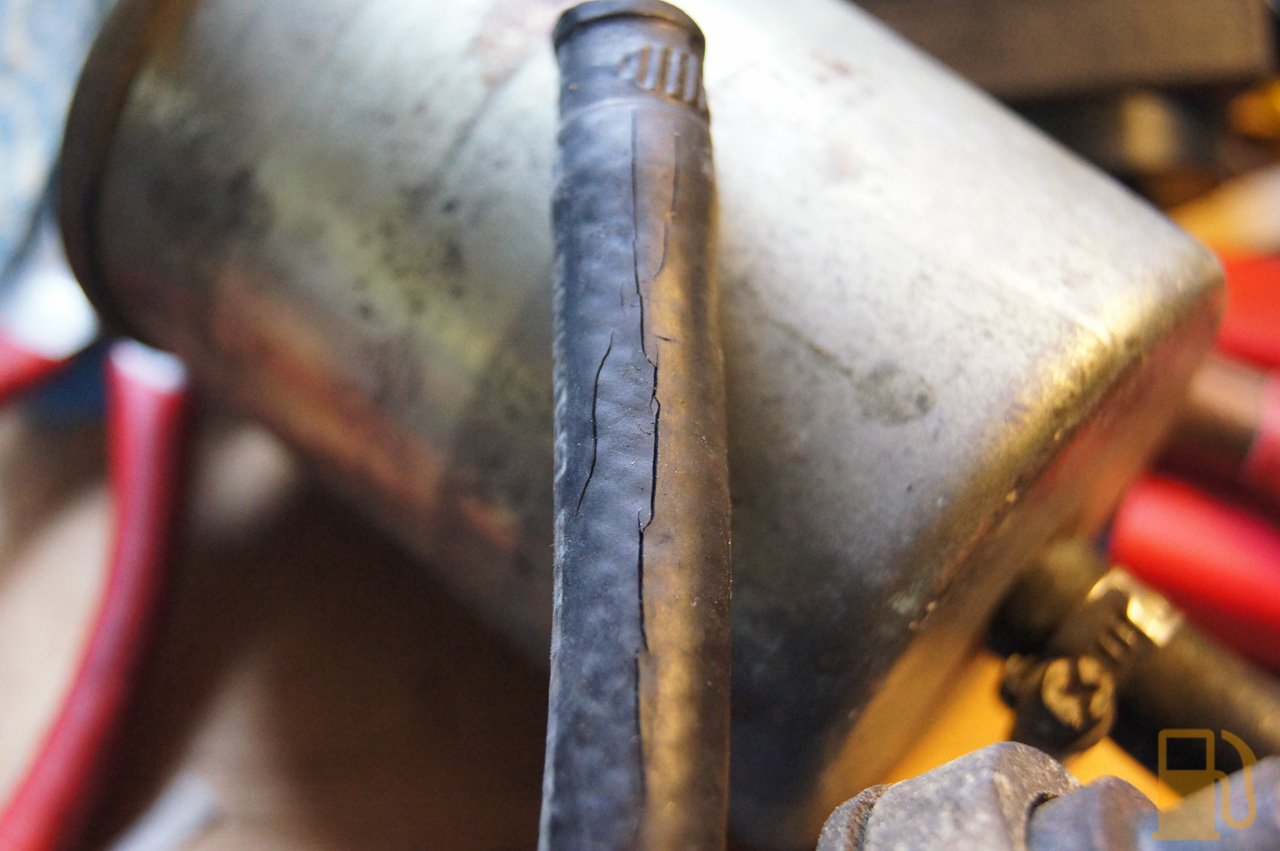

The whole lot gets binned, because I have a new regulator, new hoses, and new clamps

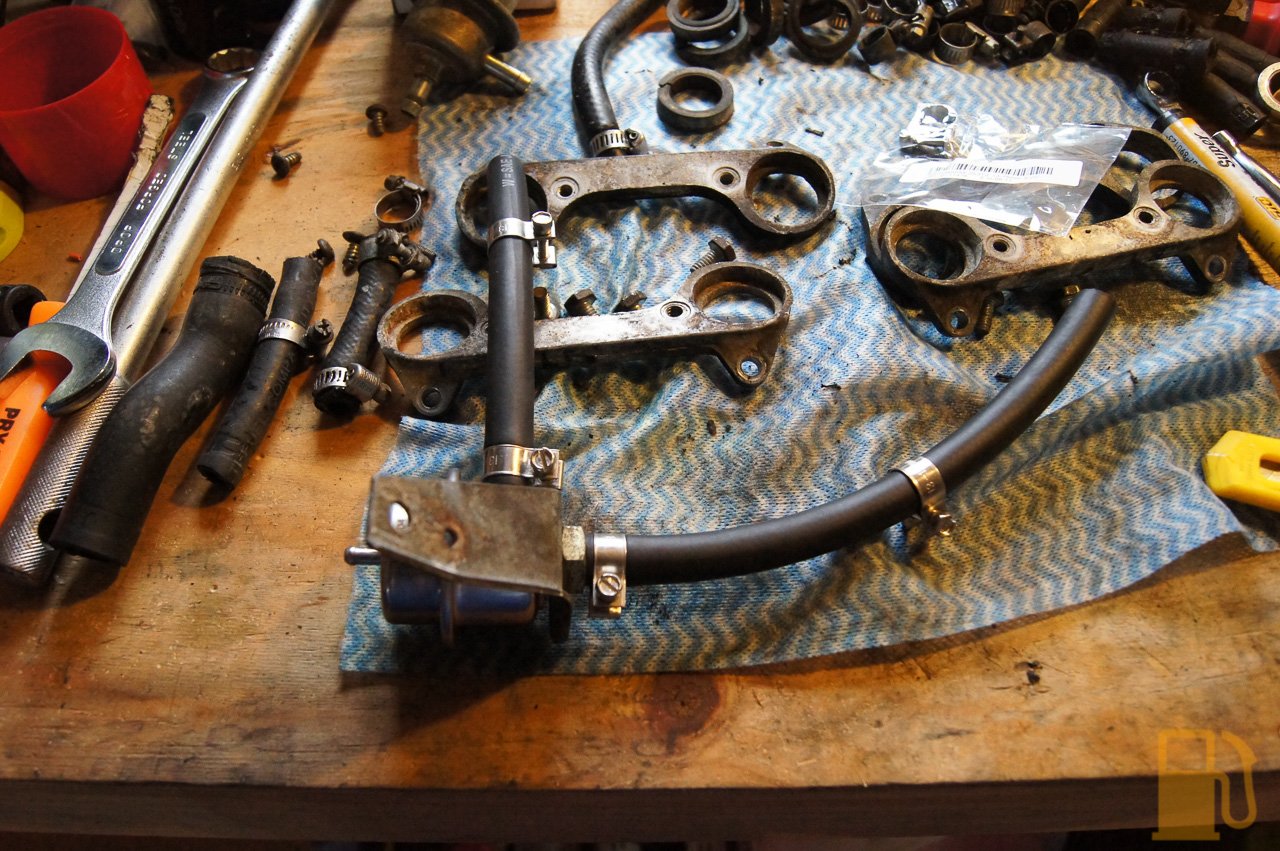

And since I was in there, I just couldn’t leave it well enough alone. The retaining plates and fuel rails just didn’t look good, they were corroded, rusty and just letting the team down. So I wire brushed the top plates and fuel rails, and hit them with a coat of CRC Zinc paint.


The finish is quite pleasing for such little work. It’s not perfect, but a hell of a lot better than they were and will keep rust away.
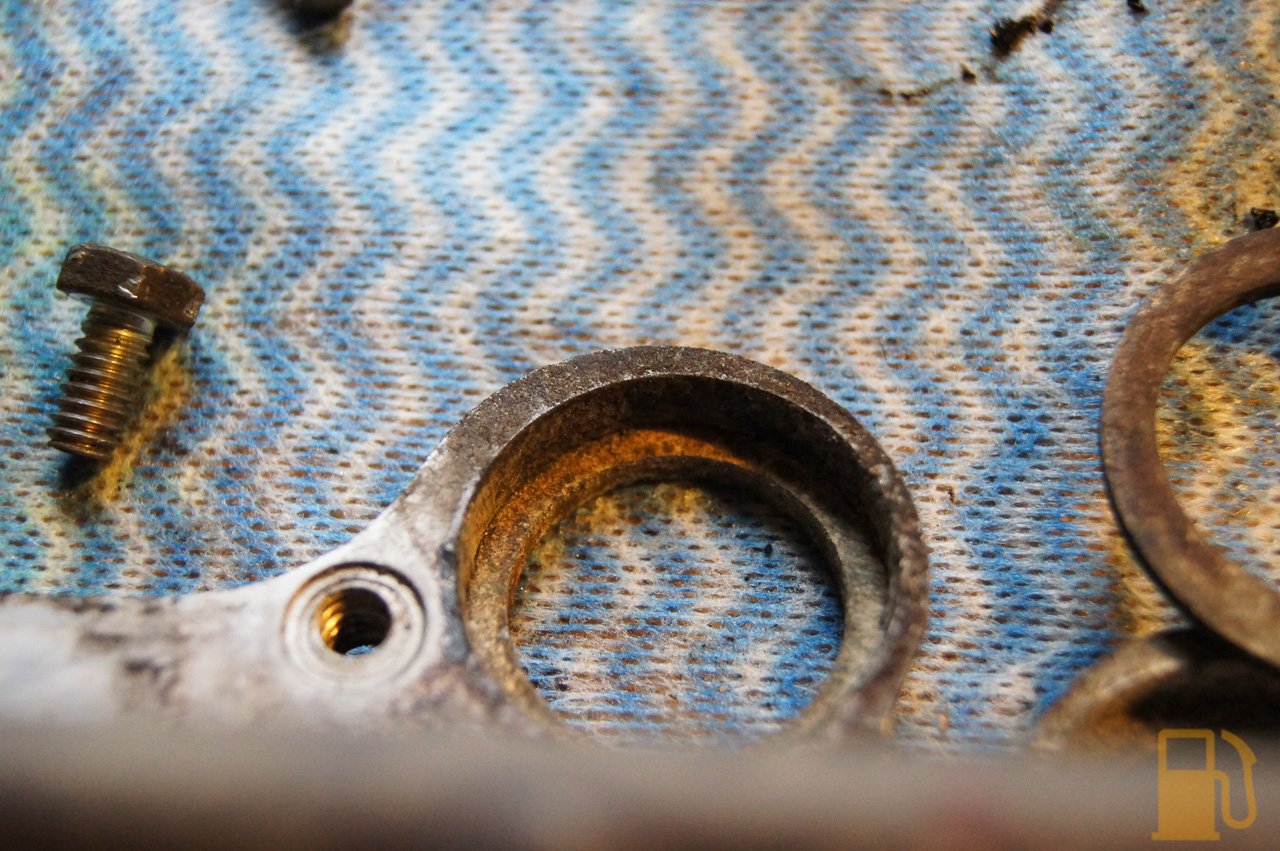
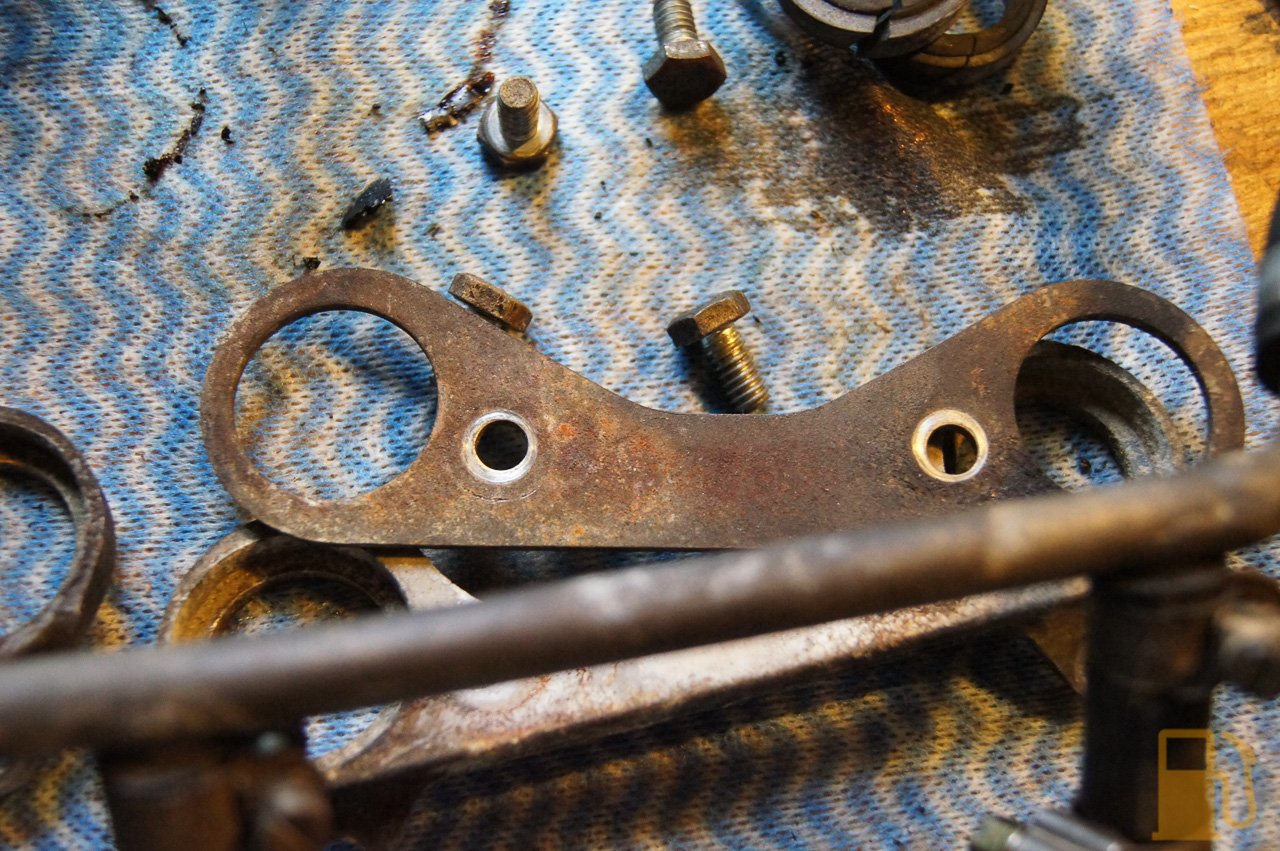
The lower plates also needed some attention. They were aluminium and were badly corroded. There was a lot of oxidation in the injector seal holes too. Lots of wire brushing later, and they were starting to look good. I wont paint these, just leave them bare alloy.


So this is where I got to. Tomorrow I need to change the thermostat out, and then the whole lot goes back together again. In the meantime, this is how it sits.

Excellent Pics and description, I will be doing the same to my Vitesse when I put the new engine in.
Hoping you can help… How hard is it to remove the plenum chamber? I’ve tried on mine by removing the 6 bolts on the top but it won’t release at all… Am i missing a bolt or is it sealed with silicon? Thanks
Hi, It will be stuck down with some sealant. Mine needed a slight tap with a rubber mallet, but didnt have a lot of sealant so yours may need a little more tapping or even cutting of the sealant. Only the 6 hex bolts hold the top on. Hope that helps.
What silicon do you recommend when putting it back together?
Hi, I used Permatex Sensor-Safe RTV for everything. Need to use sensor safe sealant when using a wideband O2 sensor for an aftermarket ECU like I am. https://www.permatex.com/products/gasketing/gasket-makers/permatex-sensor-safe-blue-rtv-silicone-gasket-maker/