
There is one thing that has been missing from the Fit that would make it just a little bit better; a reversing camera.
The Fit came with some random, useless, Japanese headunit in it when we got it. This was quickly pulled out and replaced with an OEM Mitsubishi Triton headunit that I scored from an old job. This was a basic unit, but had Bluetooth and did everything I needed.


Unfortunately, recently the Bluetooth has started to be a bit flakey. It either won’t connect, or it’ll show the BT icon and phone signal, but say “not connected” when you try to do anything with it. Not ideal, considering I exclusively use BT during my commute every day.
So when a friend decided he didn’t like the touch only volume controls on his recently purchased touch screen Kenwood unit and replaced it with a unit that had a physical volume control, I jumped at the chance to buy it from him at a good price.
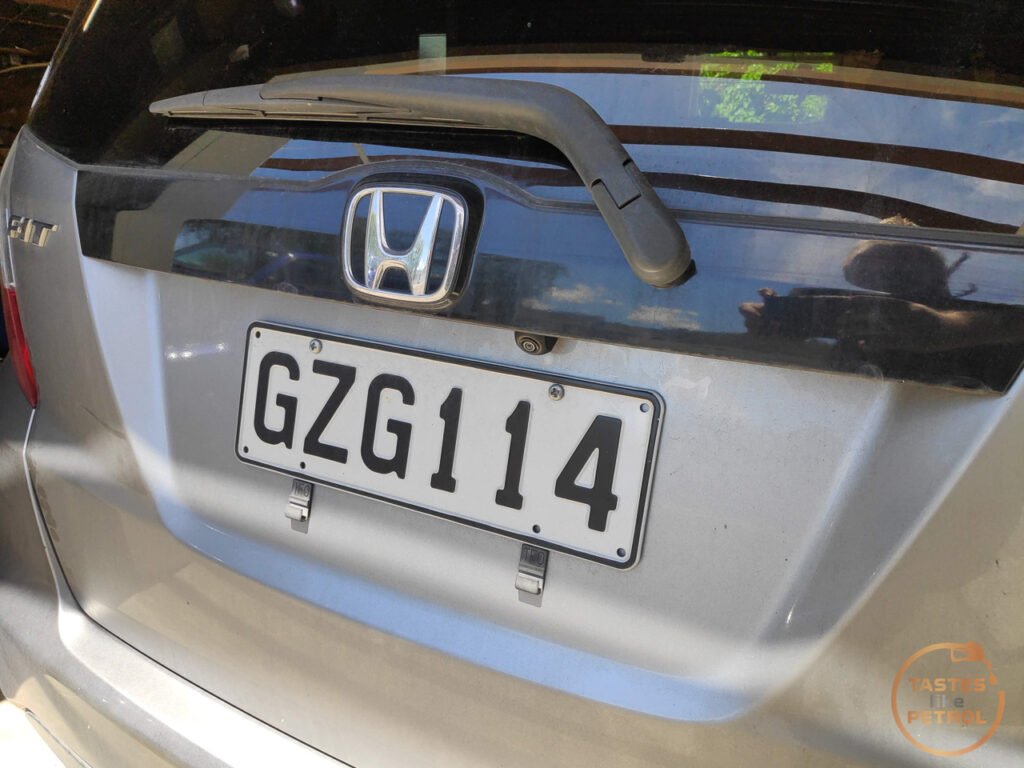
Along with the headunit I also ordered a plug and play reversing camera that would replace one of the number plate light lenses.
It’s taken a little while but I finally got around to installing it all the other day. I was procrastinating a bit because I thought running the wiring for the camera would be more of a pain than it was.
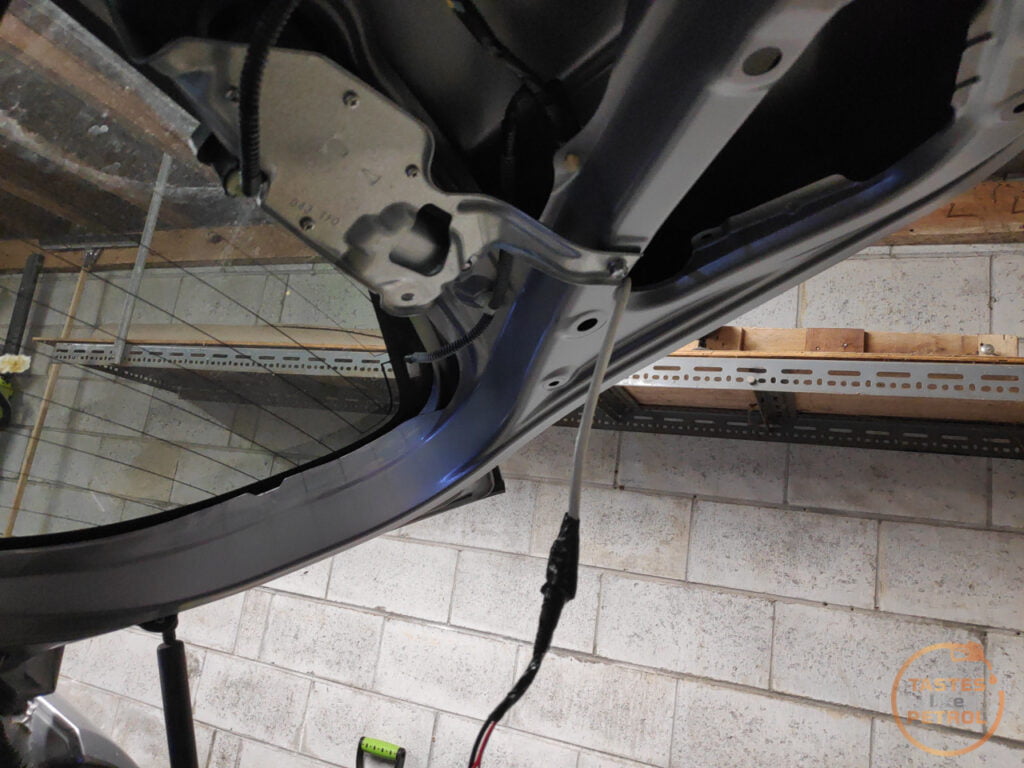
I started with the camera. I know the headunit is easy to install, so went for the hard bit first. I started by removing the trim from the tailgate
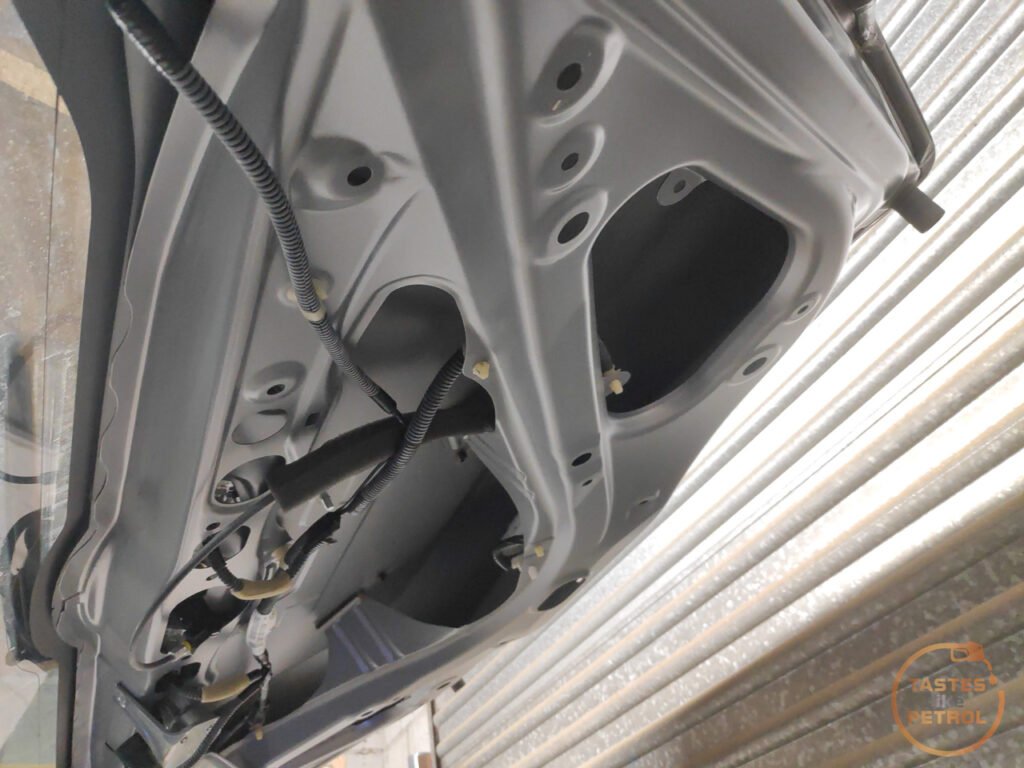
This allowed me access to the back of the number plate lights to remove one of the lenses. I had previous broken this one and glued it back together, so didn’t want to pop it out from the outside (you can do this by sliding it to one side and pulling it out, but it puts a lot of stress on the brittle plastic tabs).
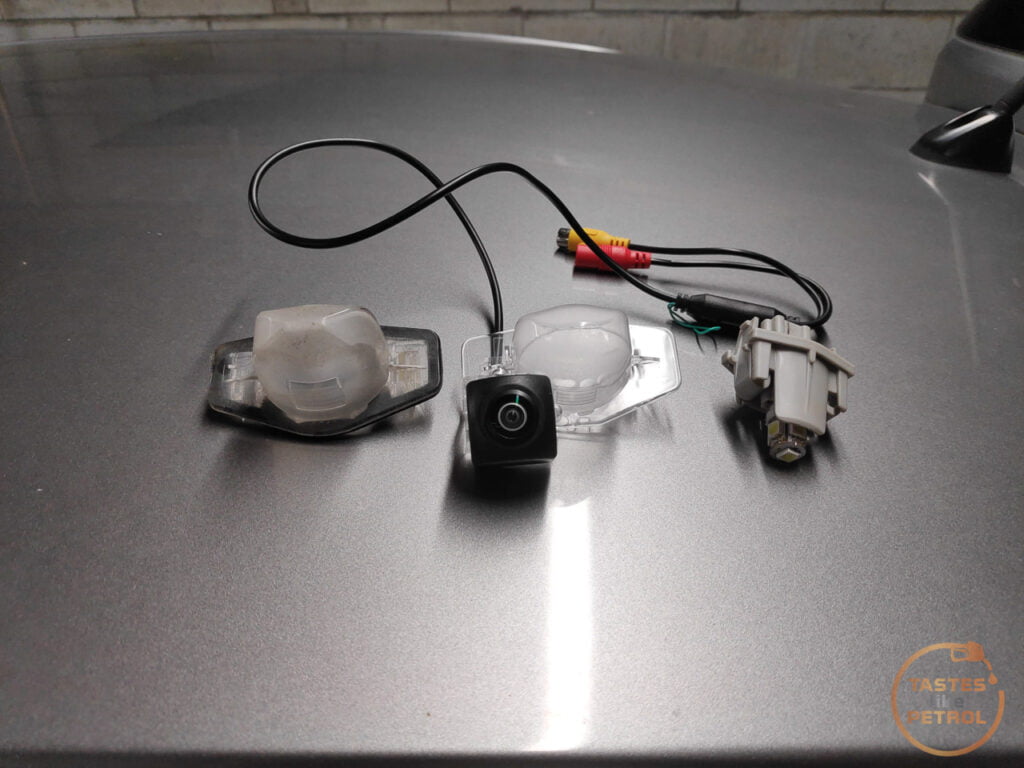
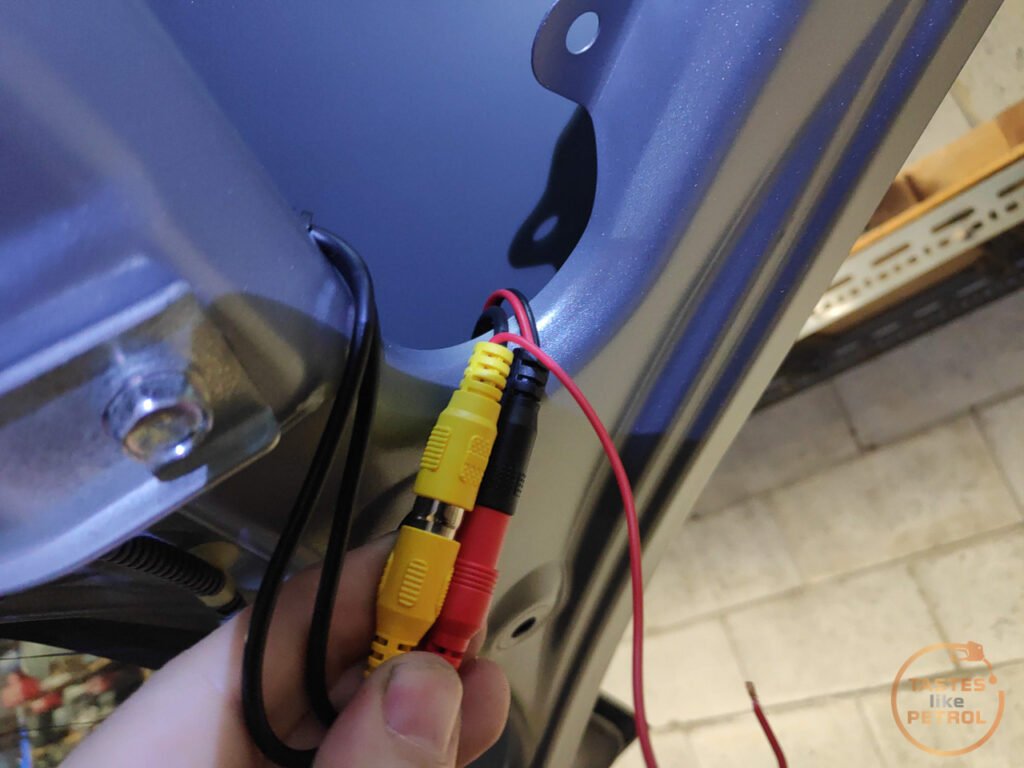
I installed the new camera lens combo and began running the wiring. There are two wires to run; the main video feed to the front of the car and the power/ground feed to the camera. The power feed needs to go to either a switched 12v (if you want the camera powered all the time), or in my case, I tapped into the reverse light wiring so the camera is only powered when the reverse lights are on.
I pulled back the grommet that goes between the body and tailgate, then bundled both of the wires together and taped them to a section of CAT6 wire that I fed through the hole in the top of the tailgate and down to the opening at the bottom. I taped the wires to this CAT6 wire which will be used to draw the wires through the space down the side of the tailgate.
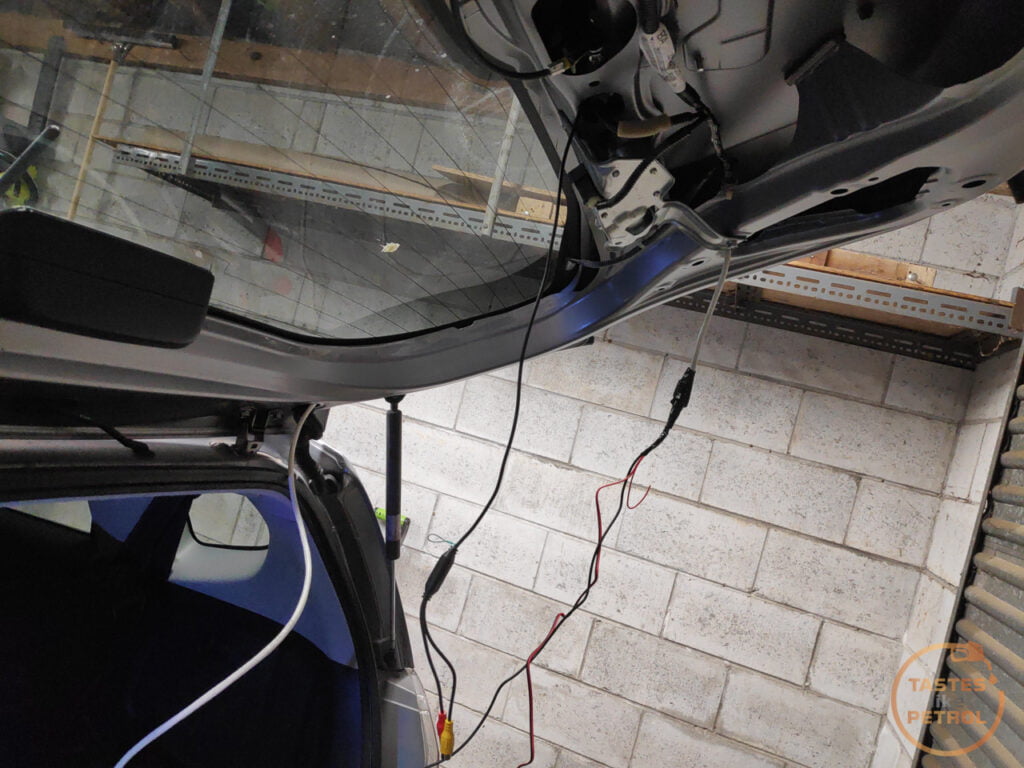
Where the wires will come out, at the top of the tailgate
And the wires at the bottom of the tailgate are ready to be pulled through
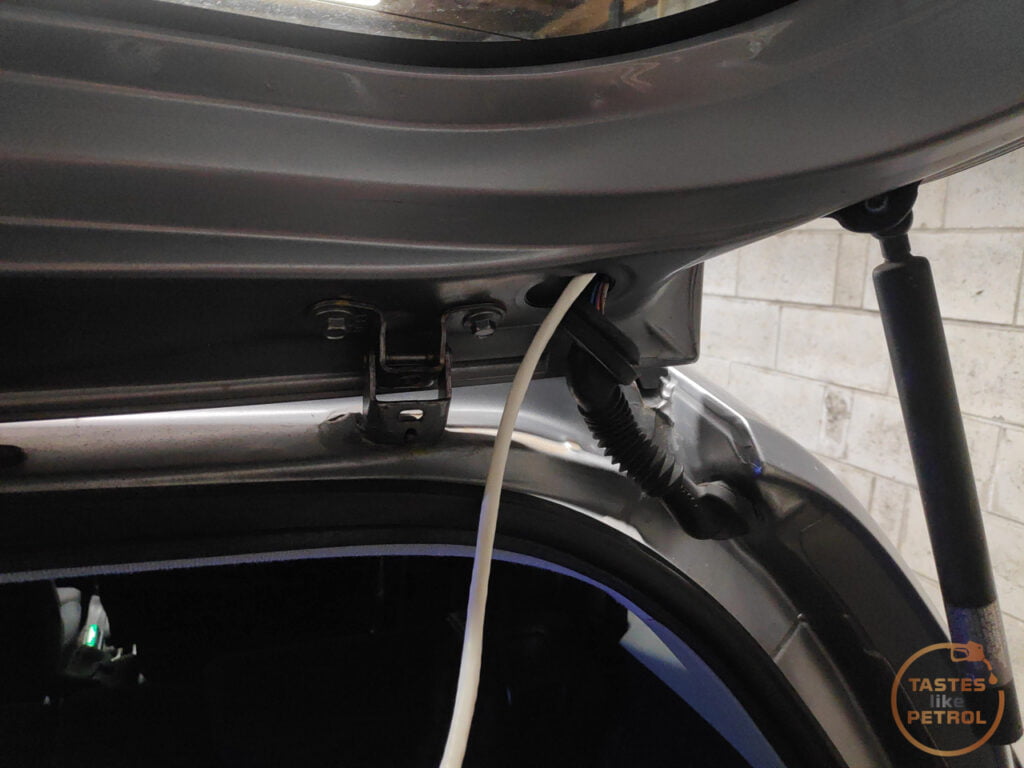
I carefully drew the cable trough until I had all the wires out the top
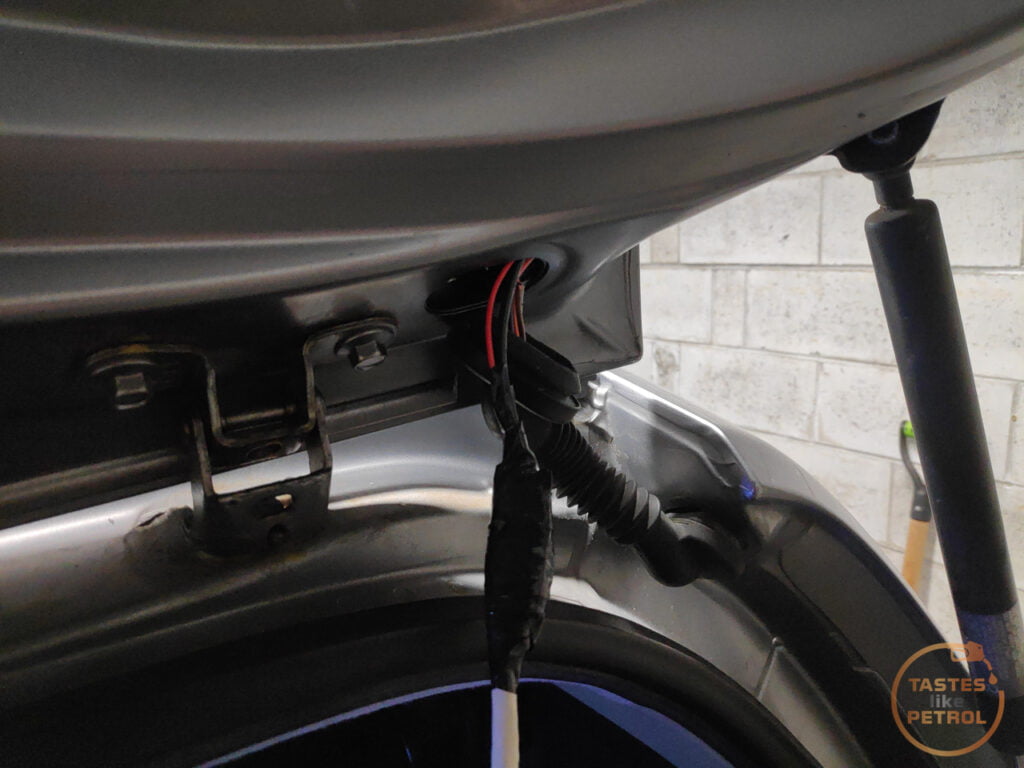
Next, I had to pull the wiring through the rubber grommet, from the top to the bottom, as this is how the wiring will get from the tailgate into the body. This was a bit of a pain, but I found lots of silicone lubricant to help stop the wiring from binding in the tube.
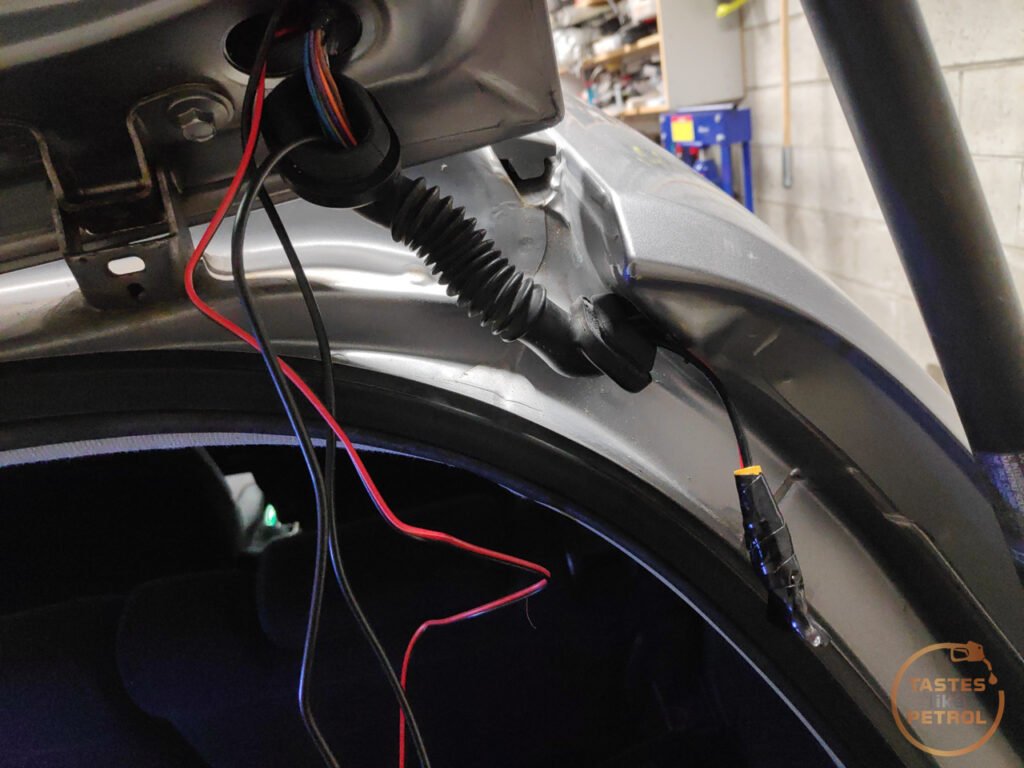
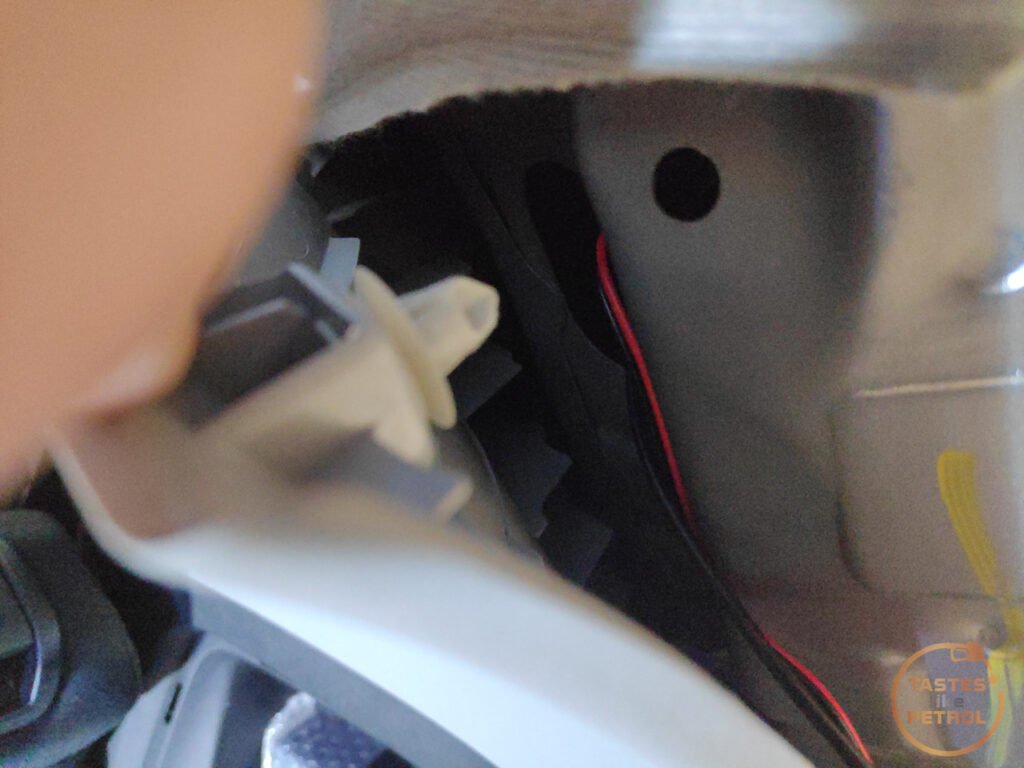
Once I had pulled the wiring through the grommet I then fed it into the bodywork, where I fished it out another hole behind the trim.
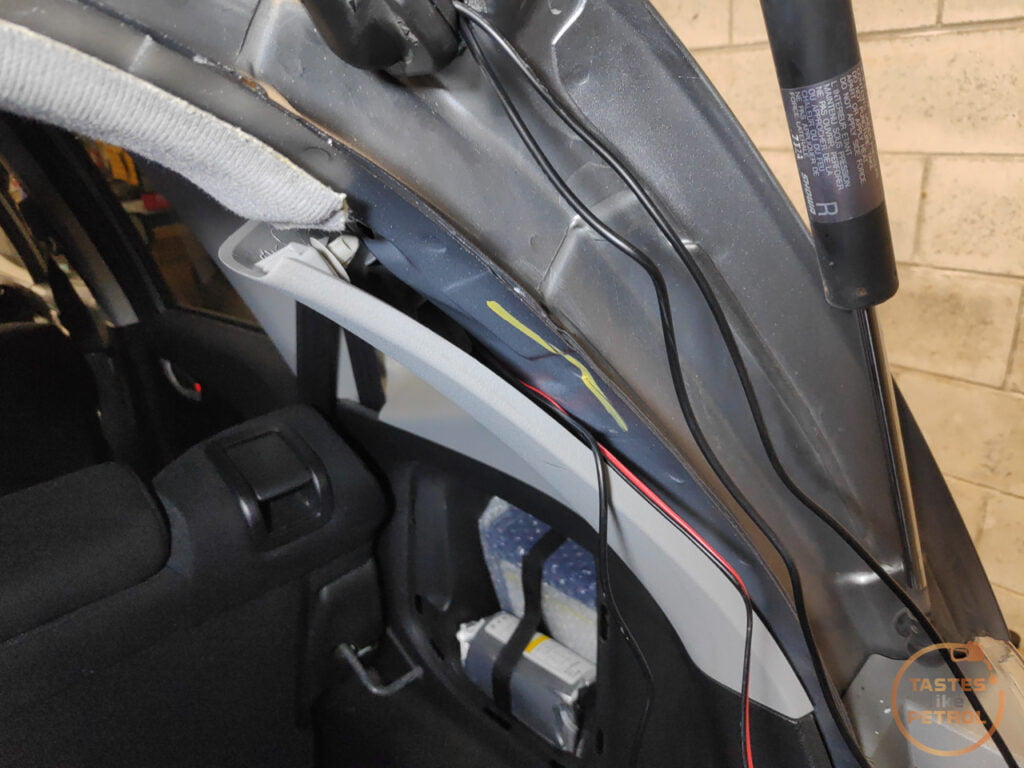
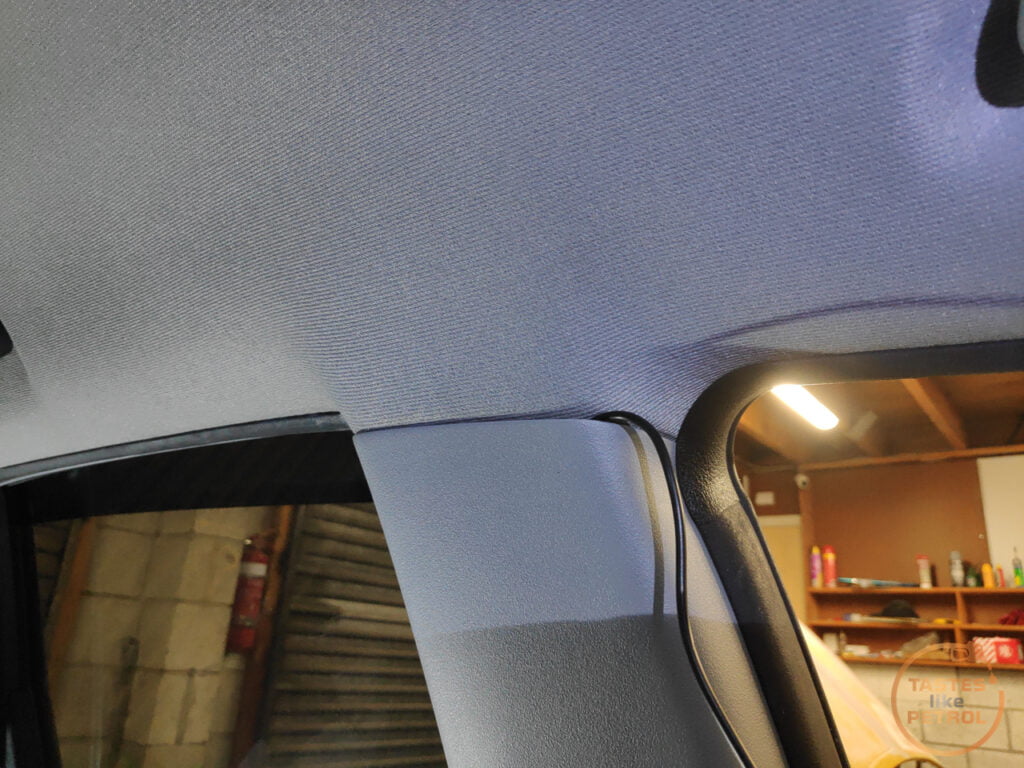
From here I pulled back the tailgate seal and ran the video feed wire (leaving the power/ground wire where it was) from one side of the car to the other, tucked up above the back of the headlining. With it on the correct side of the car, I then ran it along the ceiling, using a trim tool to tuck it behind the trim, and pulling down the door seals and running it along the headlining as I went
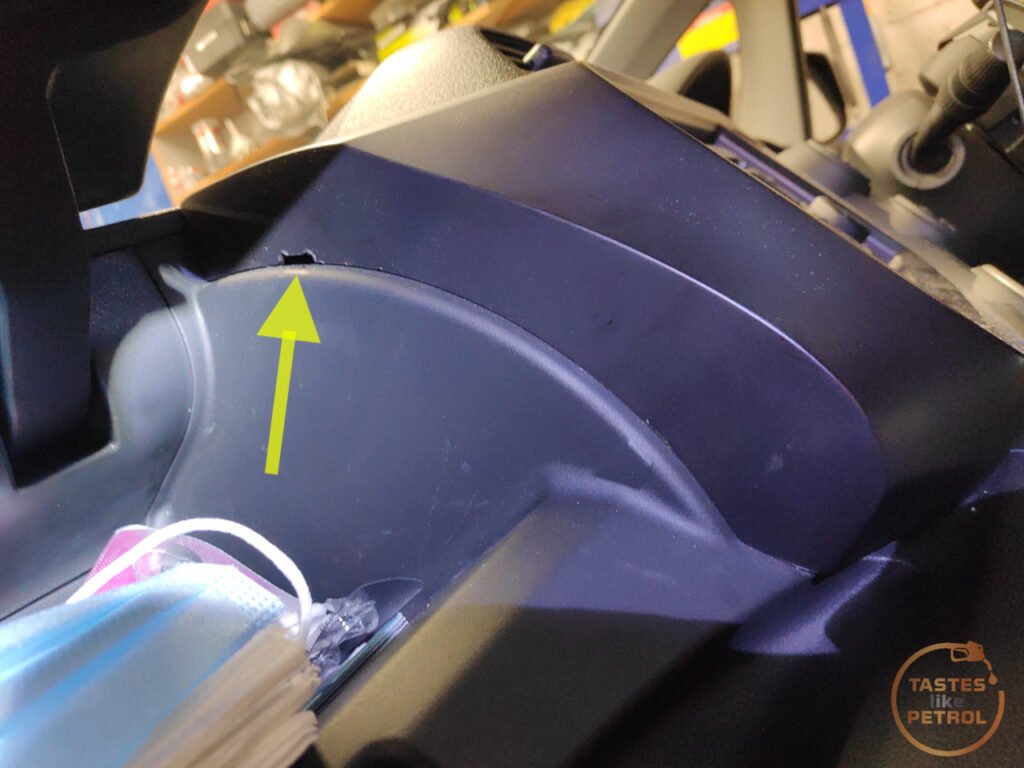
I ended up running this down into the space behind the glovebox, where I left it for now.
With the video feed at the front of the car, all it needs is to be connected. The power feed I left back behind the trim on the other side of the car. I ran it to the back of the tail light, and using a spade terminal attached the ground wire to the existing ground bolt in the area, and stripped back and soldered the power feed to the 12v wire for the reverse light bulb.
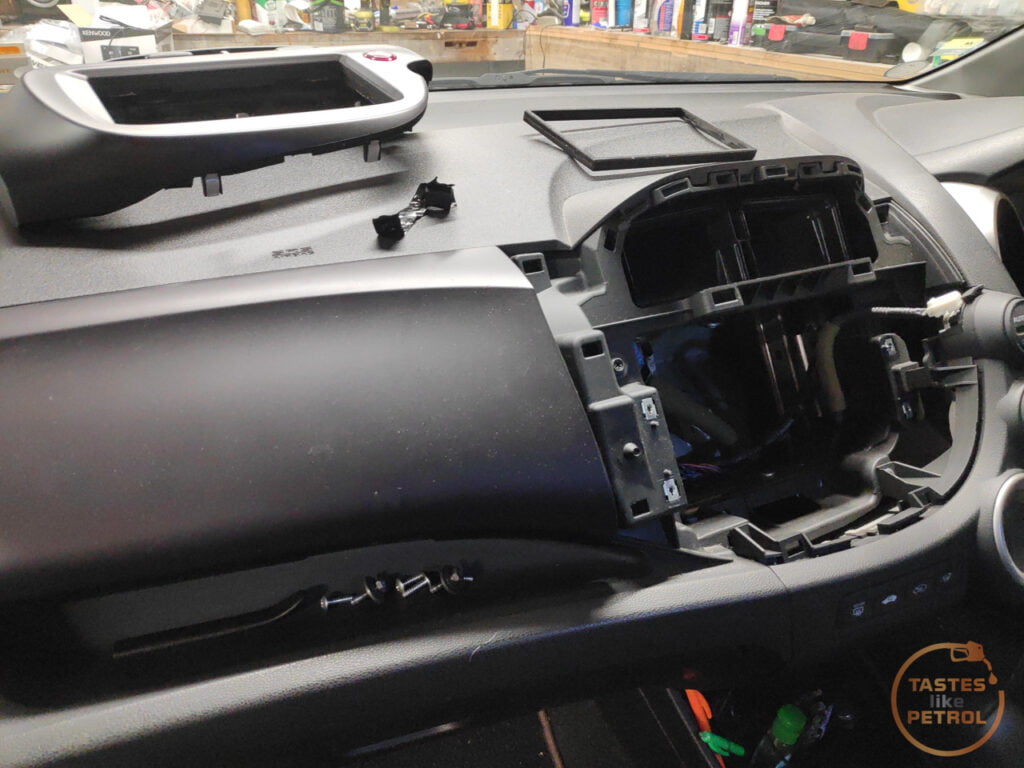
Moving back to the front, it was time to pull the old headunit out. This is easily done. The trim around the headunit is only clipped in and can be wrenched forward with the handy notch in the top glove compartment.
Once popped free there is one wire connected to it for the hazard light button and then the whole thing can be removed
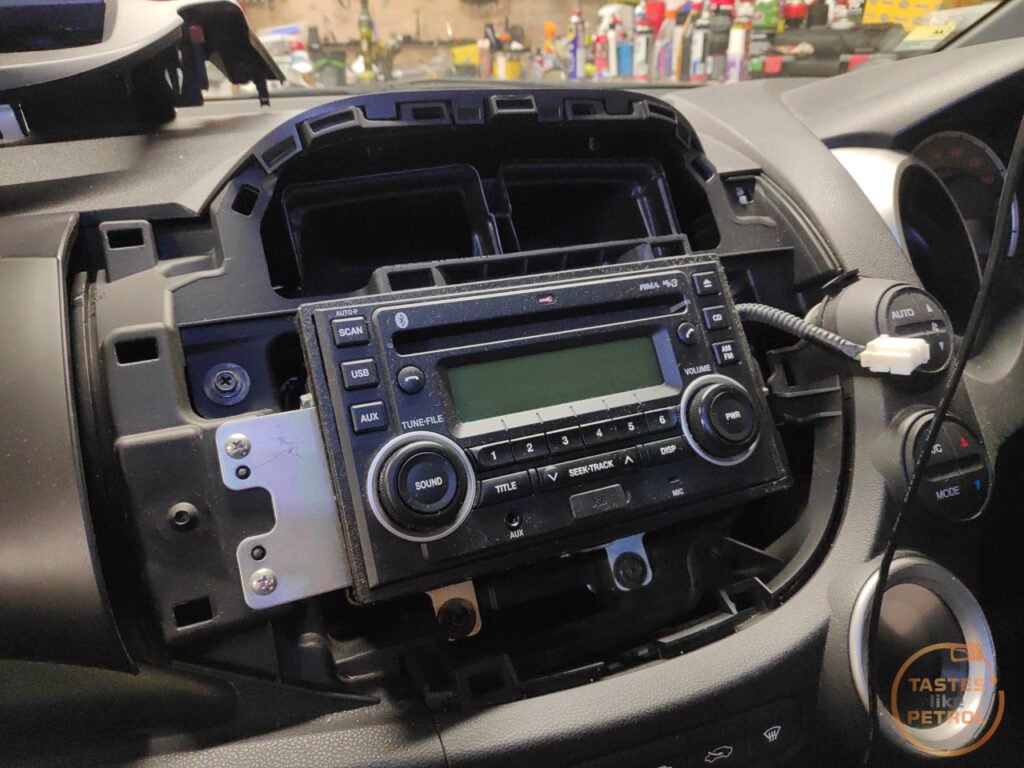
Six screws later, and the radio comes out too
I soldered the wiring harness to the required ISO connector, installed the replacement headunit and plugged the camera and microphone in. The mic got mounted at the top of the RH A-pillar, with the wiring run across the front of the headlining and down the LH A-pillar.
The only wire that was going to be a potential problem was the reverse trigger for the headunit. It needs a 12v feed on a certain wire, but only when the car is in reverse (so it knows to switch to the camera mode). I believe the common place on these to tap into is a wire on the fuse box, but thankfully the wiring loom (some of which is still tucked away behind the dash) for the original JDM headunit had the perfect wire.
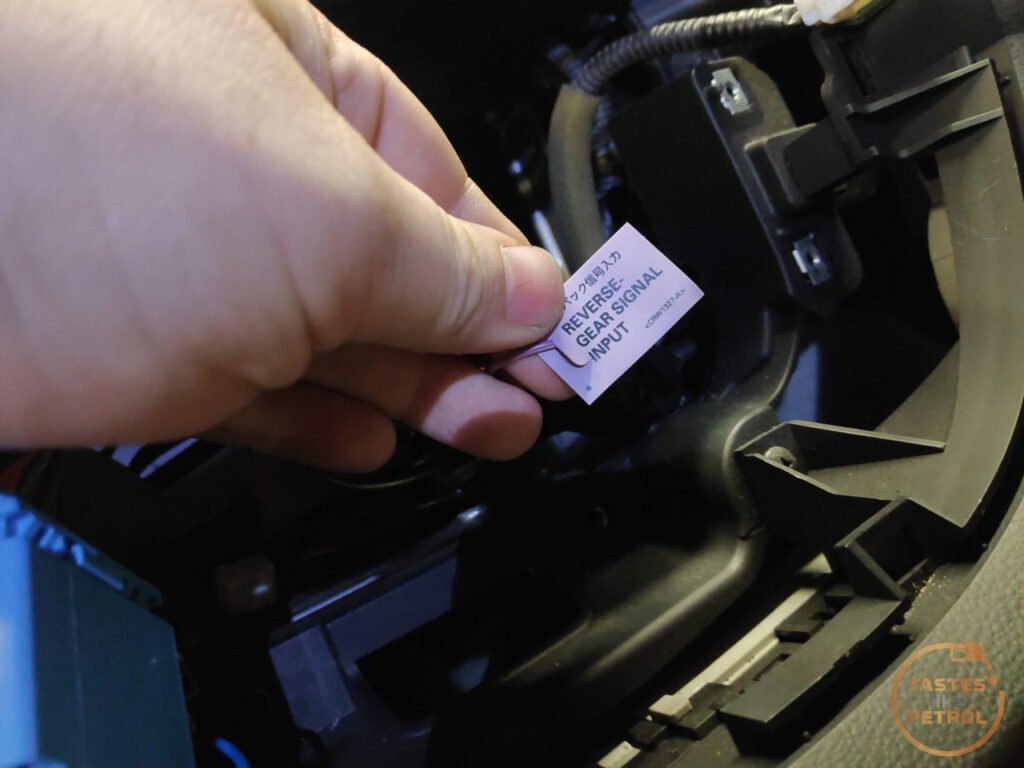
I checked it with a test light, confirmed it was only powered when in reverse and then joined it to the headunit. A quick test confirmed it was working as expected.

Before I found that I was looking at one other option. The video feed wire also has a single red wire that goes from end to end. I believe this is some sort of trigger for Android units, but if tapped into the same reverse light feed as the camera power, you could use that to trigger the headunit camera mode.
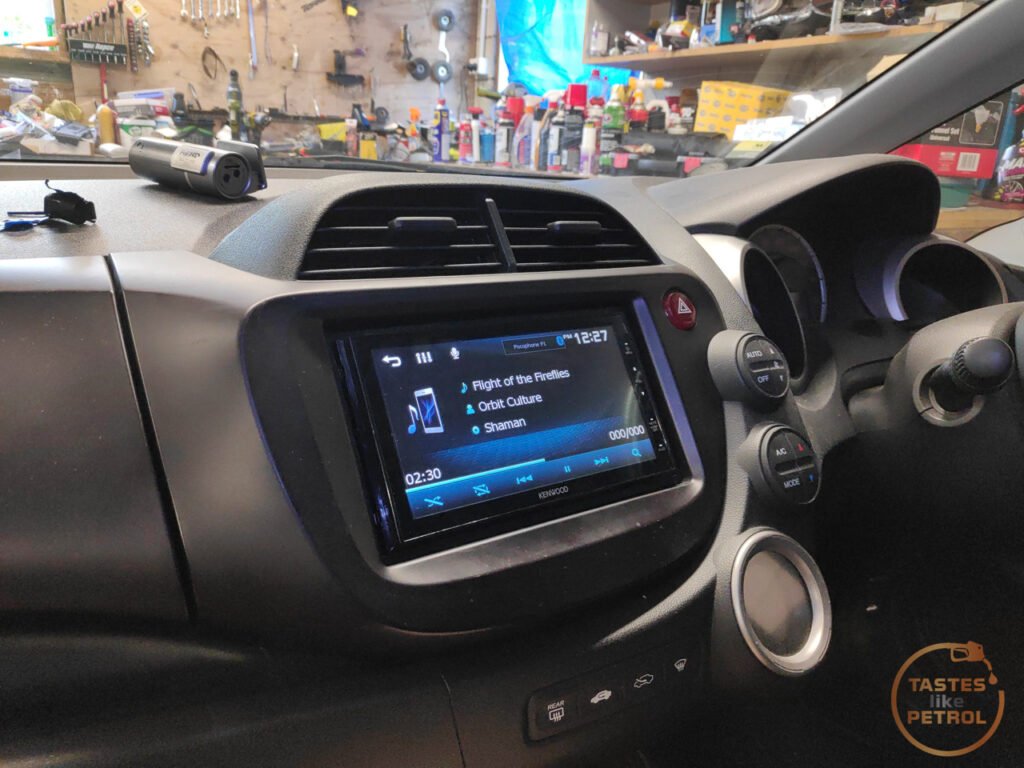
The camera is quite nice and subtle. It’s well positioned and just shows the edges of the rear bumper, and has a nice wide view.
So far the function I’m most impressed with is not just being able to see behind me, but being able to see around other cars when in parks, so I can see what is coming before I back out of a park.

So far I’m happy with the headunit. The sound is good, it’s easy to use and responsive. My only gripe is the same as the previous owner, touch buttons are shite. I’m really hoping I can find a JVC/Kenwood remote (I know I had one, but I think I recently threw it out) and see if it works. Steering wheel controls are an option too, but seems like way too much work.
Along with the headunit, there was one other improvement that I made; I replaced the old dashcam.
The Blackvue camera was good, but I couldn’t transfer anything off it without pulling the card out and inserting it into a computer, which means I often just didn’t bother, and the wiring was never run properly so there was always a wire hanging down in front of the dash.
Since I was running wiring in the area anyway, I ran power to the dashcam through the dash, up the A-Pillar and along the headlining.
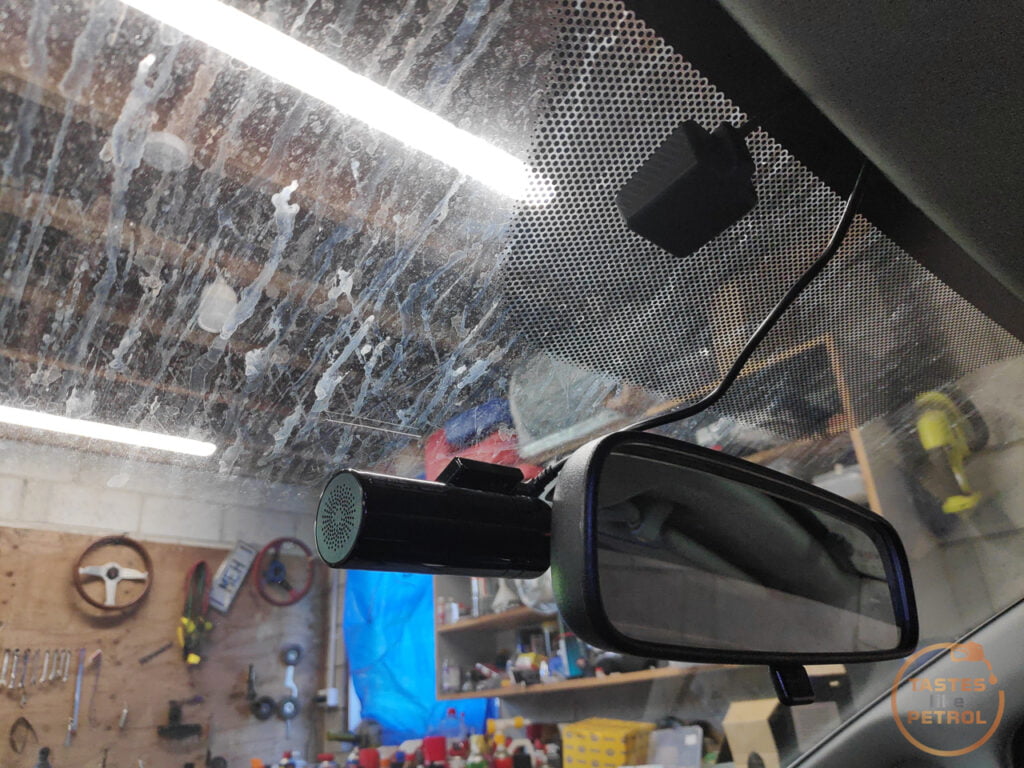
The previous camera was up higher, hidden in the area of dots as it was installed back when people would steal dash cams. I always had an issue where the vision wasn’t quite in the swept area of the wipers, so when the windscreen looks like the above photo, or it rained, the dashcam was basically blind. I moved the new camera down so it was in the swept area, so would always have a clear vision. It is still obscured from the drivers vision by the mirror.

The unit I went for was a very cheap DDPai Mini 1080p. The biggest drawcard was that it has built-in wifi, so I can connect my phone directly to it and transfer photos and video from it. Quality seems decent, but obviously for a $50 camera, you can’t expect miracles. Hopefully I can catch more WTF moments on the road now.
Great write up mate, I’ll be sure to use this as reference when I do mine 🙂