Well, the time has finally come, it’s time to see if the car is roadworthy or not.
It’s been a long time coming, but it’s good to finally be here. It’s a milestone; it means I’m confident the car will make it to the testers in one piece, and it might not fail too badly.
So on Friday, I rolled on down to the workshop and left the car to be inspected. I’ve used these guys to do my tyres before, but haven’t had them do a WOF yet, so I was hoping they weren’t going to be real picky about it.
An hour later, I get the call. Its failed. Damn. What did it fail on? Excessive side to side play in the front wheels. It needs new inner rack ends and one tie rod end.
Not the worst thing to fail on, and being the only thing it failed on, I was still reasonably happy. I was expecting much worse.

I picked the car up and immediately shot around to a couple of parts stores to price up the parts. It seems they all get them from the same place, as they were all the same price, so I picked the last one I went to and ordered them.
While I wait for the parts to arrive, I got stuck in.
Up on Quickjacks, confirm there is noticeable play in both sides, and off with the wheels. The LH side looked original and still had an old castellated nut and split pin instead of the nyloc new joints come with.

I had also slipped the boot off the rack to see what I was dealing with on that end. Annoyingly Rover is dumb and used an inner rack end that doesn’t have a locking washer or even flats on the joint to put a spanner on.

There was a factory locking method though; a notch in the rack and a punch used to deform the rack end so it locks into the recess.

I had to use a hammer and punch to hammer the deformed section back away from the rack

With that hammered back, I used a pair of vice grips to grip the joint and then a dead blow hammer to crack it loose.

Then before completely removing the inner joint, I popped the tie rod end ball joint from the knuckle. This LH side one was really stuck and took a ton of force and lots of hammering to pop it free. Remember to crack off the adjustment locking nut first, whilst it’s still easy to do.

The amount of force the tool was putting on the joint can be seen in how deformed the threads are around the split pin holes

Eventually it popped free

And out it came, being careful not to turn the tie rod end (so I could use it to set the new ones up later)

I did the same on the other side too. The inner joints were very loose, and the LH outer joint was stuffed too. The RH outer had been replaced at some point in the past and was still good (and kept as a spare).
I then started work on removing the front struts to install my nice new KYBs, only to find the first one I went to fit was DOA and had no gas pressure. Damn.

Moving on from that bitter disappointment, I left the car for the rest of the weekend.
Monday rolled around, and the parts had arrived. I picked them up early morning.
They were a weird brand I hadn’t heard of before but looked like they’d do the job


I fit the new inners first. I used some medium-strength Loctite and tightened them with vice grips and a hammer, like I did to remove them, as these new ones also didn’t have spanner flats. Because of the orientation of the locking notches in the rack, there was no way I could use a punch to lock the rack ends with the rack on the car. Obviously they did that before fitting the rack in the factory.

I got a pair of nice new universal boots. I trimmed these to fit and popped them in.

I wound off the old tie rod ends, counted the turns, and spun the new ones on the same amount of turns (after checking they were indeed the same length).

On went the wheels, and down went the car.
A quick test drive immediately revealed that the wooly vague feeling the steering has always had (in the 2 or 3 drives I’ve done) is completely gone, replaced with an overly darty but direct steering.
By some fluke, both the alignment shop and the WOF workshop were able to squeeze the car in that afternoon, so off it went for an alignment.

Where I found that the car had 17-18mm toe on each side, instead of 1-1.5mm each side. No wonder it felt darty.
Next was the WOF workshop, where they were they were surprised I had fixed it already, and it went up on the hoist and had the play checked again. This time it was a pass, and the new sticker was applied to the windscreen. This gives me six months of being road legal.

So almost 5 months, thousands of dollars and many many hours later, I finally have a road legal Rover Tomcat.
So, what does one do when they have a road legal car? Take it for a hoon around some back roads of course!
My wife and I jumped in and took a drive over some of the local back roads I like to hoon around.
The car was running and driving great. The turbo was pulling well, and that diff is great. I can see why despite the cost, people rate the Quaife ATB, it just pulls you around corners, like understeer isn’t a thing. It definitely needs those KYBs though…
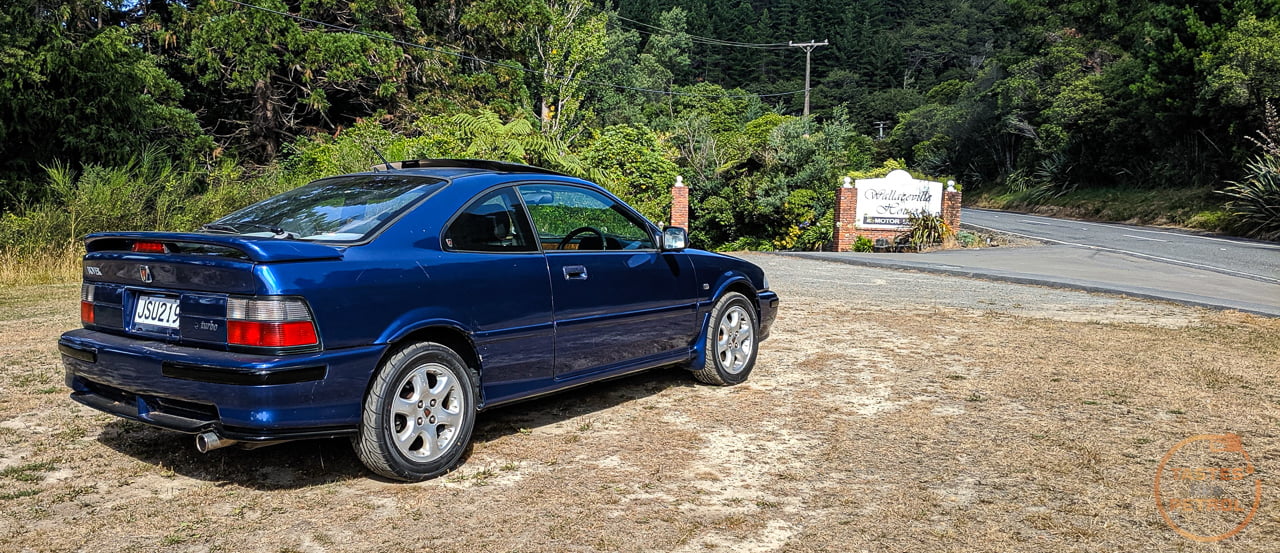
There is a little spot I like to stop at and take photos, so we swung by there and grabbed some. There are no bad angles on these cars. Enjoy.


Wait. What is that…

So, whilst taking photos of the car I decided to leave the car idling since I had just been pounding on it, and 90s turbo cars need some cooldown time before shutting down. I’d idled it heaps before without issue.
This time, nope, she was hot. Not boiling, but very hot.
We carefully pulled away and once moving the temps started to drop. As long as I was moving the temps were under control. Stop, and you could watch as the needle rose.
I wasn’t best pleased.
I ran some tests once I was back in the garage, and sure enough, both stages of the fans were working, but it just couldn’t bring the temps down.
After some research, the most common conclusion I could come to was the thermostat was sticking closed, and since the coolant temp is read just before the thermostat, it was reacting to that blockage very quickly. Well, it was either that or a blown headgasket or blocked radiator.
I purchased a new thermostat from Rimmers ages ago, since the car didn’t come with one fitted I was going to fit this one to the existing hose, but ended up buying a New Old Stock hose from Japan instead, which came with a new thermostat already fitted. These are a bit weird; on the A/C cars they use a special top radiator hose which has the thermostat wedged into it, and held in place with a hose clamp, hence the two clamps in the photo below, one to hold the hose on the outlet, and one for the thermostat.

The first port of call was to test the old and “new” thermostat. I figured the old one could have been from as far back as 1992, whilst the new one was stamped 2012, so it’s a bit of a difference. I still wanted to make sure the new one was working before installing that.
I popped the top hose off, and removed the thermostat. I put the two into a pot on the stove and raised the temp while monitoring it. The “old” one is on the right.

Boiling them showed that both did open, but the new one opened further than the old one. Its hard to tell in the photo, but the new one on the left has a larger gap.

After that test, I drained the coolant system of all its foul smelling brown water (I had been running mostly water with a low concentration of anti-freeze in the system to both help clean it out a bit, and since I had planned on replacing the lower radiator hose again). I’m sure I have flushed the system once before with a hose, but it’s also had at least two other drain and fills since I got the car.
This time I flushed the radiator, engine and expansion tank with water until it ran clear. All of them took a while until the brown stopped.

With the new thermostat fitted, a 50:50 mix of coolant was poured in, and the system bled. It came up to temp quickly and the thermostat opened fine.
I took the car for a decent drive, making sure to use the turbo to get the engine nice and hot. Once home I sat on the drive for a good few minutes to see what happened, and the needle was rock solid. The low-speed fans came on, as expected, and everything seemed happy.

If anything, the needle on the gauge sits a hair lower than it used to when at operating temp, so maybe this has been an issue for a while. It’s no use surprise that a thermostat which I believe to be stamped 1994 has aged badly and is sticking.
I’ll keep an eye on it, but this car is really testing my patience and making it hard to trust it. Hopefully I can just get a few good miles on the clock without any more issues.