
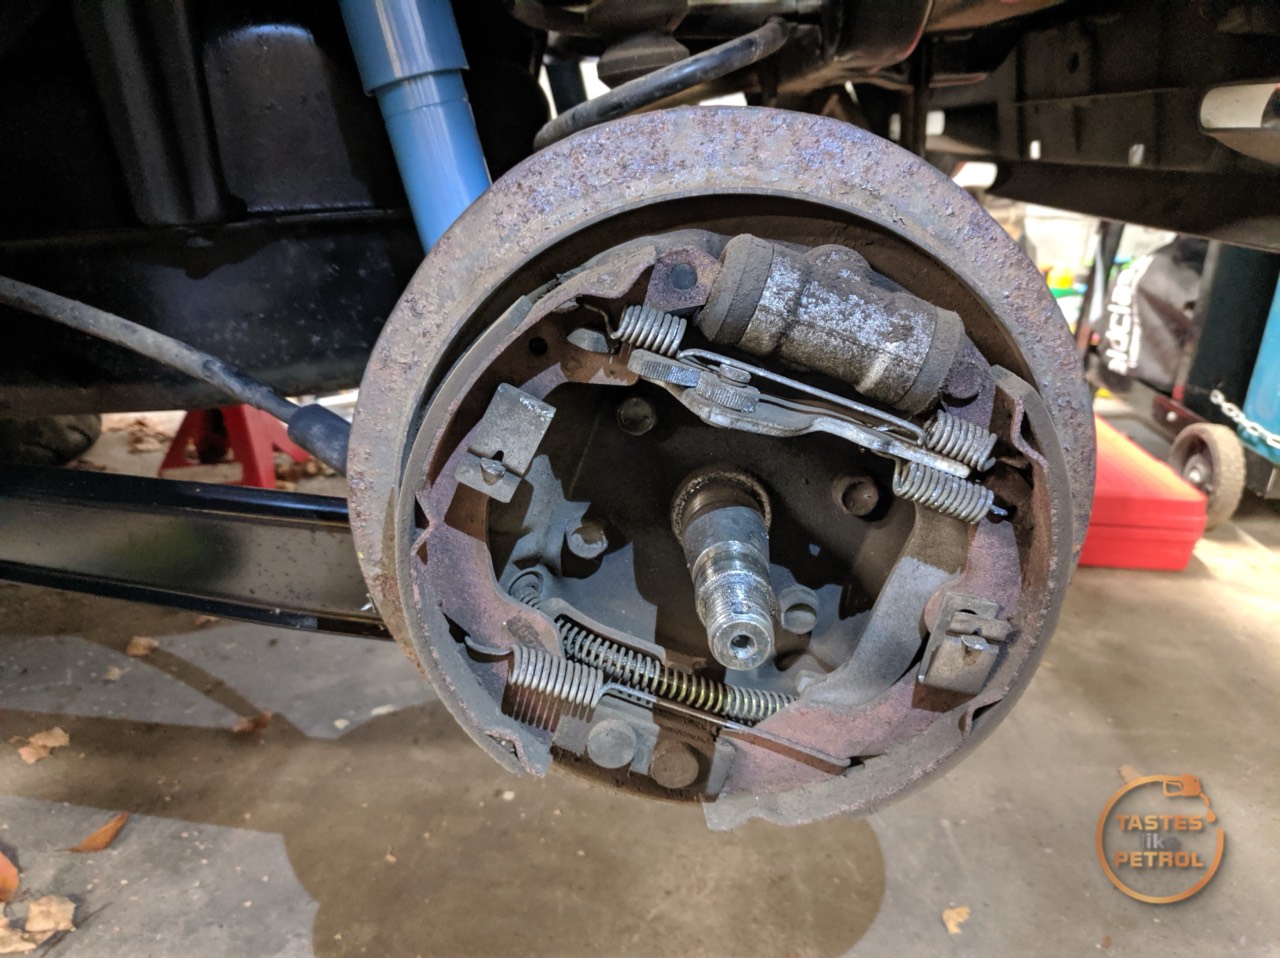
Typically, poking around got me into more trouble than expected. Now I had broken brakes on my plate too.
Of course, ages ago, I rebuilt the front brakes, so they were all flashy and new, but the rears I decided to leave because at the time I didn’t have new wheel bearings, and kinda didn’t feel like opening that can of worms.
Well, as it turns out, I had no rear brakes at all on my test drive the other day. Oops.
The rear drums on these are a pain as the wheel bearings are pressed into the drum and you need to remove them from the spindle to remove the drum.
I removed the cap, split pin and nut, but the drum was stuck fast
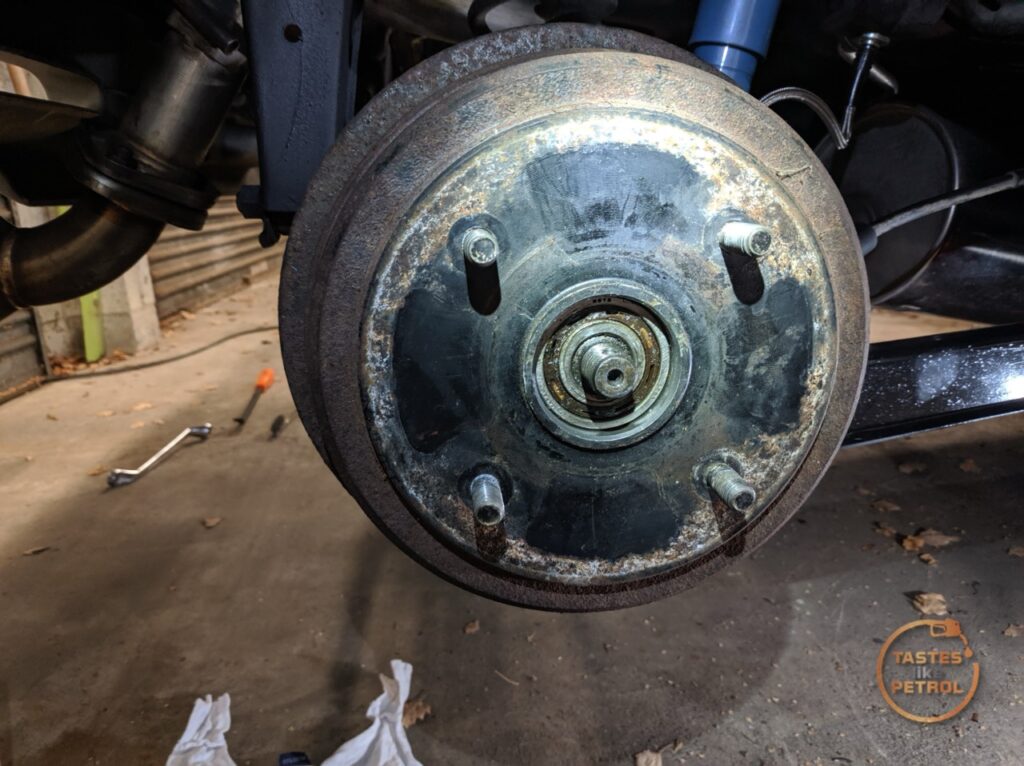
This means the big slidey boy needs to come out again
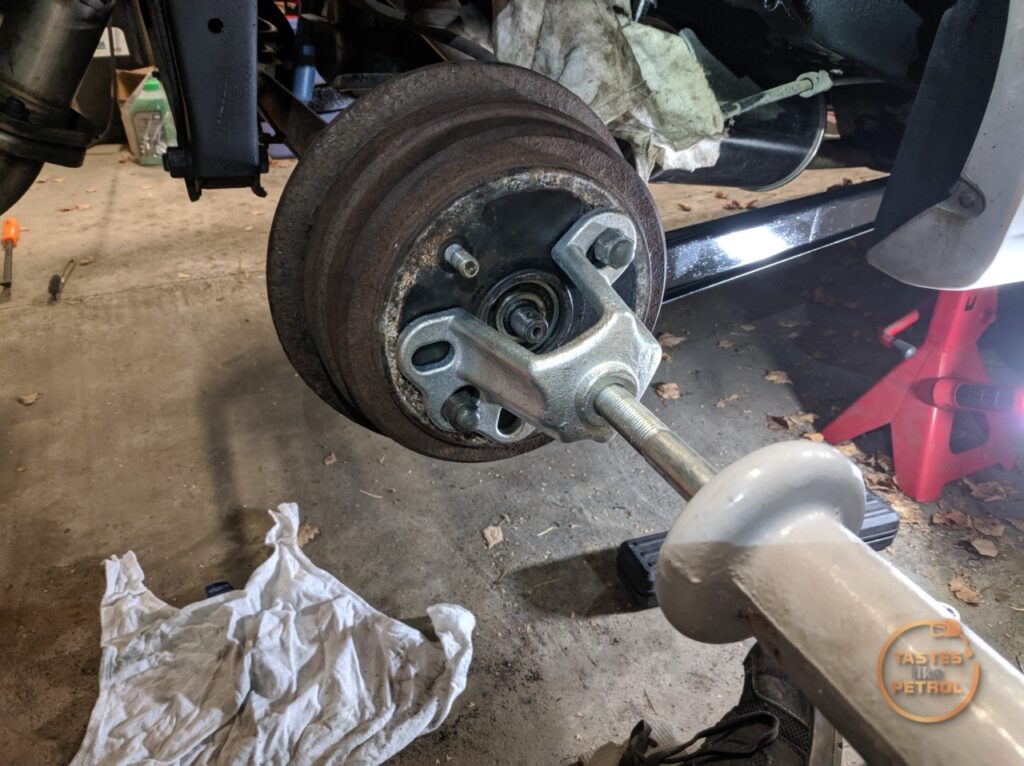
A couple of good firm tugs and off it came
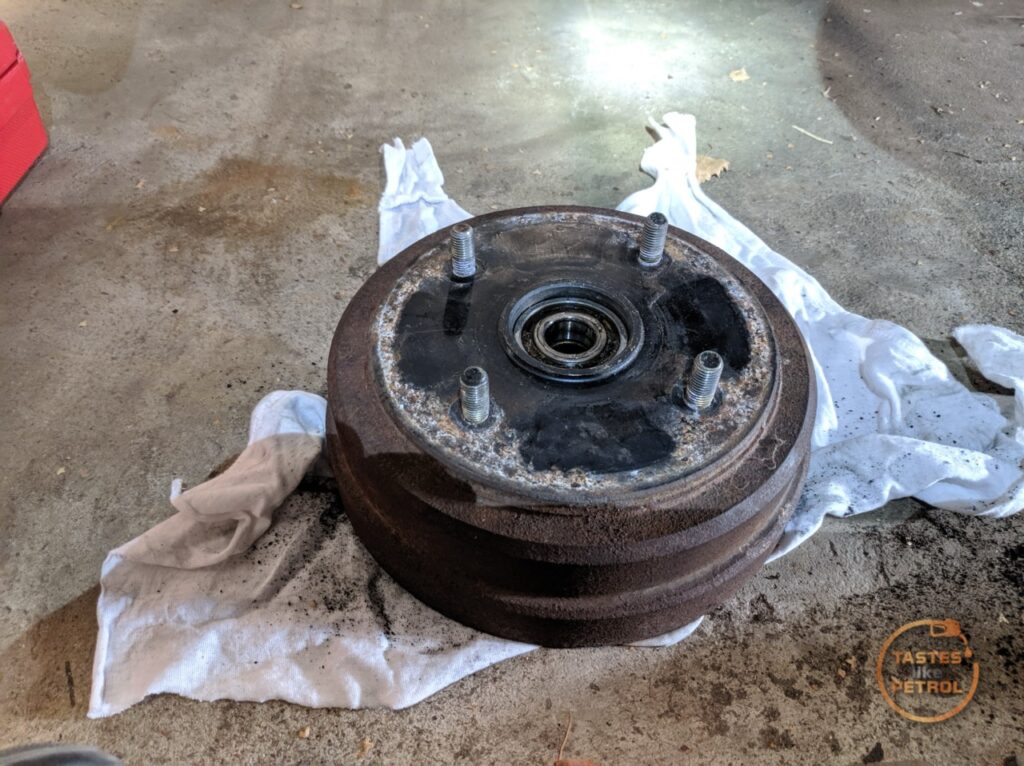
Revealing a very dirty, slightly damp-looking rear brake assembly.
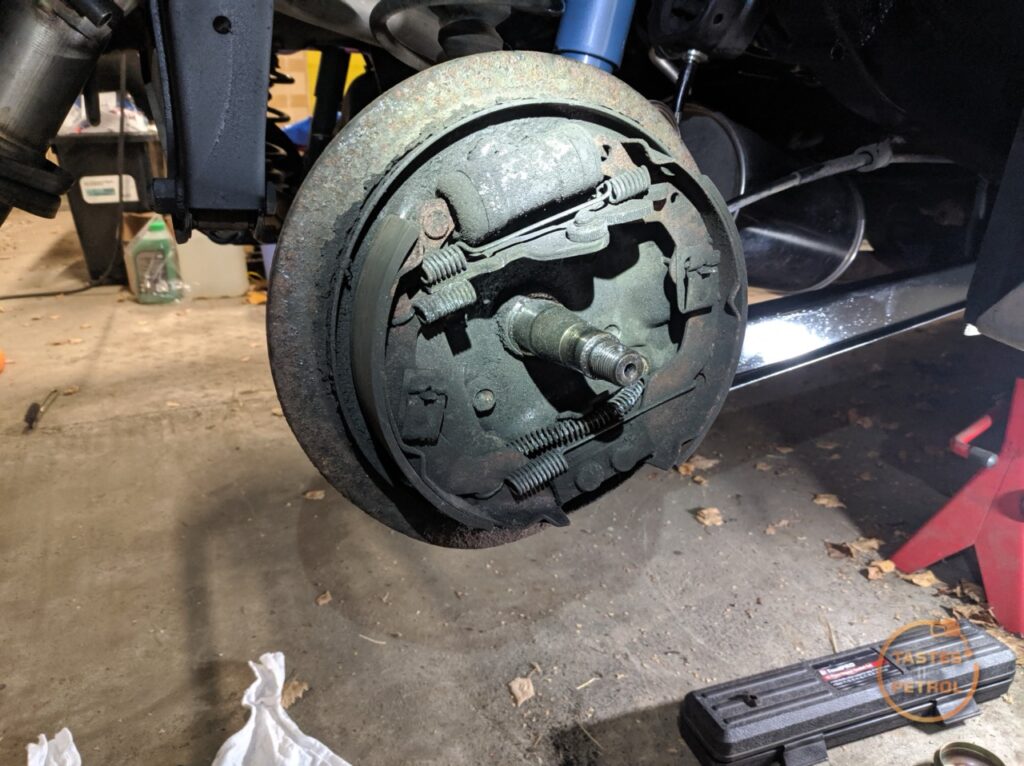
I gave it a quick hose down with brake cleaner to see what I was working with
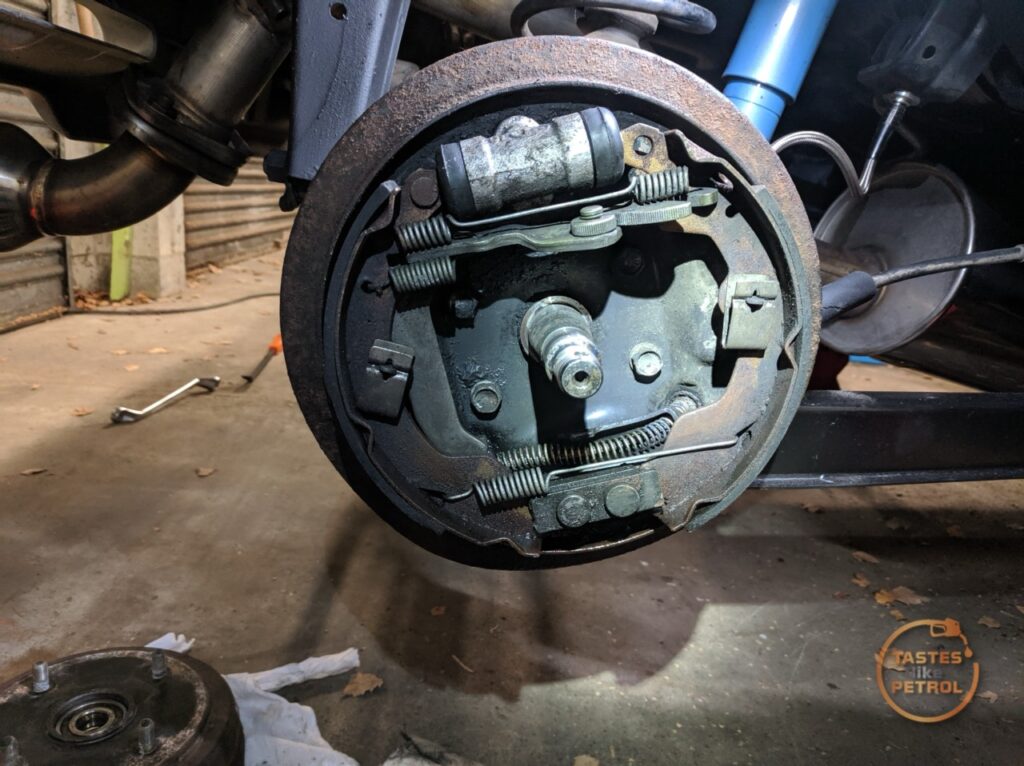
Between the dampness and the peeling paint on the backing plate, it led me to believe the cylinder has probably been leaking, although it didn’t seem to be now.
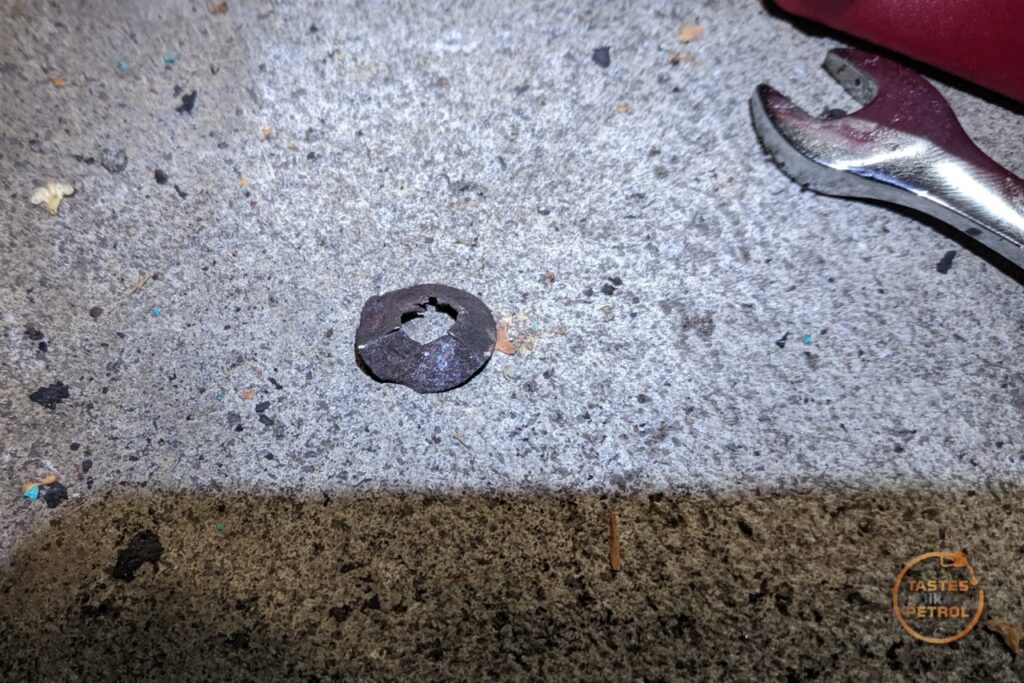
This little bit of metal also fell out when the drum came off. I had no idea what it was until later
After taking plenty of reference shots, I removed the backing plate pins and unhooked the shoes from the wheel cylinder
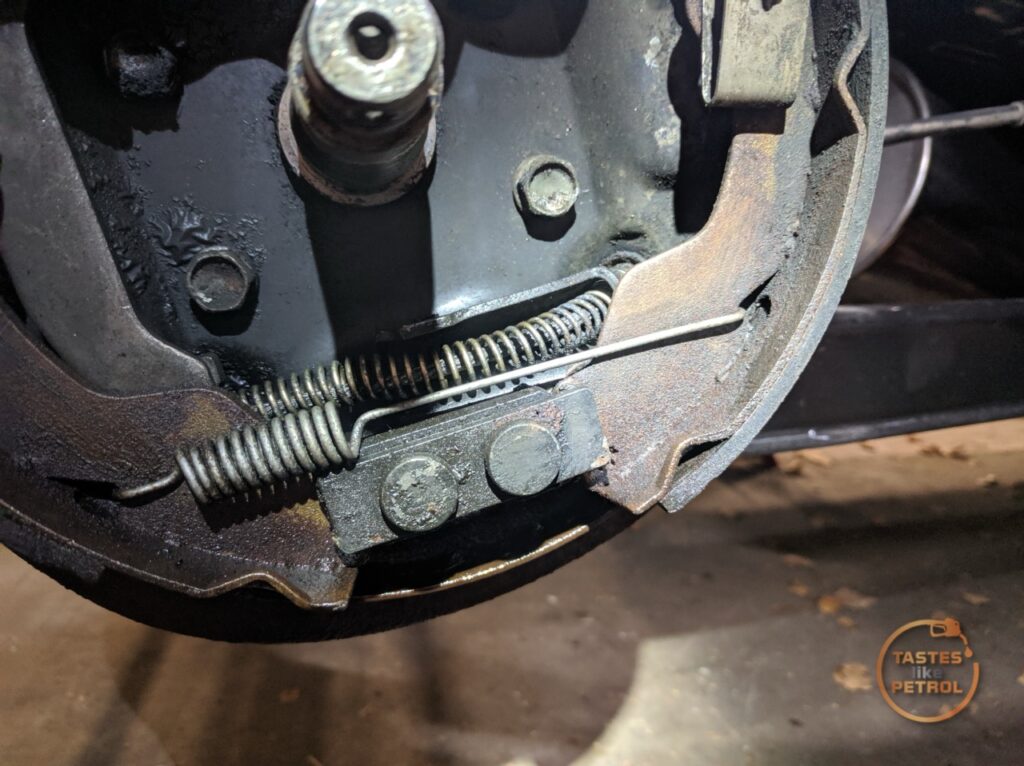
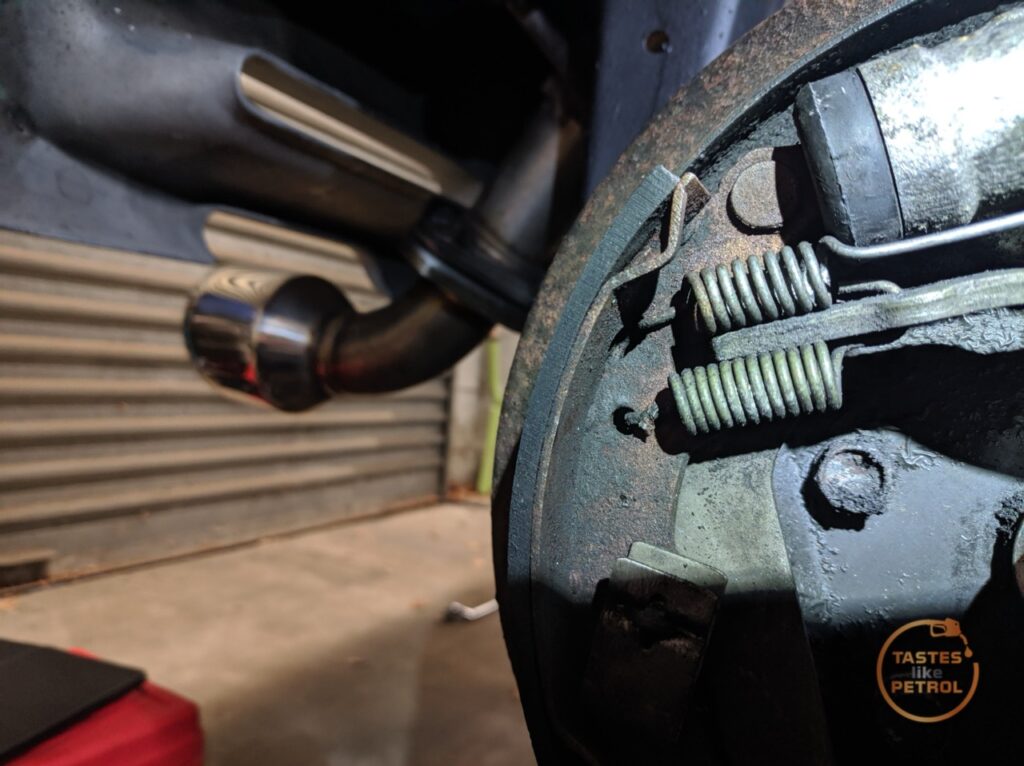
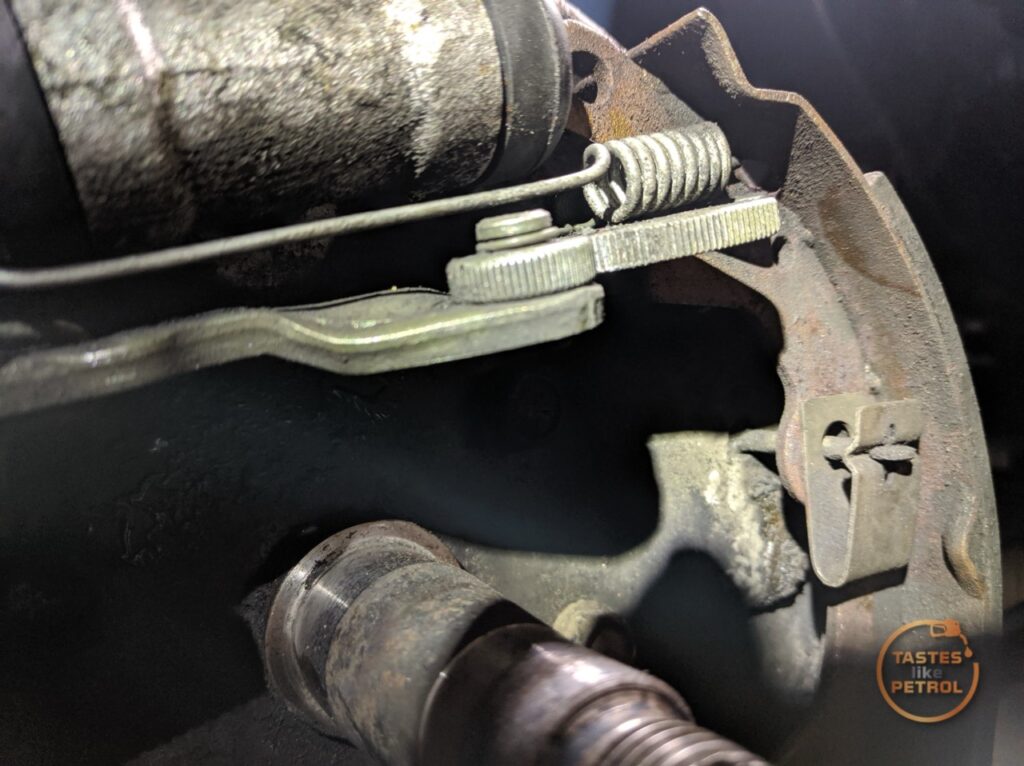
The wheel cylinder wasn’t looking that hot once the boots were removed
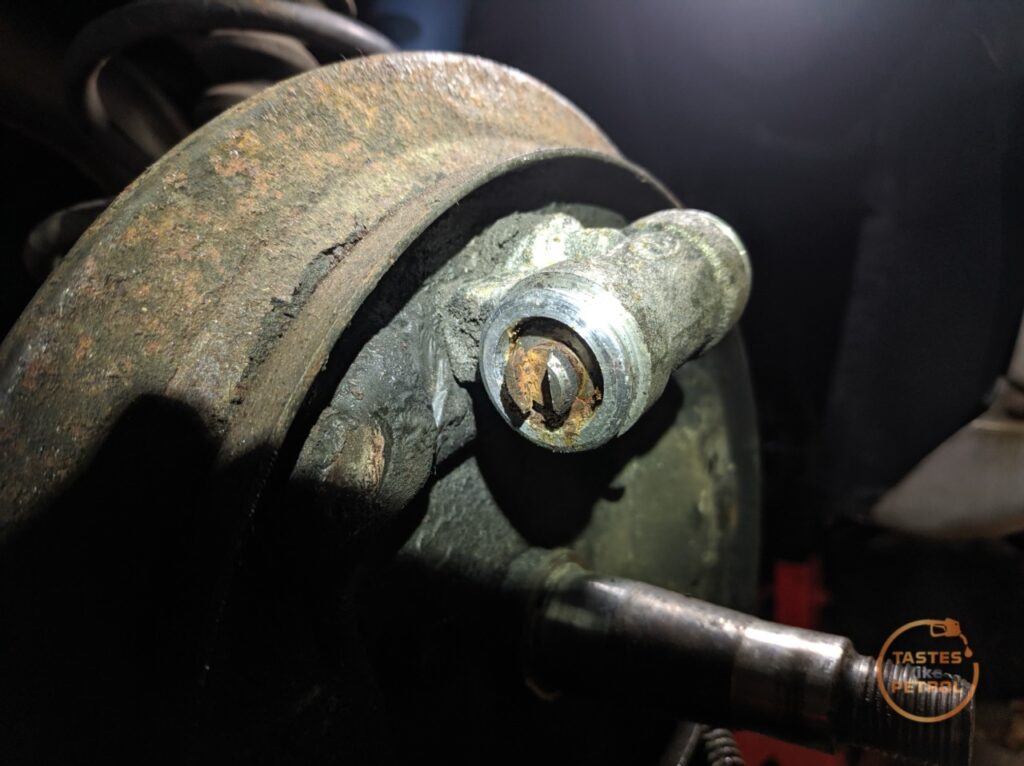
Unfortunately, the cylinder was completely seized. In my efforts to free it up, I actually broke one of the tabs off the end of the piston that locates the shoes. That’s when I knew this was not going well.
I had pre-emptively ordered a rebuild kit for the wheel cylinders anyway, so I wasn’t worried if they needed that, but having broken that location tab off, it was back to the drawing board.
I removed the cylinder, and with some bashing on the bench, it came apart
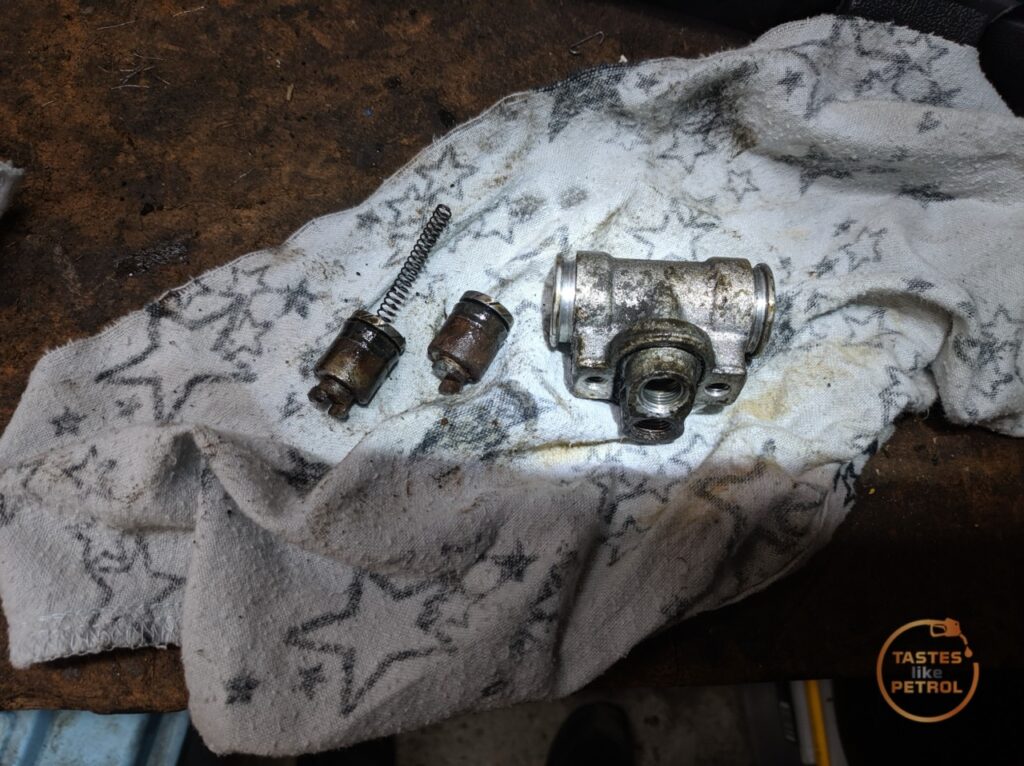
Inside the bore was looking… not great.
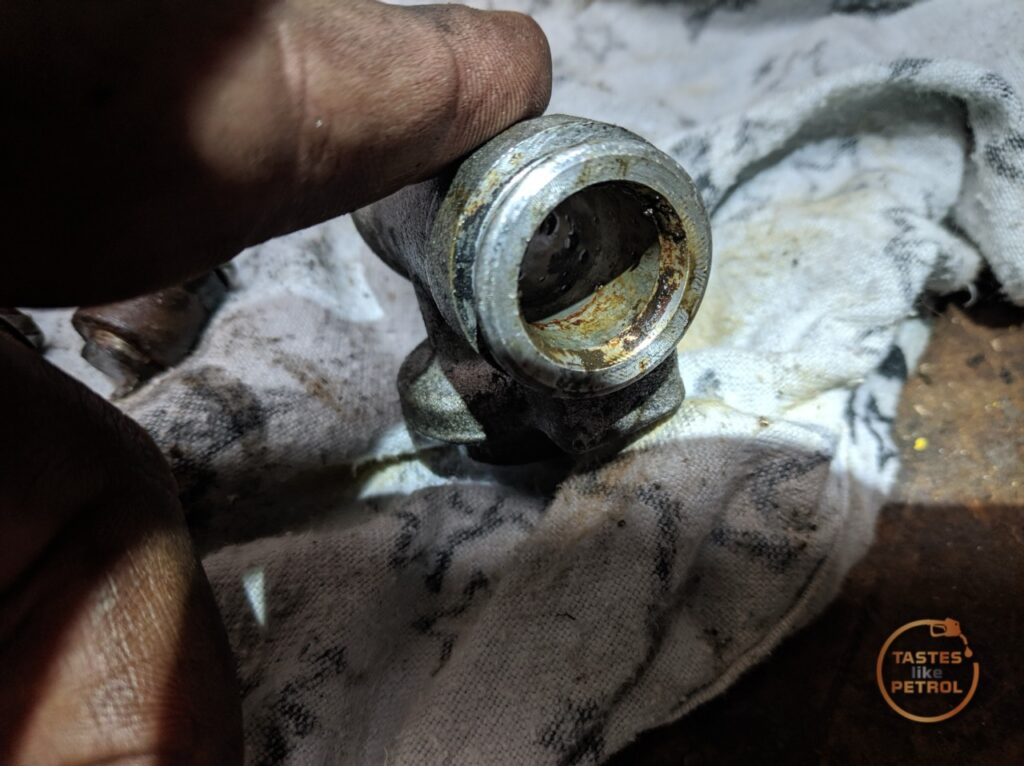
So I needed a new cylinder. Before ordering anything, I decided to whip the drum off the other side and check the cylinder there…
This is what a nice dry brake assembly should look like
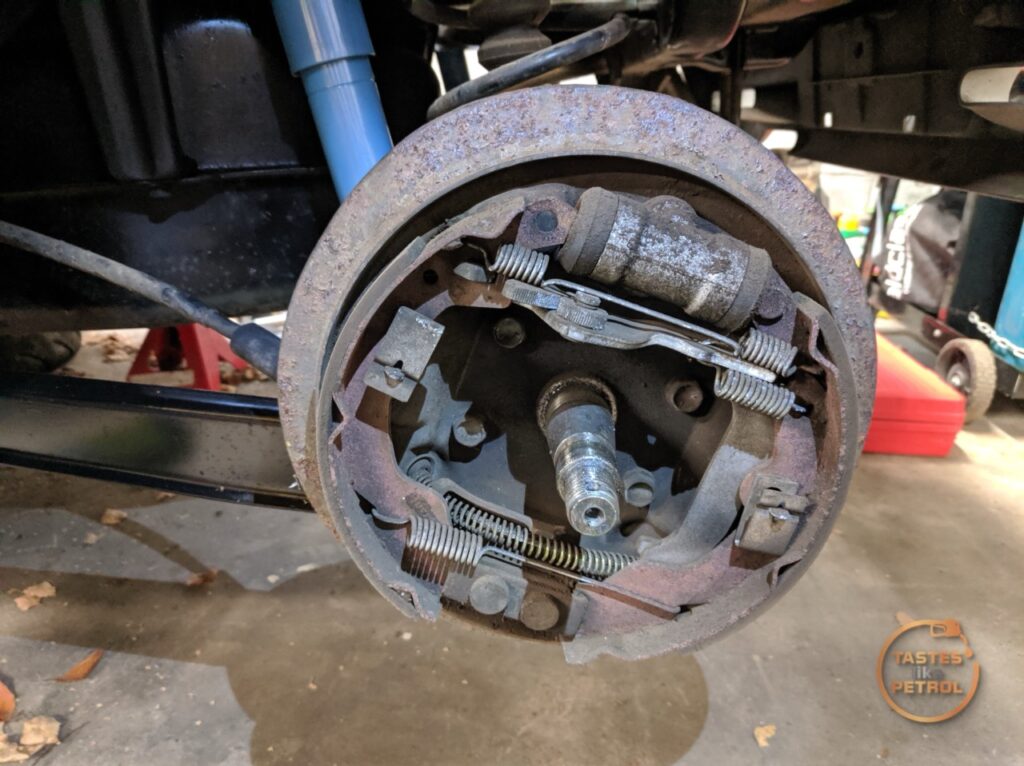
Nope, no better; this one was completely seized too
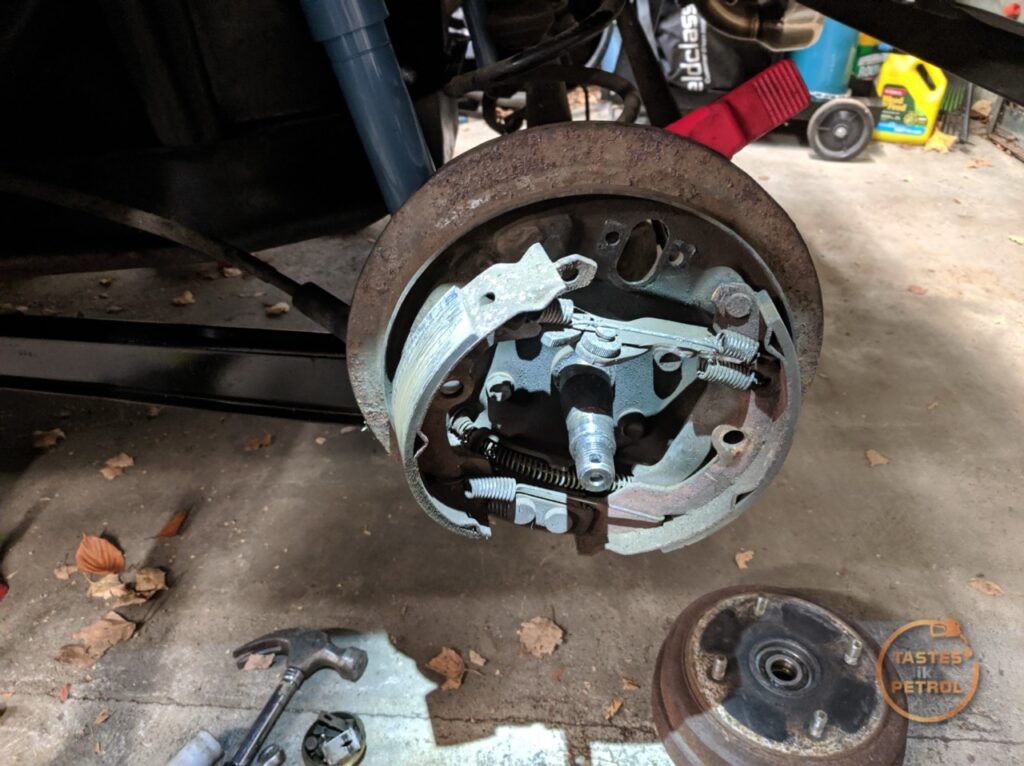
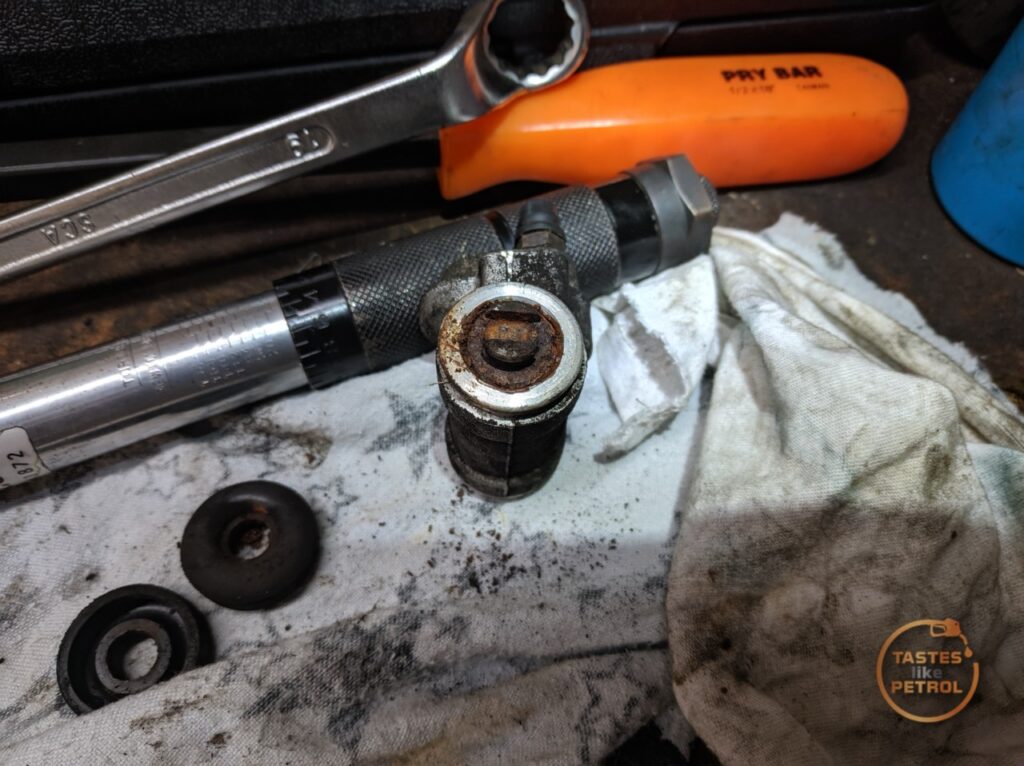
So, I had two useless cylinders and one set of shoes that were probably contaminated. Great.
After much searching, I found that you can still order brand-new wheel cylinders and shoe-fitting kits from Europe. I ordered a pair, with some springs, and awaited their arrival.
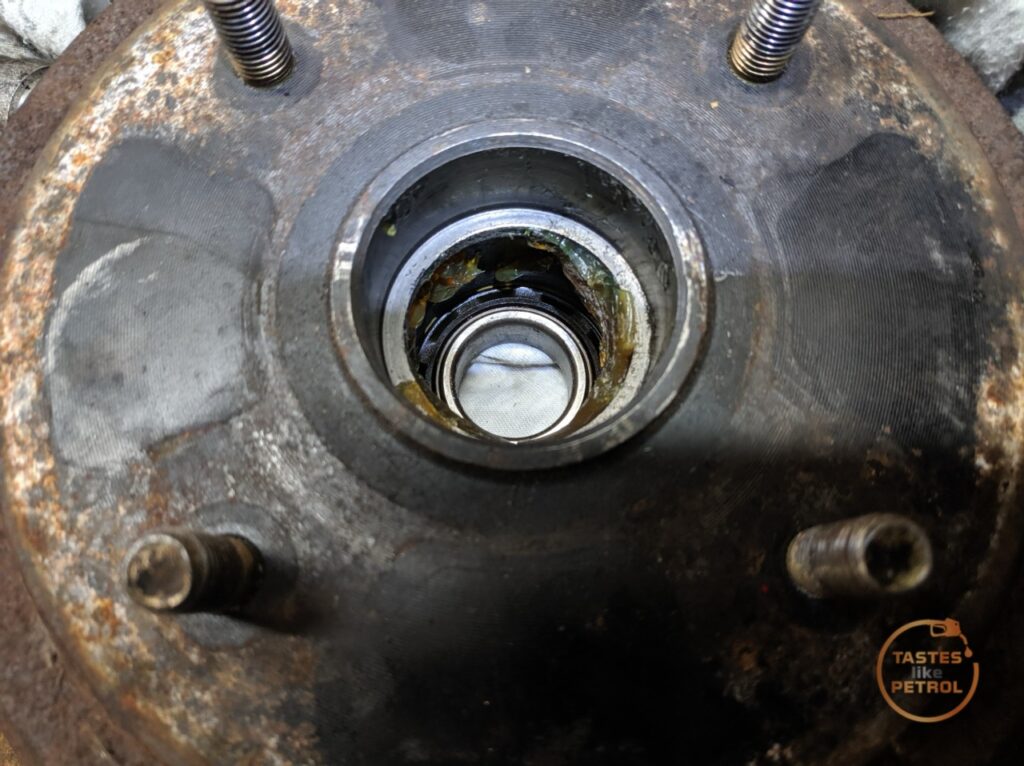
Whilst waiting for them to arrive, I replaced the wheel bearings in the drums.
There is an inner and outer bearing, with a spacer between the two.
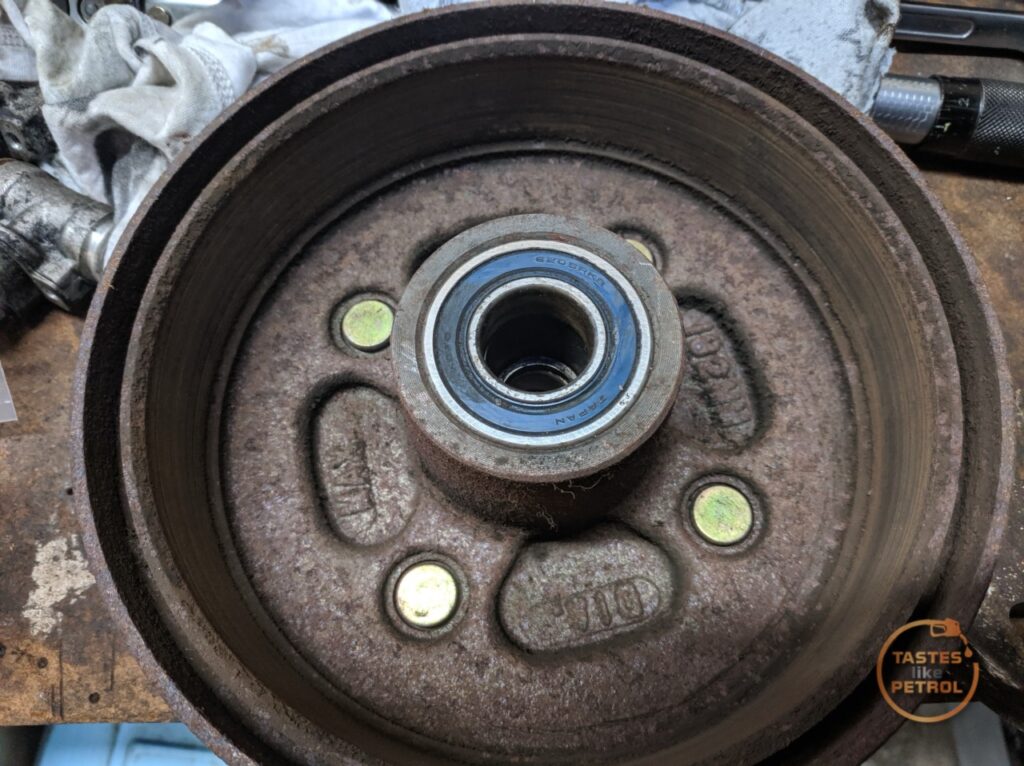
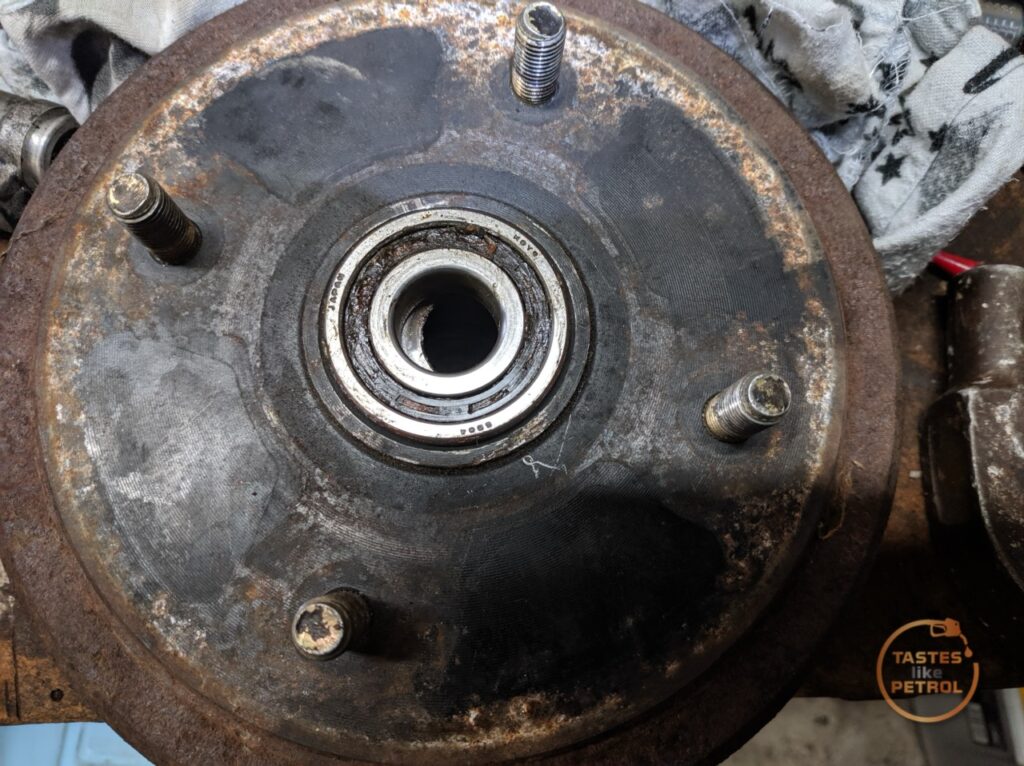
You can see in that last photo that the inner spacer has been knocked out of place. This is needed so that you can actually hammer the bearings out. A couple of gentle taps with a punch generally pushes it aside.
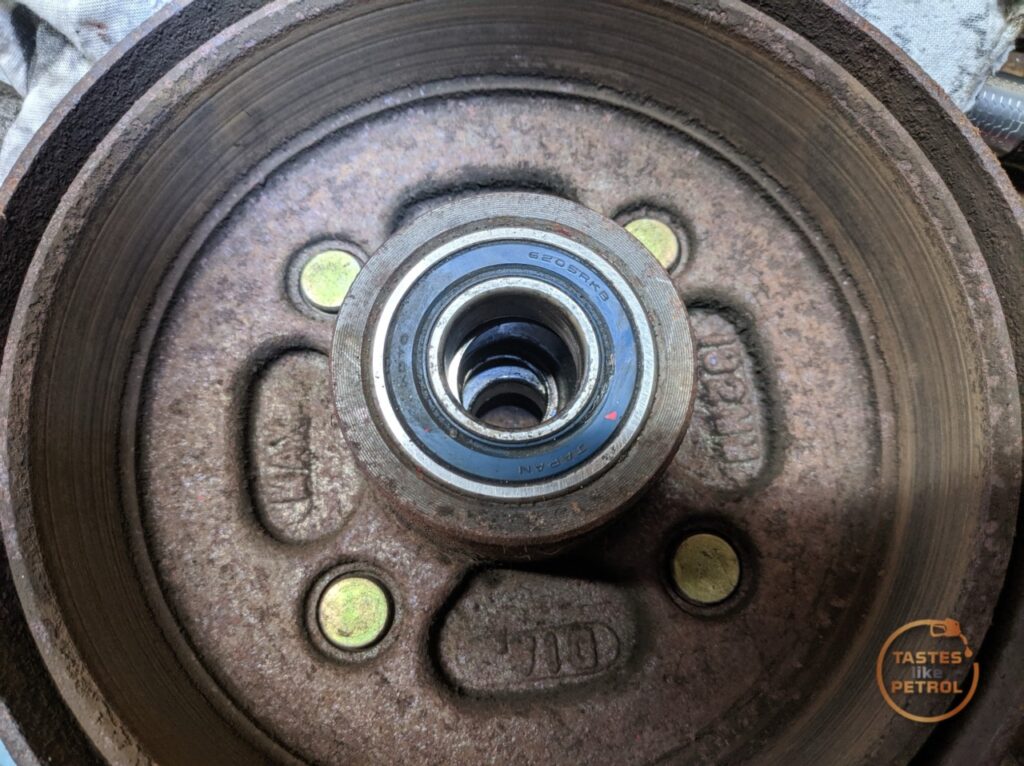
And then it’s a case of just bashing on the bearing inner race with a punch. I start with the outer bearing first. When the bearing comes out, the inner sleeve usually will too. Keep track of which way it was fitted, as there is a flange in it.
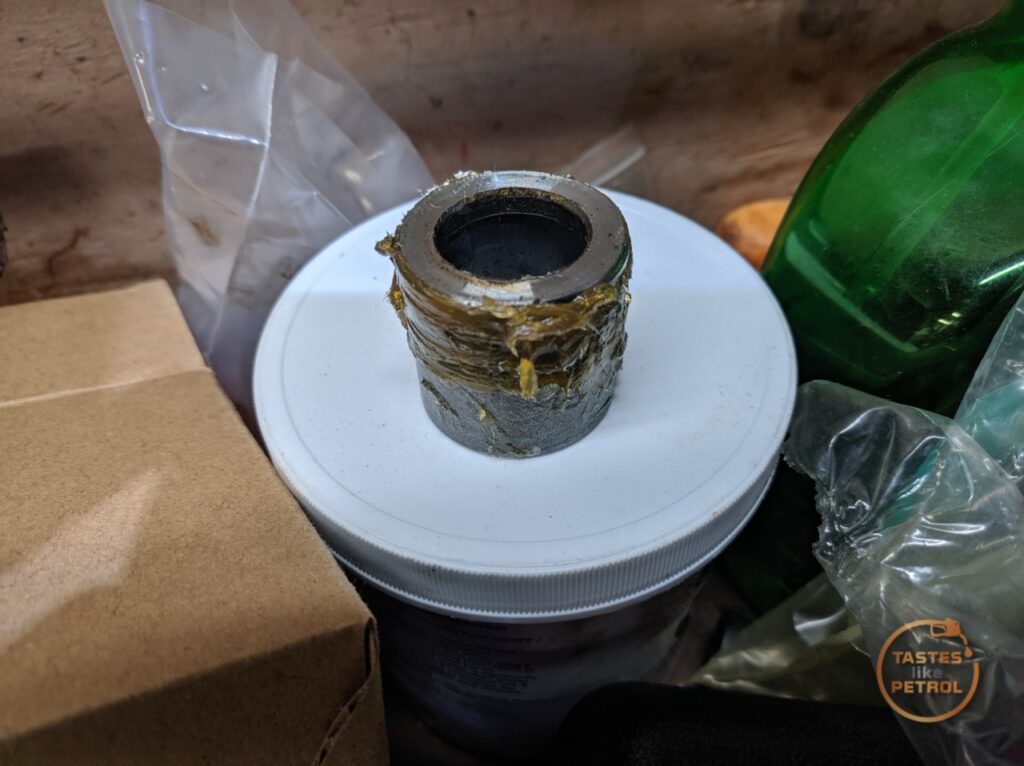
This gives heaps of space to bash out the inner bearing
These are the inner bearings
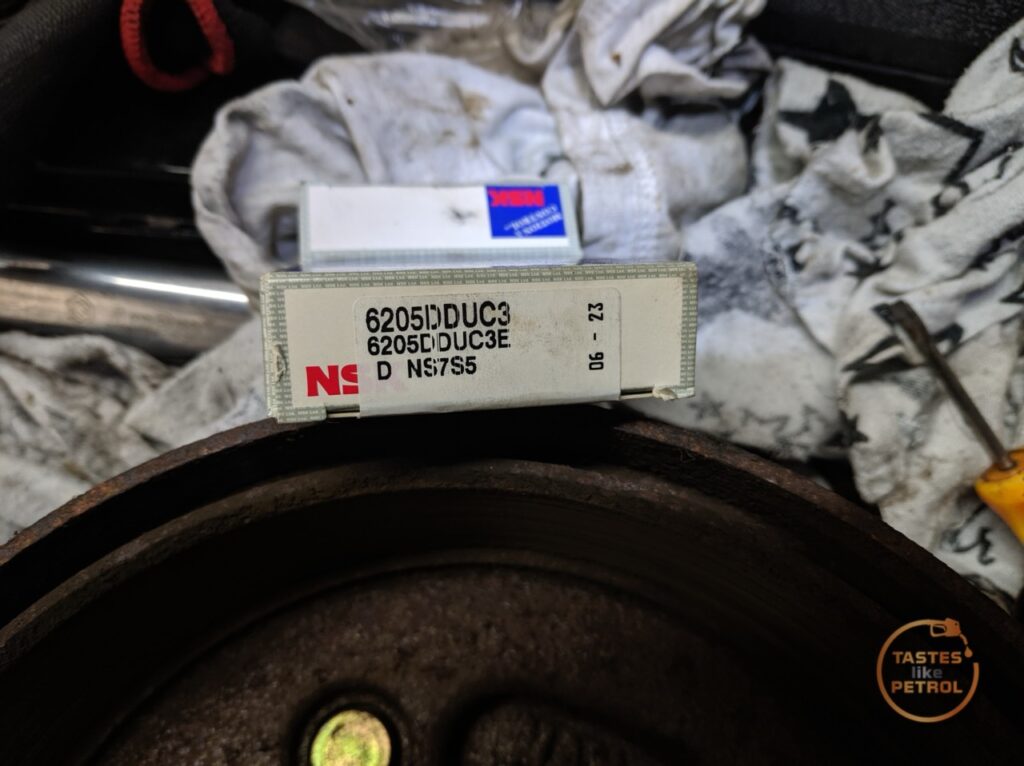
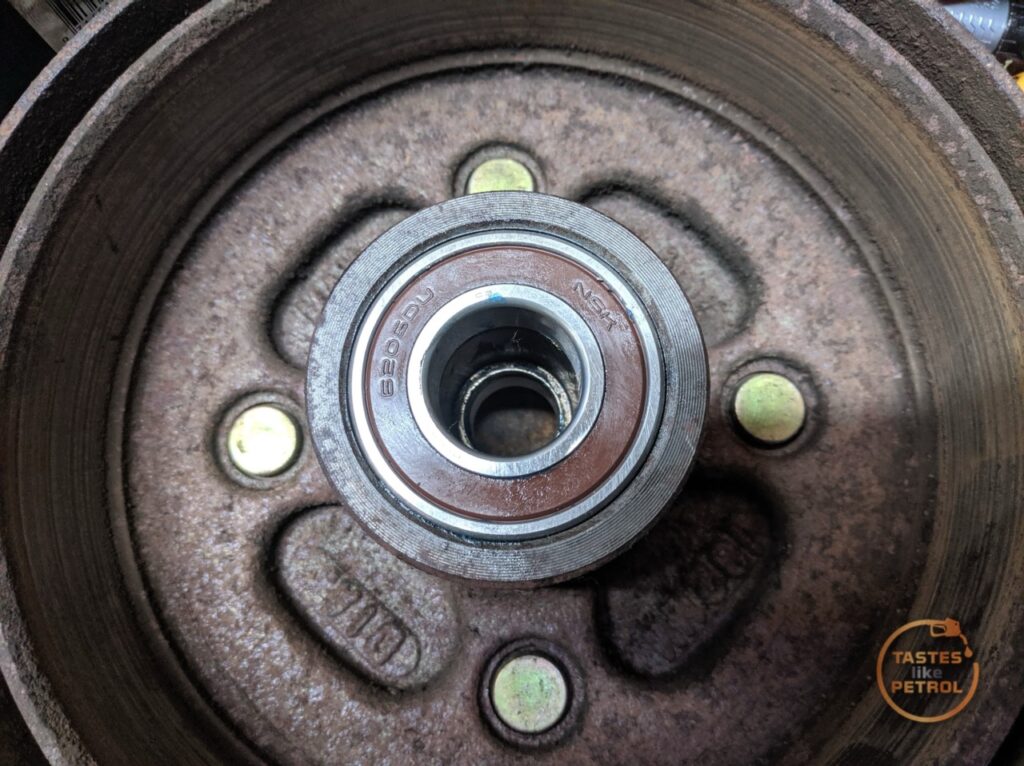
They do have a lip seal on both sides, so one side needs to be removed (the inner side). I was also annoyed to note there was almost no grease in it (I’ve since been told this is normal for a sealed bearing; it’s only meant to have about 30% grease in it – Mine aren’t sealed anymore, so should force out any grease they don’t need)
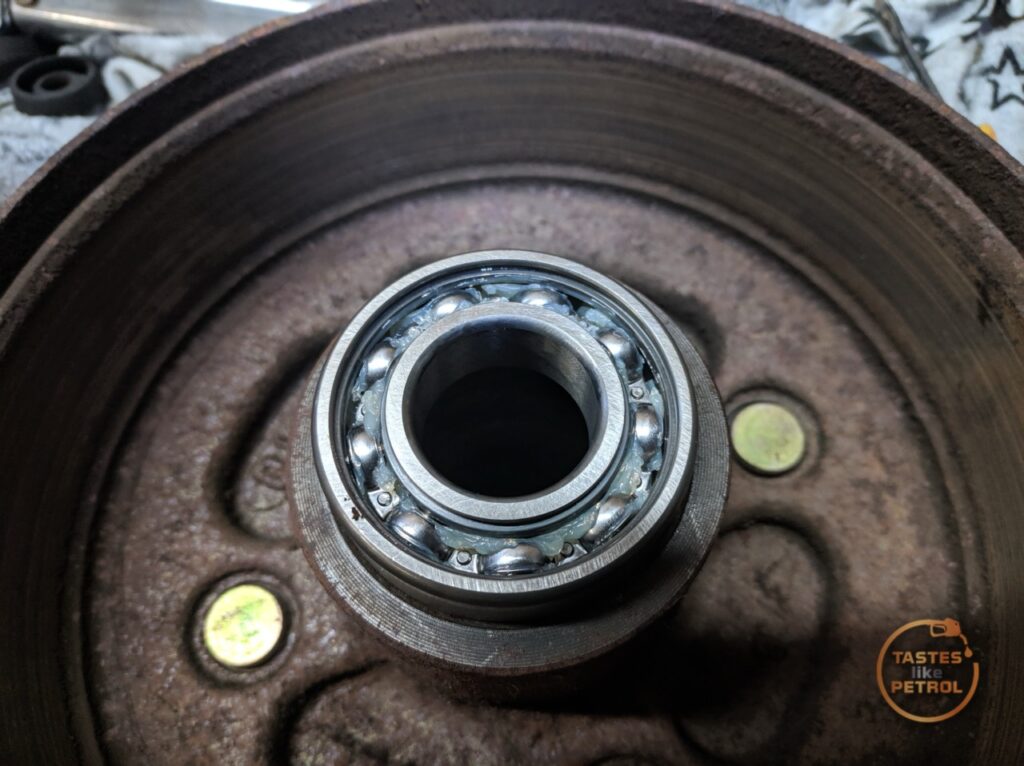
I packed it with wheel bearing grease before fitting
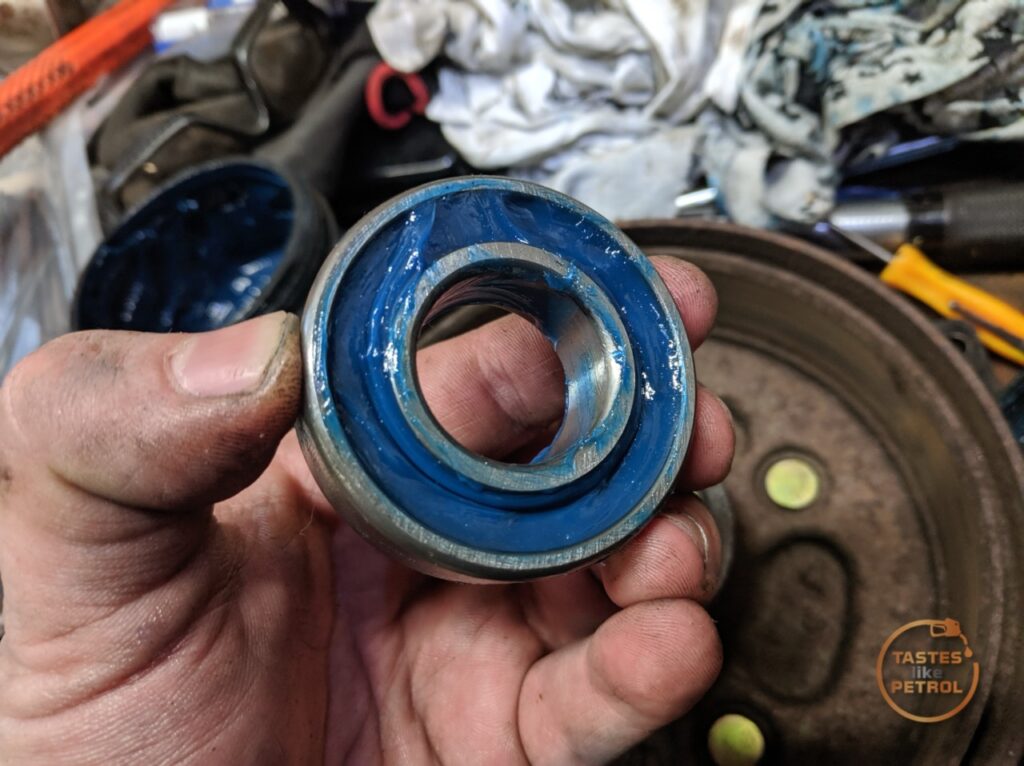
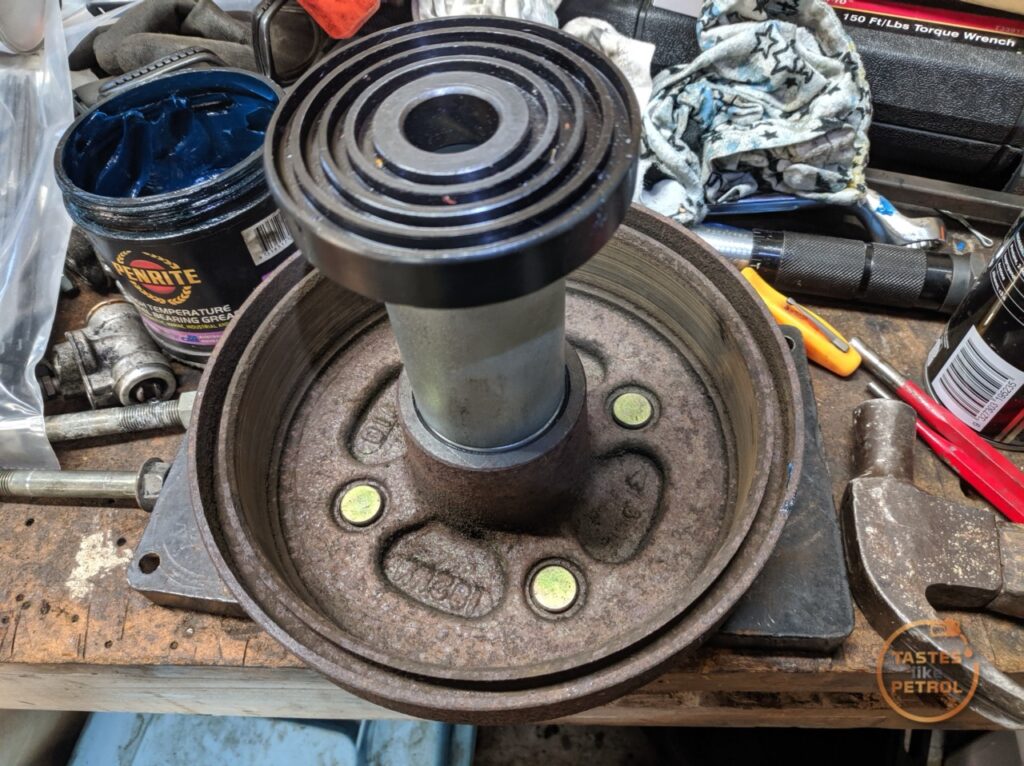
Using my press tools, with a handheld swing press (hammer), I knocked the bearing into place
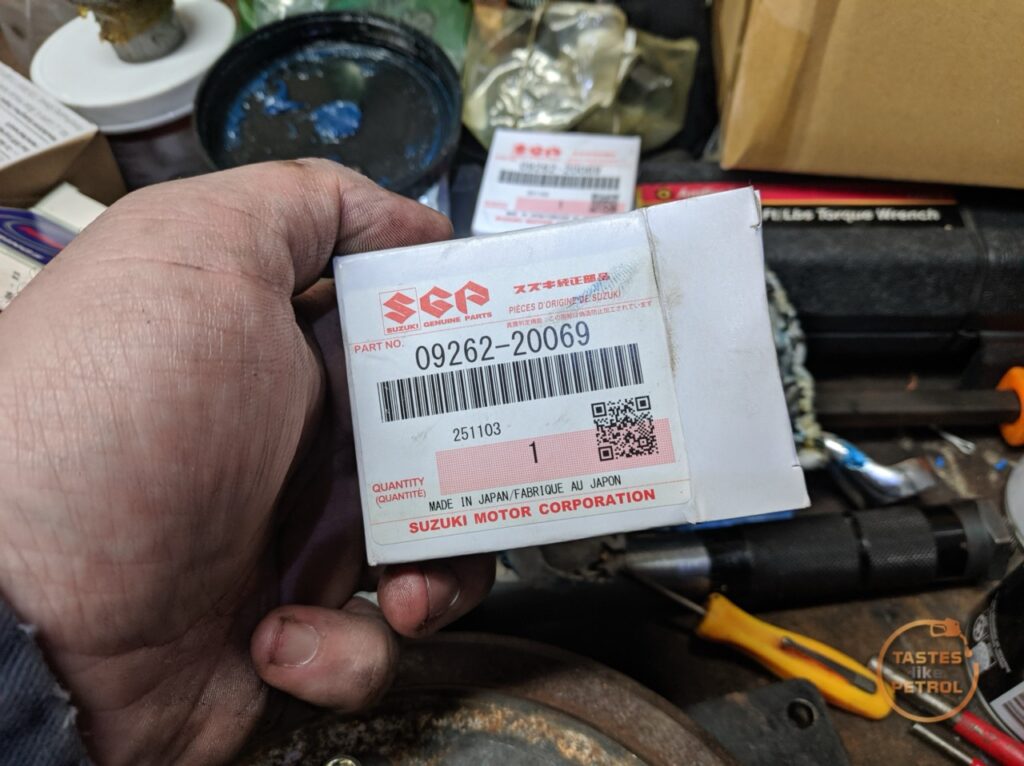
The outer bearing, a genuine Suzuki part, had no seals and barely any grease in it too
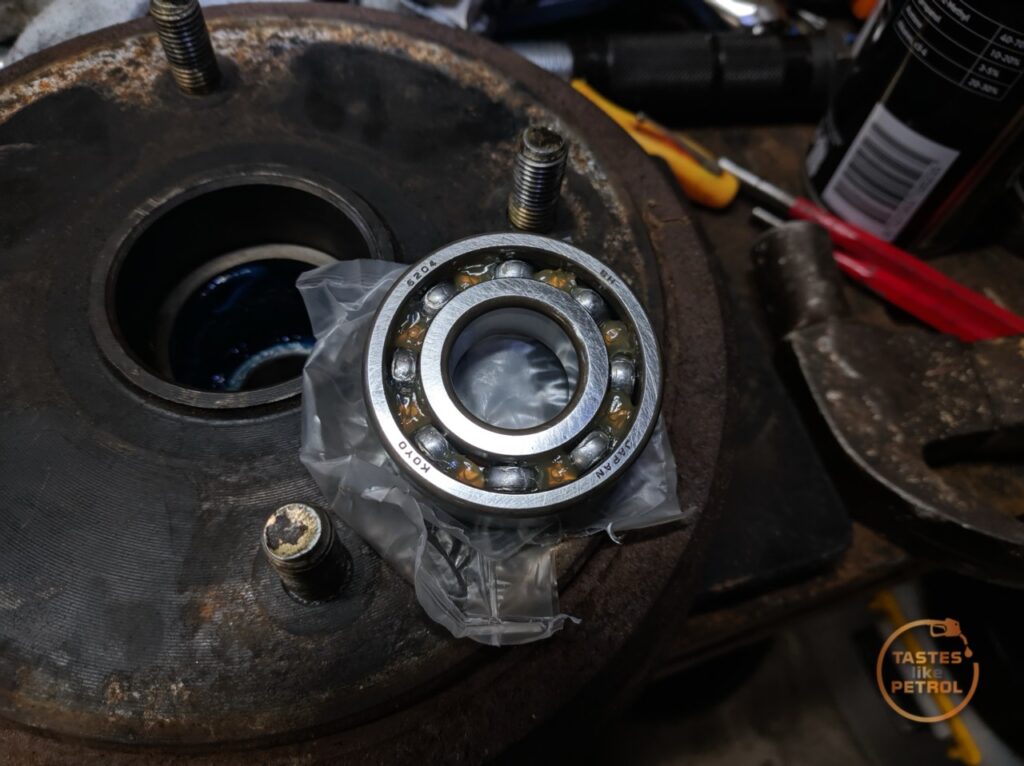
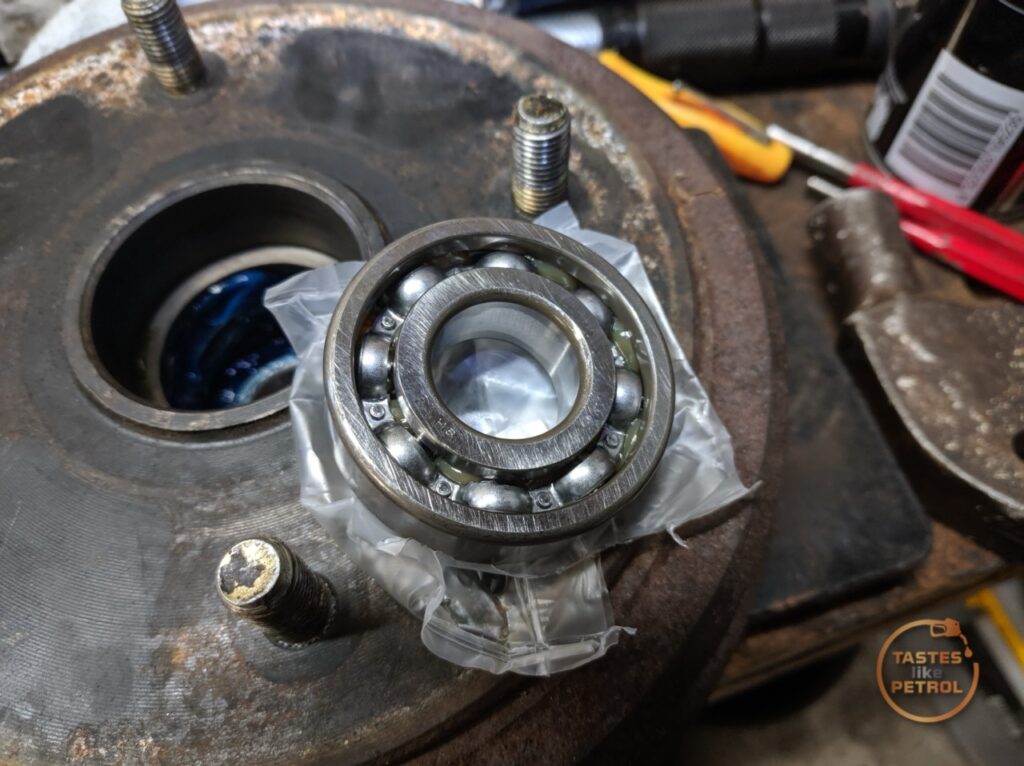
Using the percussive press again, after fitting the spacer (surrounded in grease) and filling the bearing with grease, this bearing was fitted too
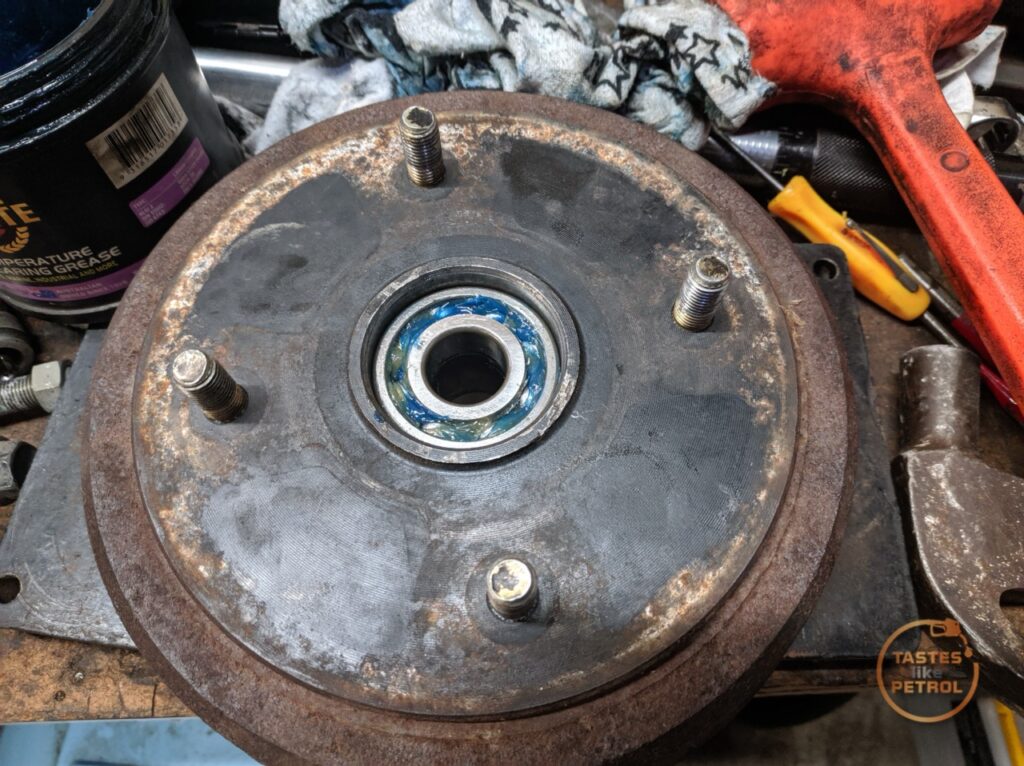
I did this for both sides, and by this time, the new cylinders had been flung all the way from Europe to my doorstep, so on we continue.
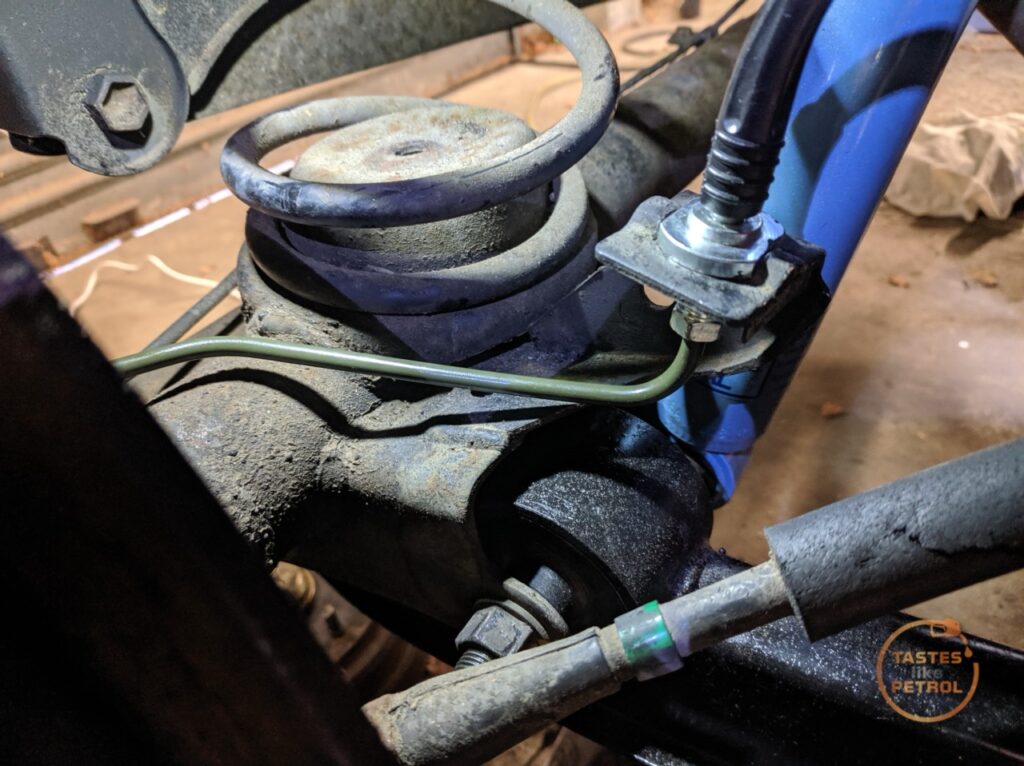
Because I’m that kind of weirdo, I had already ordered a new brake pipe to replace one I rounded off when I did the brake hoses, so that got fitted
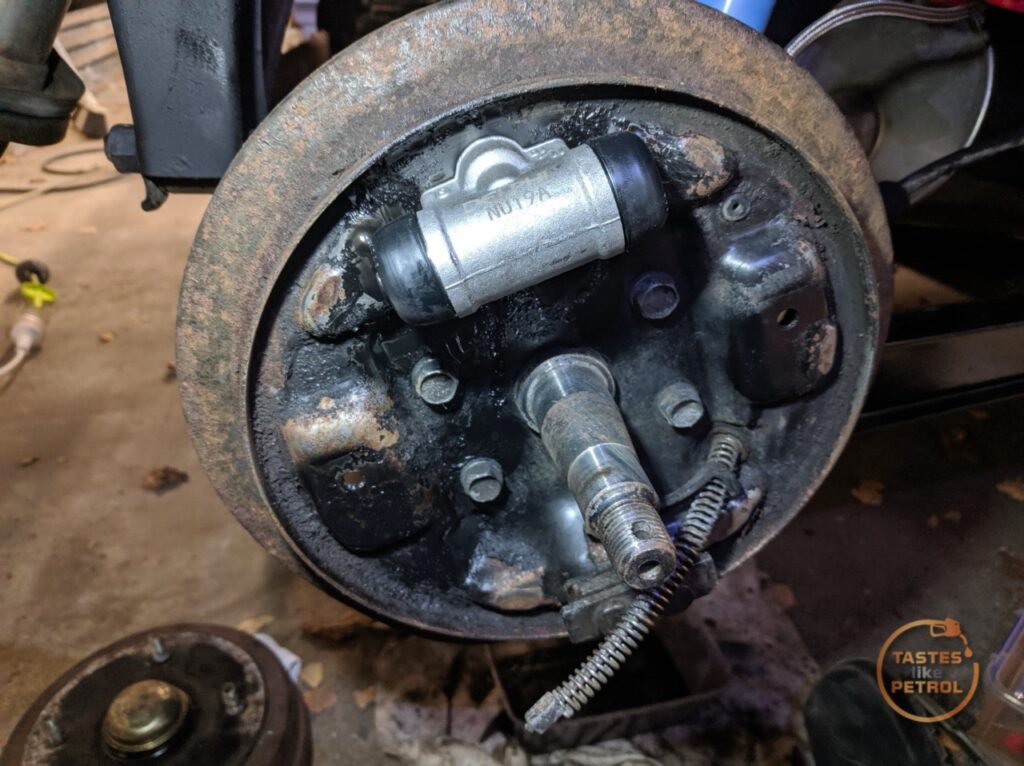
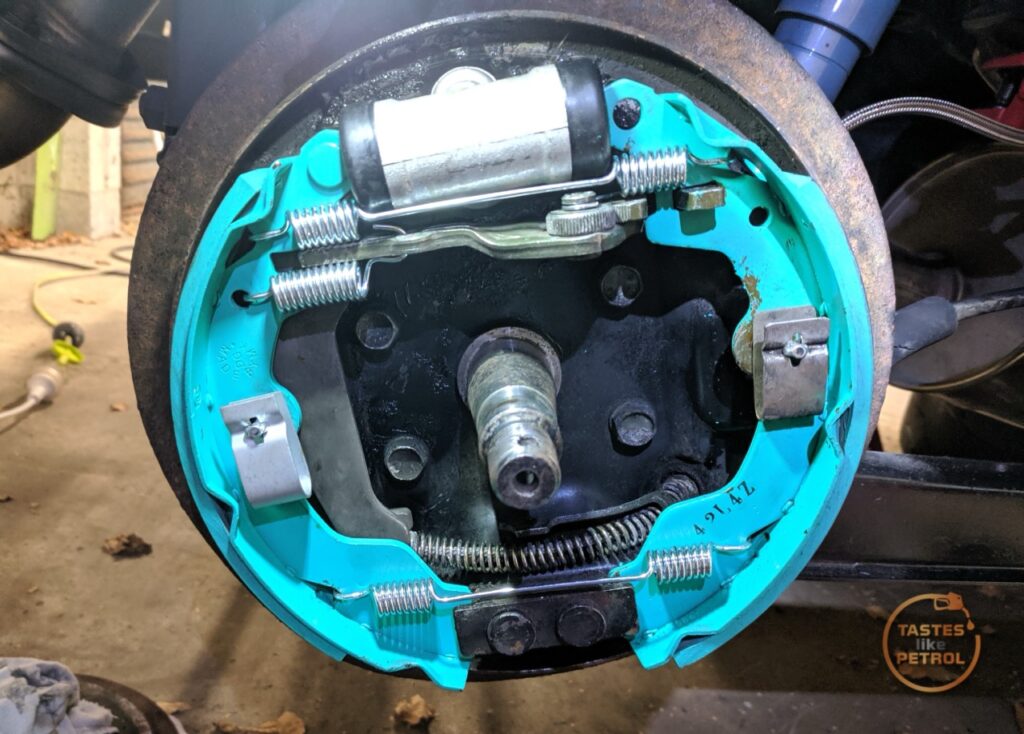
I gave the backing plate a quick tidy up, and fitted a new wheel cylinder
The shoe fitting kit seems to fit similar models around the time
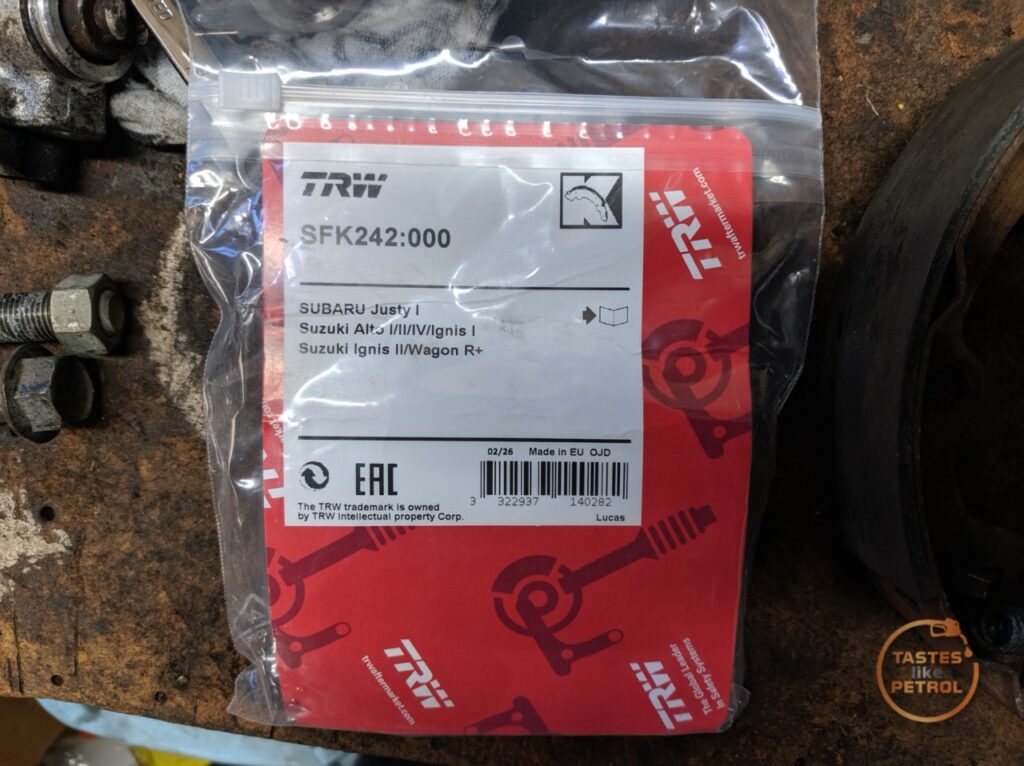
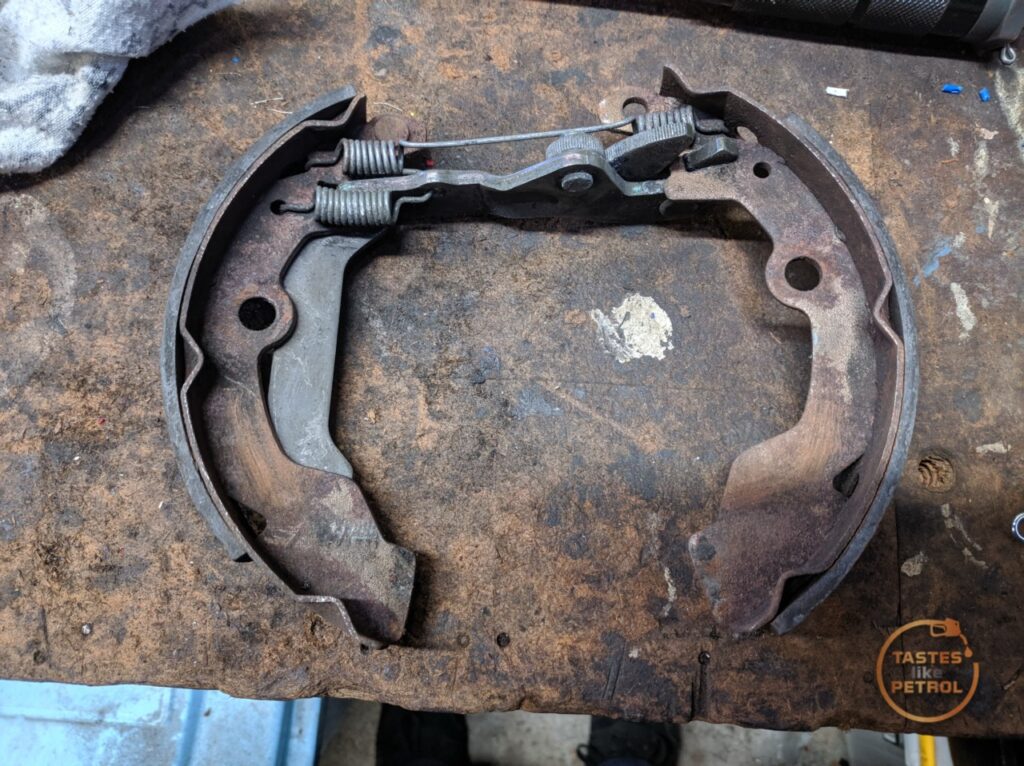
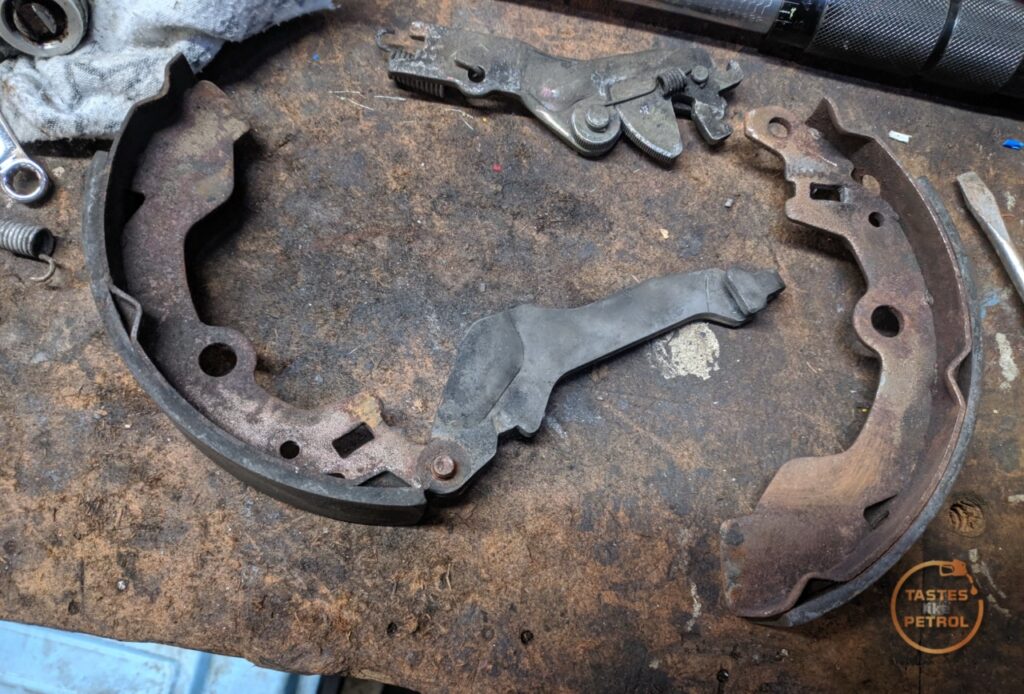
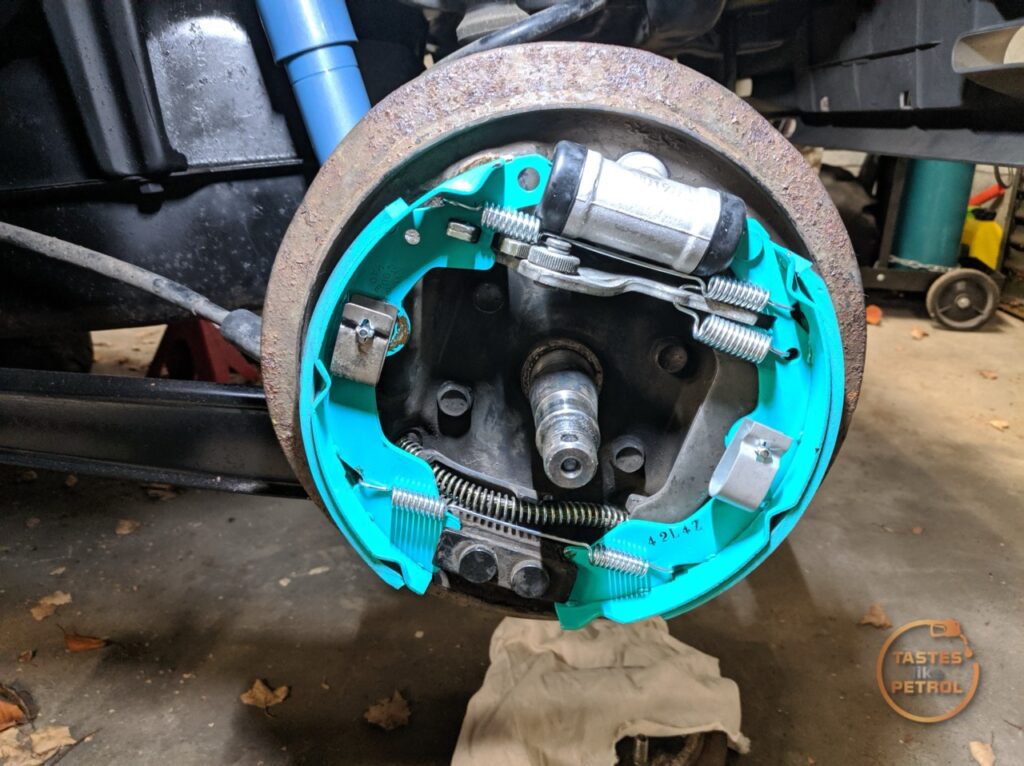
This is what the shoe assembly looks like off the car, less the spring across the bottom. Up top is the auto adjuster, and down the left side is the hand brake lever
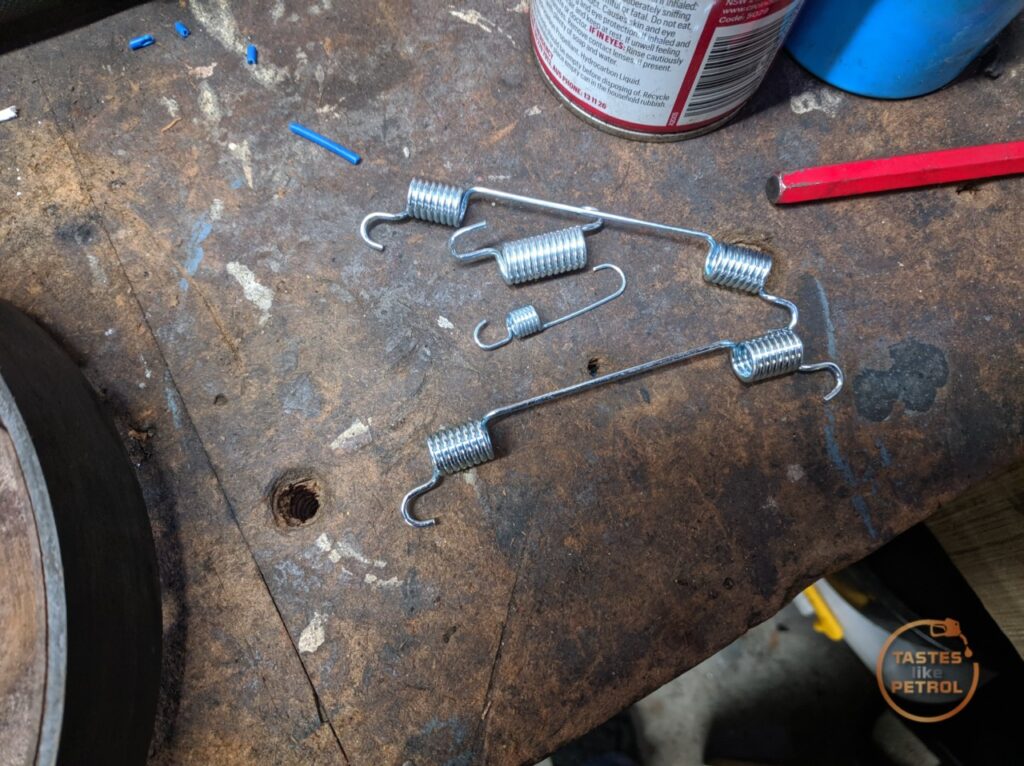
These are the new springs needed
Another thing I bought from Japan a while ago was a set of nice new Project µ drum shoes
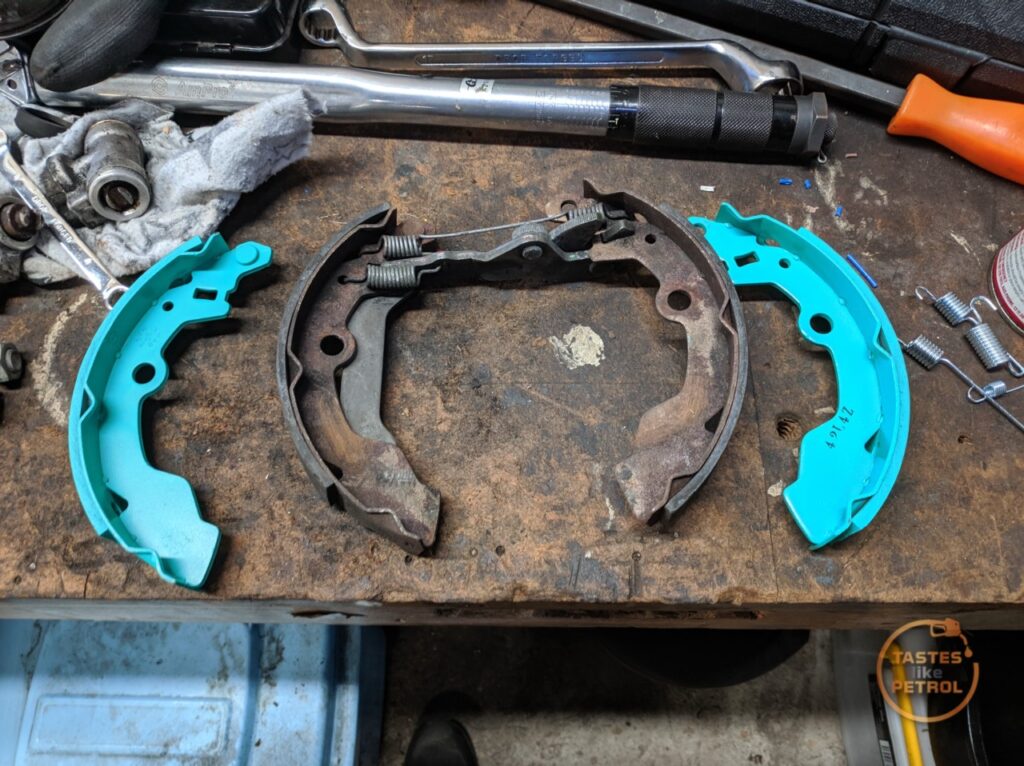
I started to strip the shoes
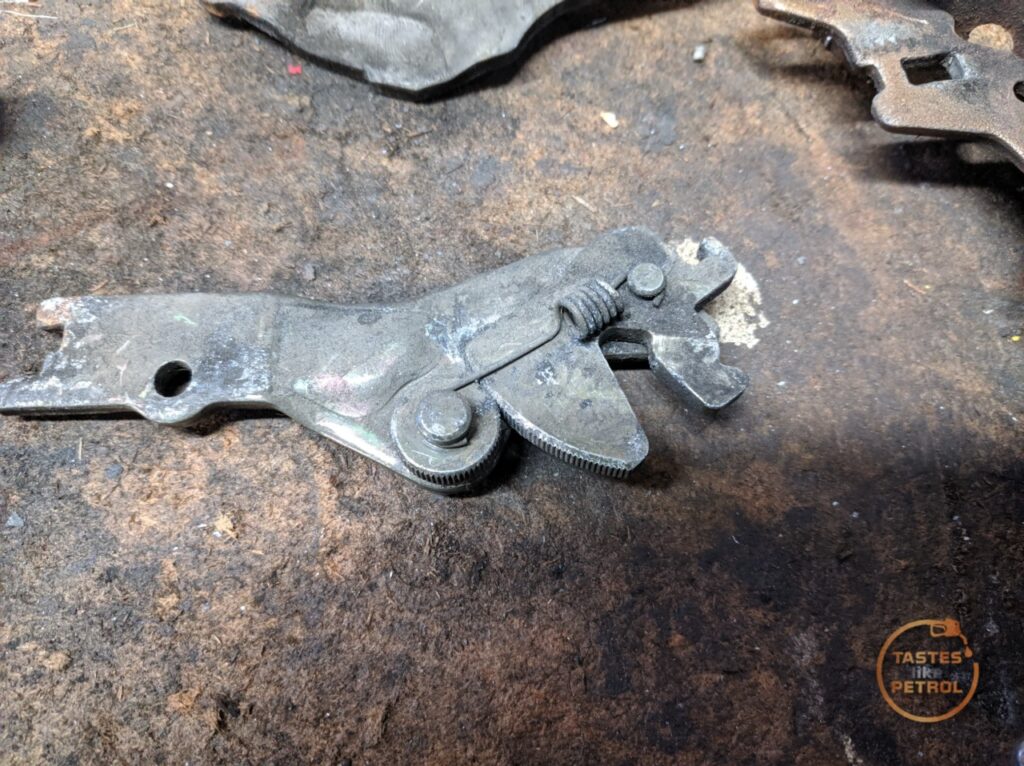
The auto adjuster. The quadrant on the right is held against the toothed “wheel” by the spring, but can slide backwards, which allows it to ratchet into place
I cleaned the handbrake lever up, and found where that little disc of metal that fell out of the drum came from
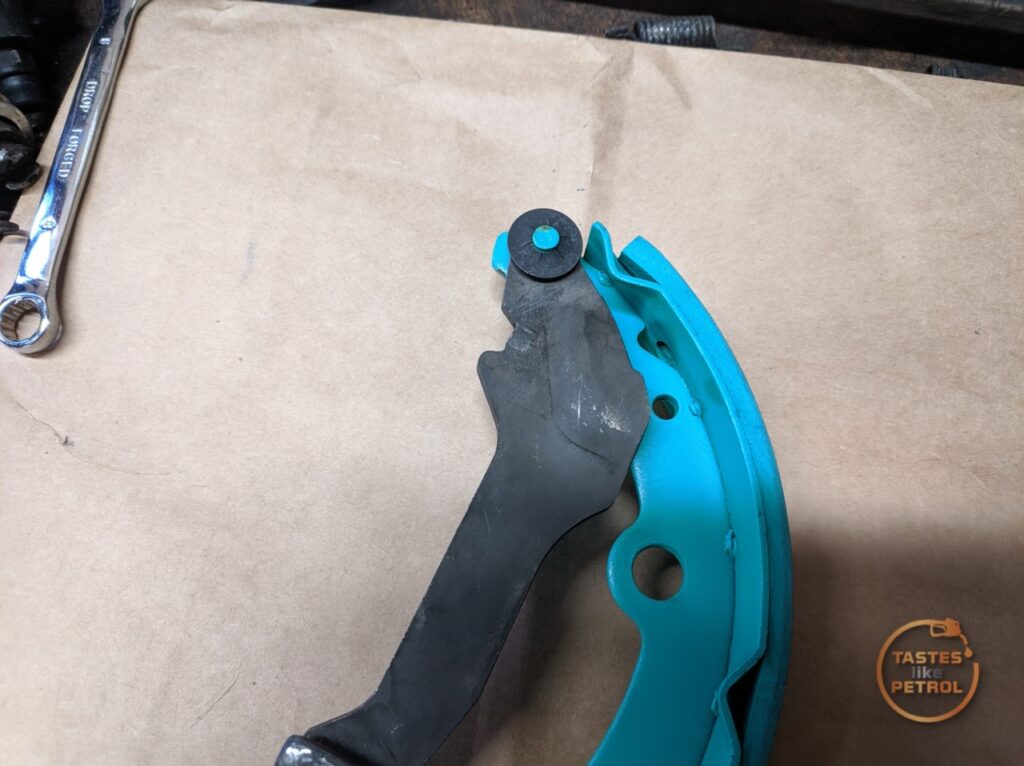
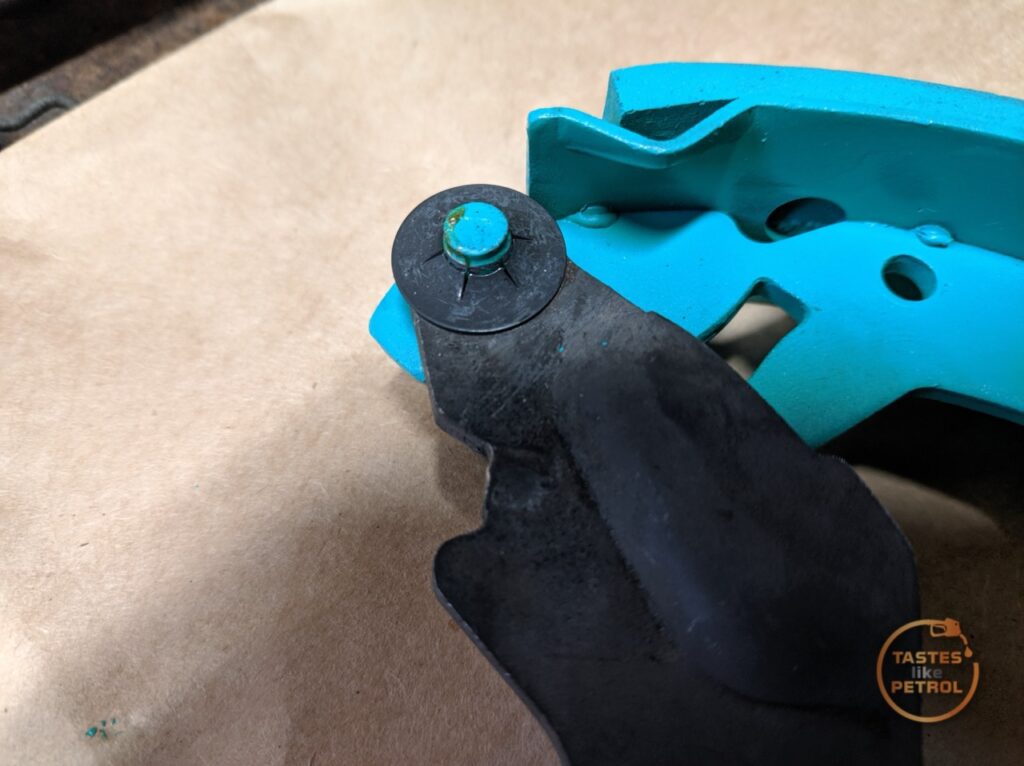
It’s meant to be pressed onto the stud to retain the lever. I used a small socket and hammer to tap this into place, leaving enough space for the lever to freely pivot. The new shoes came with a new pair of discs.
I also cleaned up the adjuster and fitted that, with a new spring. I set this to its least expanded setting
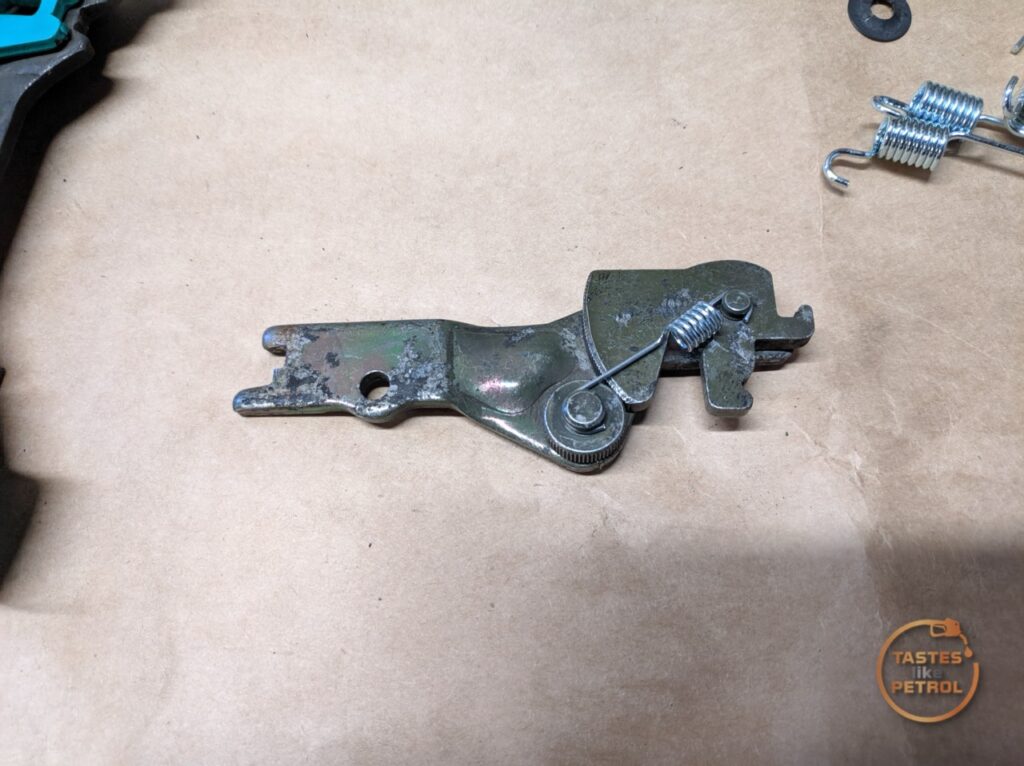
This spring fits one way, and they are different left to right. The big hook goes in the adjuster, the small hook in the shoe
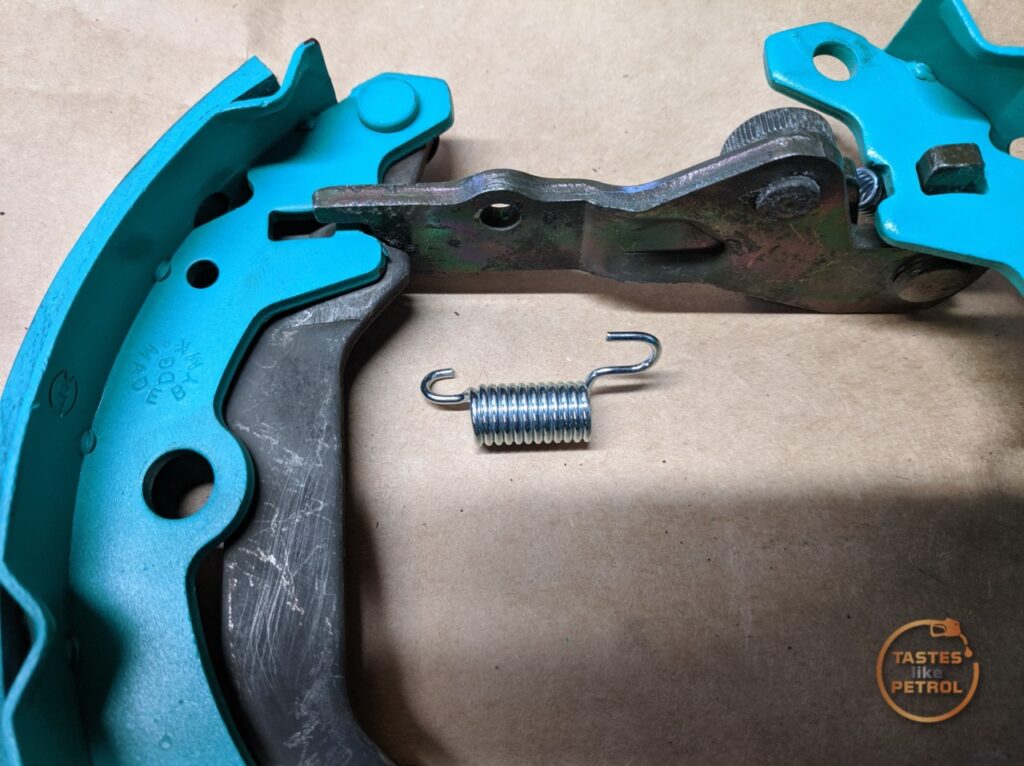
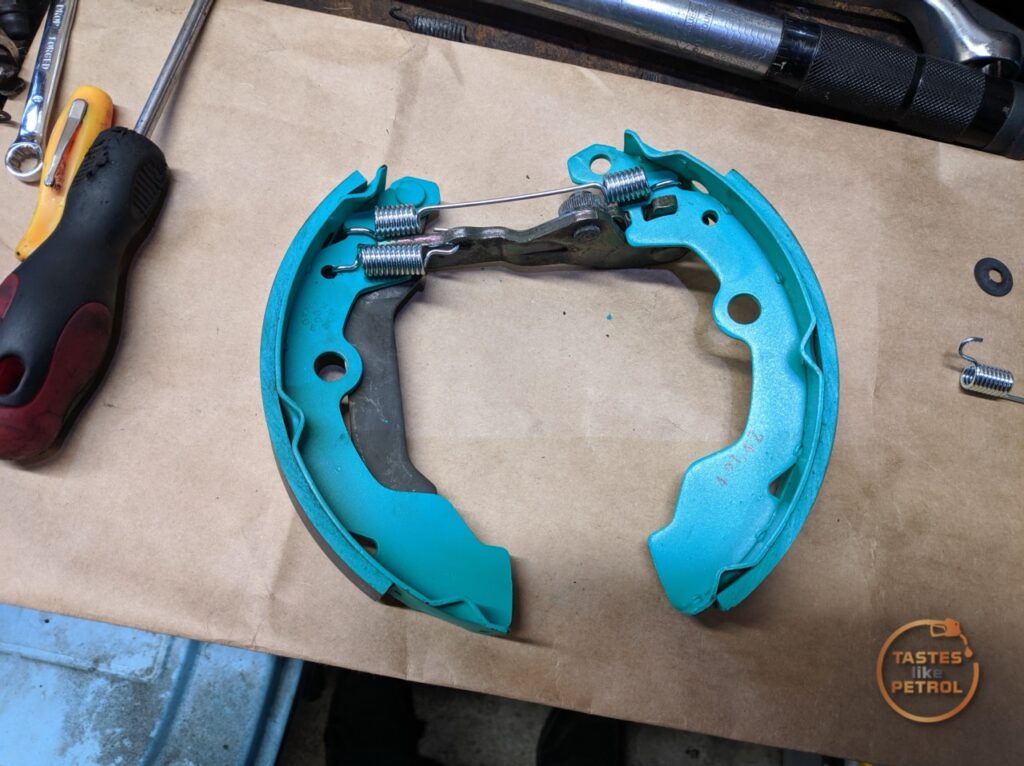
Mostly ready to fit. This was pointless though, as it was much easier to assemble the whole thing on the car, not the bench
I started with the shoe that has the handbrake lever on it, and hooked it back on to the cable (with much pain; this part of the job sucks)
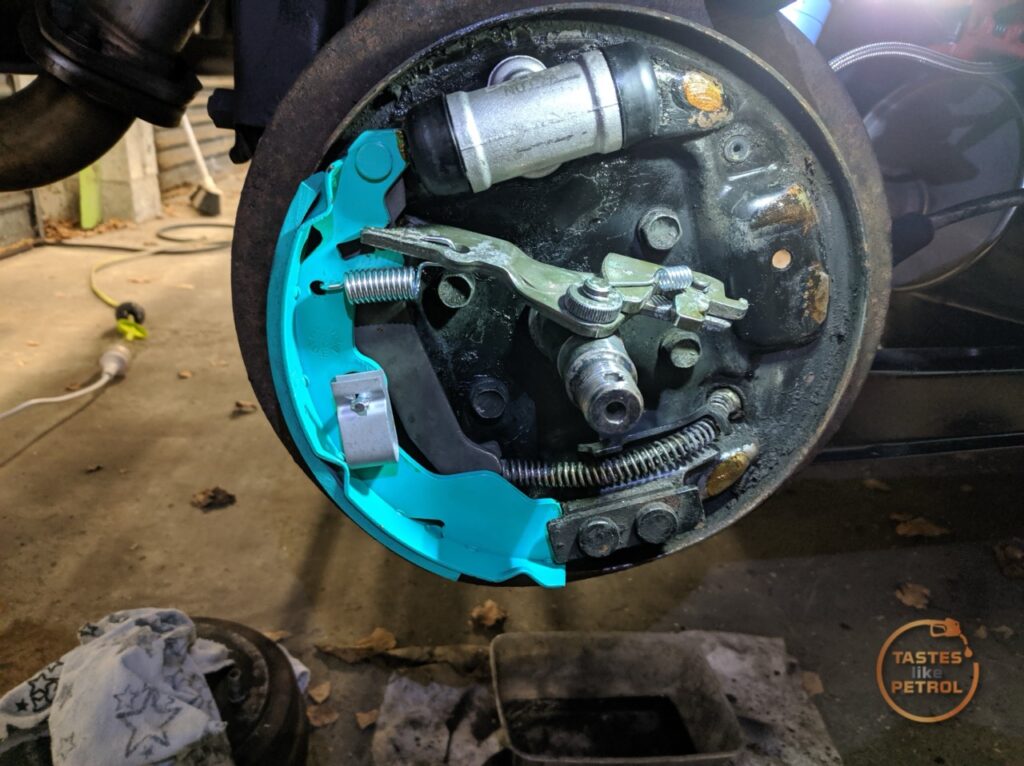
And then it was a case of fitting the other shoe, and hooking the springs into place
On the other side, evidence of someone else’s bodges were present… Instead of the retaining disc, there were not one, but two E clips fitted
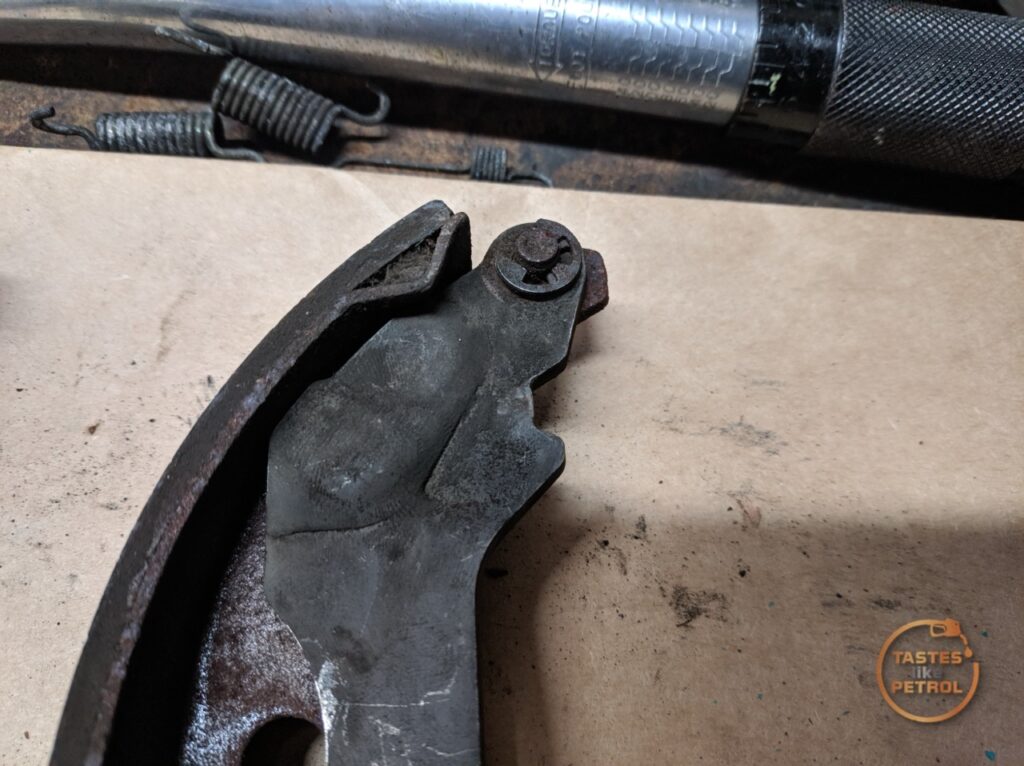
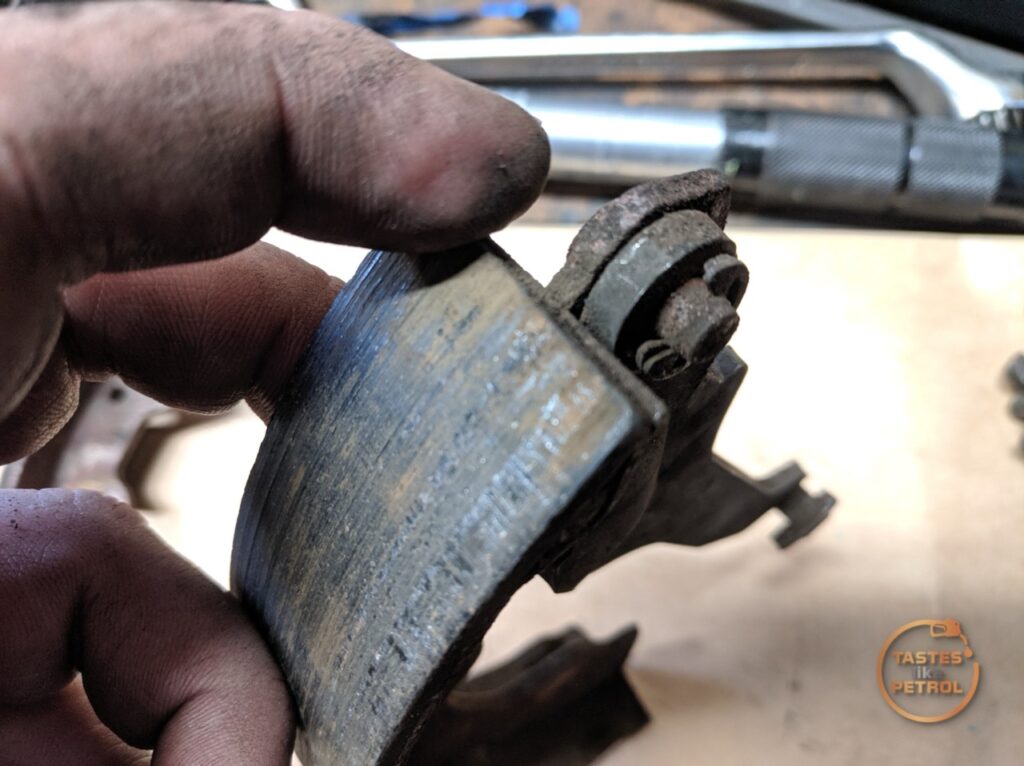
I cleaned the lever up and moved it to the new shoe, with a proper retainer
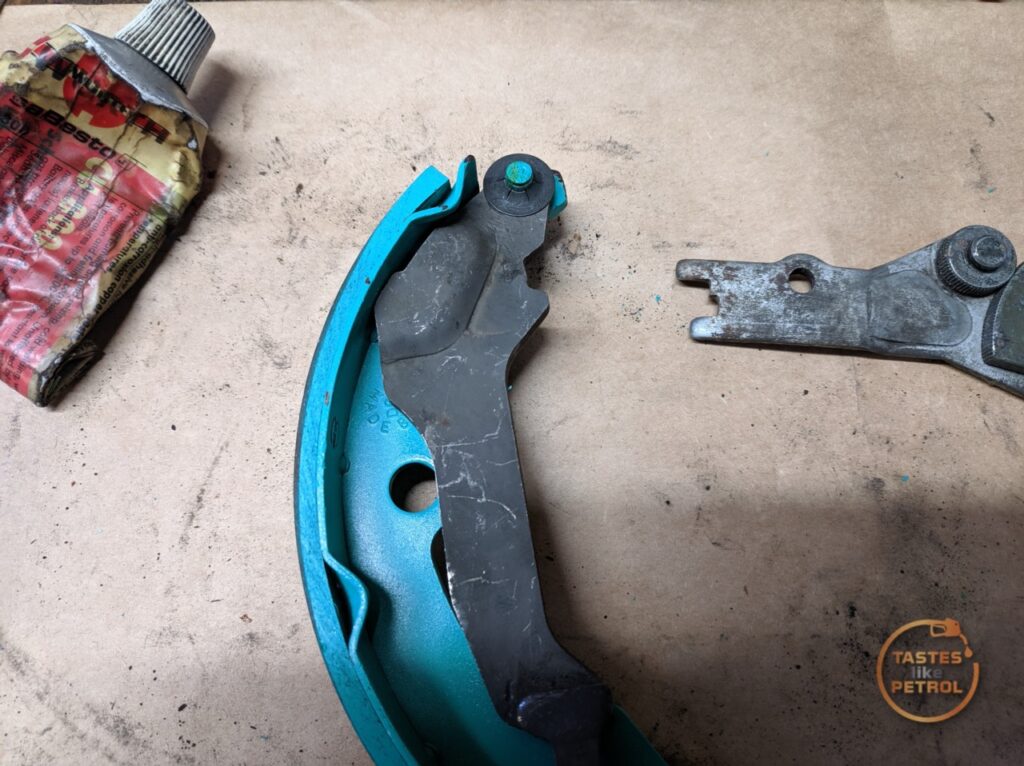
Which was then all refitted to the other side, along with a new cylinder.
The drums went on next, with the new bearings and torqued to spec. It’s a shame this is all you see of the new brakes now.
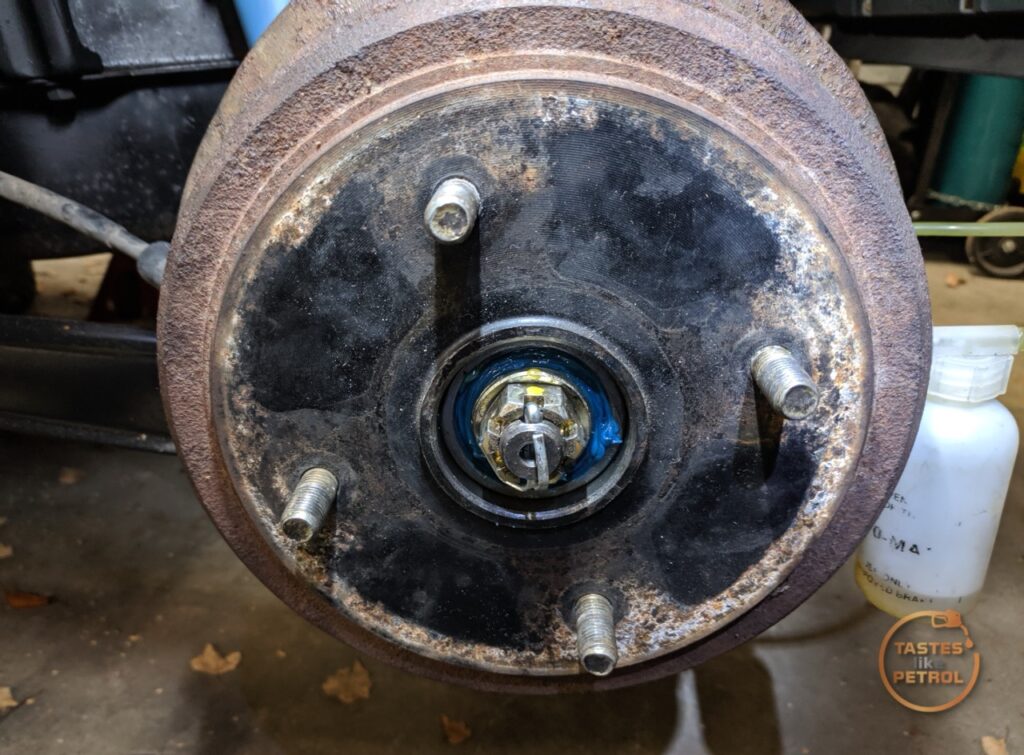
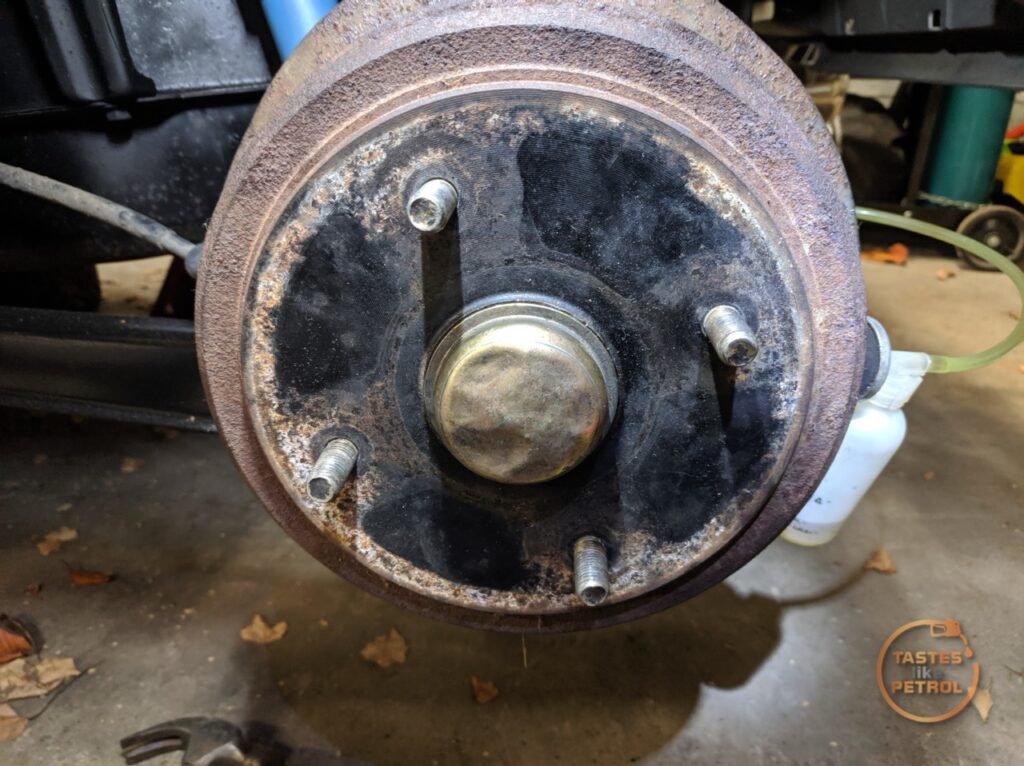
I bled the system, checked for leaks, and that was the job done. A quick test drive shows the car pulls up straight, and honestly doesn’t feel any different, but I guess working rear brakes would be more important at speed, particularly with a track day looming in a couple of months. I’m glad it’s done now.
On the plus side, the handbrake holds real well now.
Parts Used
Rear Wheel Bearing Inner – NSK 6205DDUC3 x2
Rear Wheel Bearing Outer – Suzuki 09262-20069 x2
Rear Wheel Cylinder – Delphi LW62099 x2
Rear Wheel Shoe Kit – TRW SFK242
Rear Shoe Set – Project Mu S881
Please note these parts are specific to my car and may vary. Please check before ordering.