
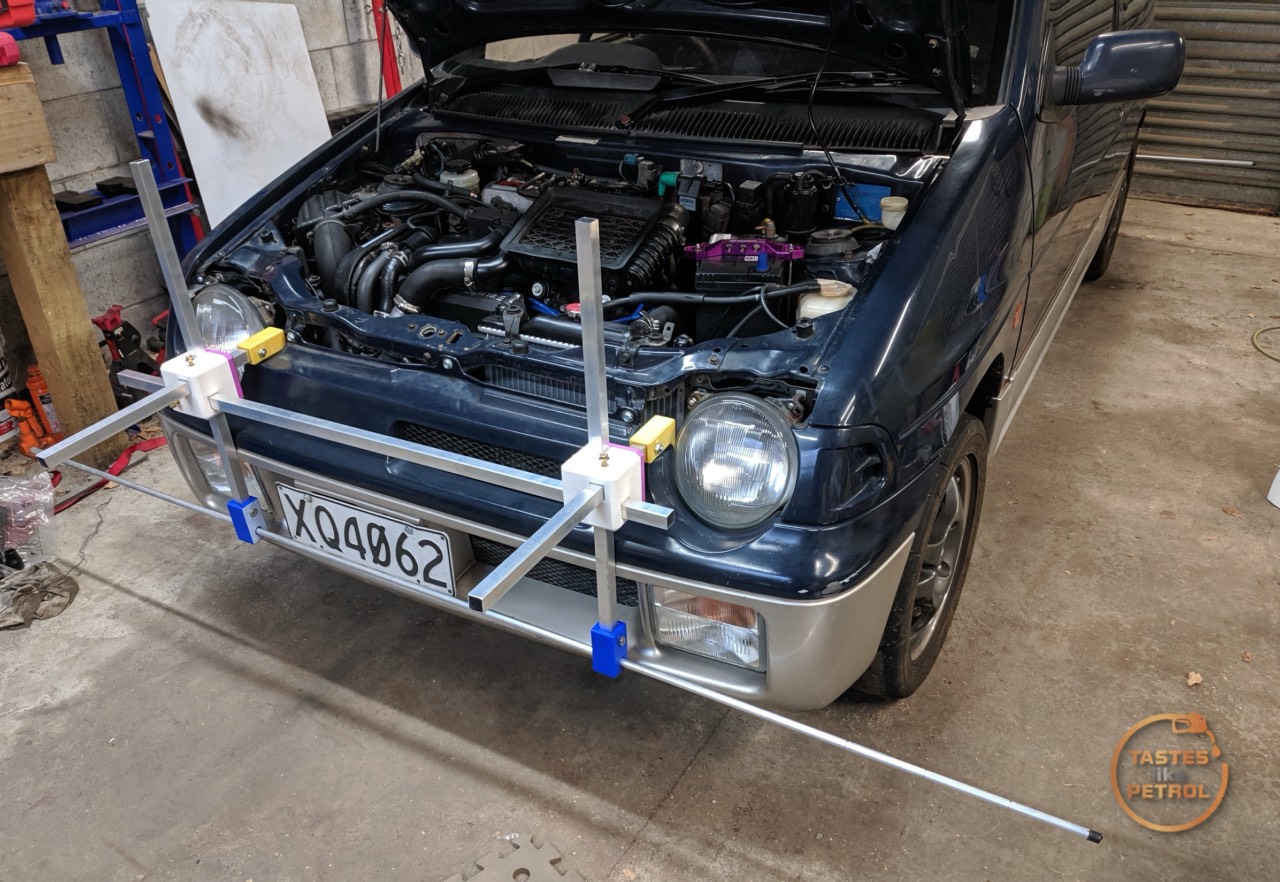
This is something I had wanted to do for a while, but only got around to it now. An on-car string rig.
I hate paying for wheel alignments. It’s expensive, and they always only ever do toe (as most cars only have toe adjustment), and at that it’s a “good enough” within spec adjustment, never actually bang on. I’ve spent hundreds on alignments over the years.
Ages ago I checked the alignment of the Marina using string lines, set up on axle stands. It worked, but it was a bit of a pain to work around, and needed to be reset if I made any adjustments.

After all the work on the Alto, I wanted to check the alignment. I knew it was out; when I first put it together, it was hugely toed in, so with a quick eye-lignment I got it somewhat OK so it wasn’t fighting me down the road now, but the steering wheel was off center.
So with my 3D printer in hand, and using these Thingiverse files, I got printing.
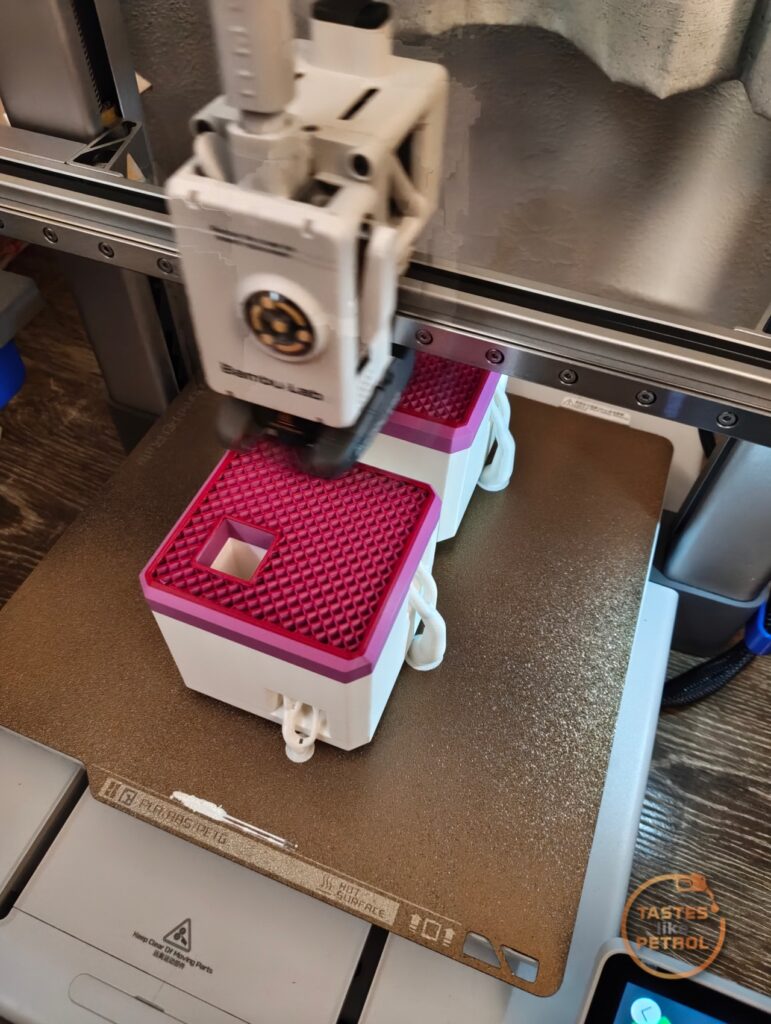
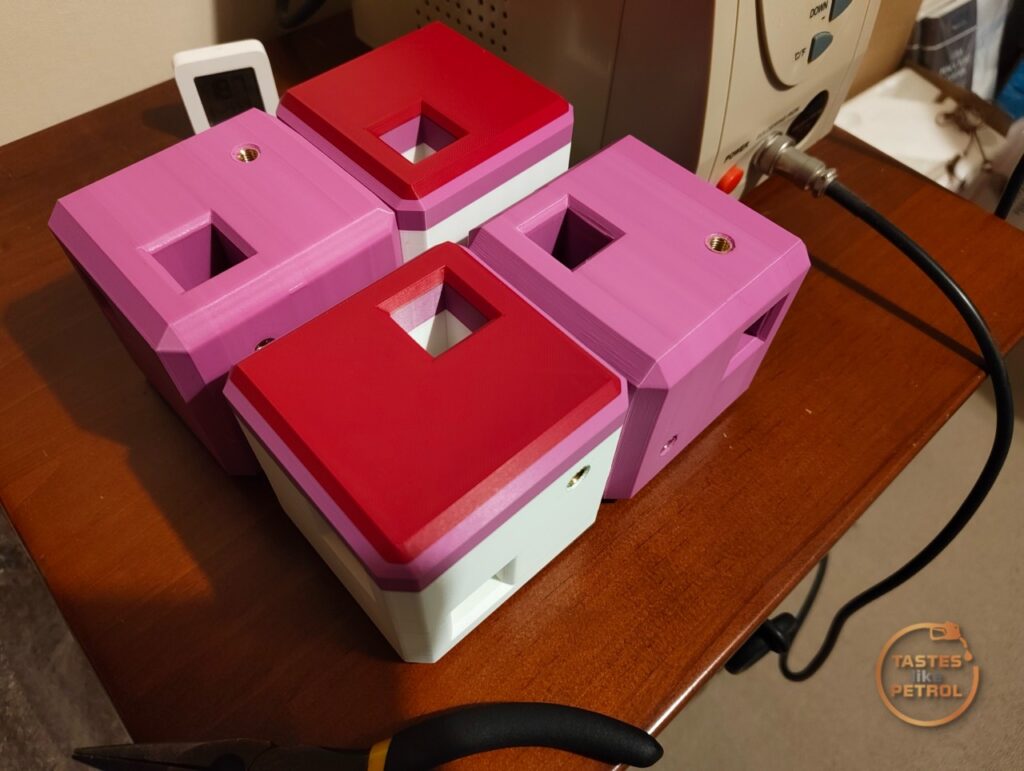
It did use more filament than expected, so I started to feed it scraps, hence the sweet multicolours. I also pressed in some generic M6 heat inserts, and after using a tap to clear any excess plastic pushed down under them, they worked great.
I grabbed a bunch of 19mm square tube from Bunnings, along with a pair of 12mm 2m long tubes. After much cutting and drilling, I assembled it all
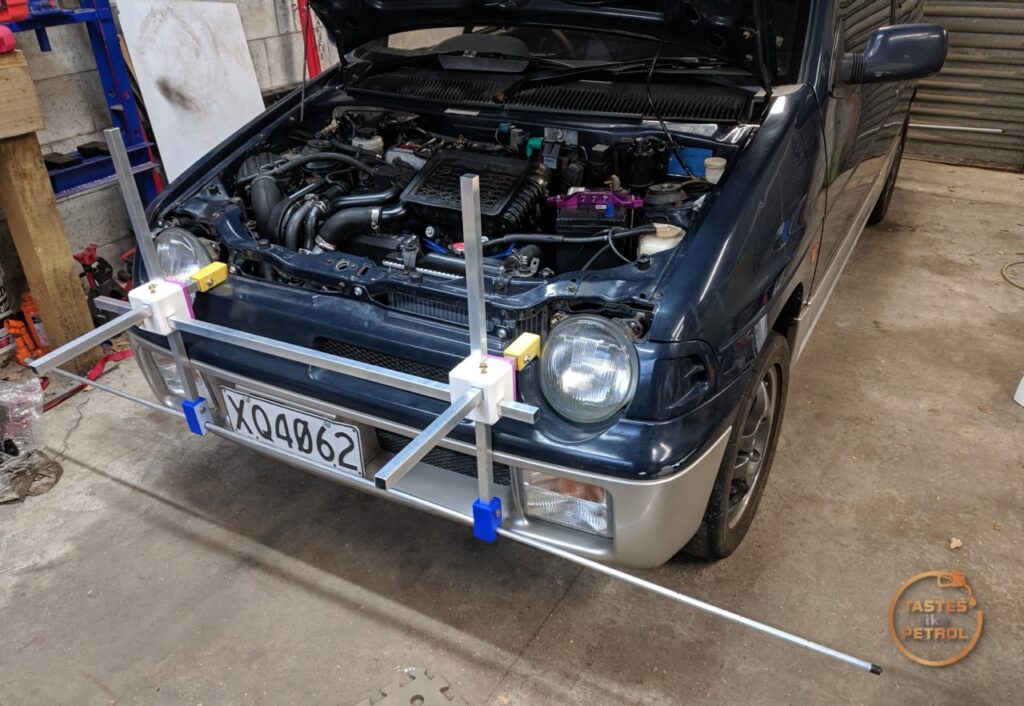
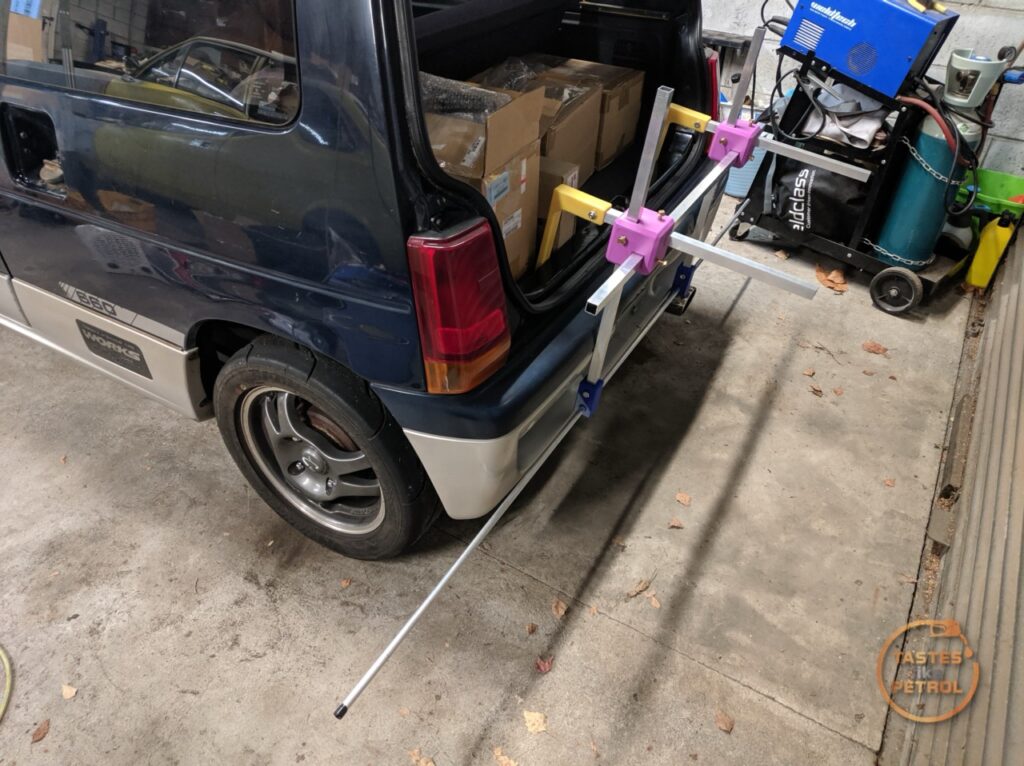
One crucial thing that is needed is to have notches for the string lines in both of the horizontal tubes. These notches need to be in exactly the same place on both tubes, front and rear, so that the string creates a box and not a parallelogram
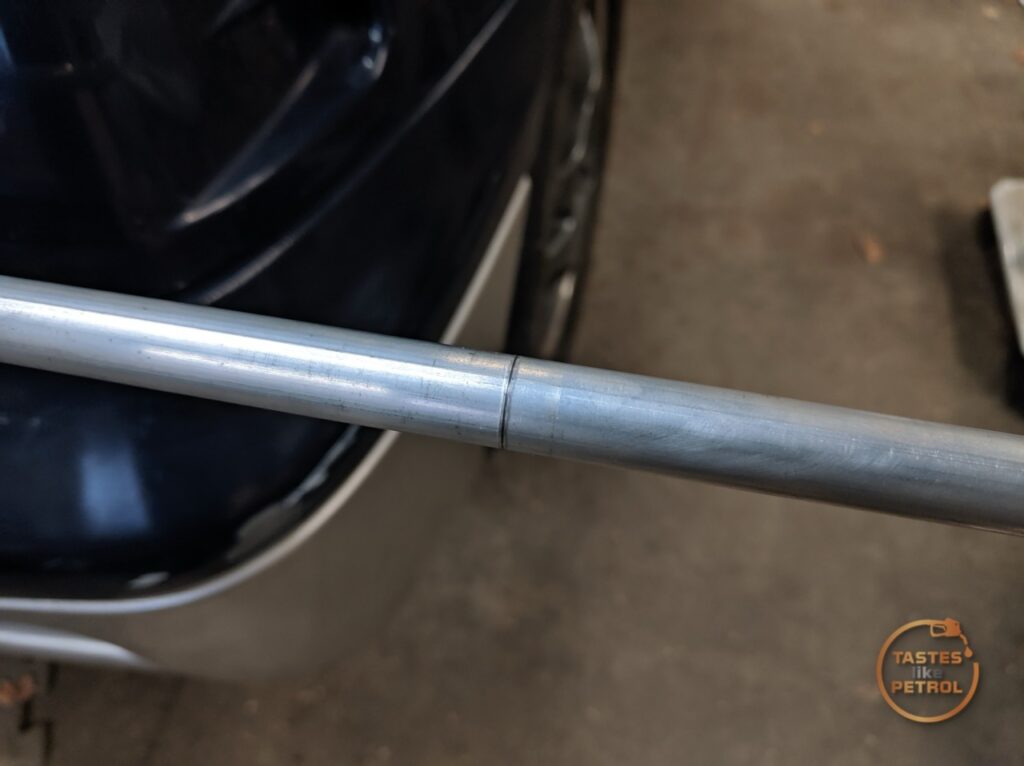
To cut the notches, I used a pipe cutter, being careful not to actually cut the tube in half…
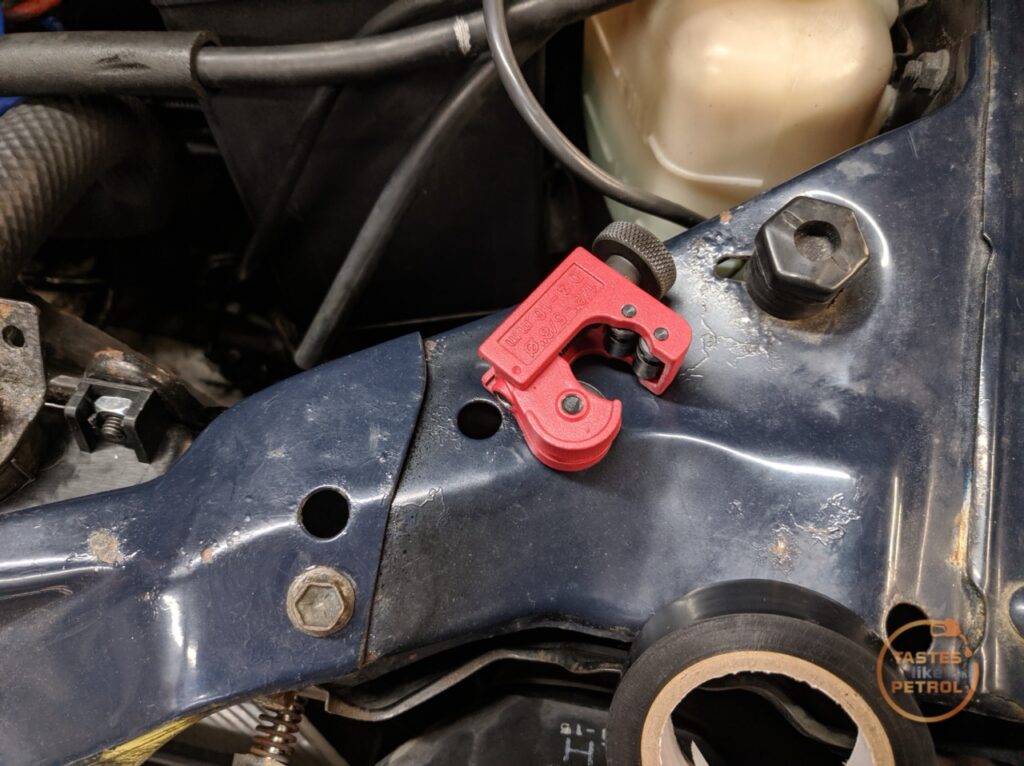
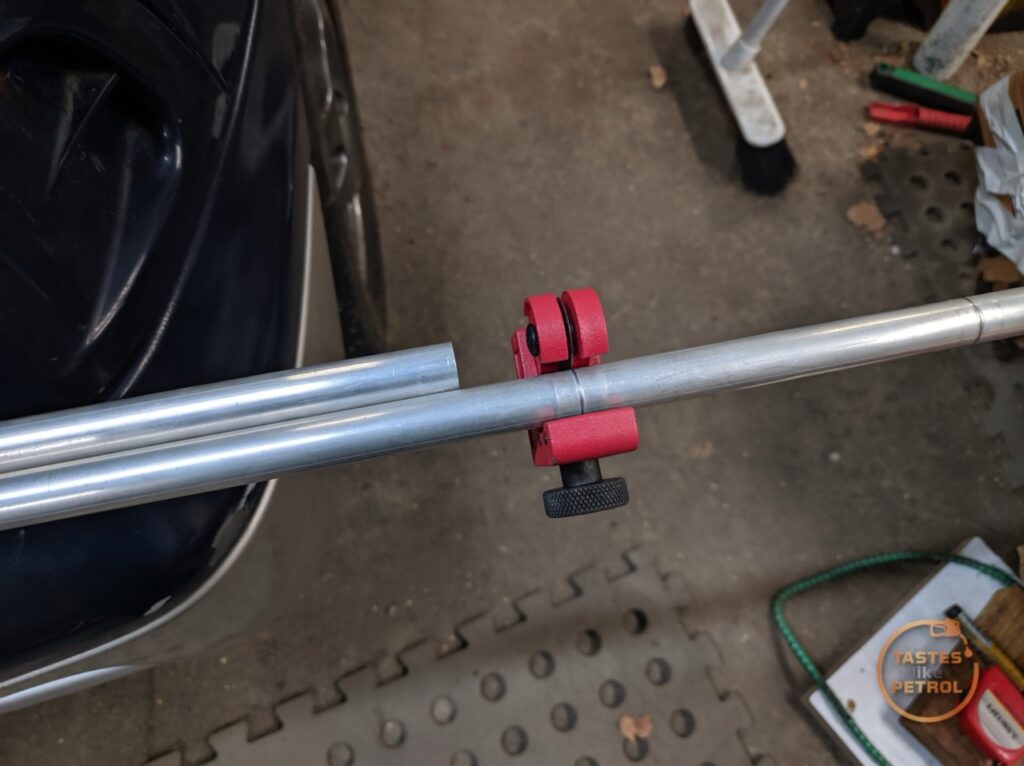
To get the notches in the same place, I did all the notches on one tube first, measuring in from the end in three steps and then making the notches. I then placed the other tube on top of this one and used this to line up the pipe cutter tool. The black tape is only on one end of the tubes; this is so I know which way around they are a matching pair.
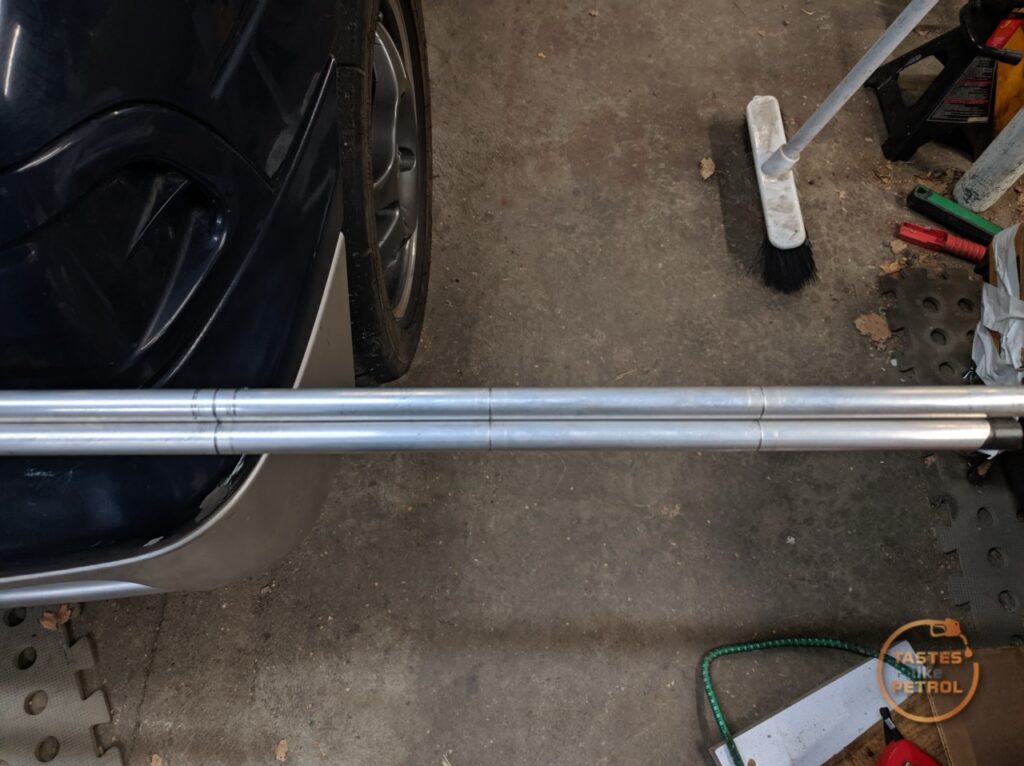
I used some fishing line, with a loop on one end and weighed down with a nut on the other end. The string must be in the same notches front and rear.
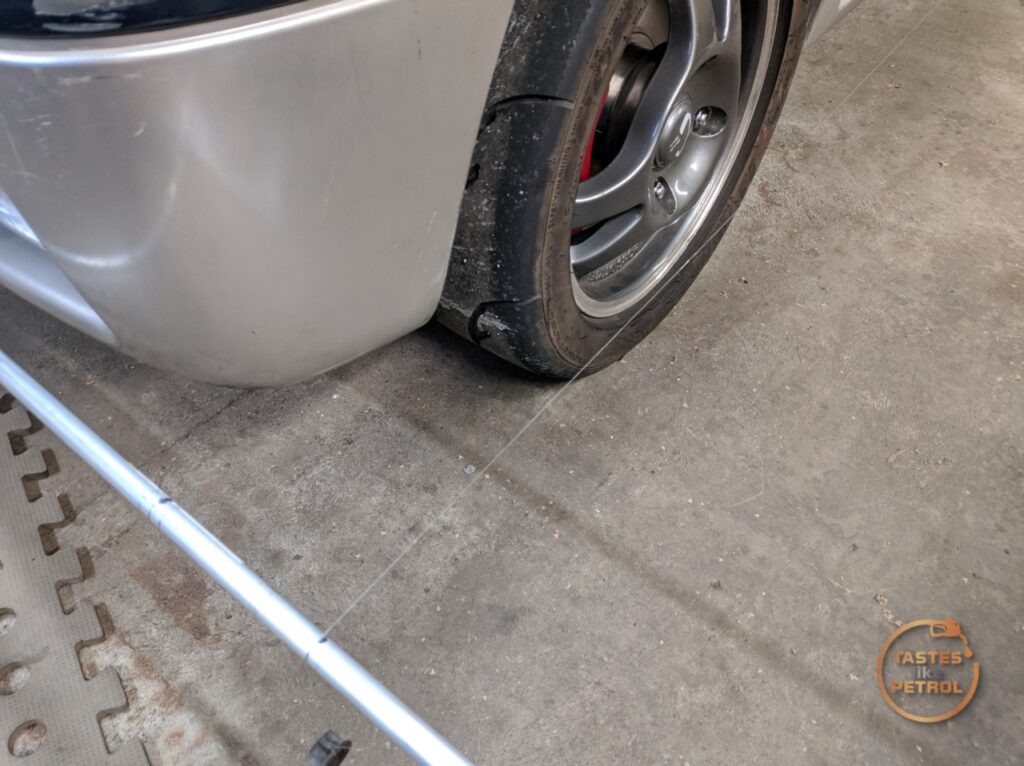
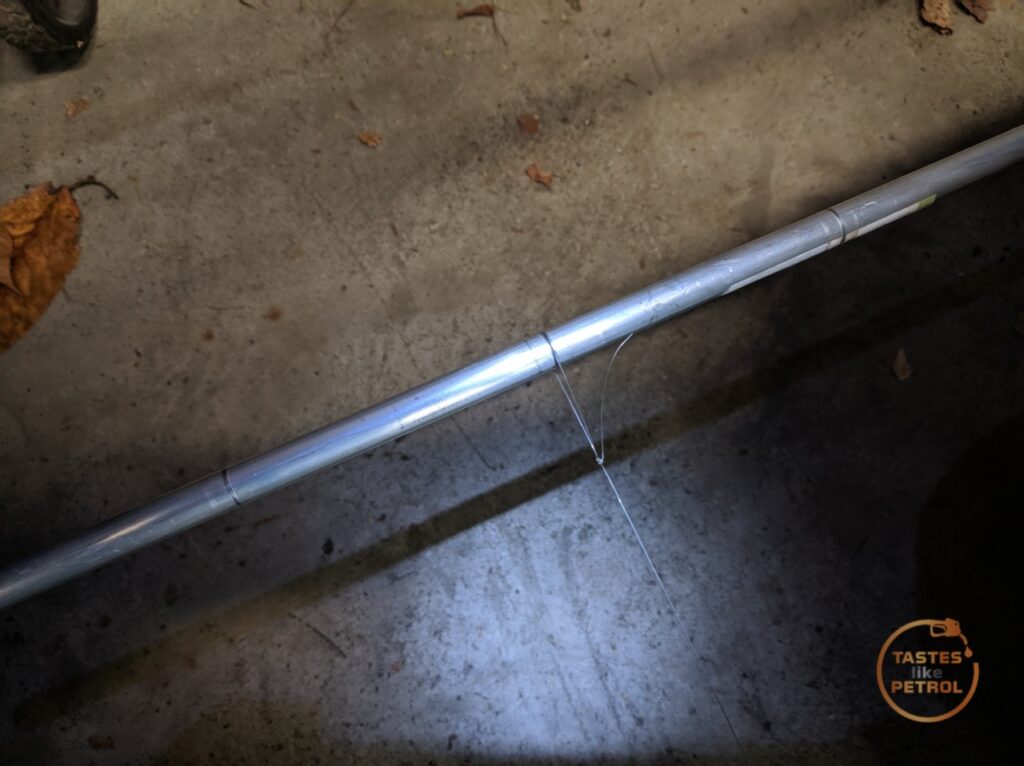
Once the string line height is set to run through the center of each wheel, it’s time to measure side to side from each center cap to the string line and slide the tube side to side until it’s even
(The following photos were taken purely for demonstration; they may not be perfect)
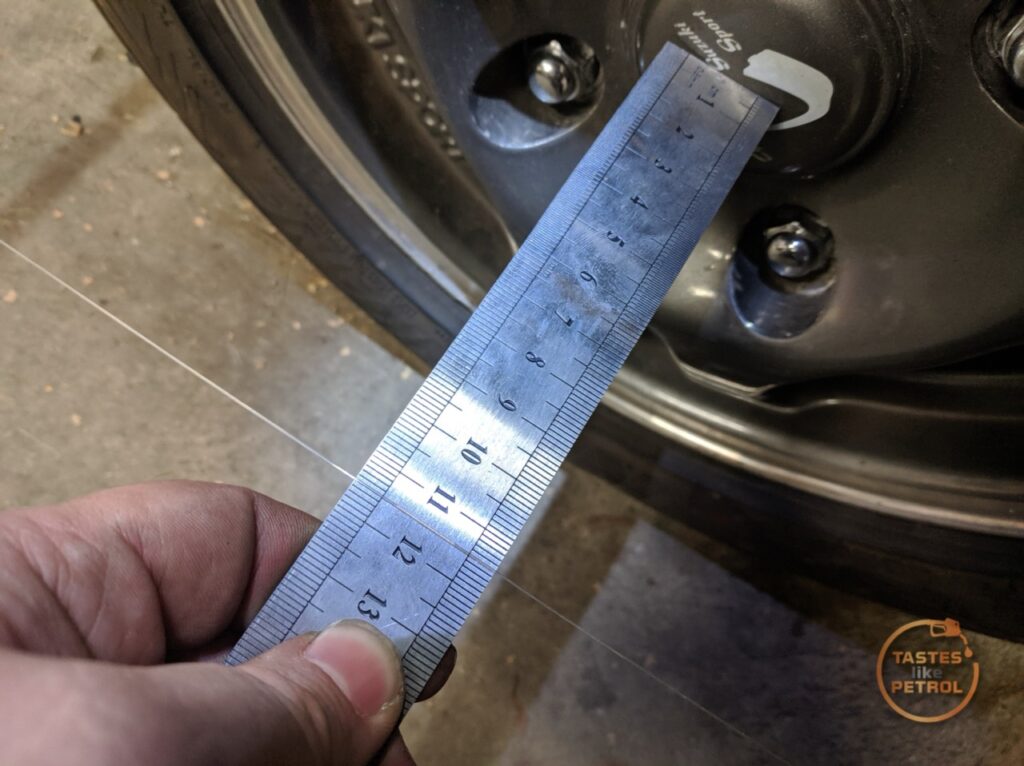
Once the strings are all even and everything is locked down (this will take a few goes around the car as one adjustment will upset another), then it’s time to make the actual measurements from the front and rear edges of the wheels.
Get the ruler as close as you can to the line without touching it, keep the ruler flat, and you know the string is straight when it goes through the same number on both edges of the ruler.
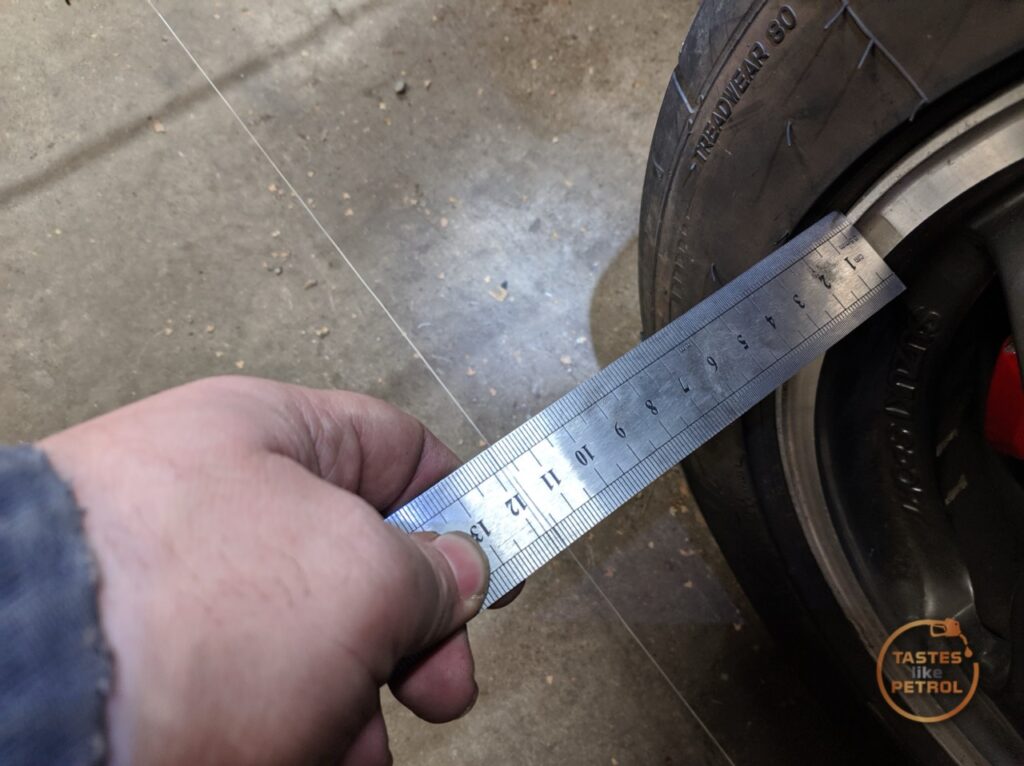
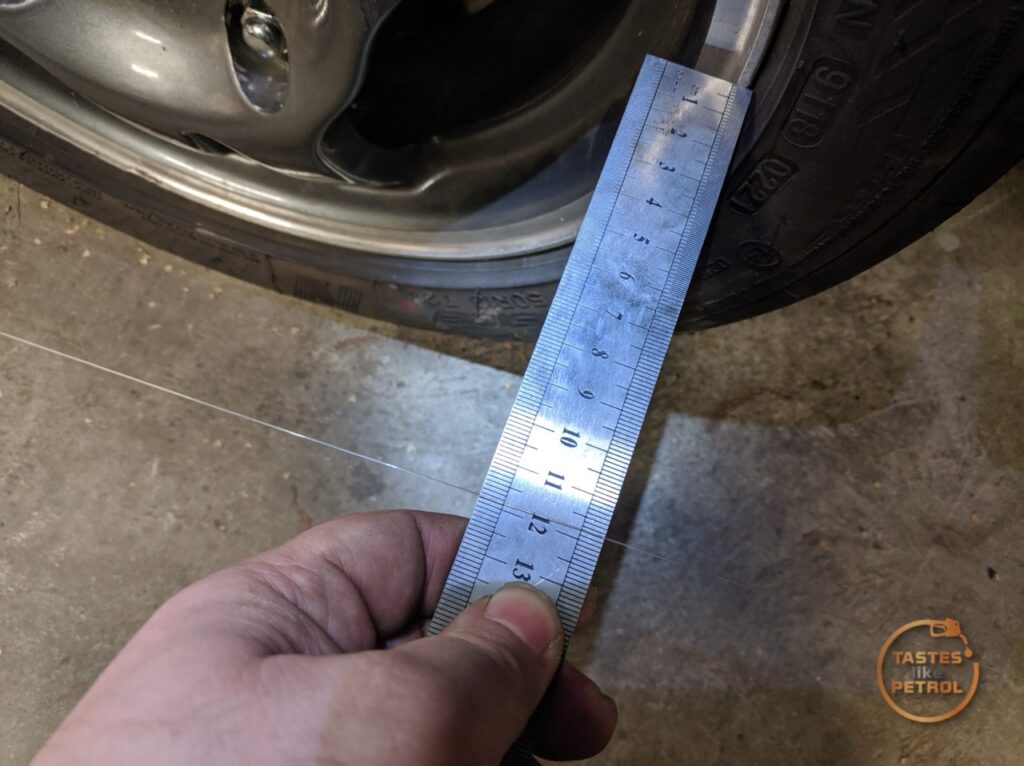
Take note of these measurements. Do this for each wheel, and then you should have an idea of what’s going on. In my case, I had 0.9mm toe-in (rear edge of wheel is closer to the string line than the front edge) on the LH side and 0.3mm toe-in on the RH side.
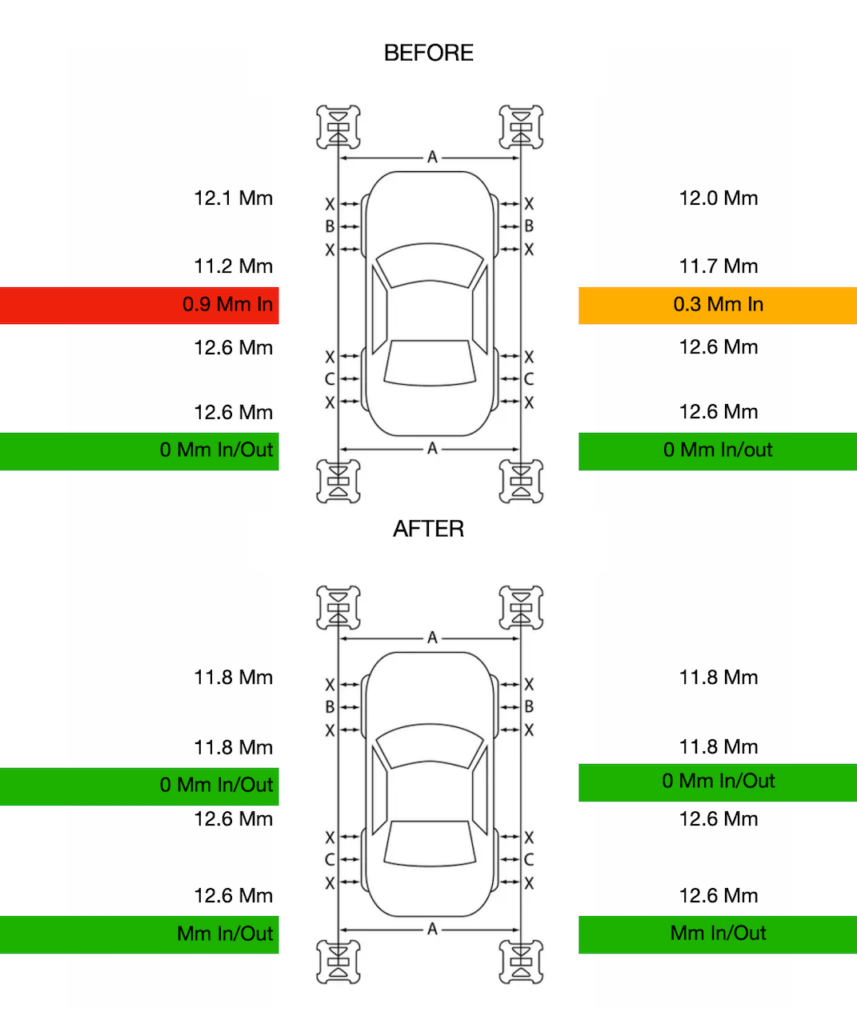
Thankfully, despite the banana for a rear trailing arm before, the rear toe is bang on perfect, so the rear beam isn’t bent or anything.
As you can see above, I adjusted the front toe so that it’s currently set at zero, which is within spec (-1 to +1mm). I’m going to see how it feels; I might go close to the recommended spec of -1mm total toe (0.5mm toe out per side) before trackday.
I’m quite lucky with the current ride height in the front that I can adjust the toe with the car on the ground by reaching around the tyre
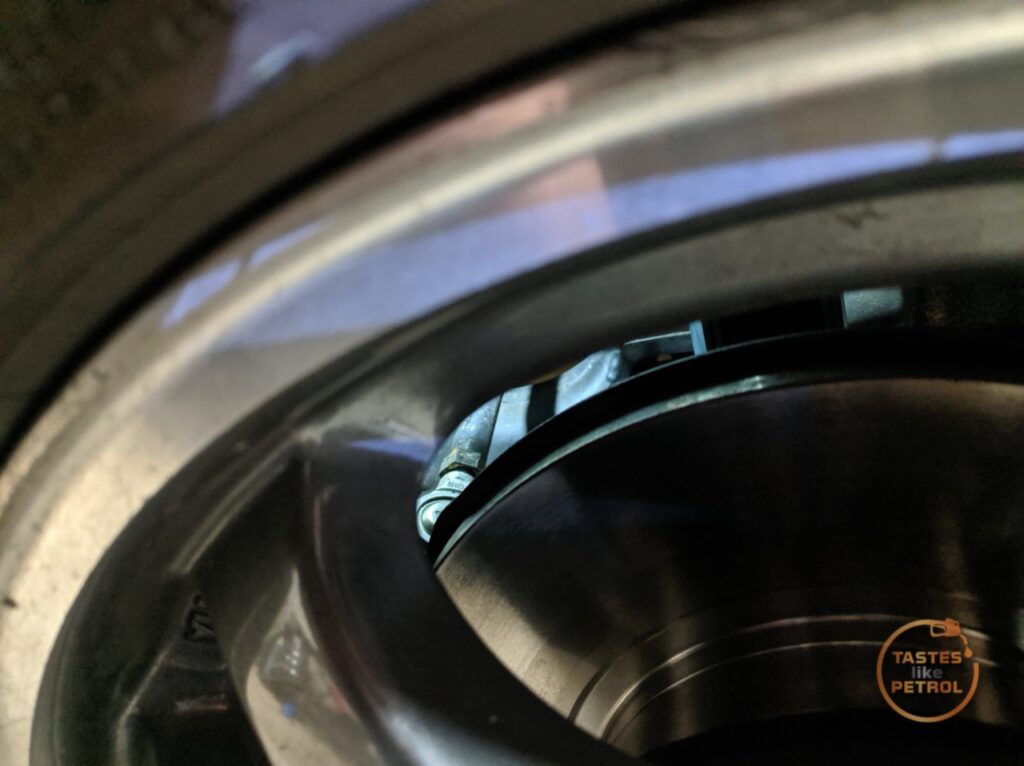
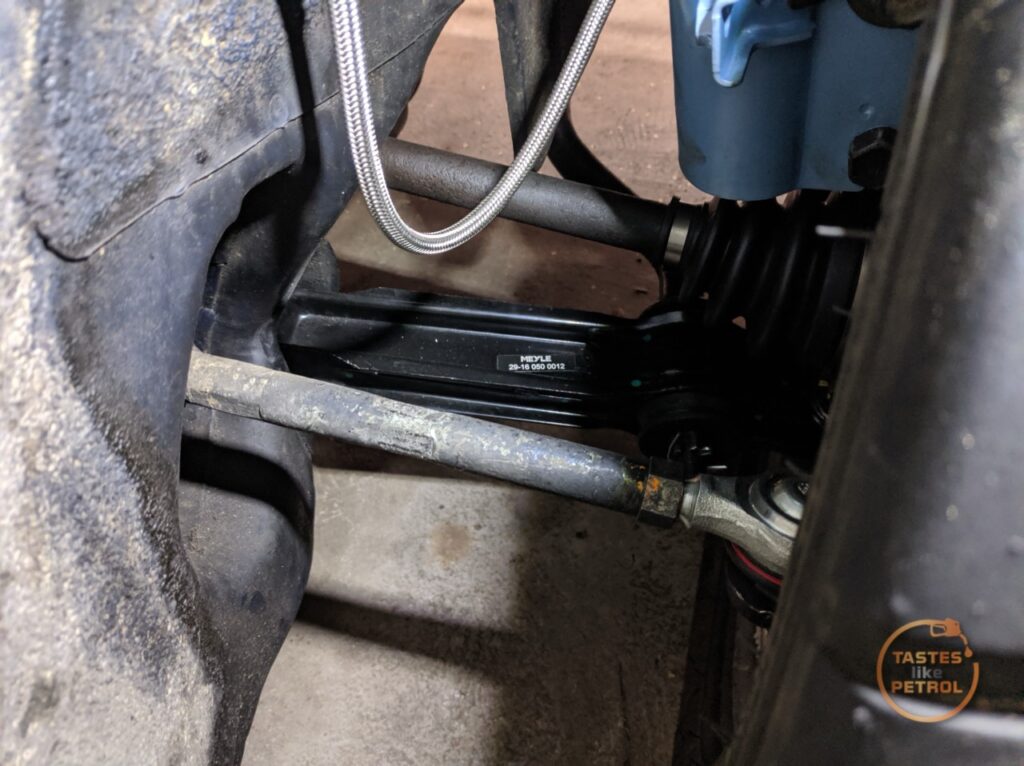
After adjusting it, I can roll the car back and forth, with the string lines still attached, and I’m able to quickly check and adjust further if needed.
I took the car for a quick road test after the alignment, and it’s bang on now. The steering is straight, and the car tracks down the road nicely.
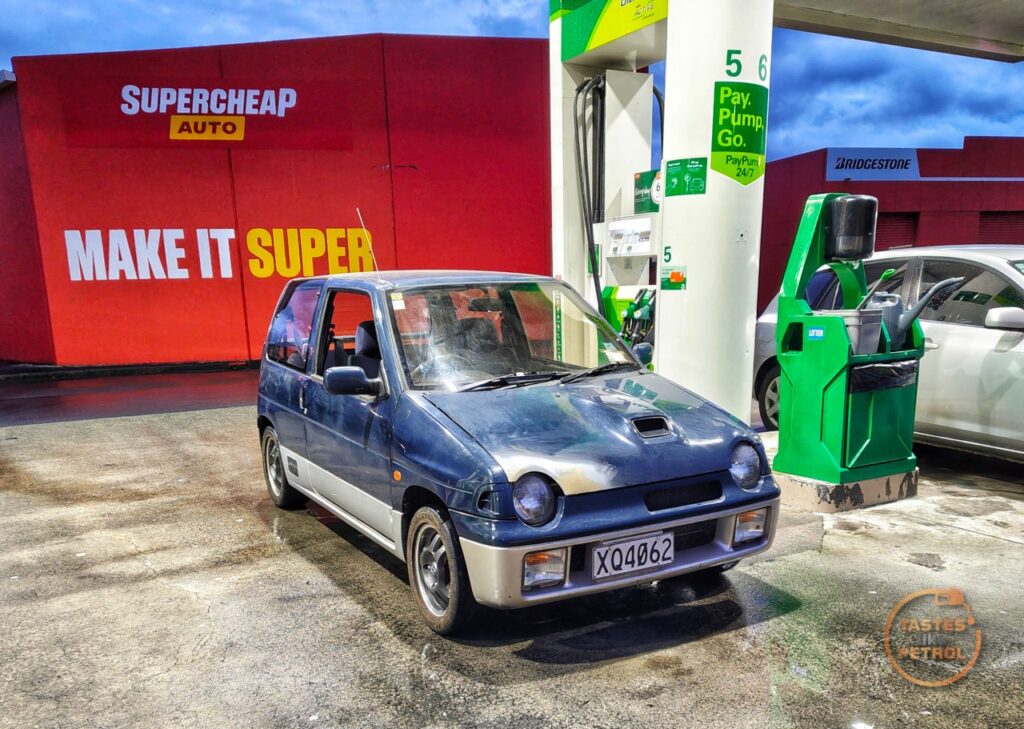
$50-ish spent on filament, $65 on the tubes, some string and screws… to save me $100. It wouldn’t make sense normally, but each car I use this on saves me $100, and I have two other cars here that I want to check the alignment on, so that’s already $300 total. Plus, any tweaks I want to make for the Alto would be $100 each time. It pays for itself quickly.