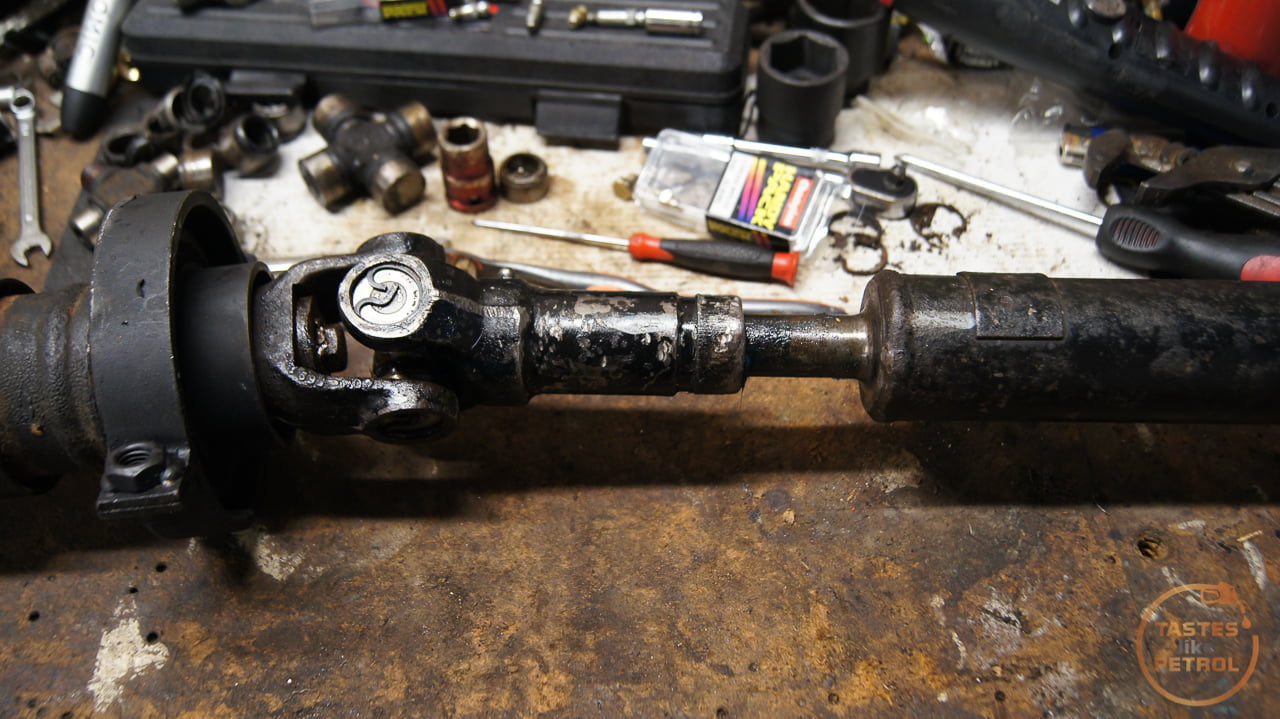
One part I neglected to address in my previous post about the driveshaft was the sliding yoke. It was seized, and no amount of pretending it wasn’t was freeing it up.
The sliding yoke sits at either end of the diff half of the drive shaft. Sometimes it’s on the diff end of the shaft, or in my case, it’s in the middle near the center bearing, depending on where BL felt like assembling it. Either way, it’s a crucial part of the driveshaft.
As the rear axle travels up and down in normal driving, the rear section of the driveshaft has to raise and lower with it. The problem is that the axle travels in an arc, which means the distance from the axle to the center hanger bearing increases and decreases slightly as it moves through its travel.
To account for this change in distance, the driveshaft needs to be able to change length. This is done with the sliding yoke. Inside the yoke is a series of strong splines, which mate with another set of splines attached to the end of the driveshaft. This allows the shaft to transfer power through it via the splines, but also slide in and out to account for the movement. A cap, spring and seal stop the spline from coming all the way out.
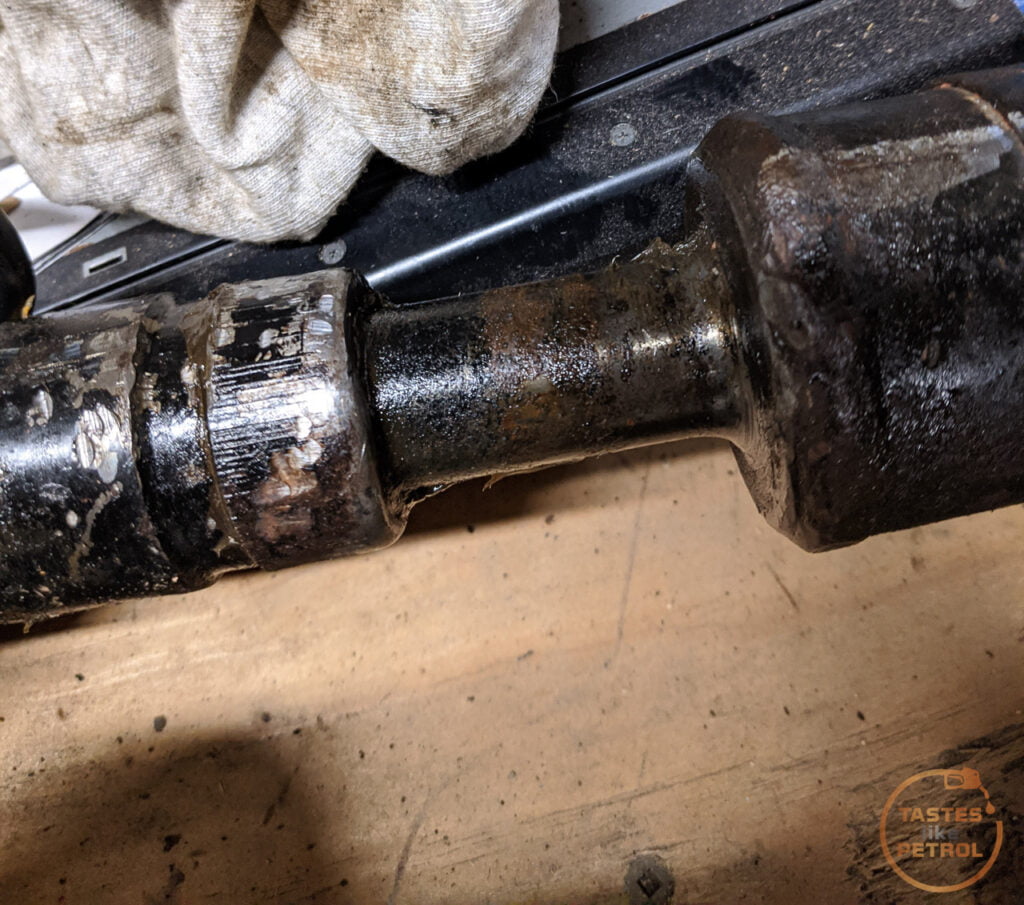
My yoke didn’t slide at all. It was completely compressed at its shortest length and would not budge. I tried many things to free it up, including filling it with penetrating oil and hitting it with various hammers. Nothing. I even tried hanging it and seeing if gravity would free it up (it didn’t).

I tried a few other things with no luck, but the one thing I was lacking was tension on the spline. Hitting it to shock it was fine, but if there was no tension pulling the two halves apart then I was only going to get so far.
So I had a brainwave (it hurt).
Two ratchet straps and a very sturdy workbench later, I had this contraption

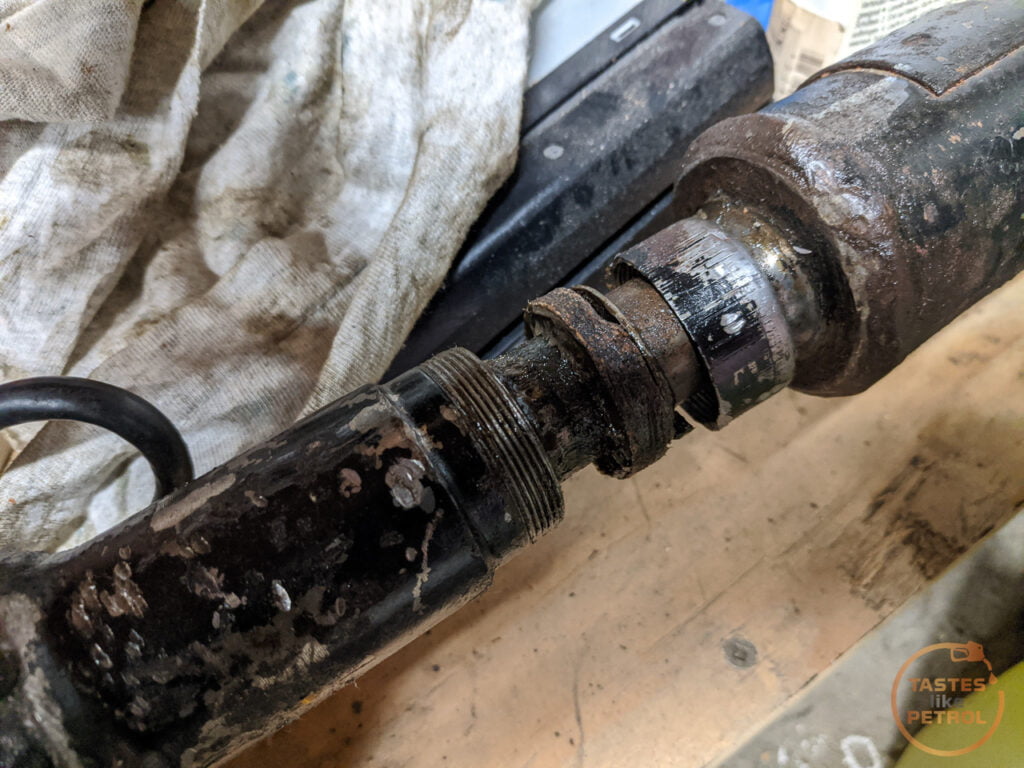
I ratchet strapped each end of the shaft to a leg of the bench and put tension on the shaft. With one hand I grabbed the yoke and leaned back, putting even more tension on the shaft. With my other hand, I hit the flat of the driveshaft with a hammer. Sure enough, after a few hits, I saw movement and then with a POP it fully extended.
I unscrewed the cap at this point, which reveals the cork seal and washer. The cork seal is known for being pretty chewed up and is unobtainable new now. Thankfully mine was in mint condition.
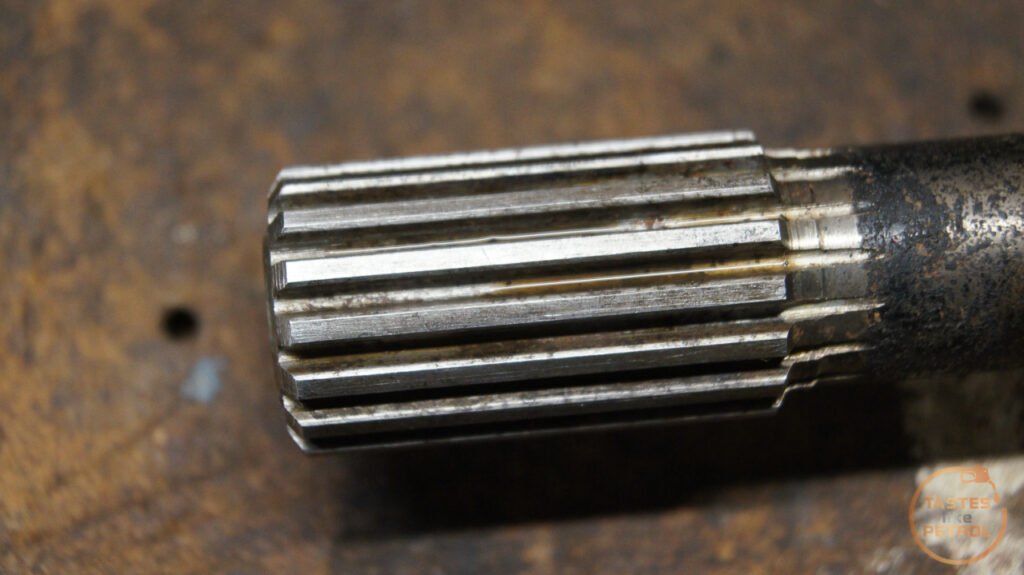
And for the first time I could see the splines. The old grease was black and disgusting, and the splines had obvious signs of surface corrosion.

One thing to make sure of is that both halves are clearly marked so it is reassembled in the same location. I scribed lines into the yoke and driveshaft and then marked it with a white paint pen.

The spline isn’t keyed, so can fit many different ways. The main thing to take care of is that the UJs are in phase, which means they both have to be in line with each other.
With the spline removed it was time to get cleaning. All the old grease was cleaned off with brake cleaner and a toothbrush.
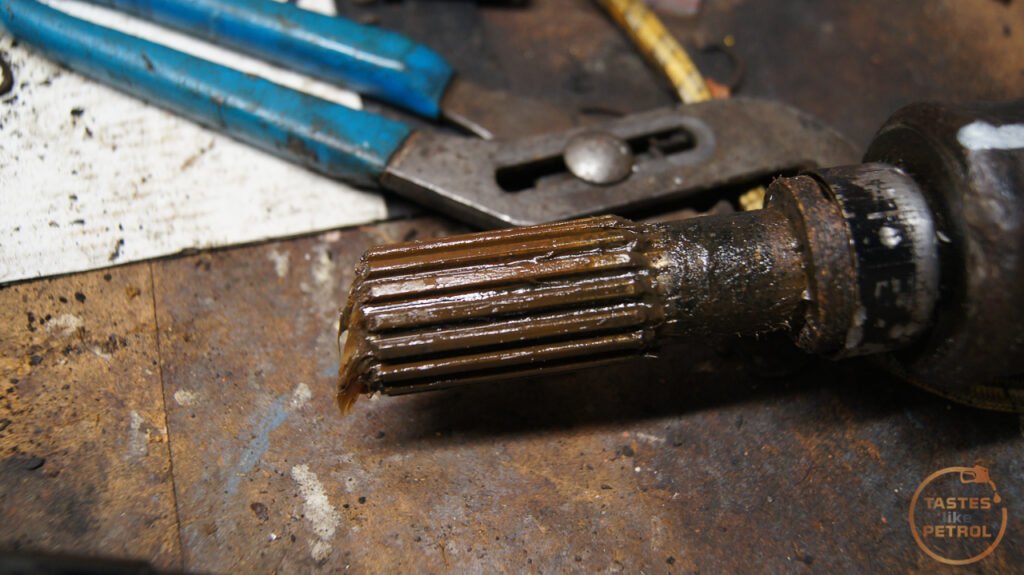
Which revealed why it was seized together. All the teeth had surface rust to some degree. This was binding with the internal splines in the yoke.

A good wiring brushing quickly got rid of most of it, showing the splines to be in good shape otherwise.
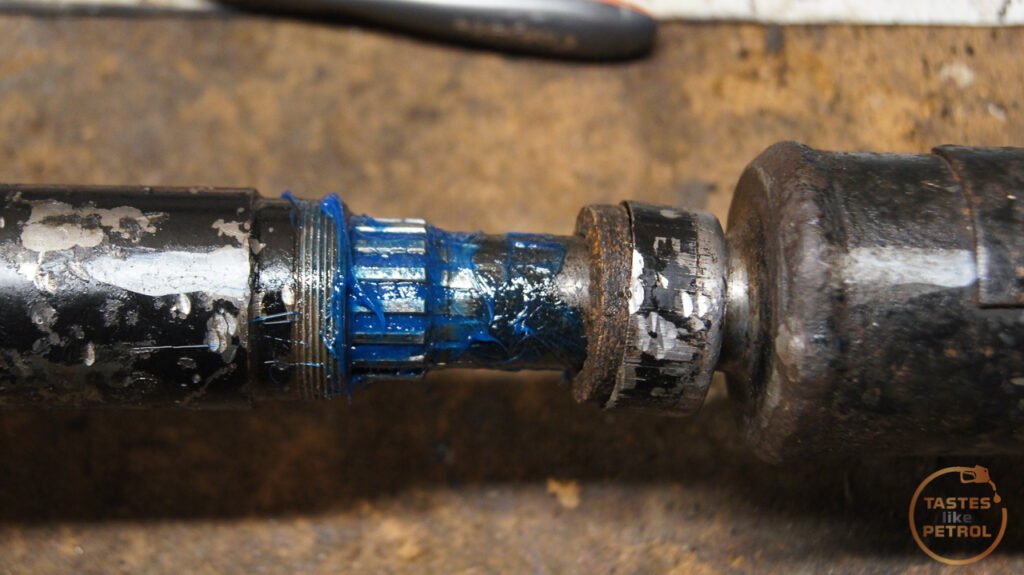
The splines were then slathered in grease ready for reassembly.

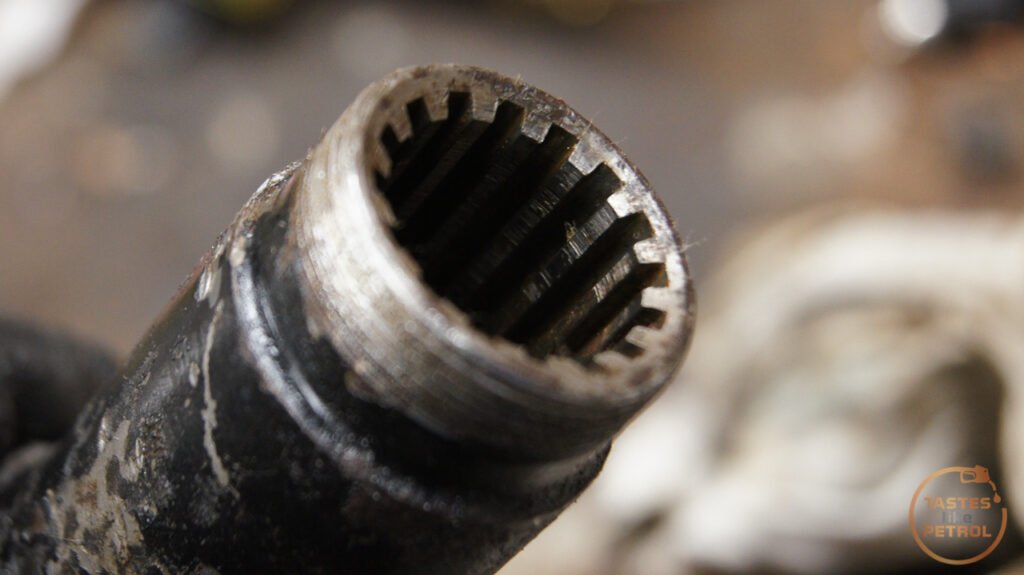
The internal splines in the yoke also got a good clean
Once I was satisfied with the condition of the splines I packed the yoke with grease and slid the driveshaft back in.
And wound the cap back down over the seal. A quick wipe to remove the grease ejected out the breather, and we’re done. The joint slides freely so should do the job nicely.

With that done, the driveshaft had been completely overhauled now and is finally 100% ready to go back in the car.