
Like all new toys, it’s hard to leave things alone long. The first upgrade I wanted to do was fit a better headunit.
The headunit in the car although decent, NZ market and modern, doesn’t have Bluetooth, so it’s useless to me. By a stroke of luck I have a good headunit with Bluetooth in my inventory… so put two and two together, and the Swift gets an upgrade.
For a standard Swift there are two screws you need to undo to remove the headunit, these are on either side of the radio unit and accessed by removing the glovebox on one side, and the under dash panel on the other. In my case, the car already has an aftermarket headunit, which was only held in with the clips on the facia. A good hard tug on the facia had the assembly out and in my hands. Dont forget to remove the connector for the hazard light button, it’s quite short.

Yes, you are seeing that right, ISO connectors! I hate it when people cut OE plugs off and hardwire the radio in, so seeing ISO plugs makes me happy.
The tray under the headunit was interesting. It had a really nicely assembled AUX cable integrated into it, so you could rest your phone in the front of the tray and the cables are plugged into the back of the headunit (instead of plugging into the front)
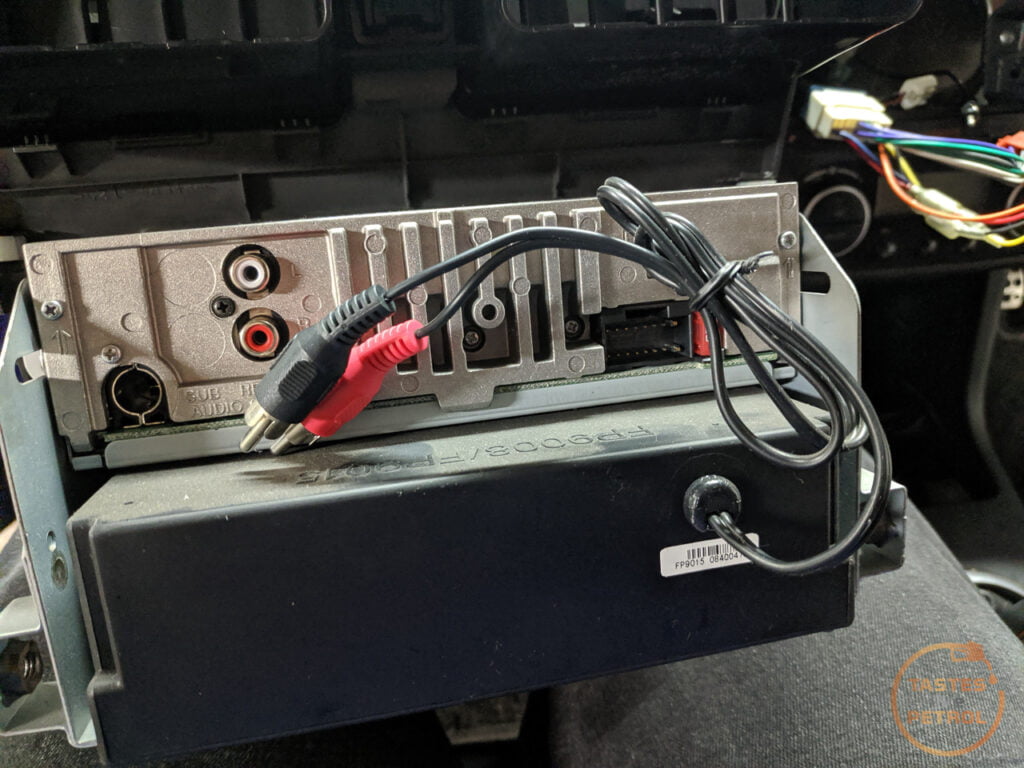

The replacement headunit has Bluetooth, and no AUX in the back of it, so the cable was now redundant. I tried to disassemble it without cutting the cable but had no success, so ended up chopping it and pulling it out. The tray will still be handy though.
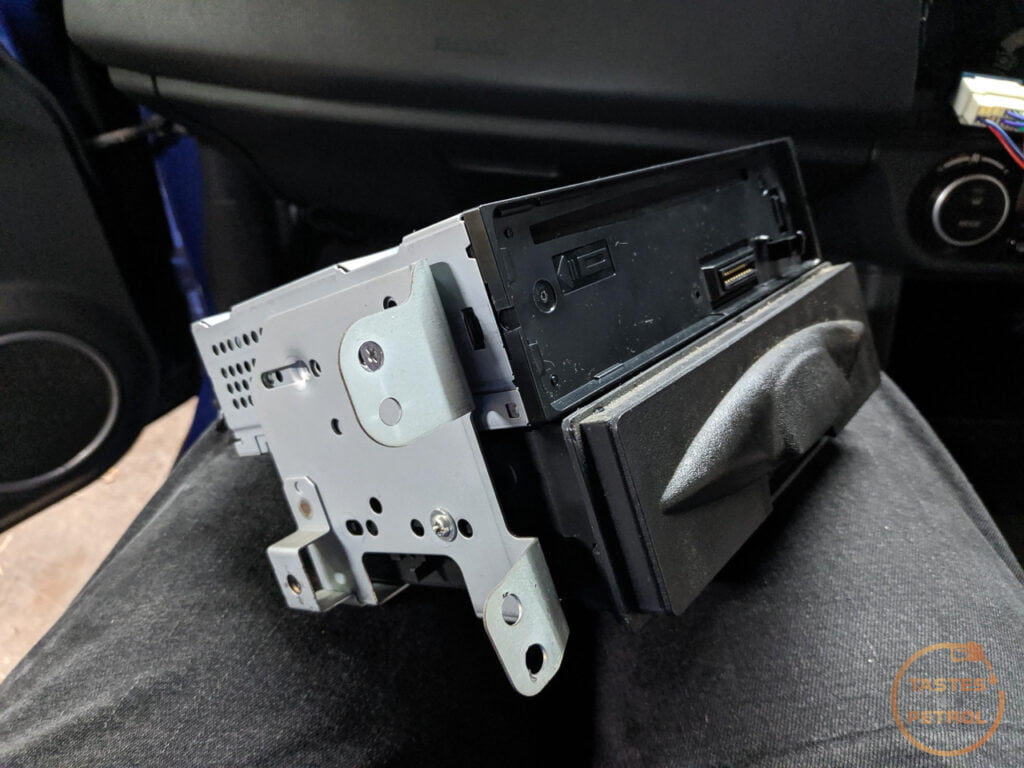
With the facia assembly out, to replace the headunit you need to remove the metal cage from the facia. There are two screws on each side.
I swapped the headunits over in the cage and swapped the wiring over to suit the replacement headunit. I swear you can do as bad of a wrap job as you like, but as long as it’s done in fabric tape it looks super professional. Insulation tape wraps are so last year.

A quick test plug to make sure everything works
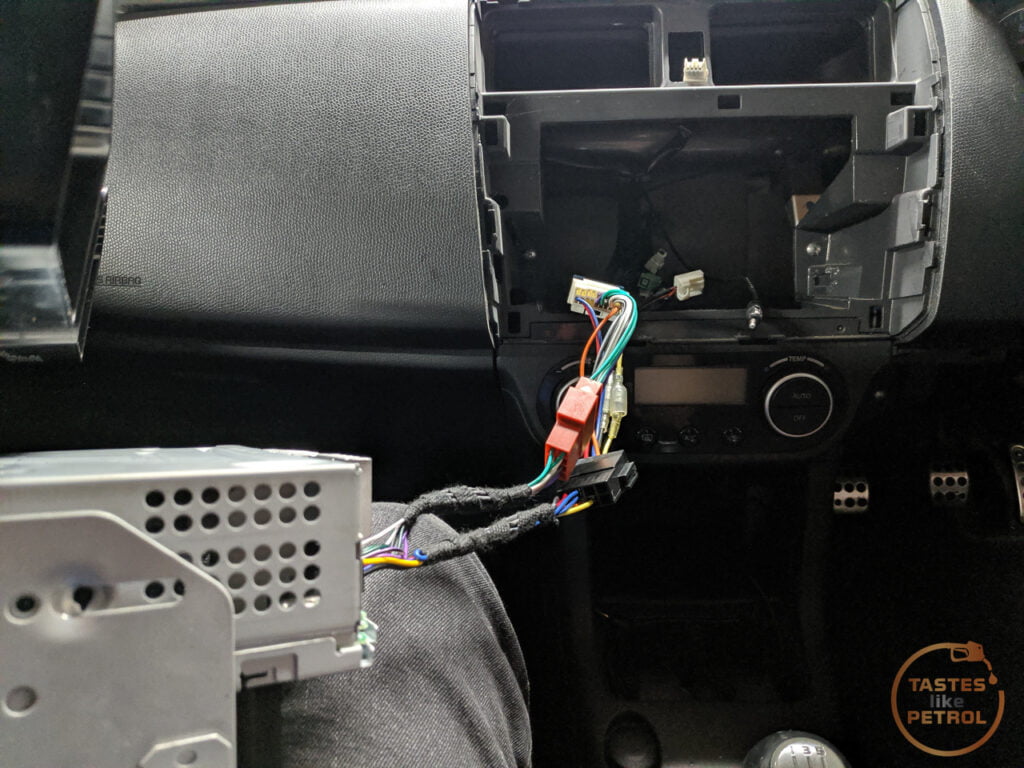
And after checking all the wiring was good, the unit was reinstalled into the dash. The sound quality is far better than the old Sony headunit. Shame about the blue backlight, but it does the job.

Unfortunately it was at this point I realised that I forgot to run the wire for the microphone… so out it all came again, so I could run it through the dash to the steering column shroud.

With that sorted, and sounding great, the next quick mod was to change the room lamp to an LED, which is a case of using a slim trim tool or screwdriver to pop the cover off

And the boot light got the same treatment. This one comes out by hand with some wiggling


Finally, I decided to look into the wobbly mirror. It drives you a bit mad when you are cruising along and this thing is bouncing and wobbling all over the place.

The key to knowing if it’s the same issue as mine or not, is that the head of the mirror is wobbly, but the base is firmly affixed to the door. If the base is wobbly too, it’ll be the bolts behind the tweeter, holding the mirror assembly to the door.
In my case it was just the head of the mirror that wobbled. I googled around and sure enough, I wasn’t alone. Turns out, way back in about 2010 Suzuki issued a Techincal Service Bulletin, and even recalls, about this issue. On some/all 2008-2010 Swifts and SX4s, they forgot to use thread locker on the screws that affix the mirror head to the base. Over time these vibrate loose and come out. If all three come out, the mirror head can come off the base and fall off, dangling by just the wiring.
The TSB is available here, https://static.nhtsa.gov/odi/rcl/2010/RCRIT-10V513-8109.pdf
The TSB advises the technician to remove the mirror from the door and then repair it. I’m lazy and didn’t want to do that, so my way means you can do it on the car.
First, look under the mirror for this cover
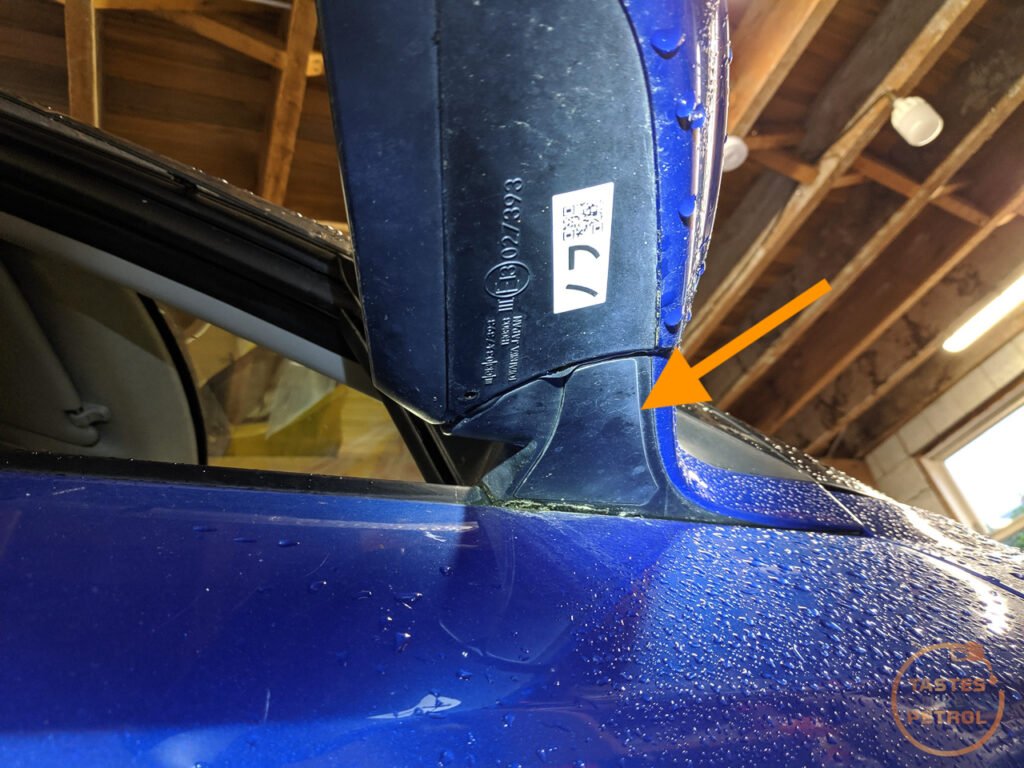
Use a thin flat blade screwdriver, or other thin flat tool, to gently lever that trim panel off. I did this about where the arrow above is pointing
Once you pop the end clip you will start to get an idea of whats happening

I could already see a pair of screws sitting on the plastic cover

I carefully removed the cover, retaining the loose screws. These three circles are where the screws should be. You can just make out on the one on the right has a screw in it, but the other two are empty.

That one screw was the only thing holding the mirror on
I used a small amount of thread locker and a “Naro Driver” tool to refit the screws and make sure they were tight. The Naro Driver is amazing because you can use it in such small spaces. Because the mirror is right up against the door, you cannot use a standard screwdriver, and even my 1/4″ ratchet was too big. A small spanner on the screwdriver bit might work too.


With the screws refitted, the little cover can just be clipped into place. The mirror is now solid, not a mm of unwanted movement in it. I popped the cover off the passengers side mirror too, and the screws on that were snugged up, but not tight. I gave them a tweak and went on my way.
I think other than a couple of cosmetic issues, that’s all the fixes I needed to do. The only repair that has cost me money was the slave cylinder, which I probably could have got away with not replacing, but it was leaking so was on borrowed time. Everything else has just been a case of actually fixing something, not replacing it.