Because the LEAF took over the daily run, I could finally do some dumb things to the Fit that I couldn’t do when I needed it as a daily.
My goal with the Fit now was to make a fun little zippy car that I can use for longer distances the LEAF can’t do, and hopefully do some smaller motorsport events like autocross. I didn’t want to compromise the car too much, though, so no coilovers and mad stance.
I started by hunting down new wheels, as the steelies weren’t going to cut it for the wider tyres I wanted to run, or for cooling the brakes when going fast.
This turned into a many-month-long pain in the arse. Finding decently priced 4X100 15″ wheels, locally, these days is way harder than it needs to be.
The first set I got were some sweet 15×6.5″ Rays Engineering Mazdaspeed MS-01 alloys. I love the style, although they were a bit dated for the Fit. The big problem was that despite being made by Rays, they had manufactured them specifically to Mazdaspeed specs, which meant the center bore wasn’t universal like most aftermarket wheels – The Honda needs a 56.1mm bore, whilst Mazda runs a 54.1mm bore. Without boring the wheels out, they weren’t going to fit.
I sold them to someone going to run them on his MX5, and got a second set of wheels. “Japan Type Force F1-Racing TUNER” wheels in 15×6.5″ this time. Knock-offs of the Volk CE28 I believe.
They were in horrible condition, with peeling chrome, but that wasn’t their biggest issue
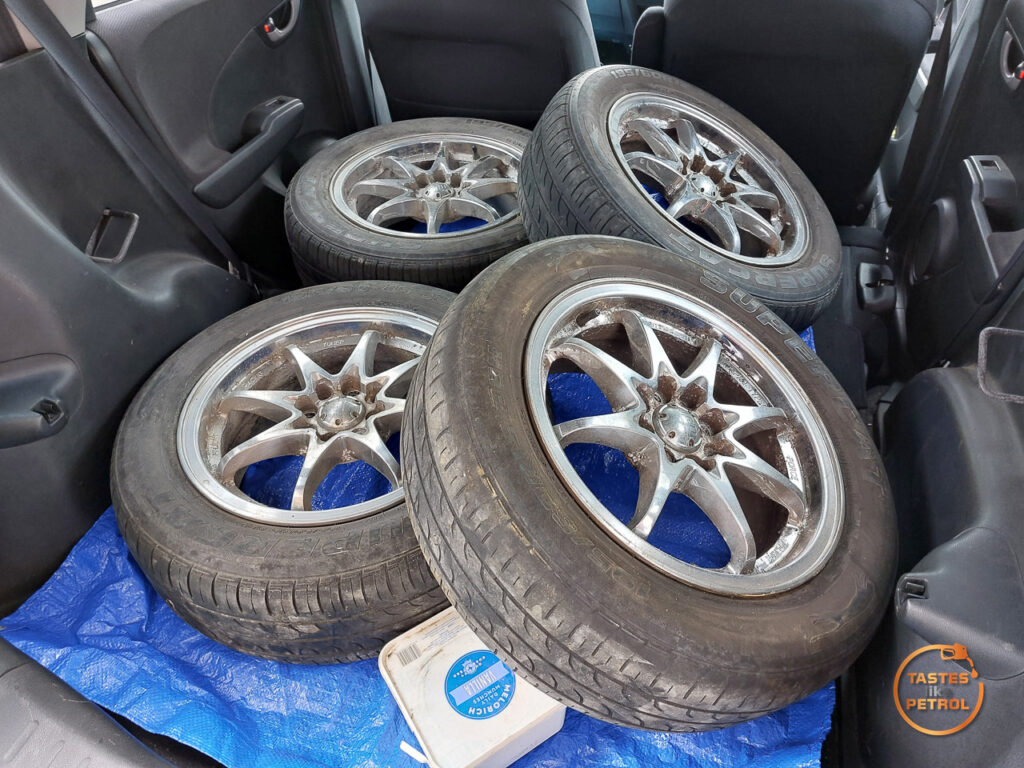
The big issue with these was that damn near every wheel was buckled in at least one spot, and most of them didn’t hold air. The seller didn’t mention that…
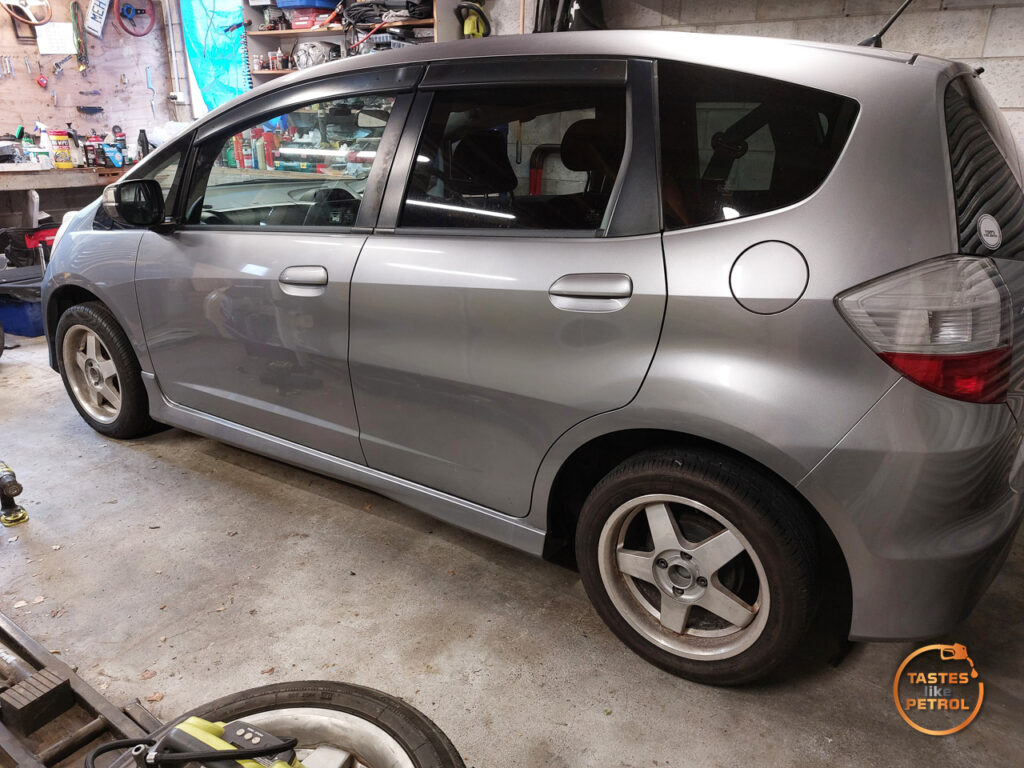
I couldn’t be bothered with them, and they were cheap enough that I moved them on and found yet another set of wheels
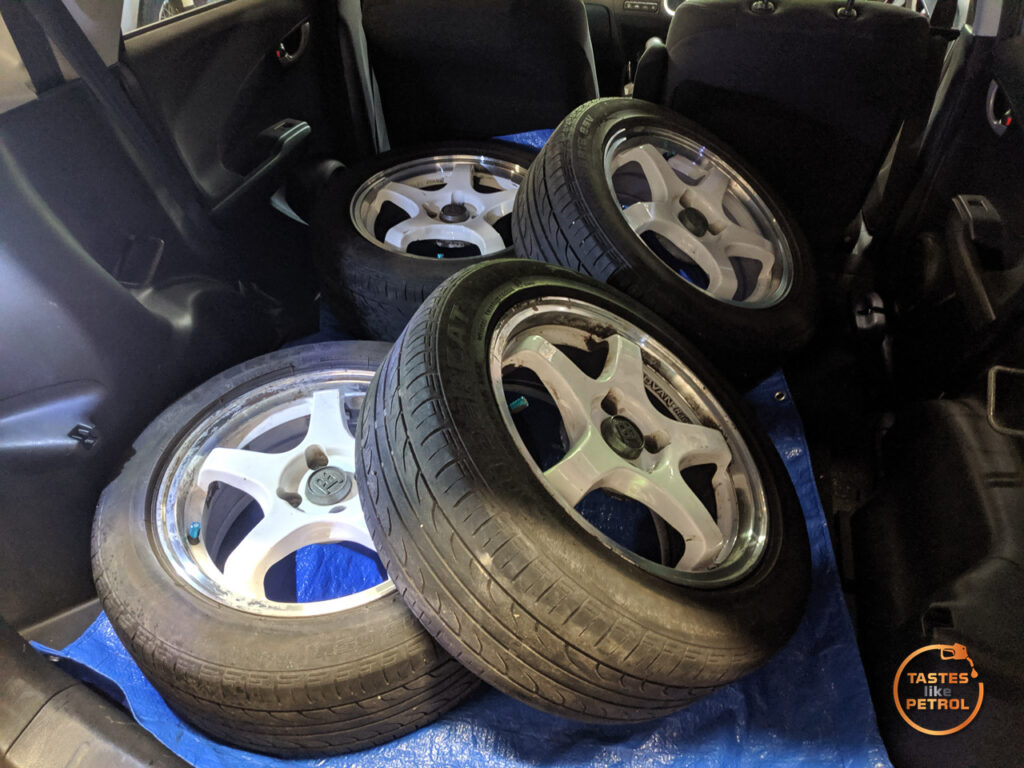
No idea what they are, other than knockoffs, but they’re all round, all held air, and were the size I wanted – 15×6.5″ +40. White wasn’t my first pick for the centres, but it’ll do for now.
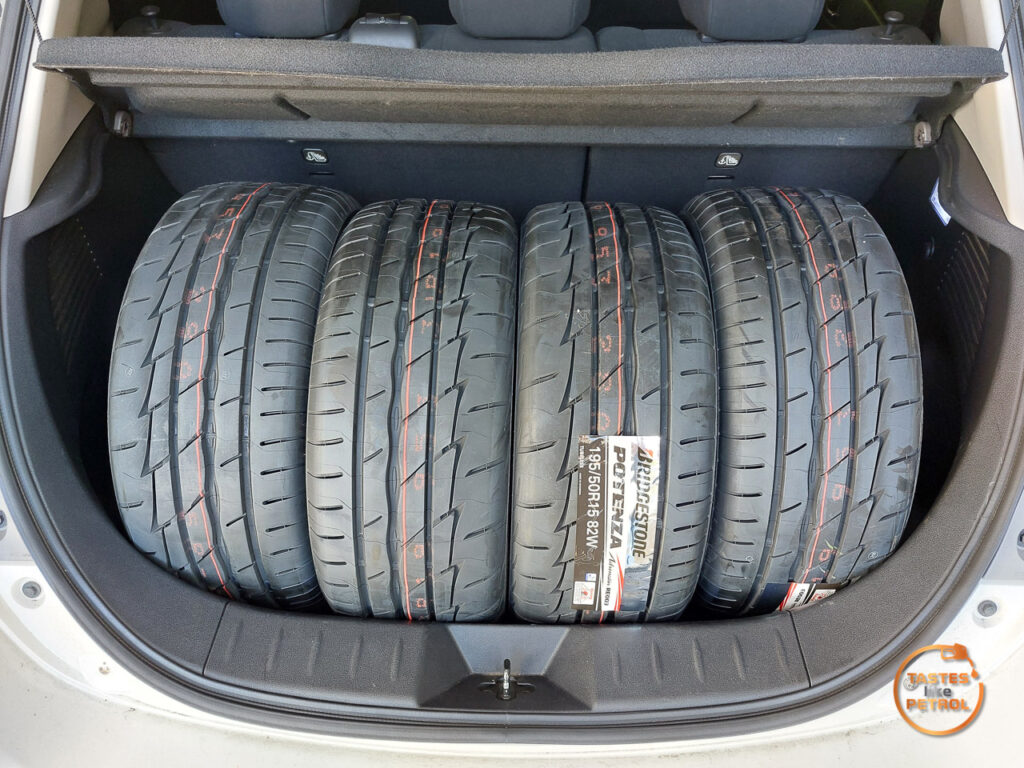
To go with them, I grabbed some Bridgestone Potenza RE003 in 195/50R15, as this is the size available to me. Ideally, I would want to go with a 55 profile, but I couldn’t get them at the time. As an aside, a set of four fits perfectly in the boot of a LEAF.
Before I could fit them to the car, though, it had to undergo a transformation. I had a couple of parts I wanted to fit…
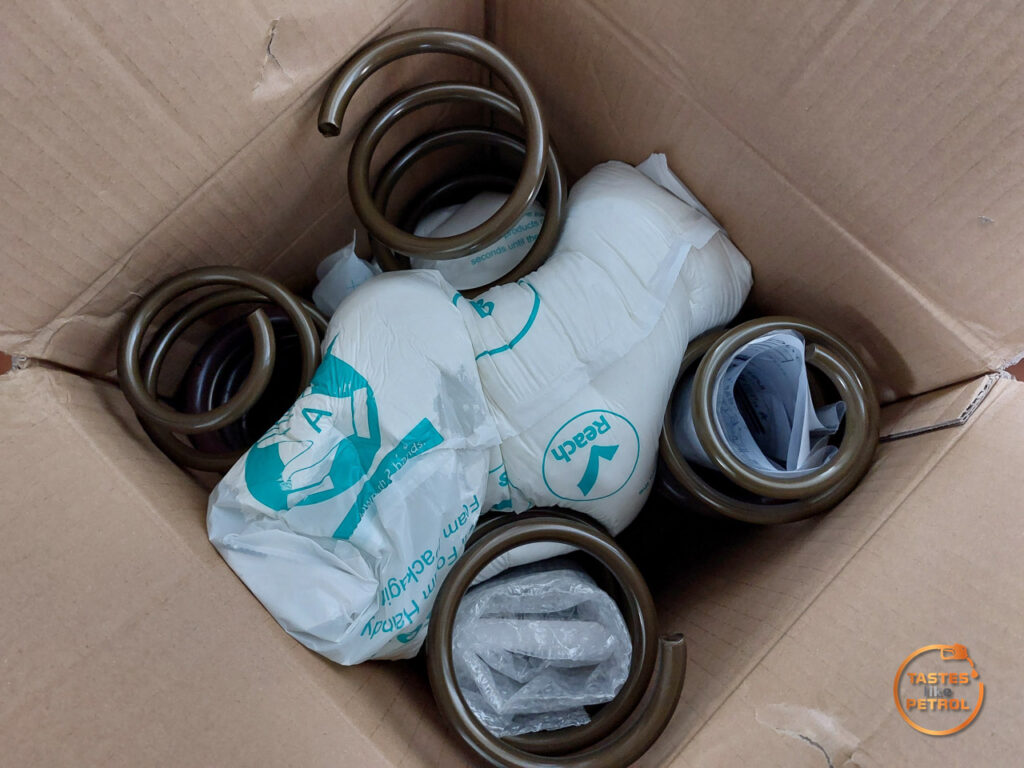
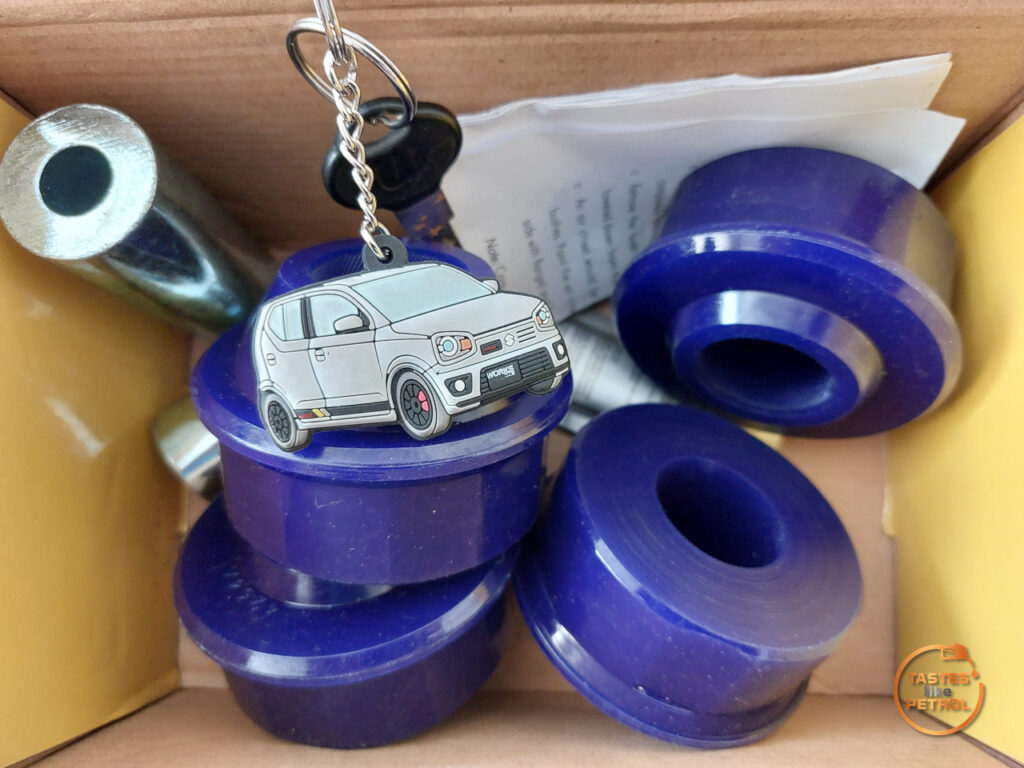
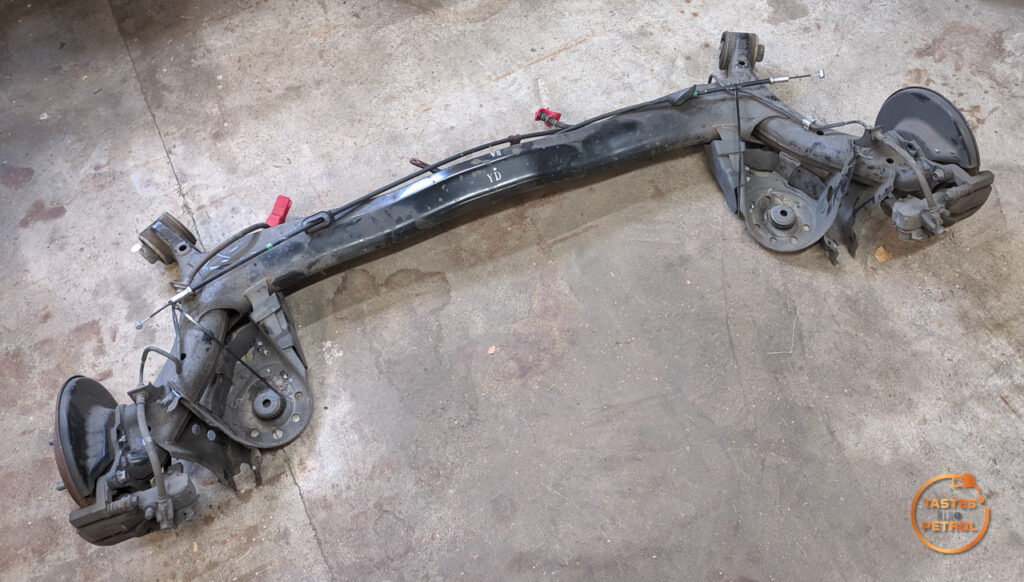
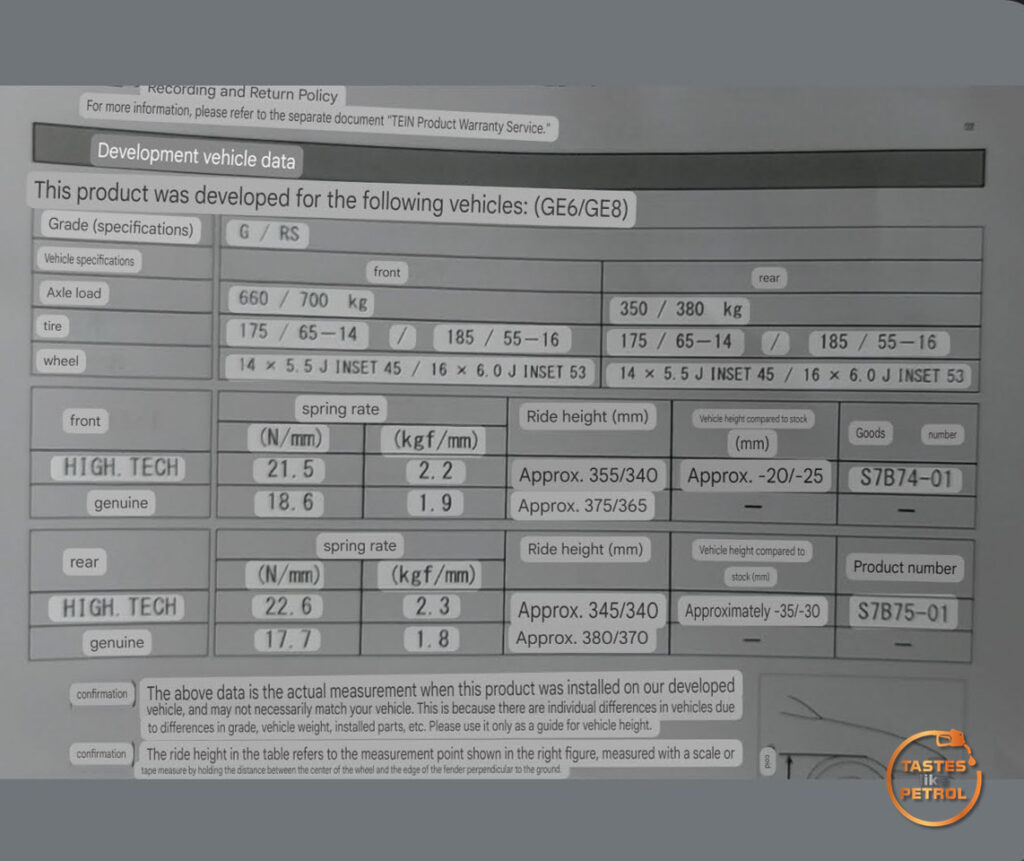
That’s some Tein H-Tech springs, a bunch of Superpro poly bushes, and a disc rear beam from an NZDM Jazz 1.3S.
That rear beam, a friend and I actually went to a wrecker and pulled it from the donor ourselves. It was a hell of a job, so a HUGE thank you to him

The other parts we harvested, which are sitting in a big tub under my workbench, are a nearly complete manual swap.
Anyway, so as not to have the car off the road too long, I grabbed a couple of spare front arms from Pick A Part
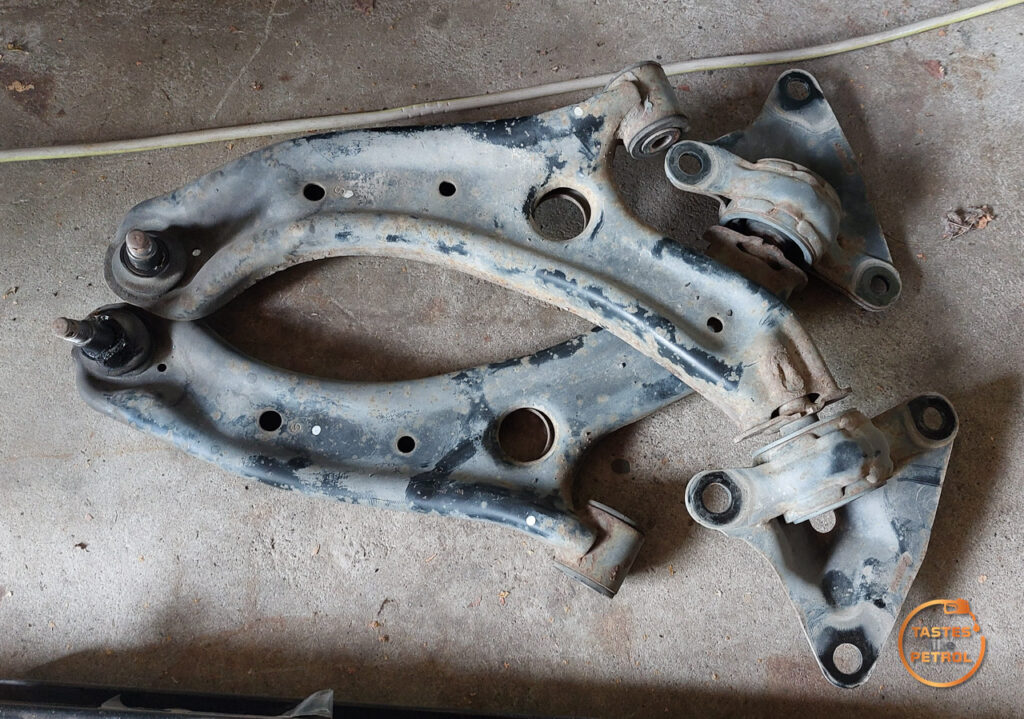
One thing to be aware of, which I wasn’t at the time, is that on cars with HID lights and auto levelling, there is a small welded tab on one arm for the level sensor
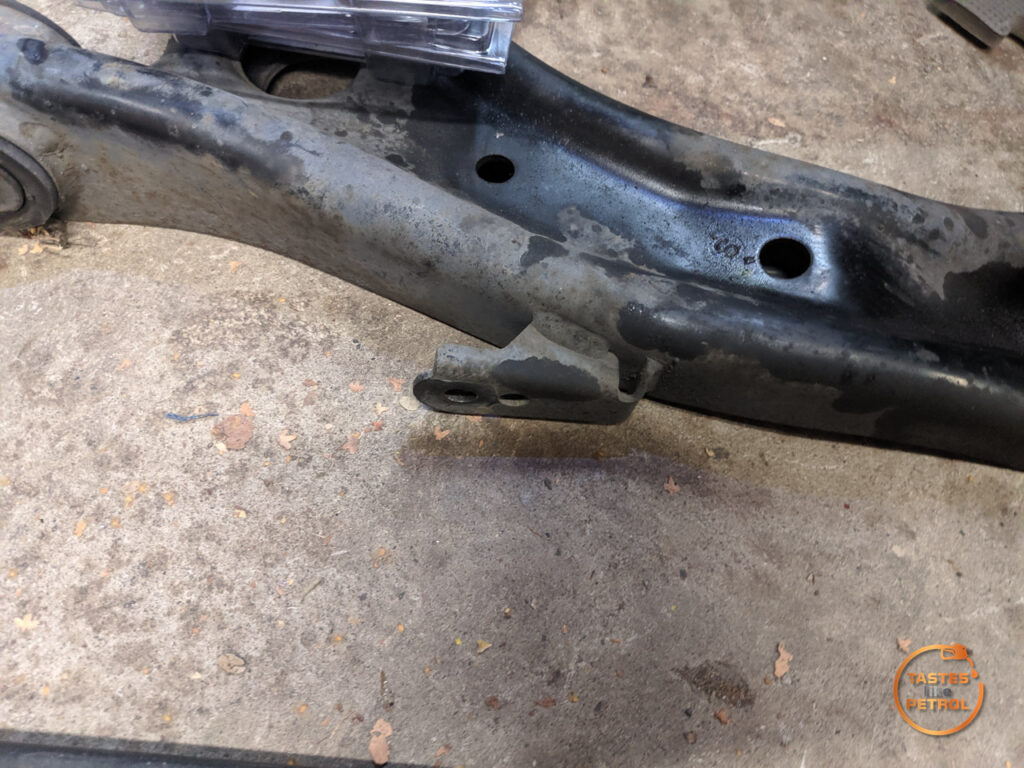
Since these arms came from a poverty spec car, this tab isn’t present. It’s fine for me, since my adjustment motors caused issues ages ago, so I disabled them, but keep it in mind if you want to keep the system.
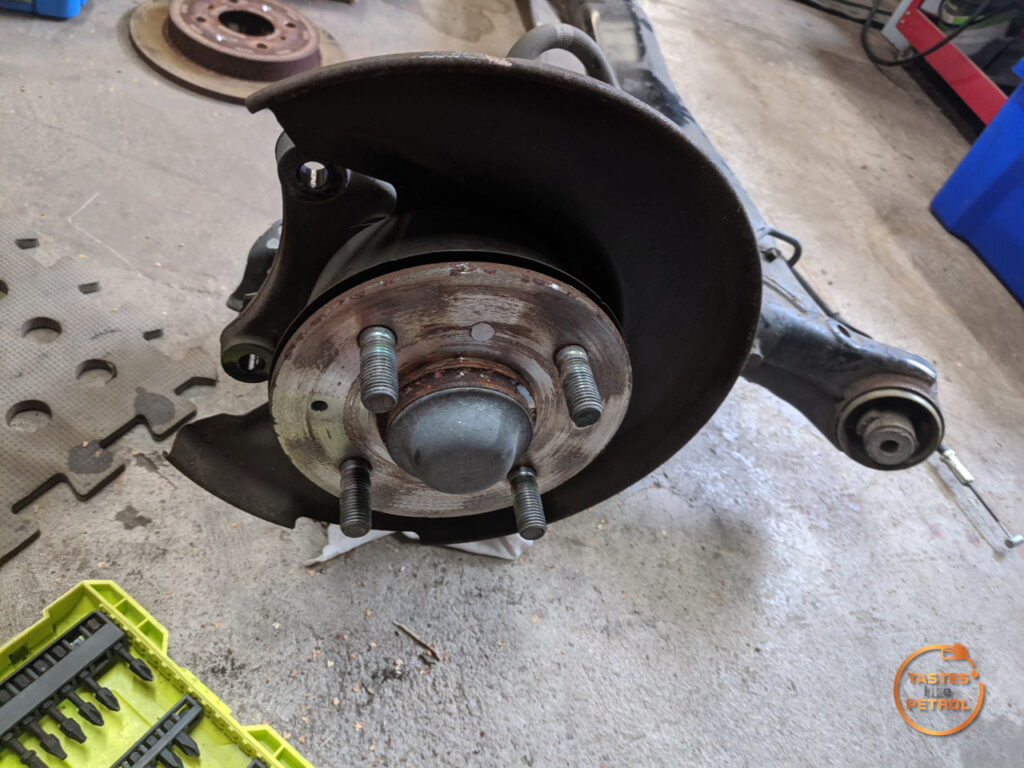
I started with the rear beam, stripping the old brakes off it (as I had new ones to go on) and replacing the bushes with poly bushes.
One side went fine, with the calliper and rotor coming off fine
The other side though, did that typical Honda thing of the disc retaining screw rounding and being a pain. The first one came loose with a chisel
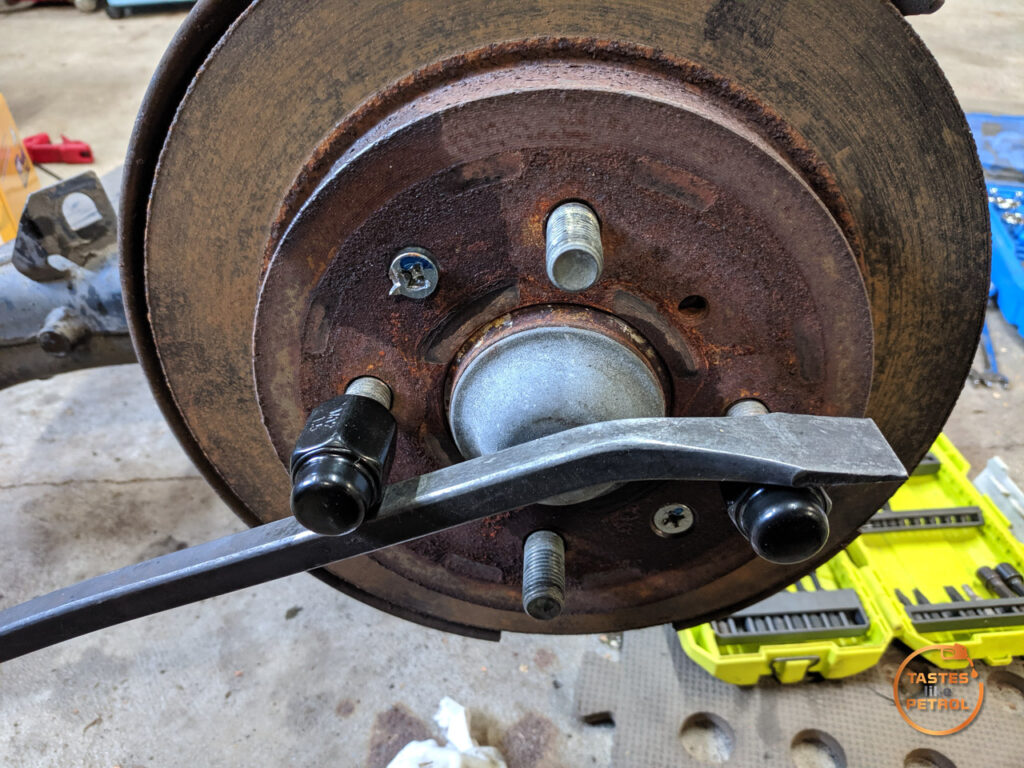
The second one needed a drill
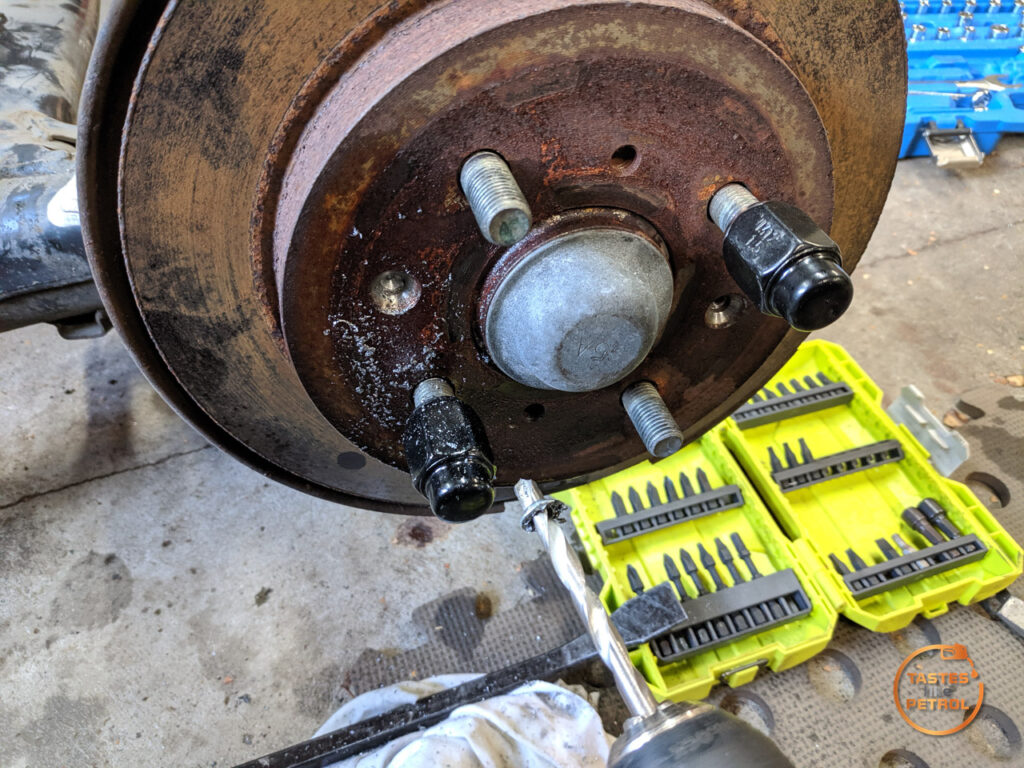
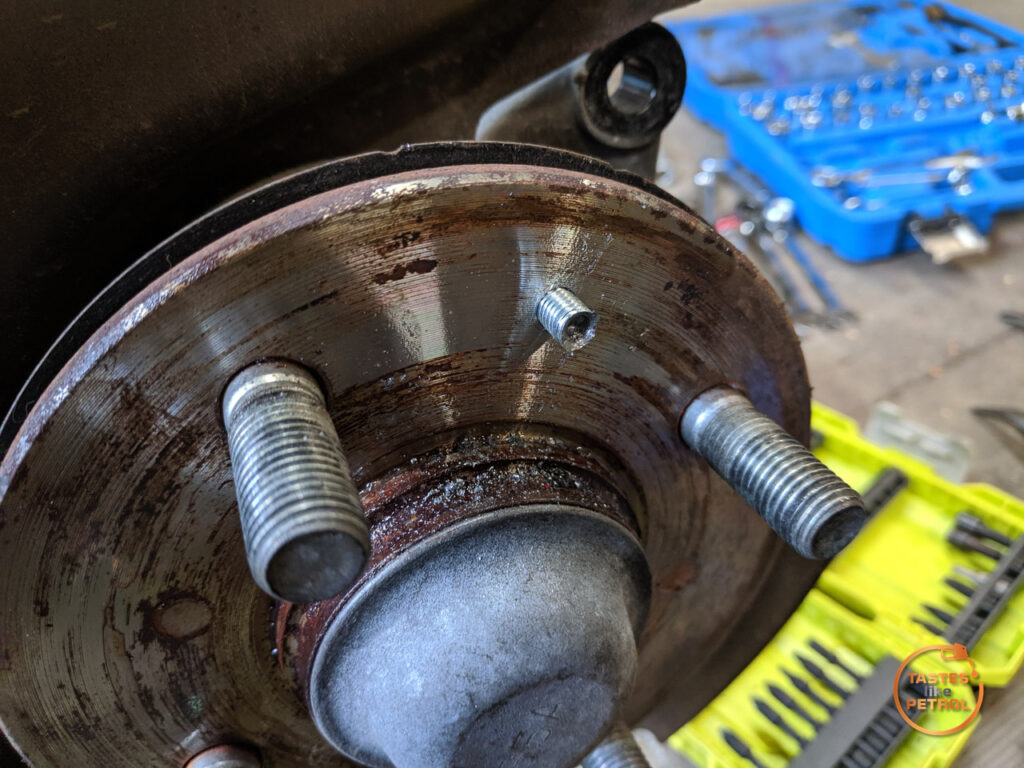
Once the head was removed, the rotor came off, and the damn screw just wound out like nothing happened
After that, I removed all the brake hoses and pipes, since I was also fitting braided hoses

The bushes weren’t too hard. The trick was to use a reciprocating saw, with a wet blade (so it doesn’t stick to the rubber) and cut through the plastic sleeve just enough that you can hammer the bush out. I tried wailing on it without cutting it, and it wasn’t going anywhere
You don’t need to cut right through, but you want to be careful not to cut into the steel the bush goes into
Pushing the poly bush in was a case of lubing it with the supplied lube and using a clamp to squeeze it together. Make sure the orientation is correct, though, as the bush isn’t symmetrical.

Push the sleeve through, and you’re done
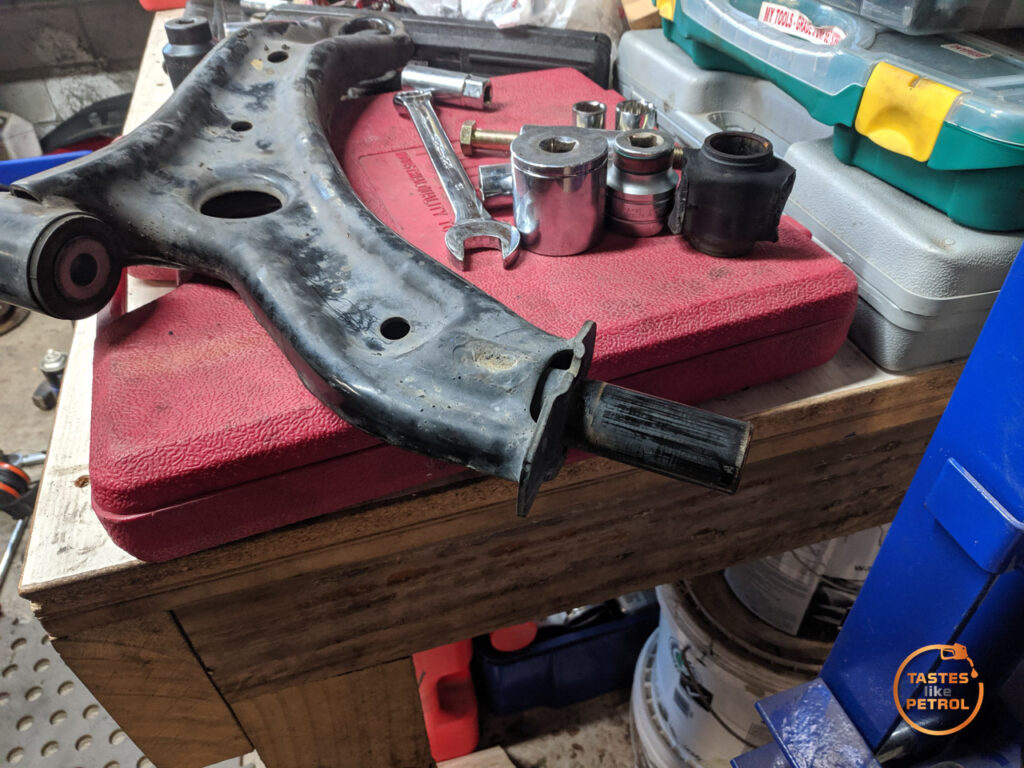
The front arms were more of a pain to do
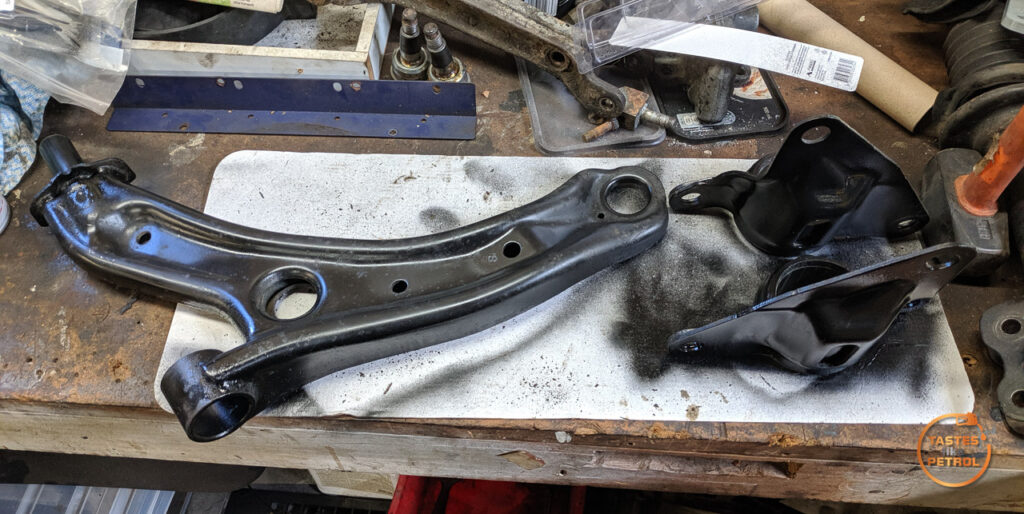
Start with one dirty arm
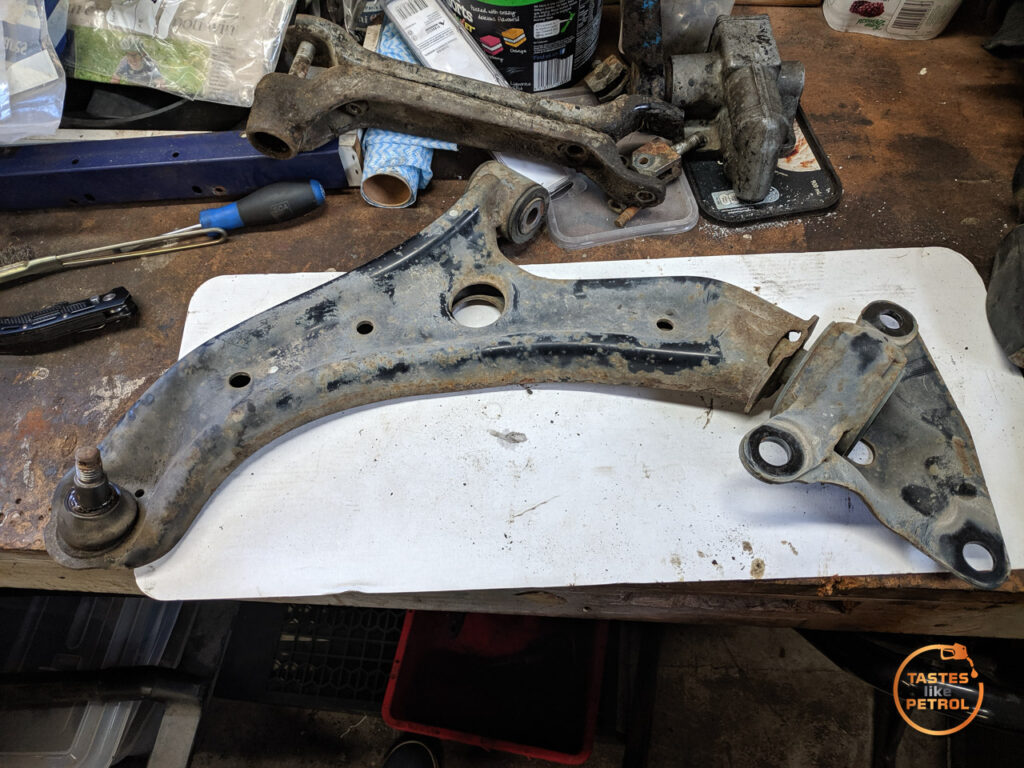
We’re replacing this
and these
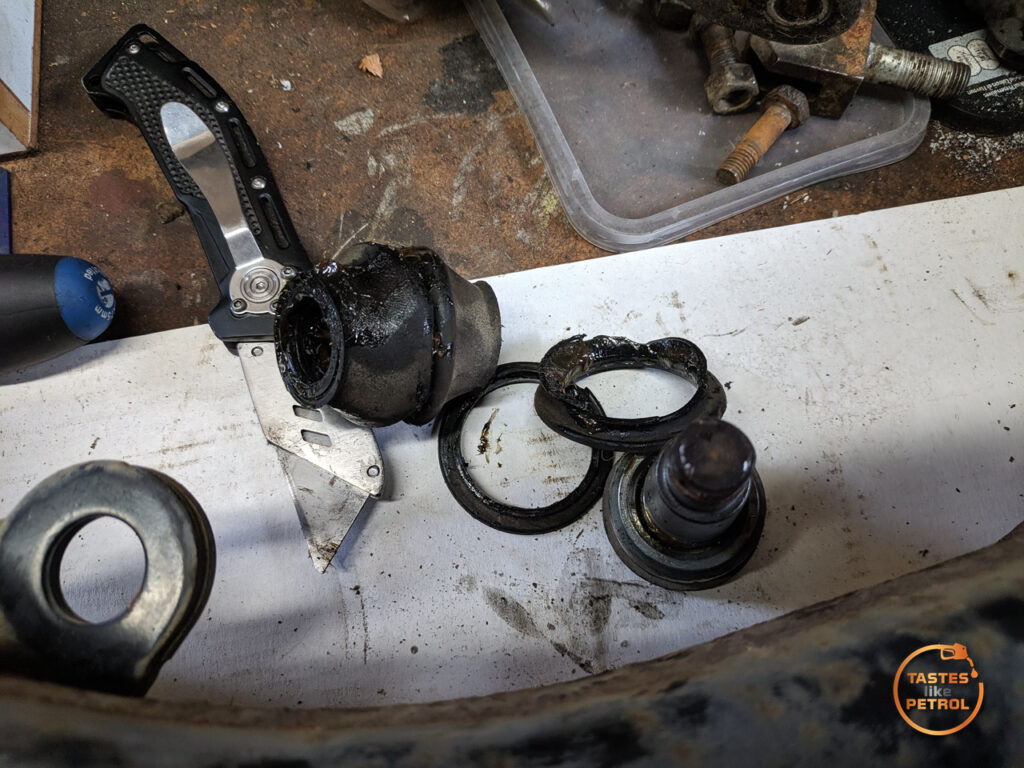
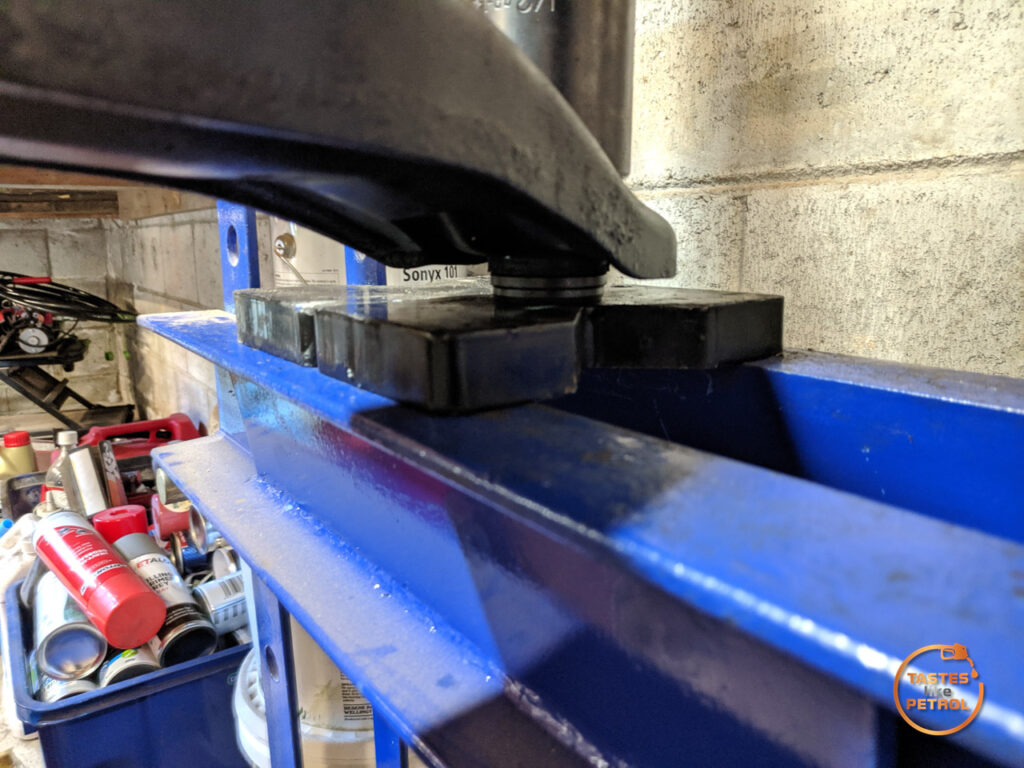
The ball joint was simple. The stock one, at least on JDM/NZDM cars, is just a press fit with no circlip, so I cut the boot off and pressed it through the bottom of the arm
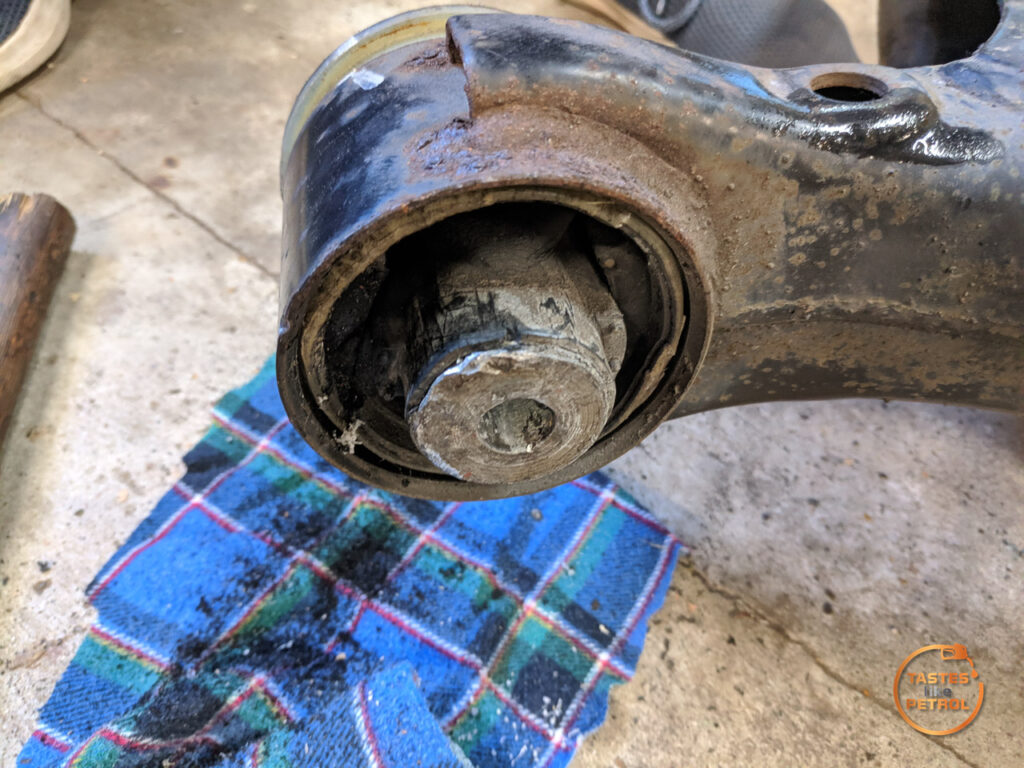
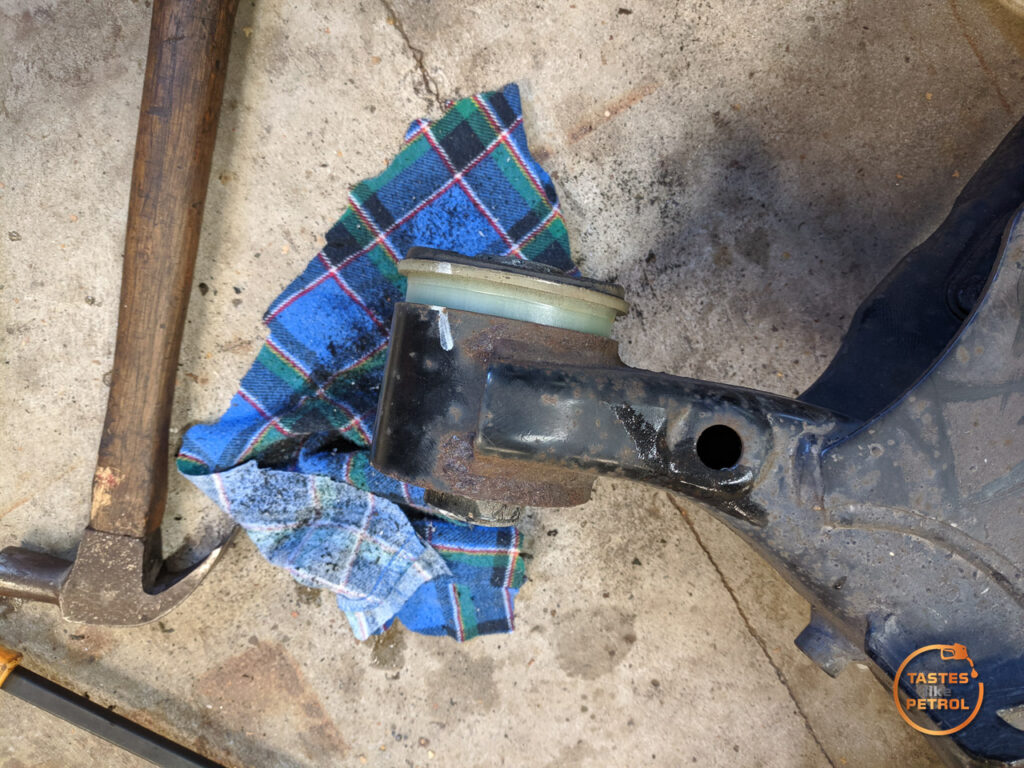
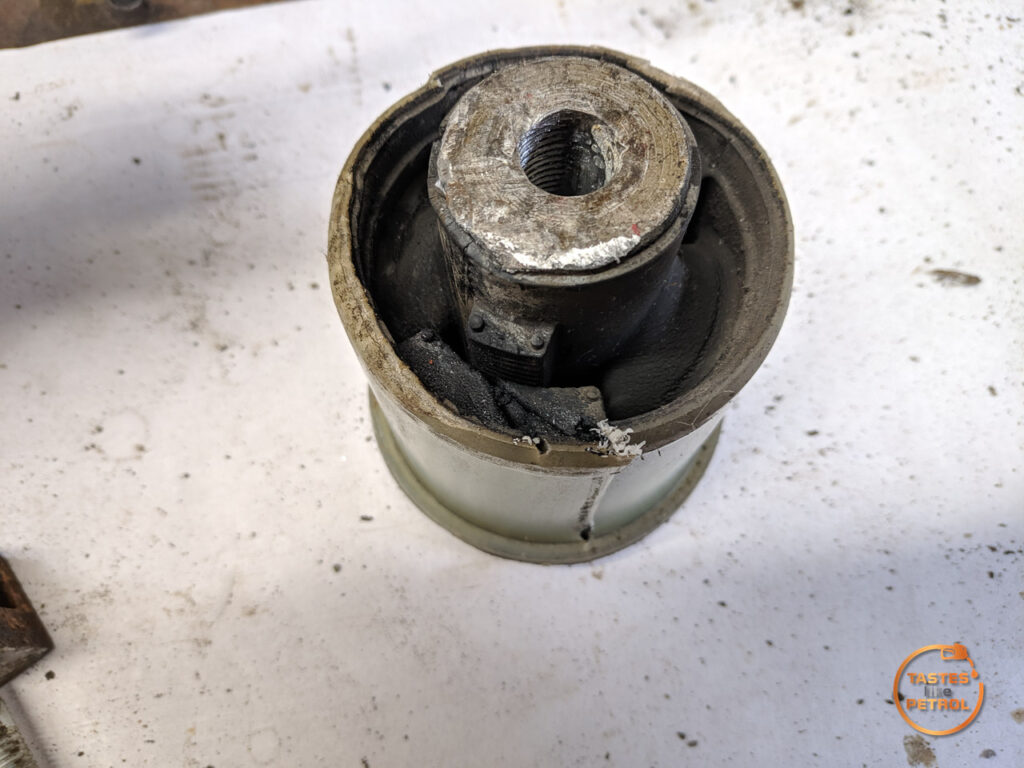
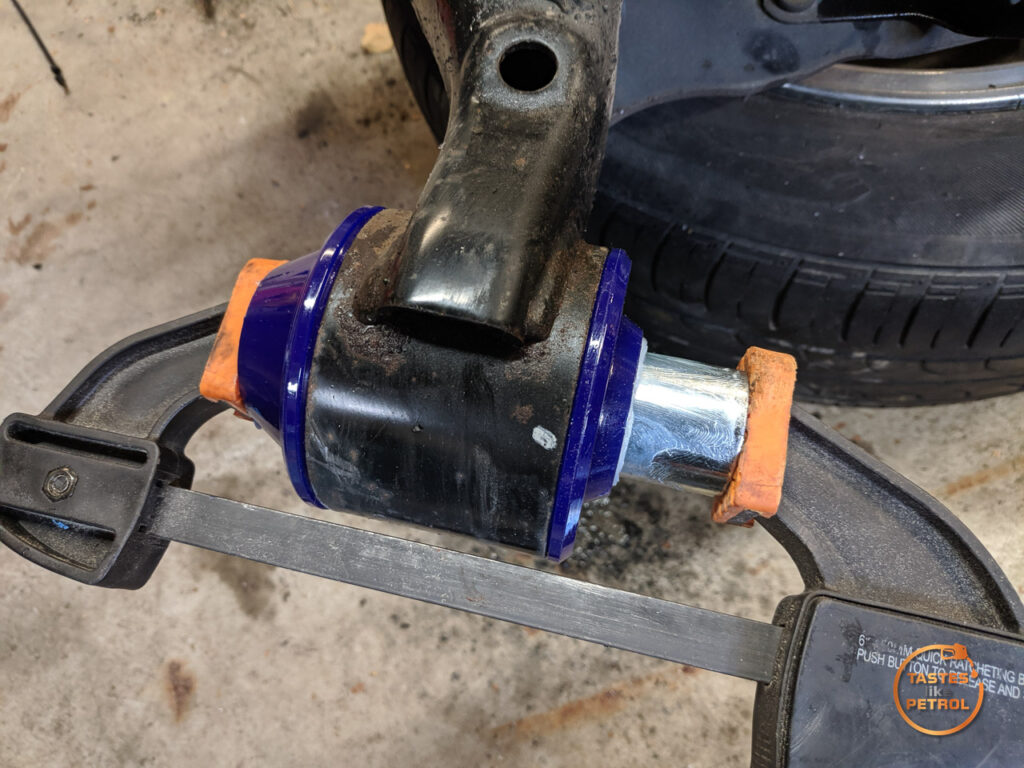
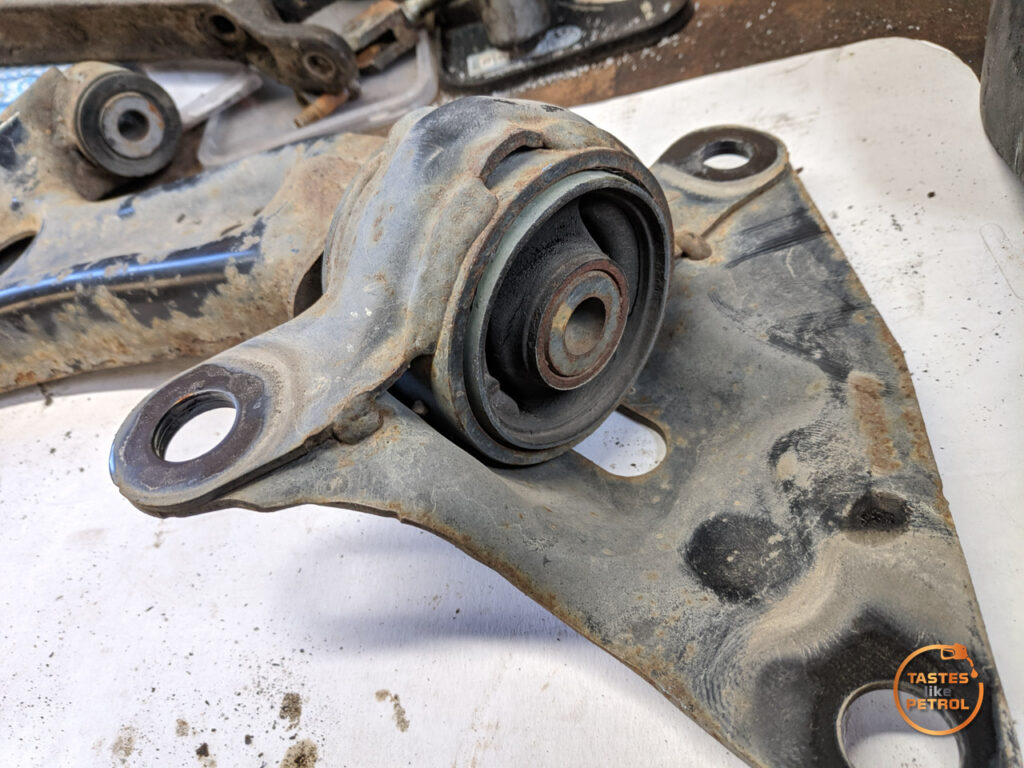
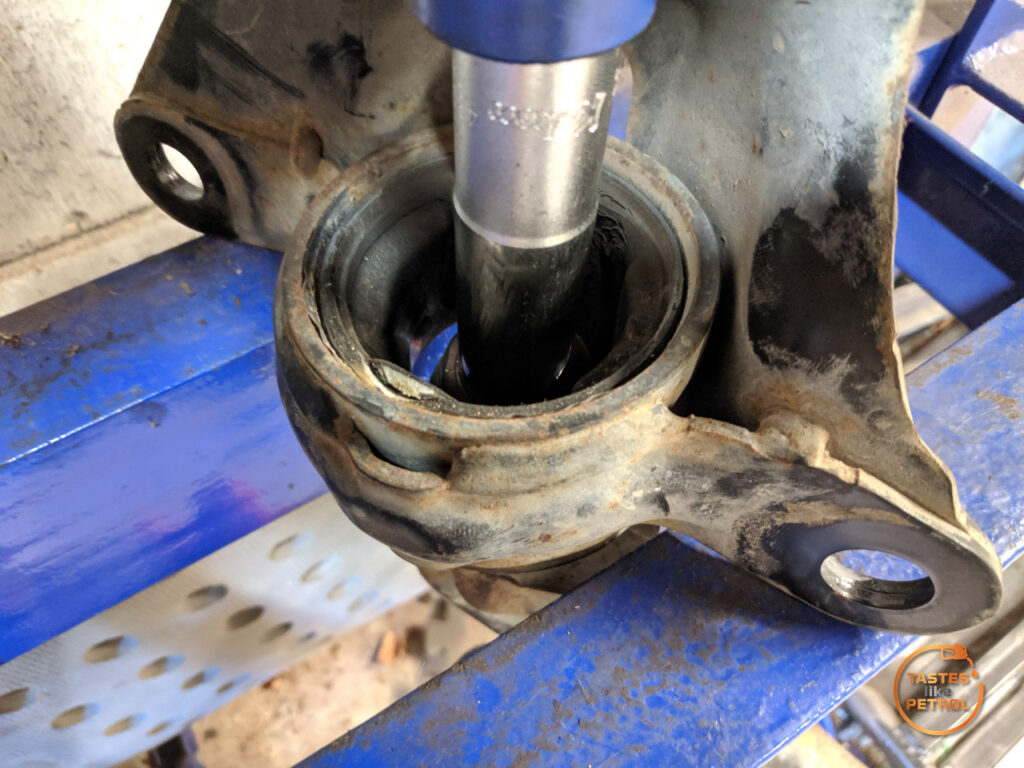
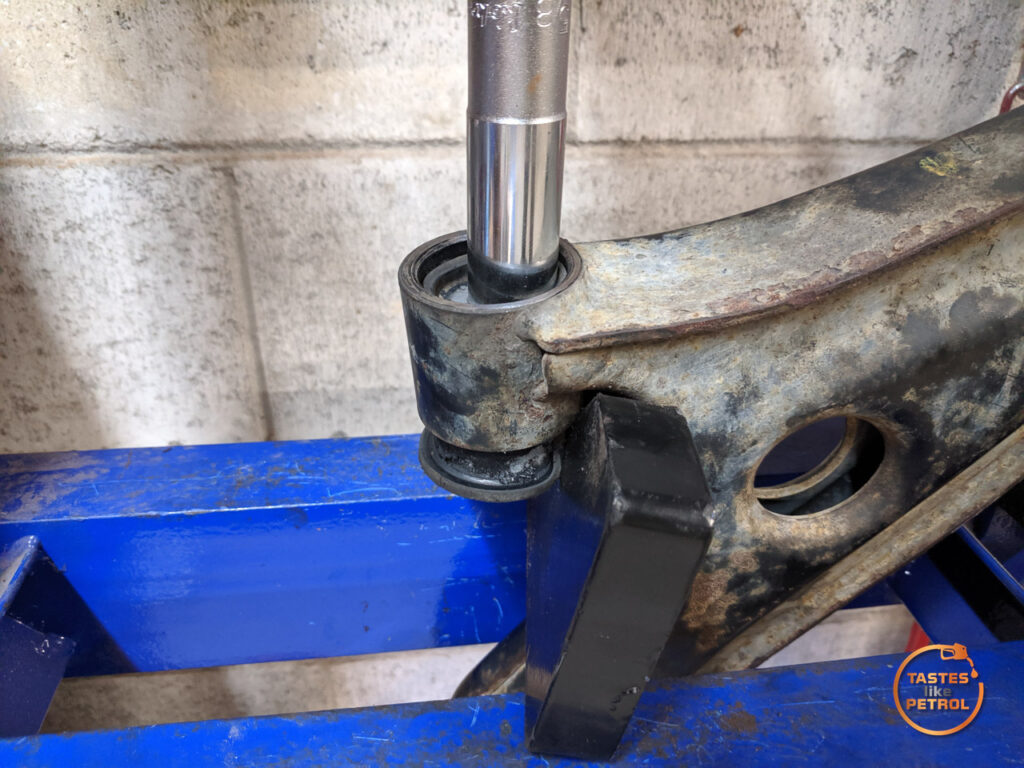
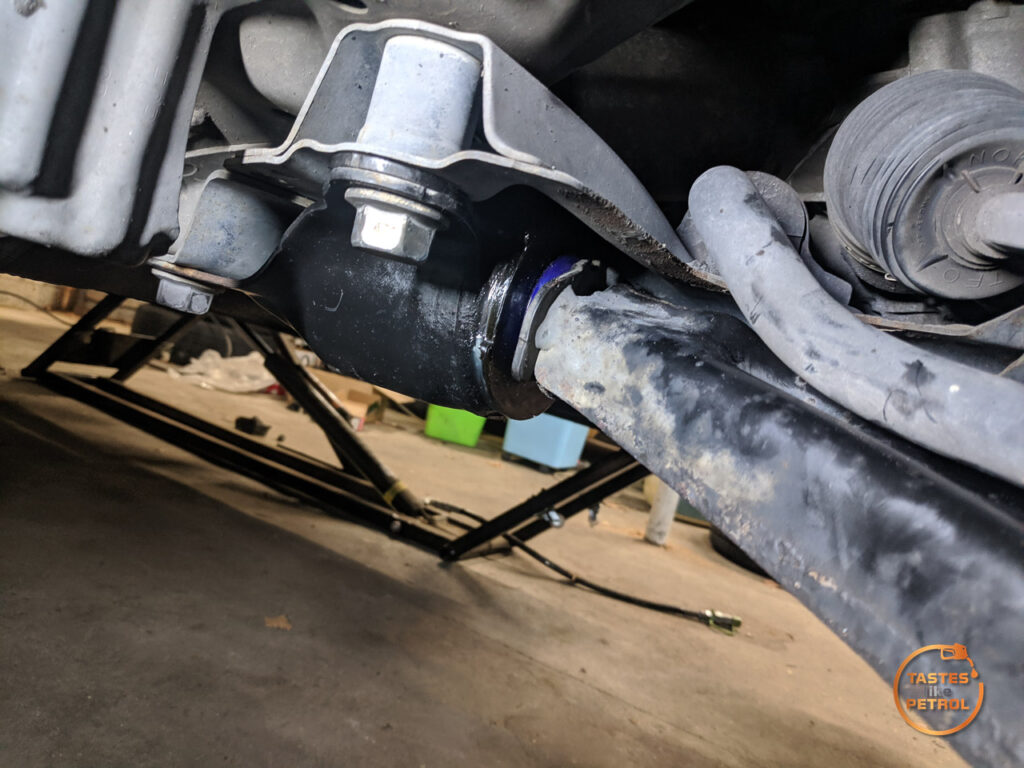
The big bush was not a lot of fun to remove. It’s a rubber bush in a plastic sleeve, but it has a steel sleeve around the spigot on the lower arm. You need to press that sleeve off the arm, and press the plastic sleeve with the rest of the bush out of the housing.
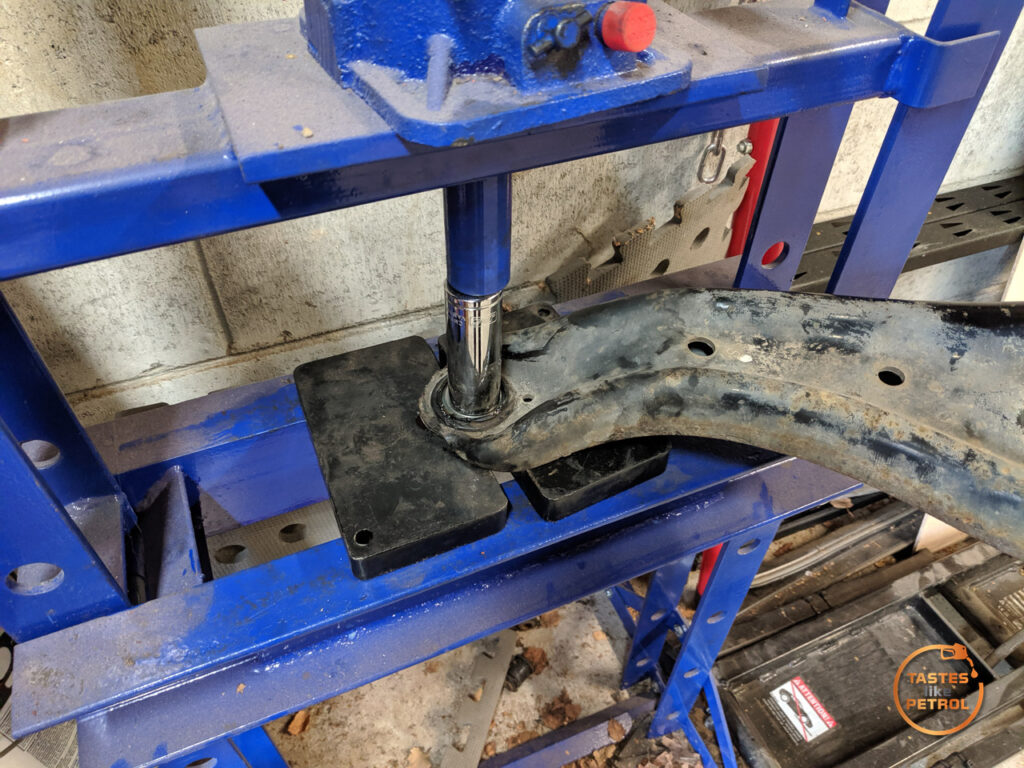
I started by using the press to try and press it out, but it’s too awkward to fit in the press, supporting the center sleeve, so all it does is either tear the rubber and push the arm out of the bush with the sleeve still in place
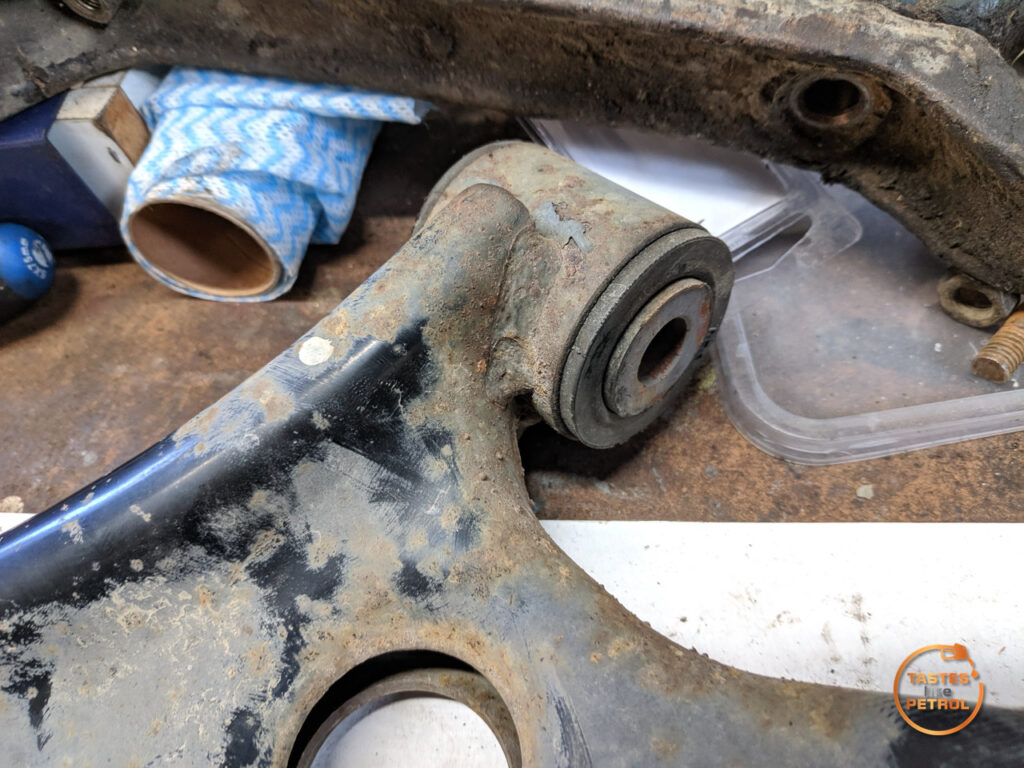
or it’ll push the plastic sleeve out of the housing, leaving it attached to the arm
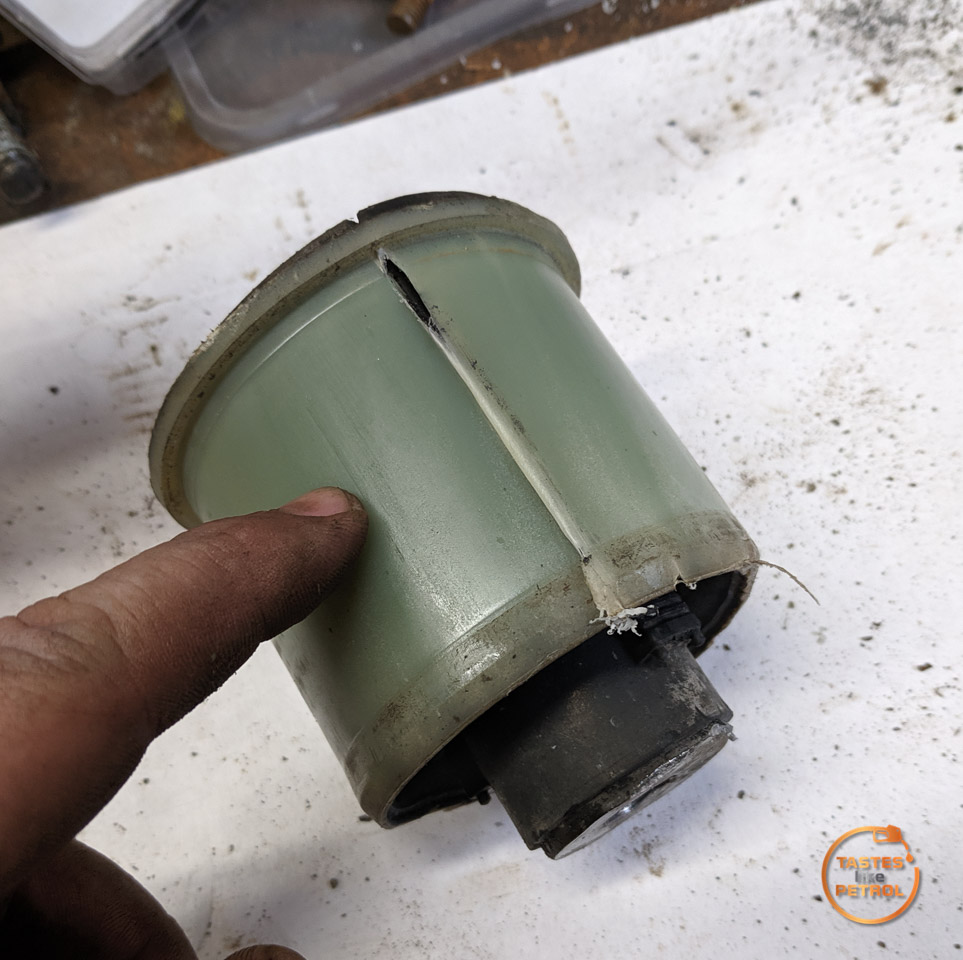
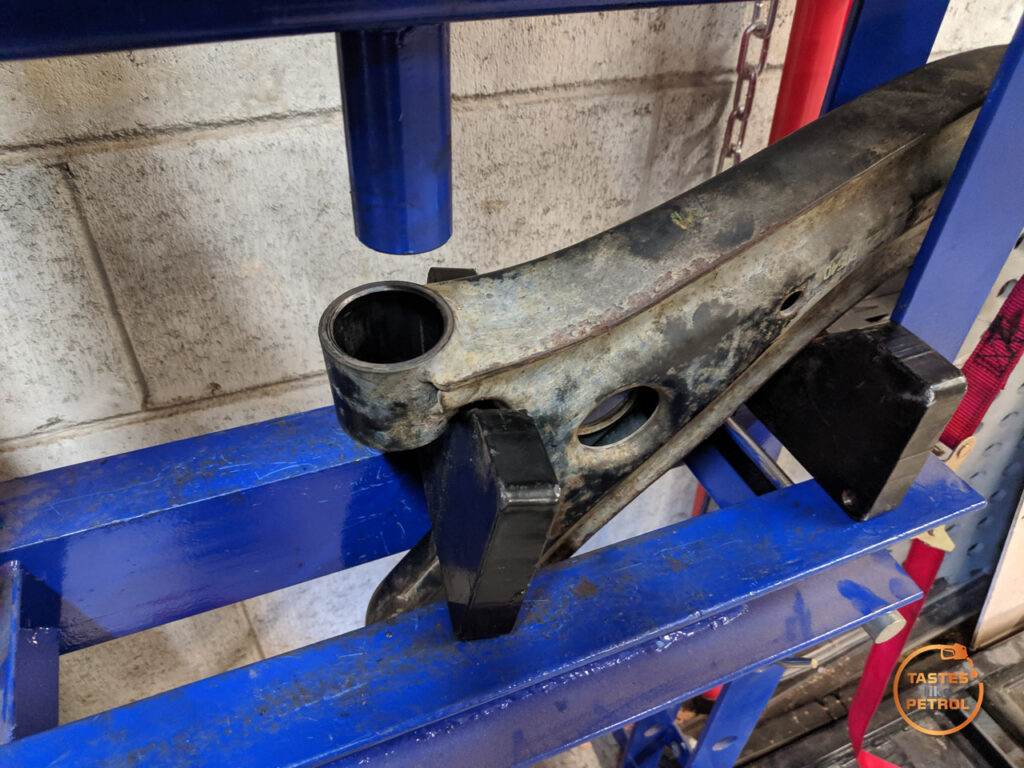
For the one that I managed to tear the center sleeve out of, I had read that the easiest way to get the steel sleeve off the arm was to cut down it, and then it should lever off. It did not.
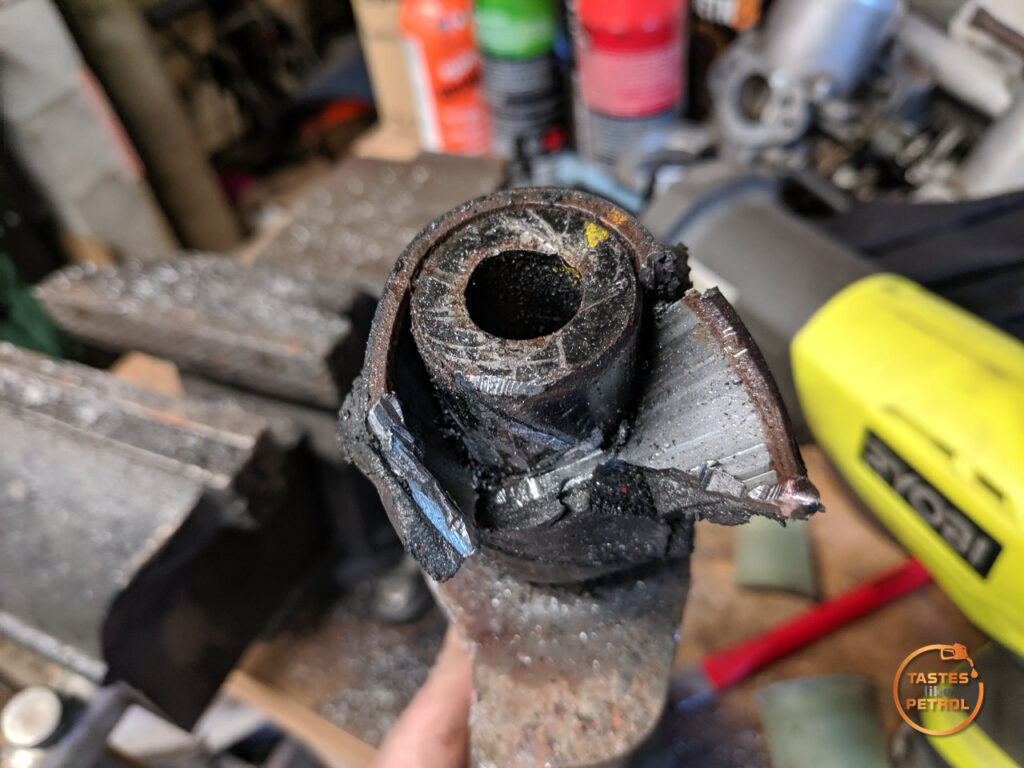
I ended up ruining that arm through my annoyance at the inability to remove the damn sleeve. Even at that point, it still wouldn’t come off. This meant I would have to use one of the arms that comes off the car.
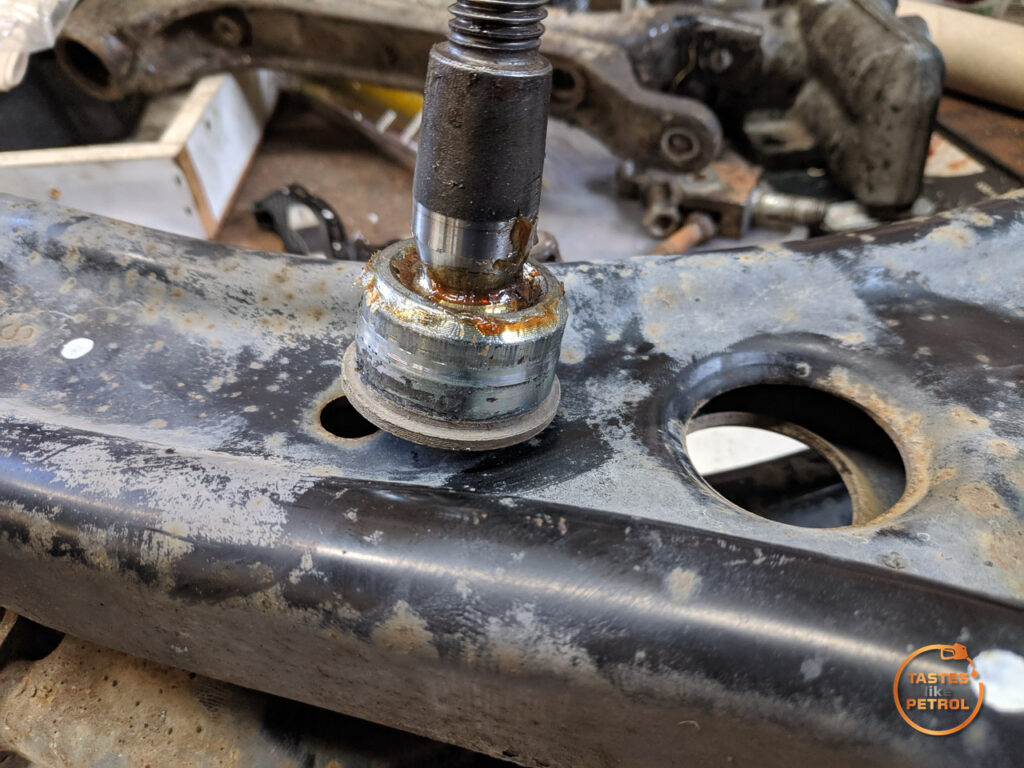
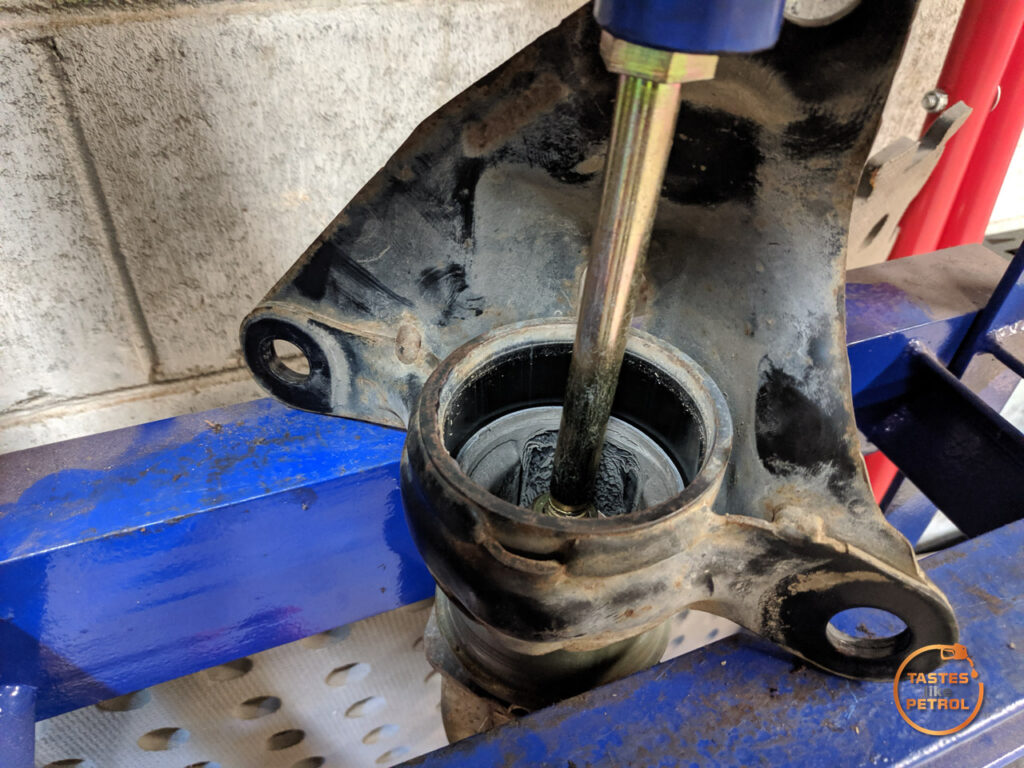
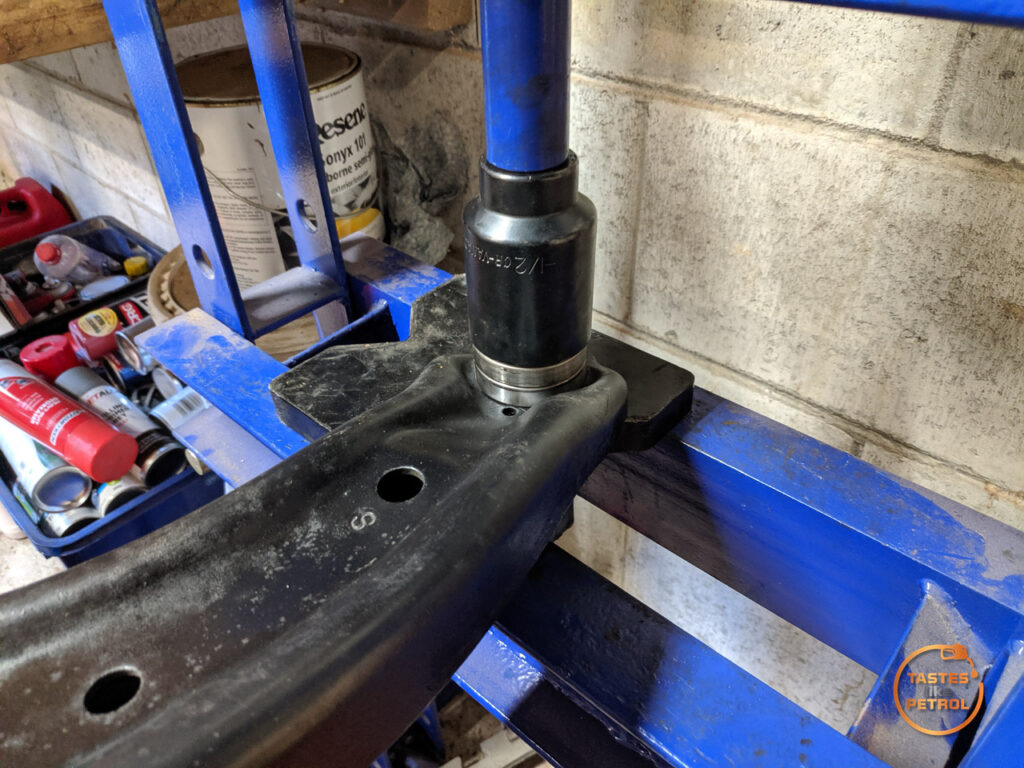
I did work out the trick. It was to press out the plastic sleeve from the housing, and then use a saw to cut through the rubber until you can remove all but the steel sleeve (with some rubber still bonded to it). Put this in the press, whilst abusing your bearing removal tool in ways it’s probably not meant to be used, and press the center of the arm out of the sleeve. It takes a lot of force, and I was worried the bearing tool was going to break before it finally gave way with a loud crack
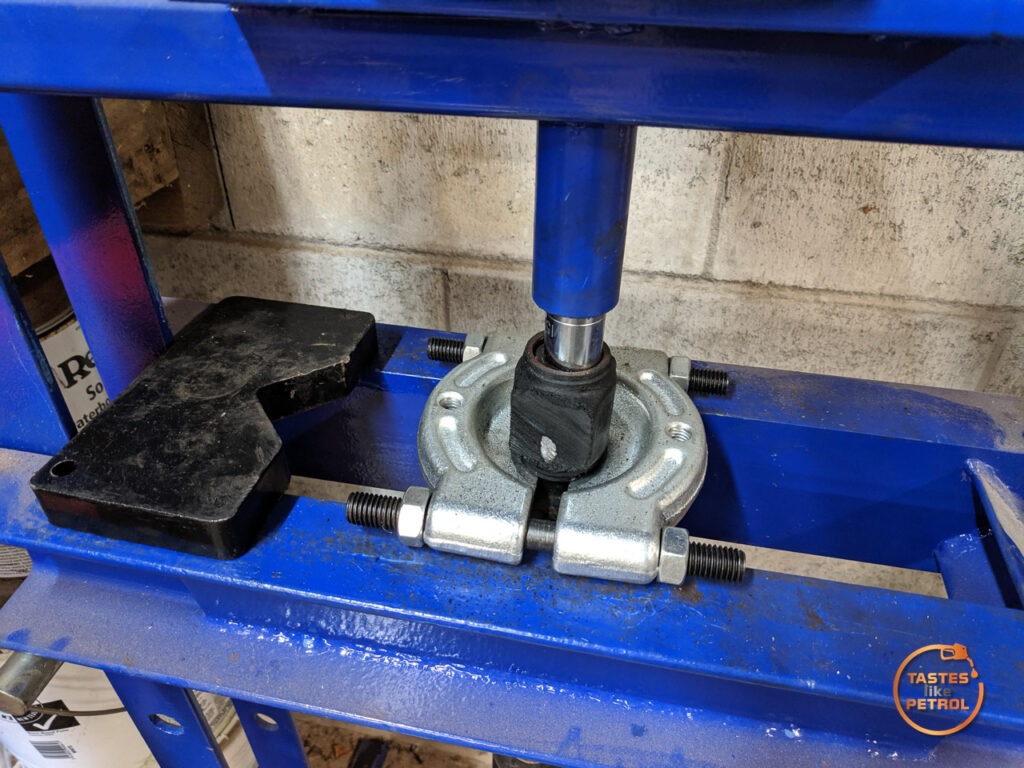
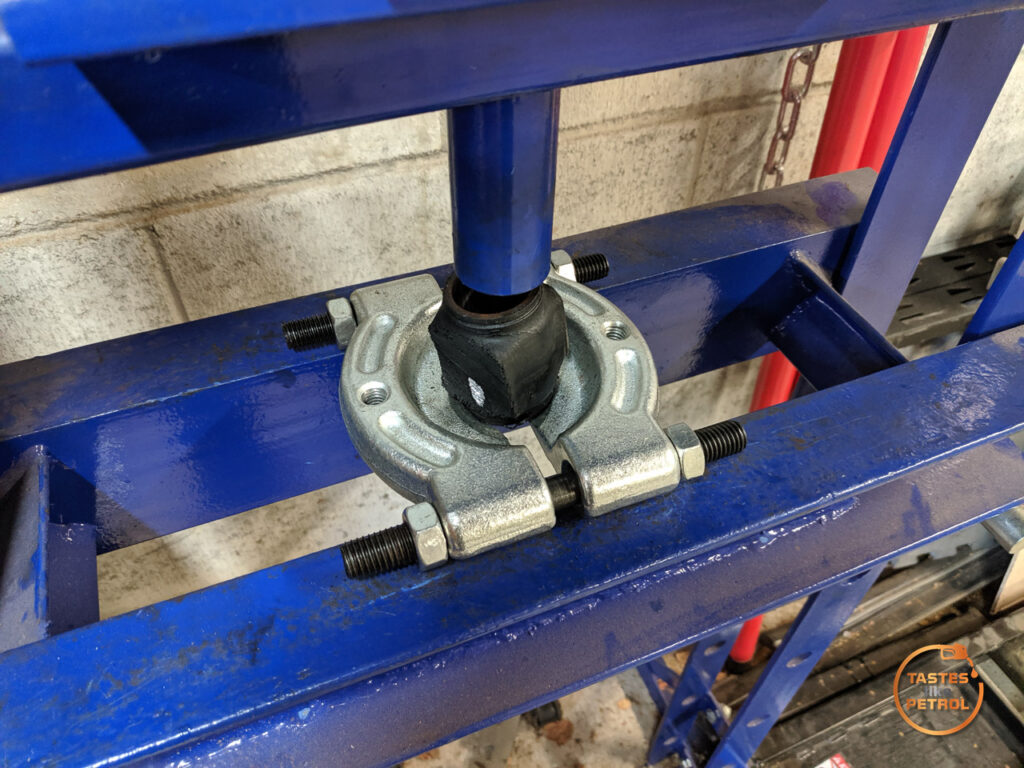
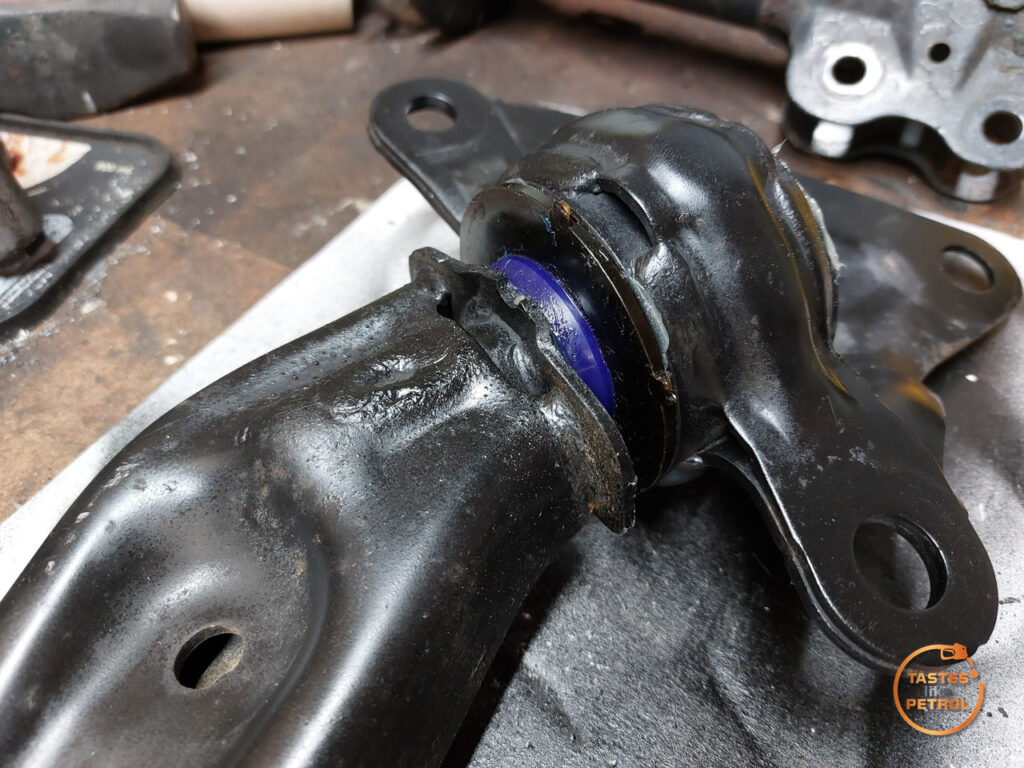
The small bush was more straightforward to press out, but needed some creativity to keep the arm in place
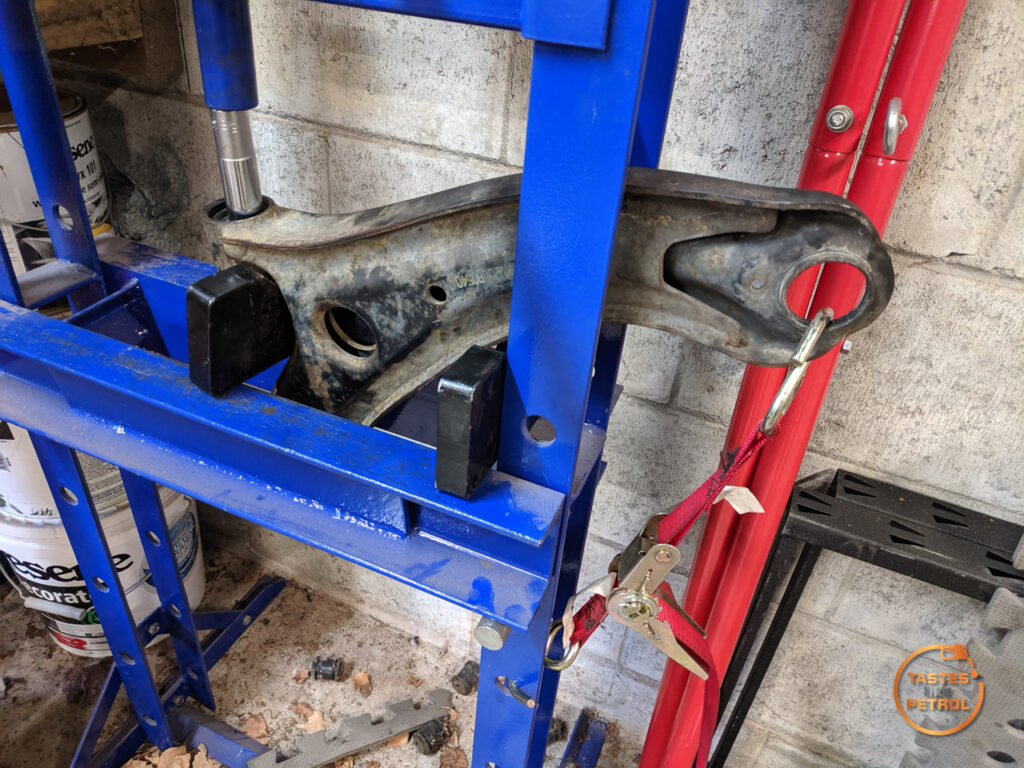
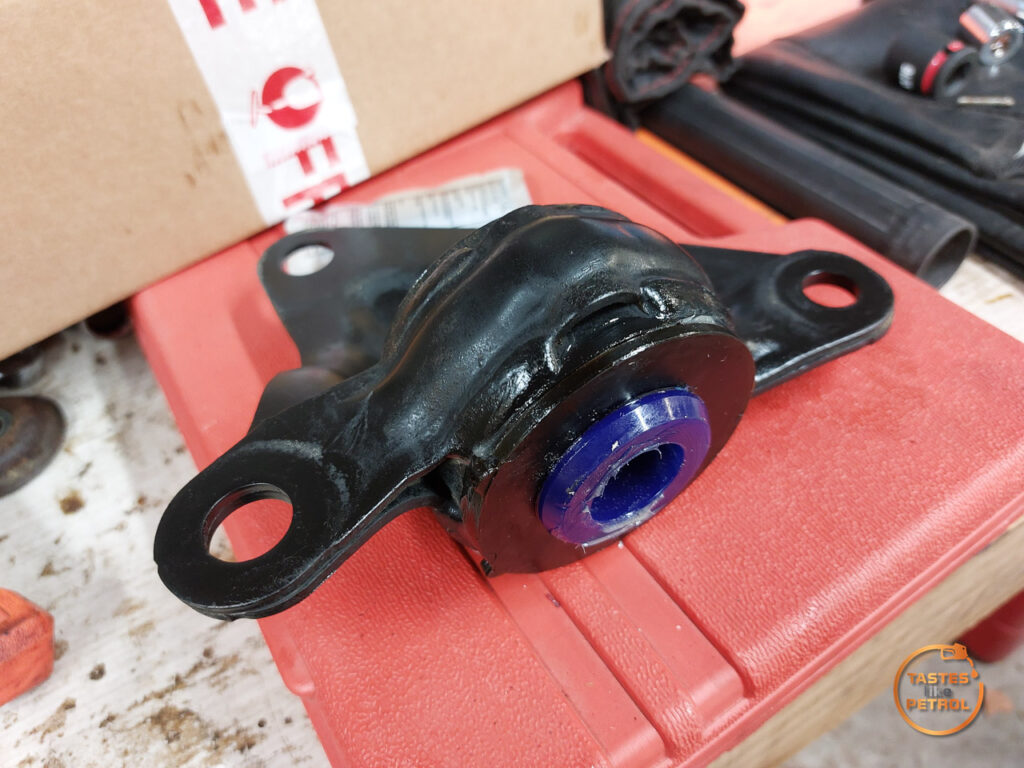
Both the bush housings and the remaining arm got a good coating of instant rebuild before the new bushes and joint went in
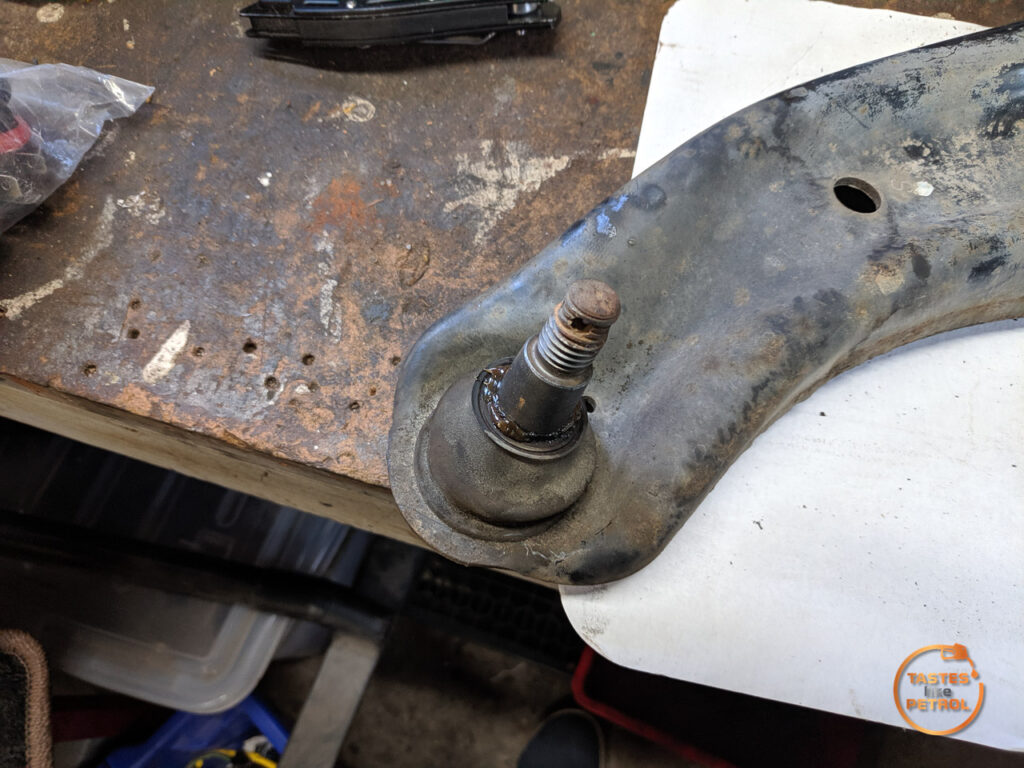
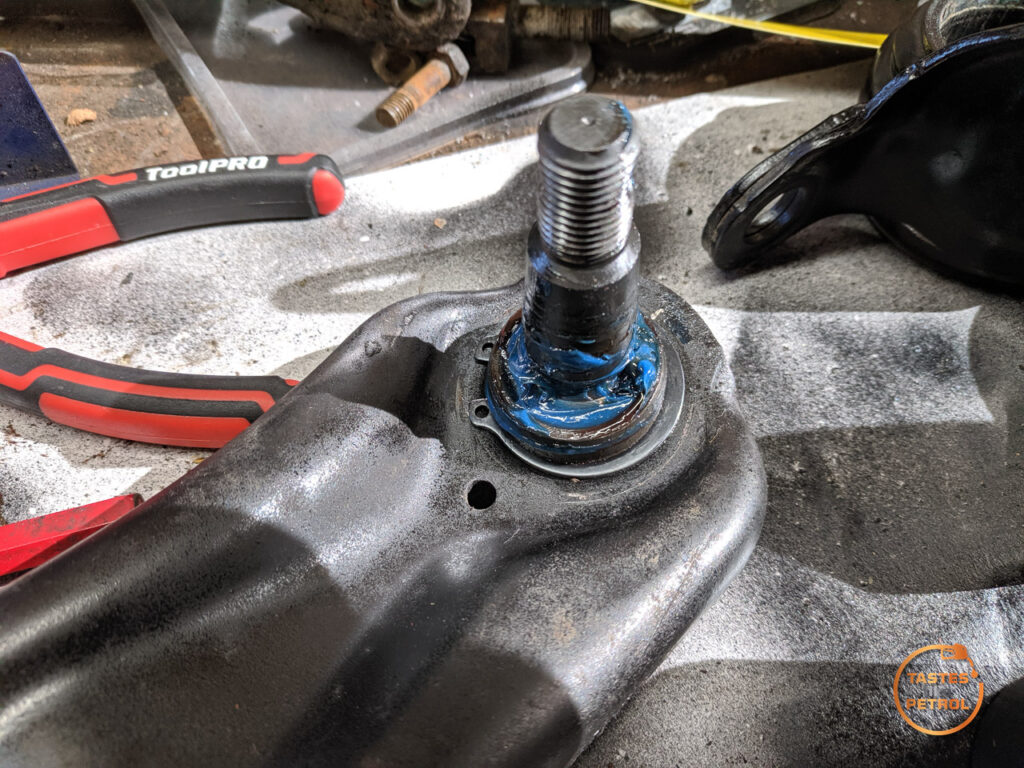
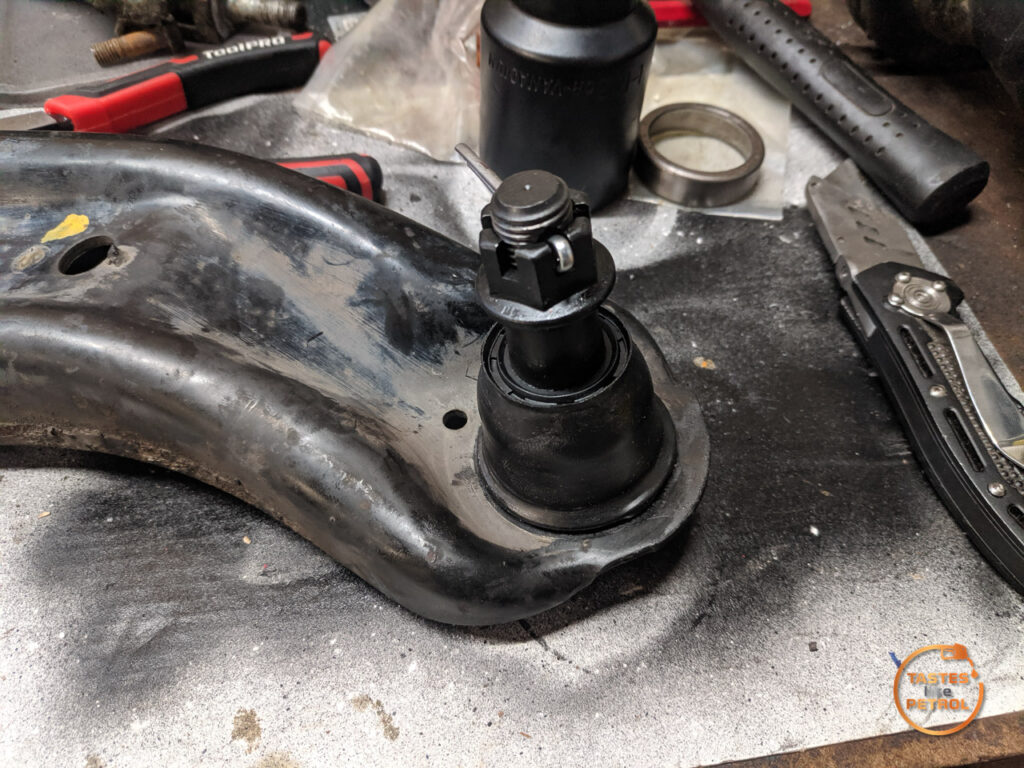
Then the ball joint was pressed into place by pressing it in from underneath, and supporting the arm around the joint
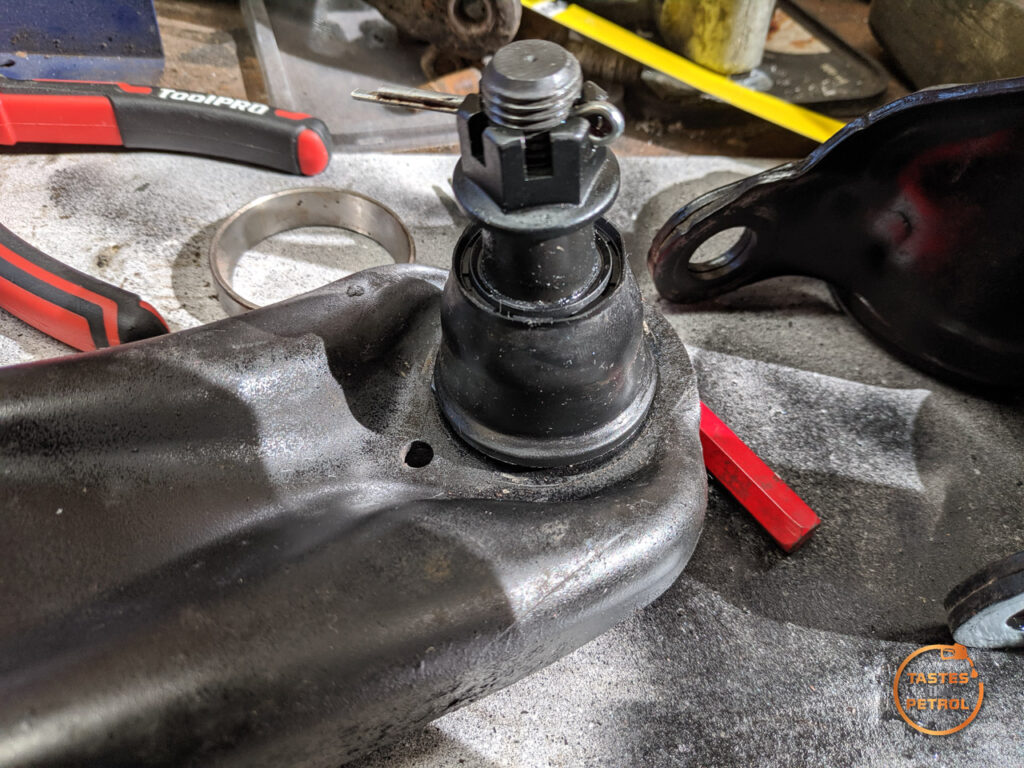
This new joint uses a circlip to retain it, so that was fitted, making sure it was snug in the groove
The boot is also a press fit. I used a big deep socket that fit over the boot, but pressed down on the ring at the base to press it on
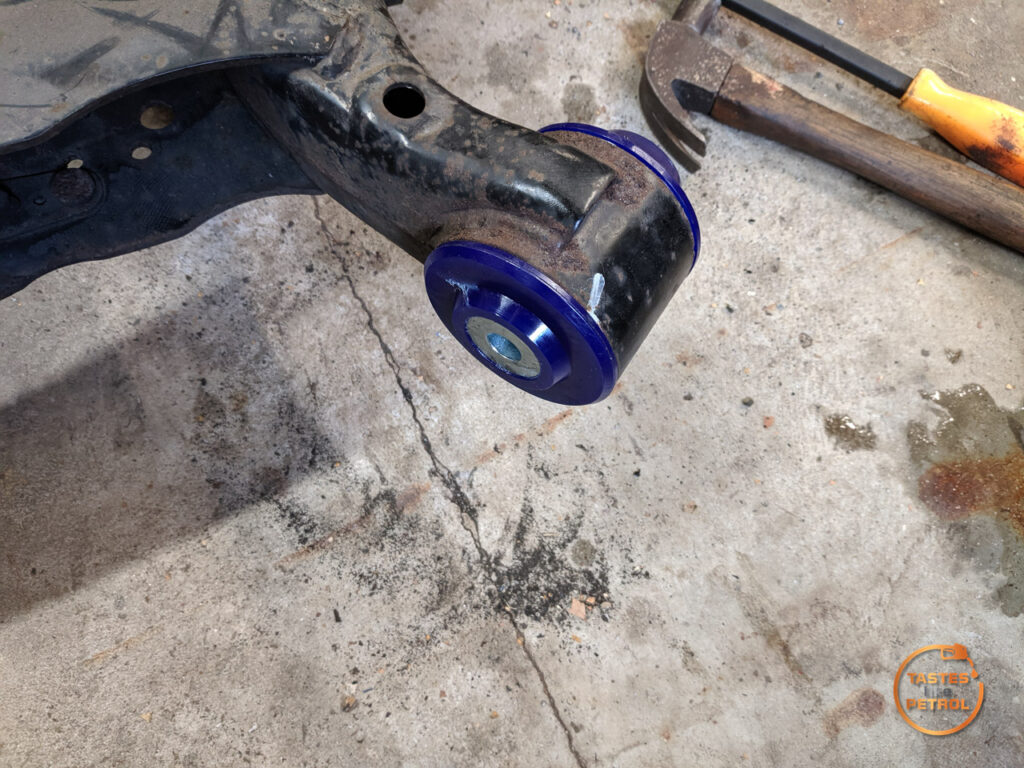
The small bush was pressed into place too
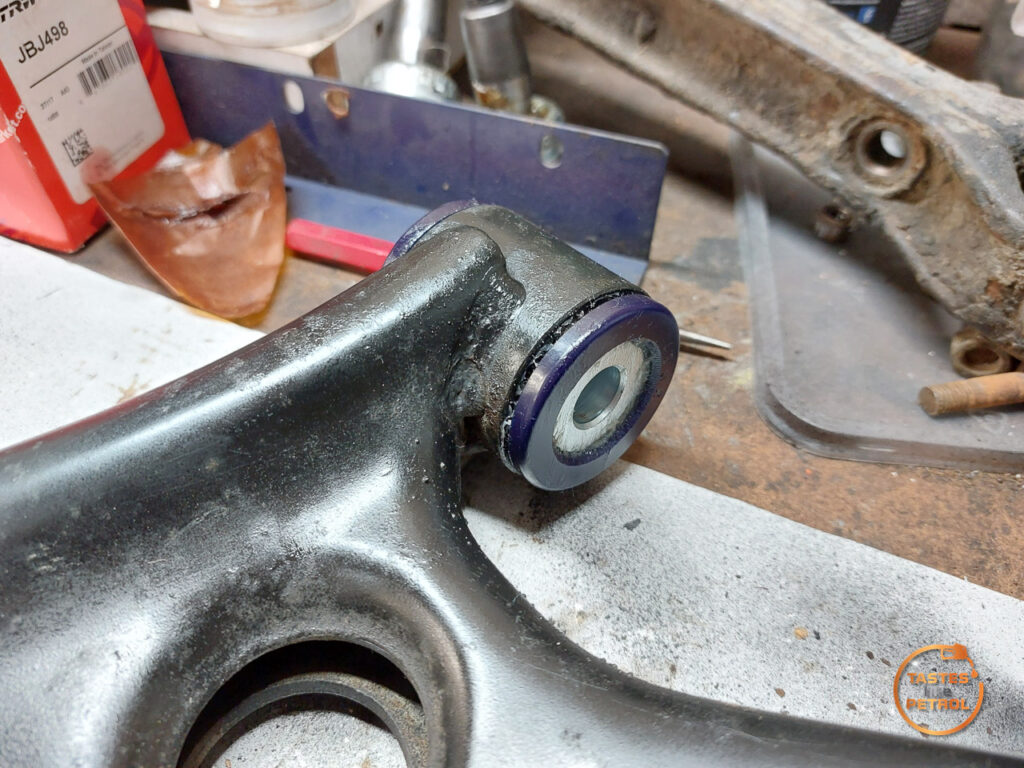
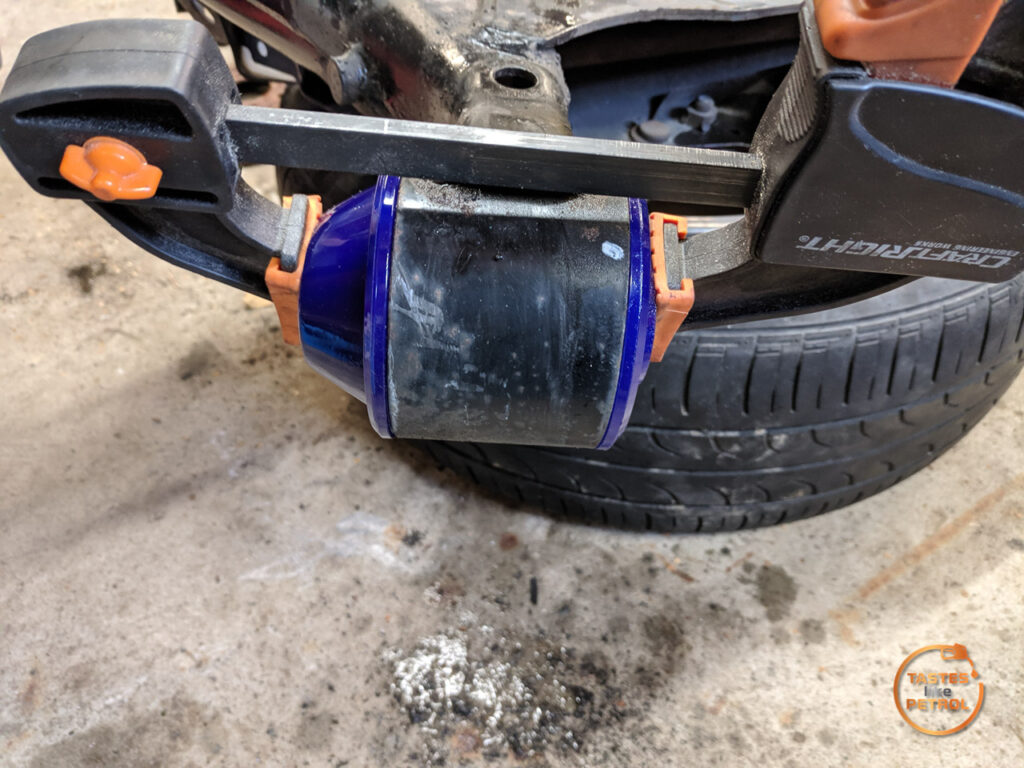
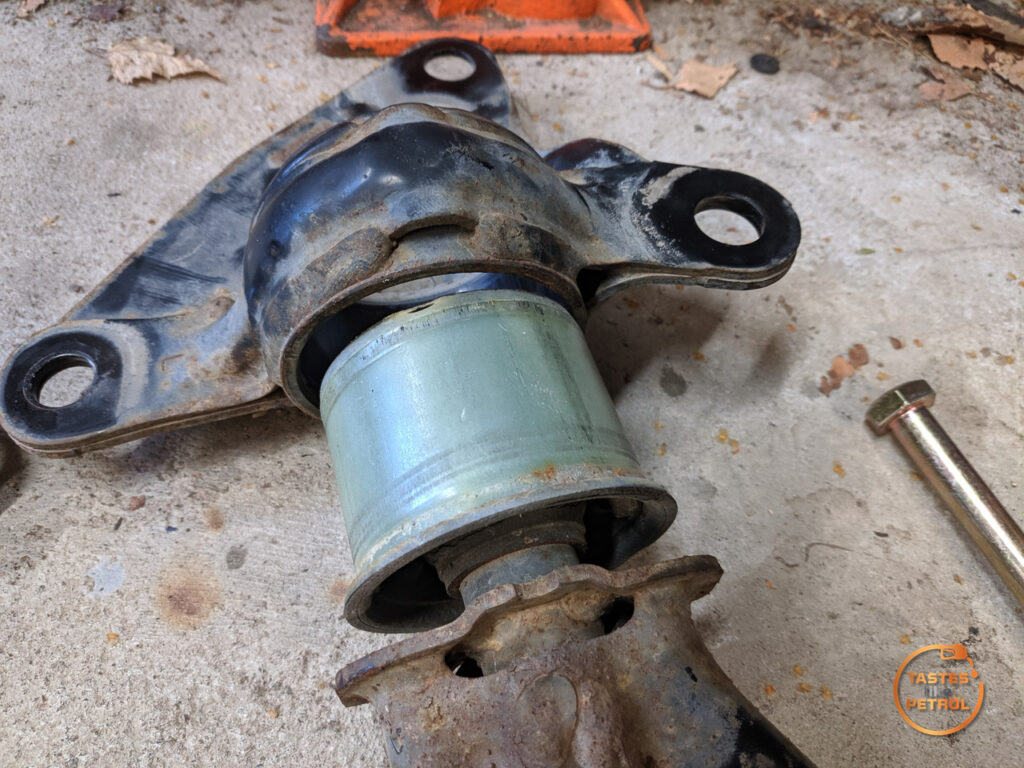
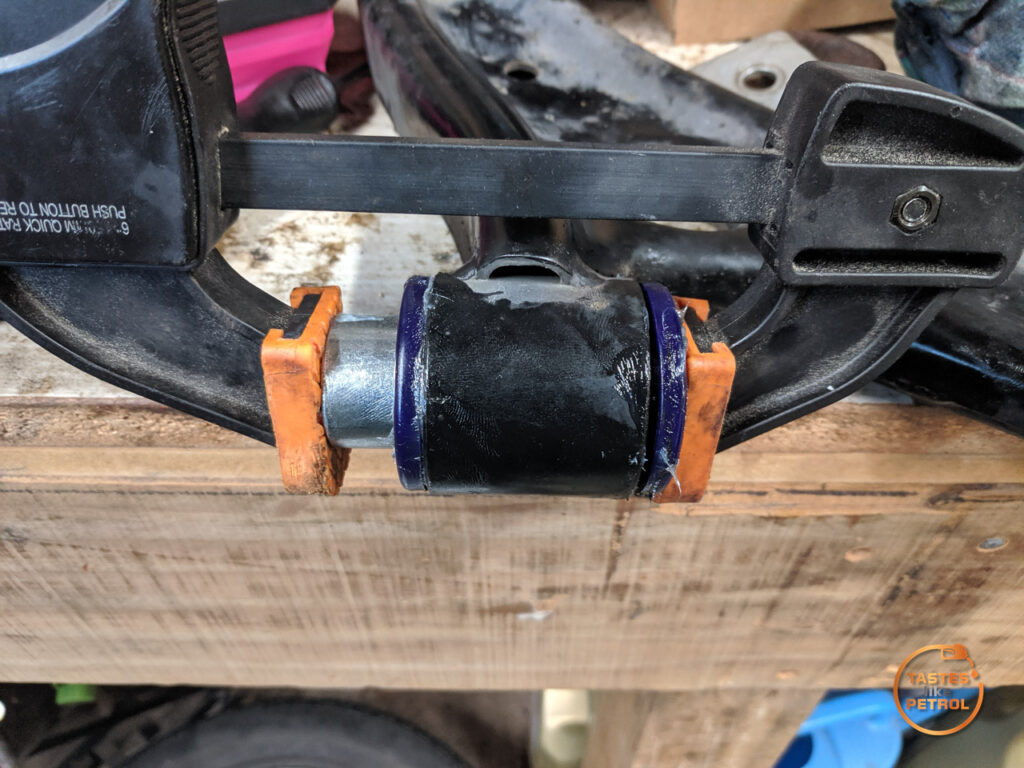
The big bush is two pieces, but I pressed it together. This was done by hand, and a big hammer was used
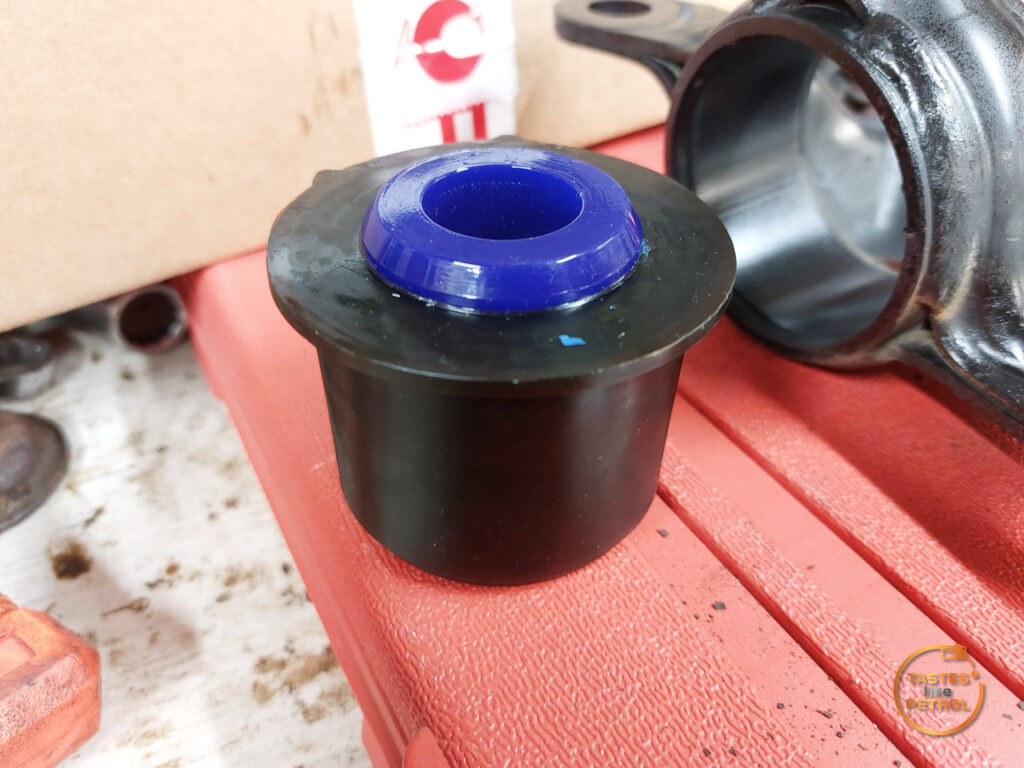
Press it in by hand as far as it’ll go
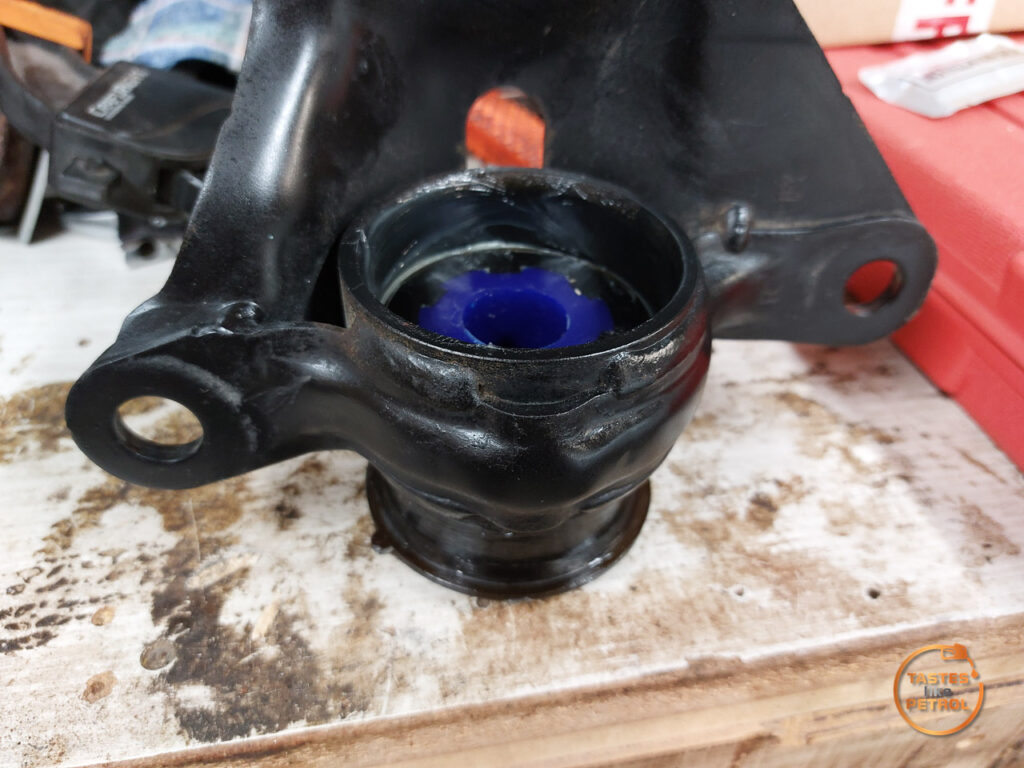
and then give the housing a few good whacks with a deadblow hammer until it’s fully seated
These don’t have a center sleeve; they press onto the arm as is
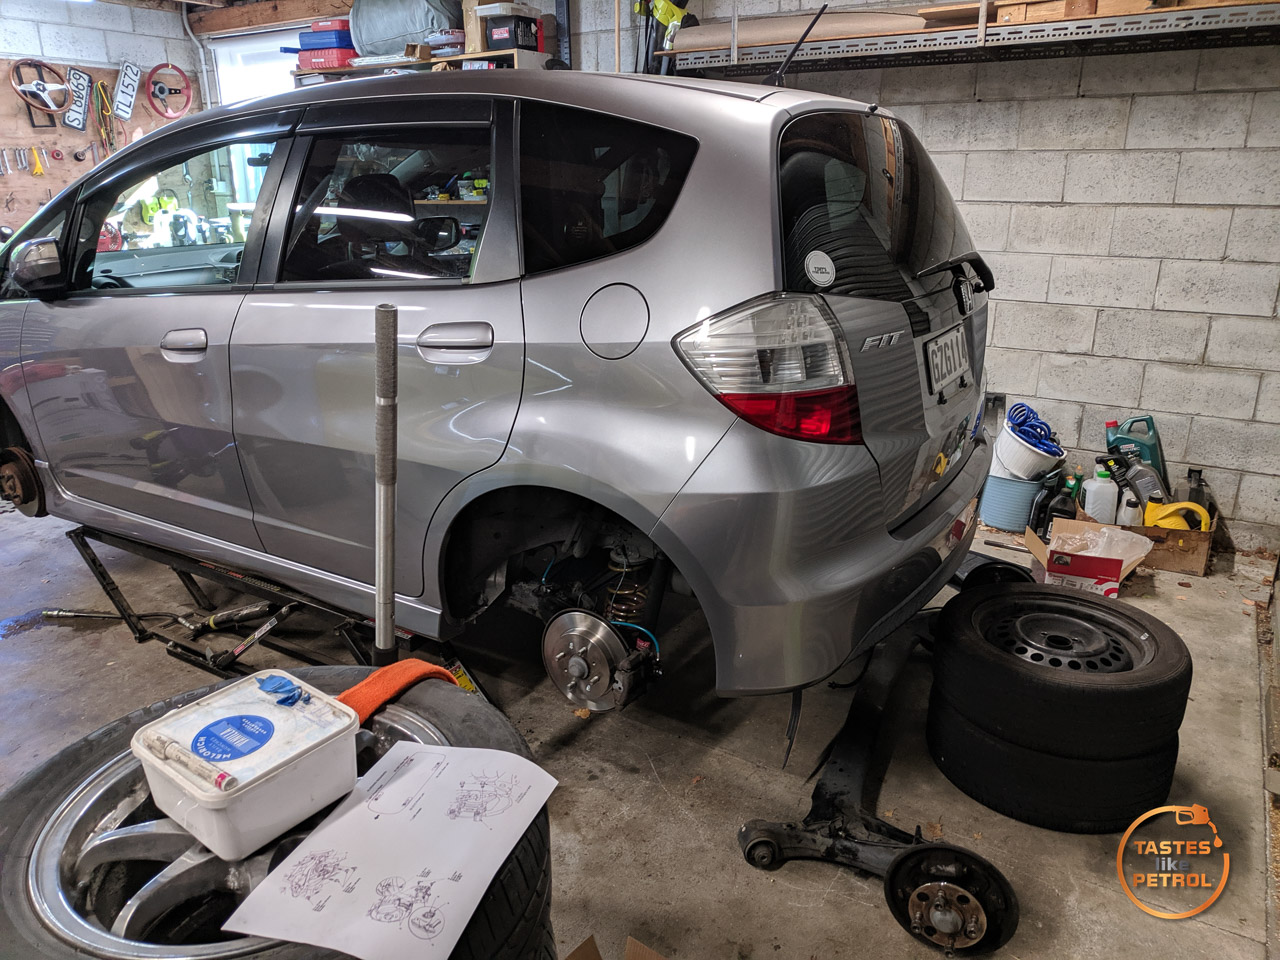
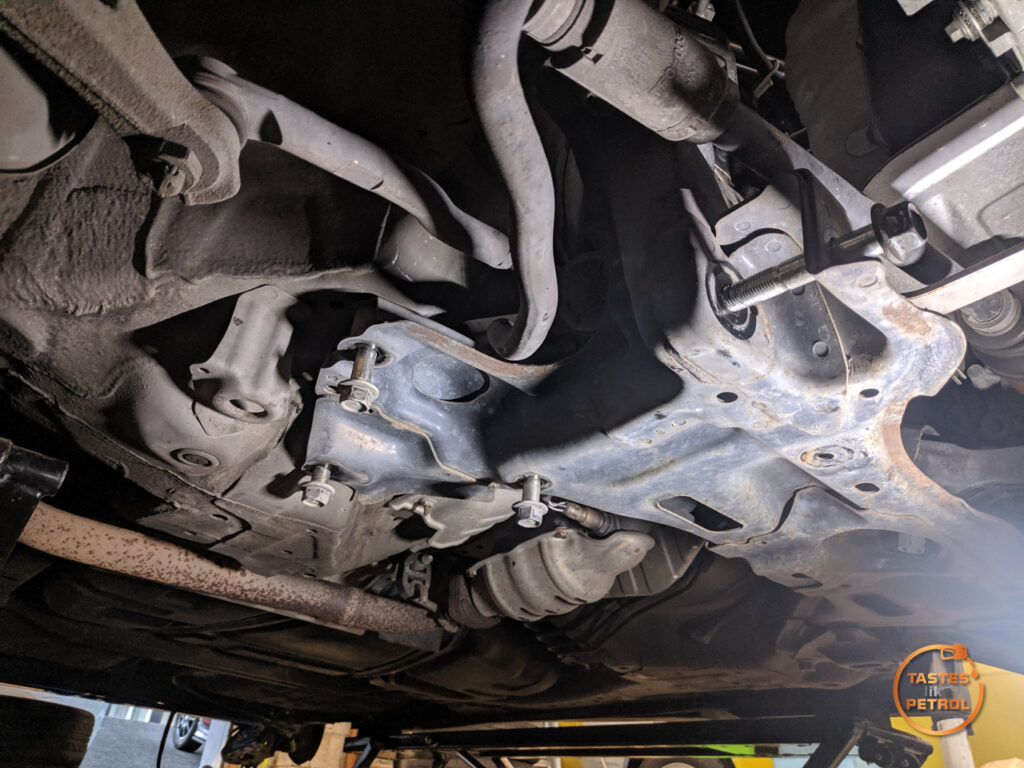
With a plan for the arm I’ll need to modify from the car, it was time to enlist a friend and get to work pulling the car to bits.
We put the Honda up on the Quickjacks and set about removing the rear beam. It’s fairly simple, two bolts through the bushes, two bolts for the rear shocks, the hand brake cables (which I removed from inside the car, as they are different to the disc cables) and brake hoses and ABS cables. The hardest bit is disassembling the drum brakes to remove the cables, but I can’t recall if that was even needed.
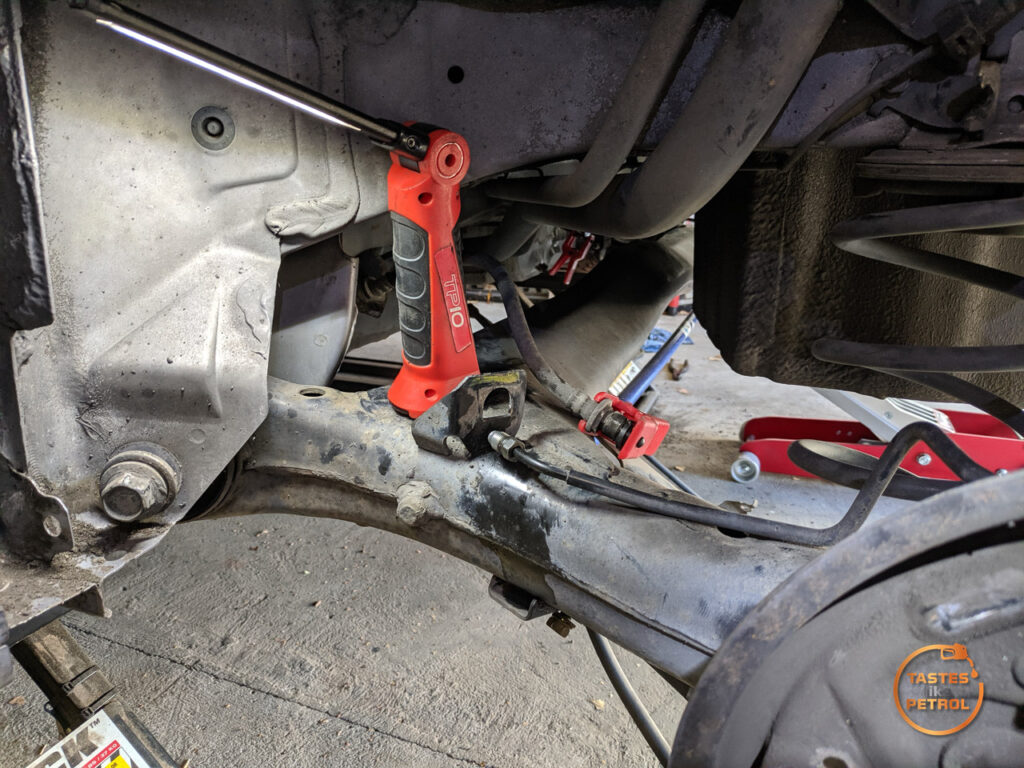
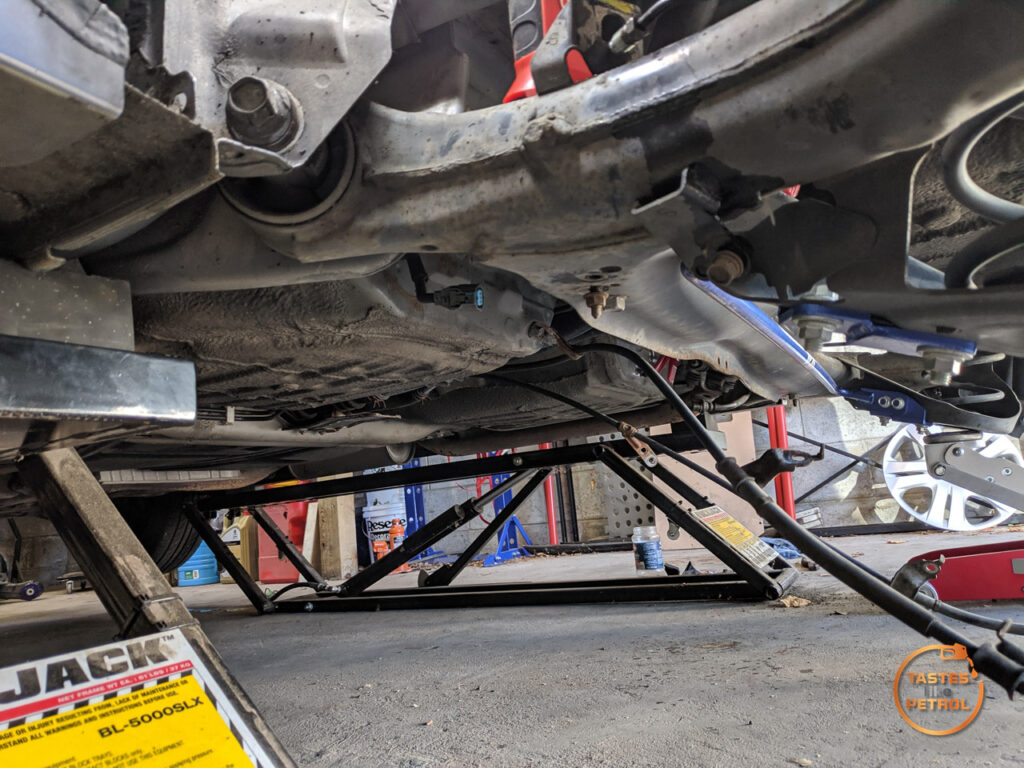
With the power of two jacks, we got the old beam out
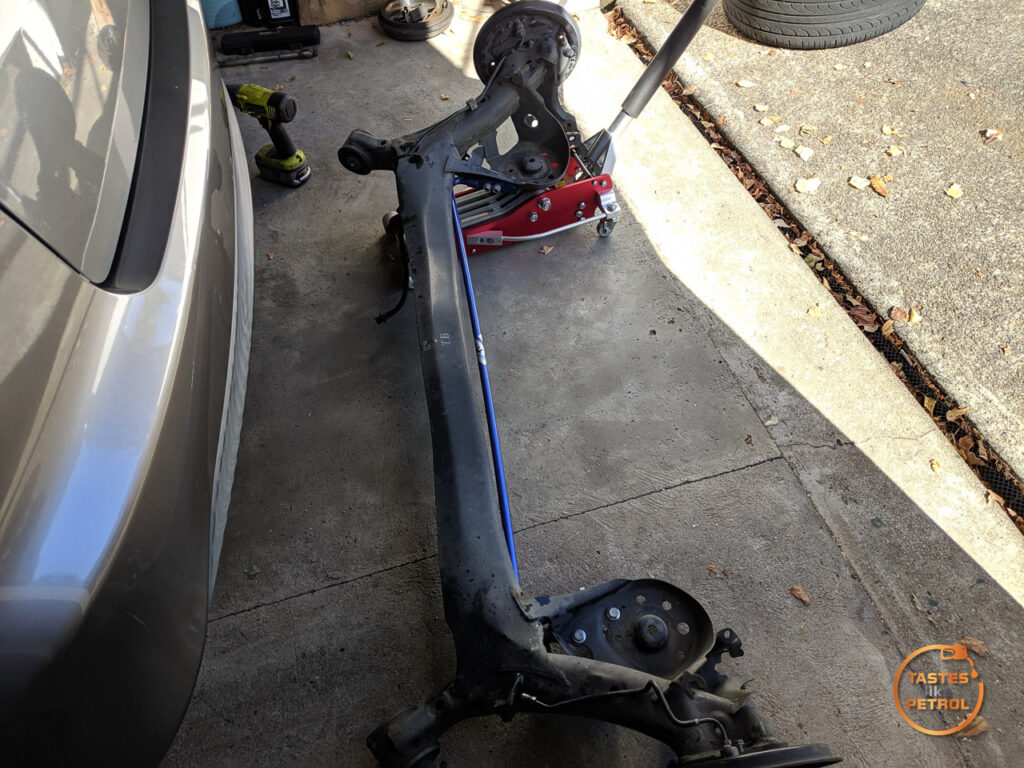
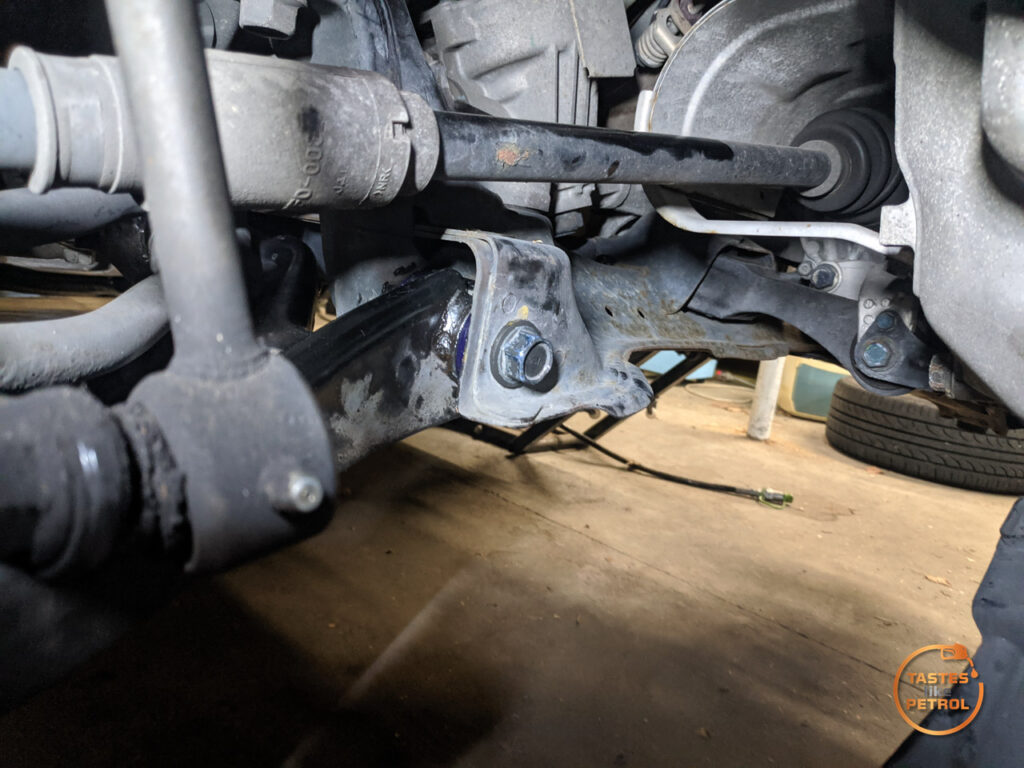
and the new beam in. Getting the bolts through both bushes is a bit of a juggling act, involving lots of levering and wiggling around. The rear sway bar was transferred from the old beam.

Interestingly, there are four rear brake hoses, two on each side. The drum beam only has two, as it has hard lines into the drums

The completed rear setup, with the braided hoses, new brakes and Tein springs
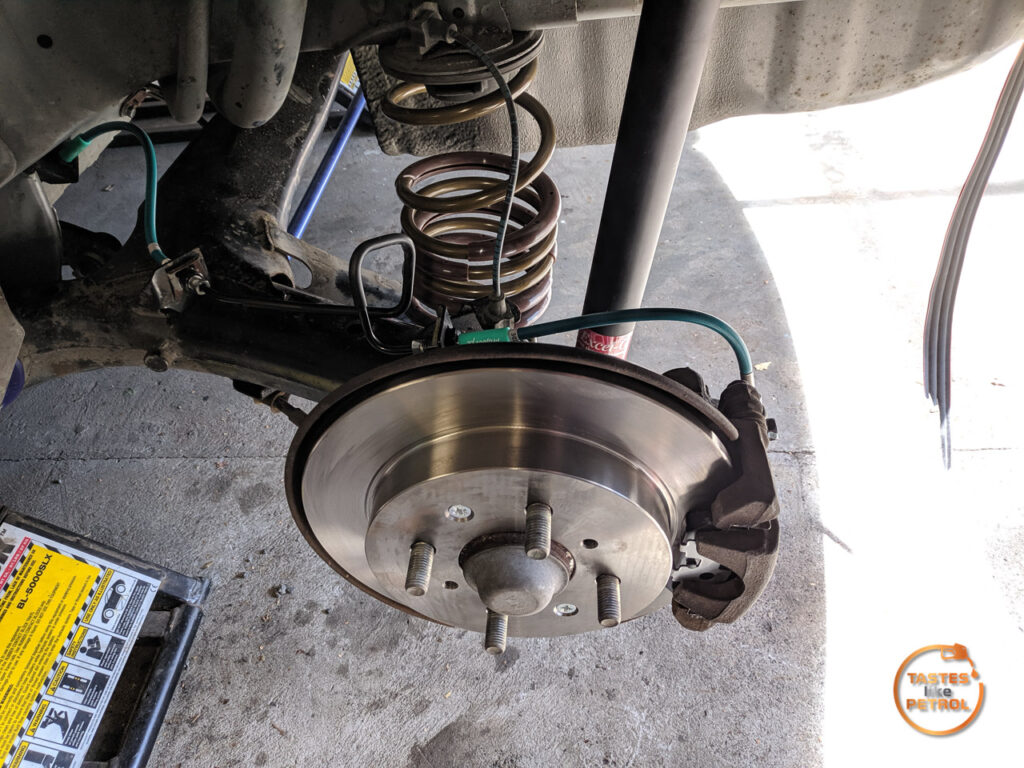
And that was the rear done and dusted

I covered most of the front suspension lowering the last time I lowered and then unlowered the car, here.
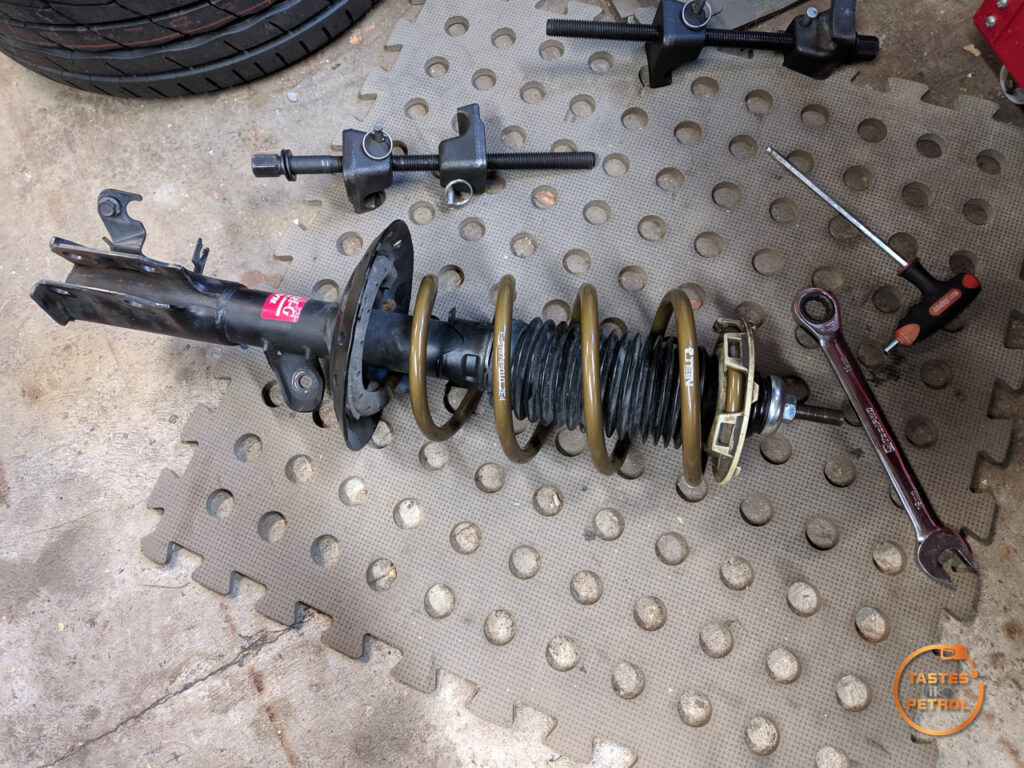
So, I removed all the cowling, pulled the front struts out and began removing the springs
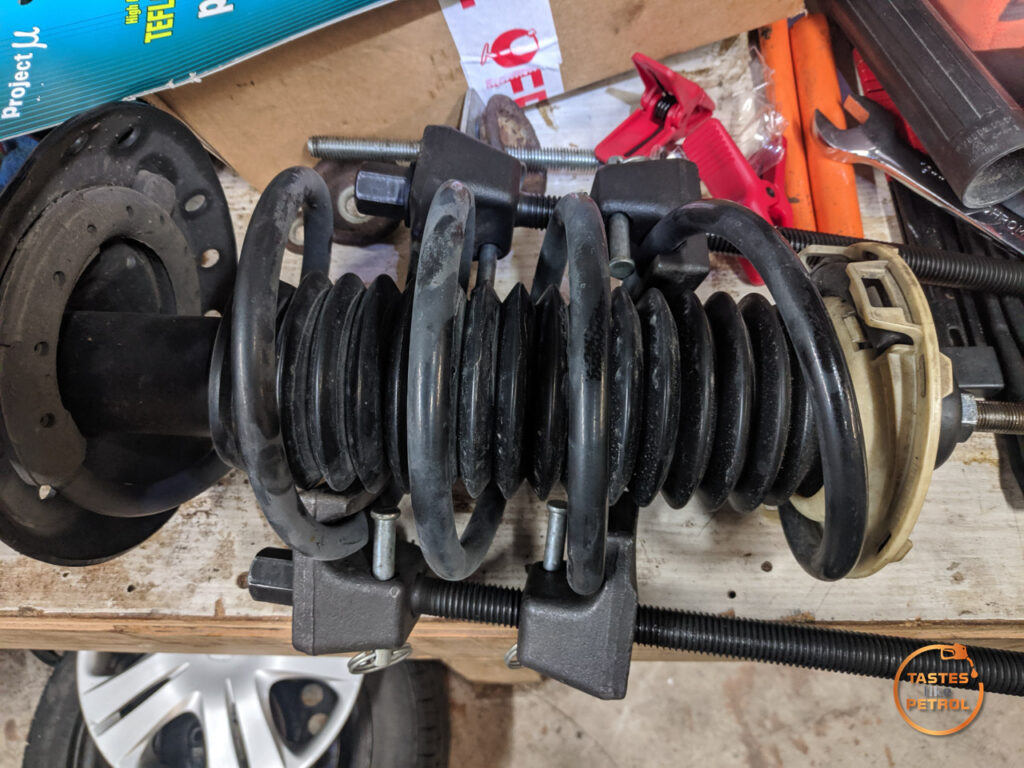
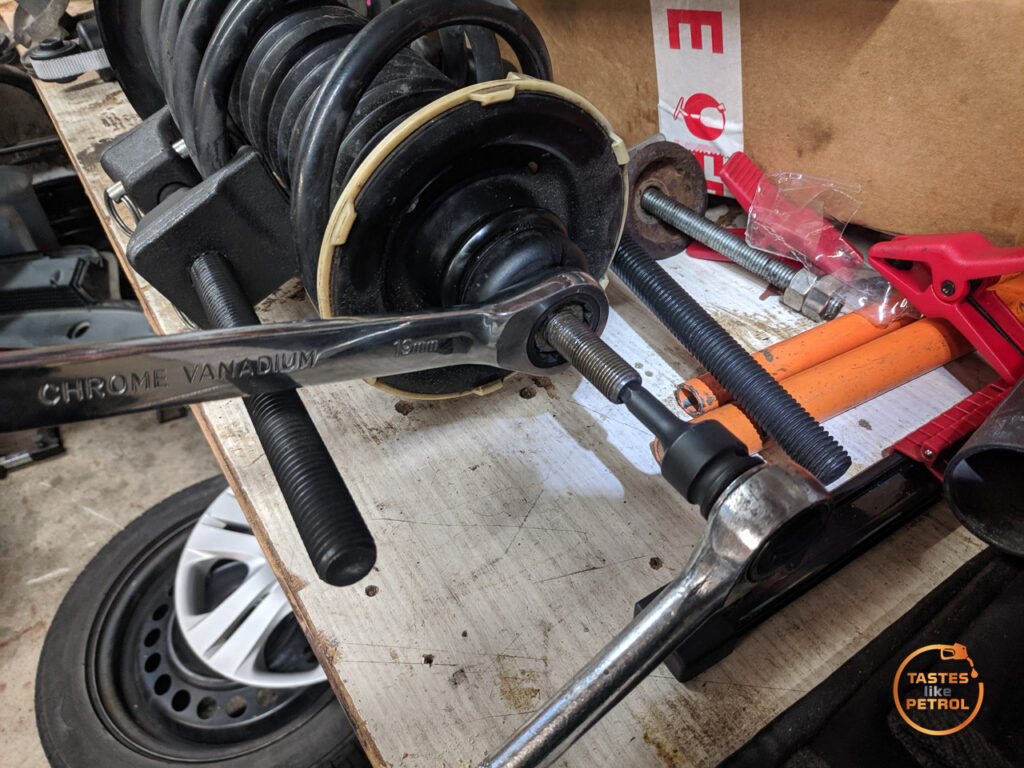
Annoyingly, when disassembling one of the struts, the top bearing came apart. Unlike other cars I have worked on, the rubber top mount isn’t actually attached to the strut, it just sits on top over the bearing. When I removed the top mount, the top half of the bearing went with it, and some of the balls in it yeeted themselves across the garage.
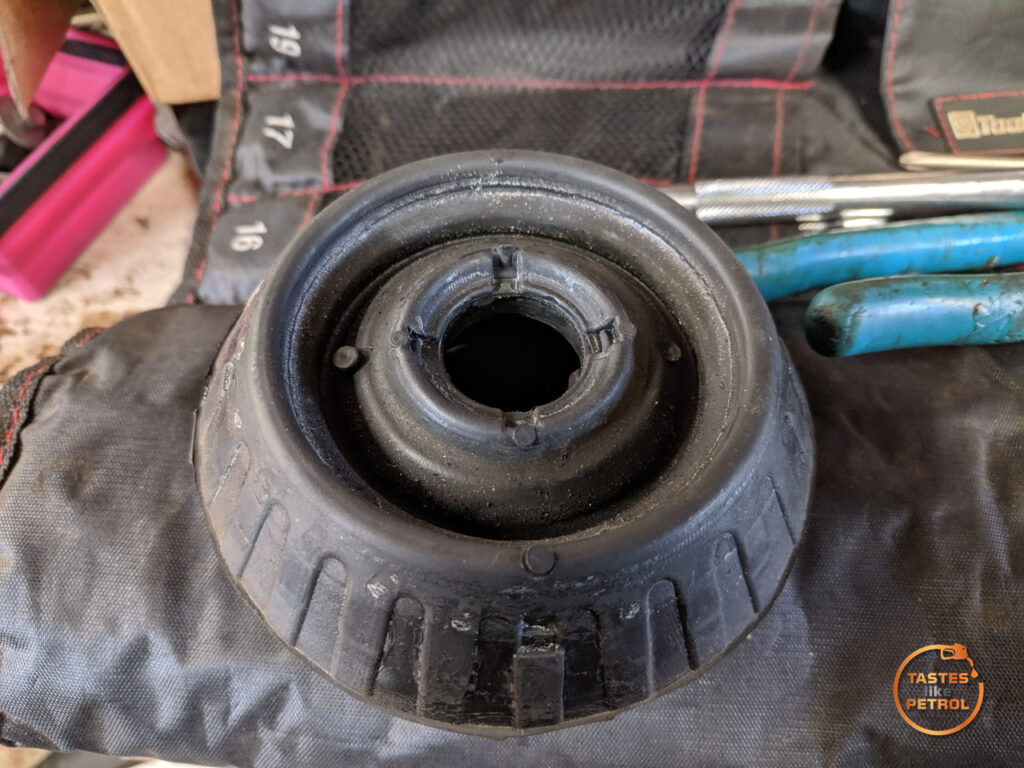
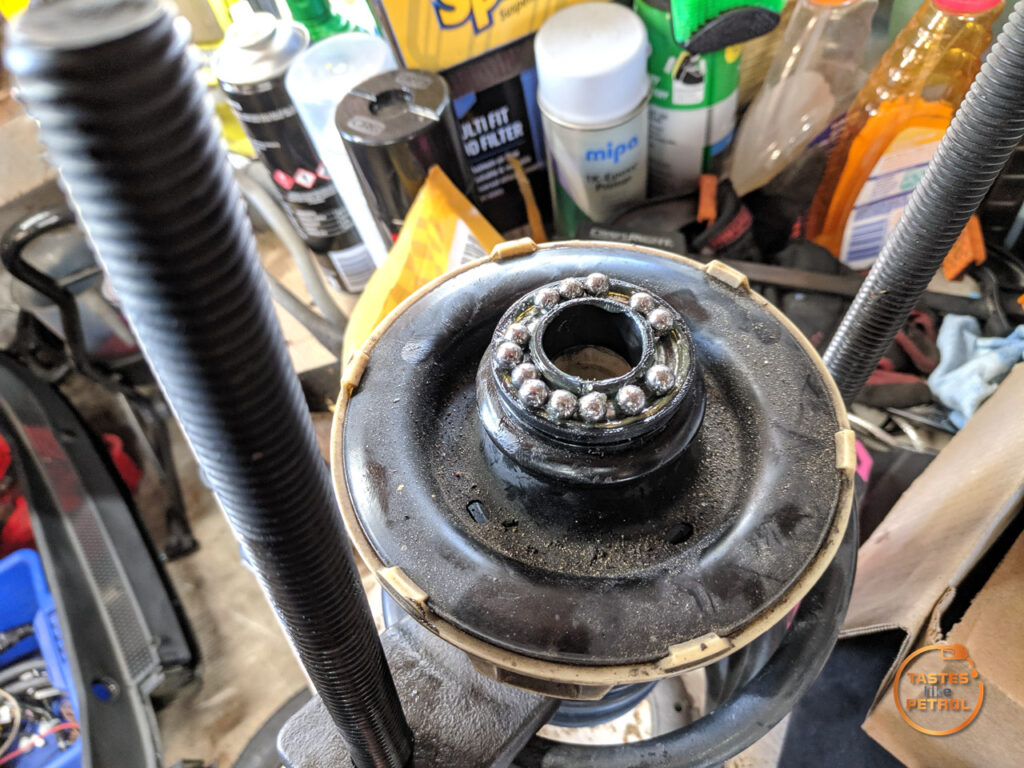
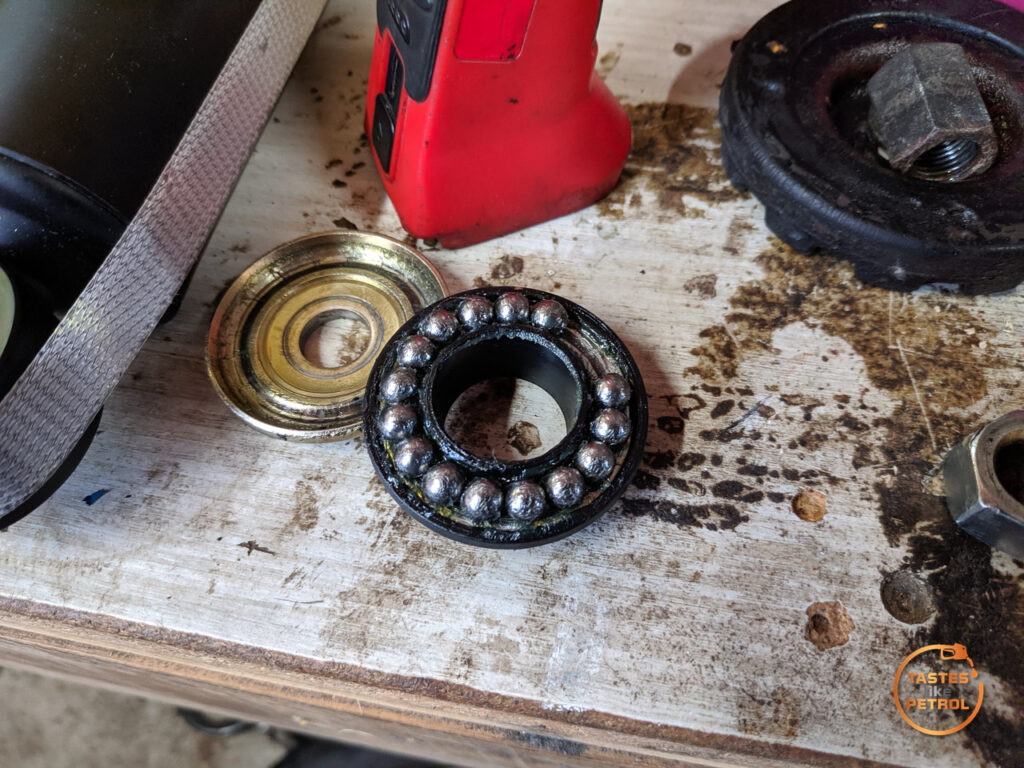
The grease inside it, and the one in the other strut, was quite gritty, and the bearing felt bad to spin. I replaced these about 10,000km ago, so I’m not that impressed.
I rang around and found that no one had them in stock, until I got to the local Shock Shop, just down the road from work, who saved my arse and could get a pair of them in the same day for me (everyone else was “maybe overnight”).
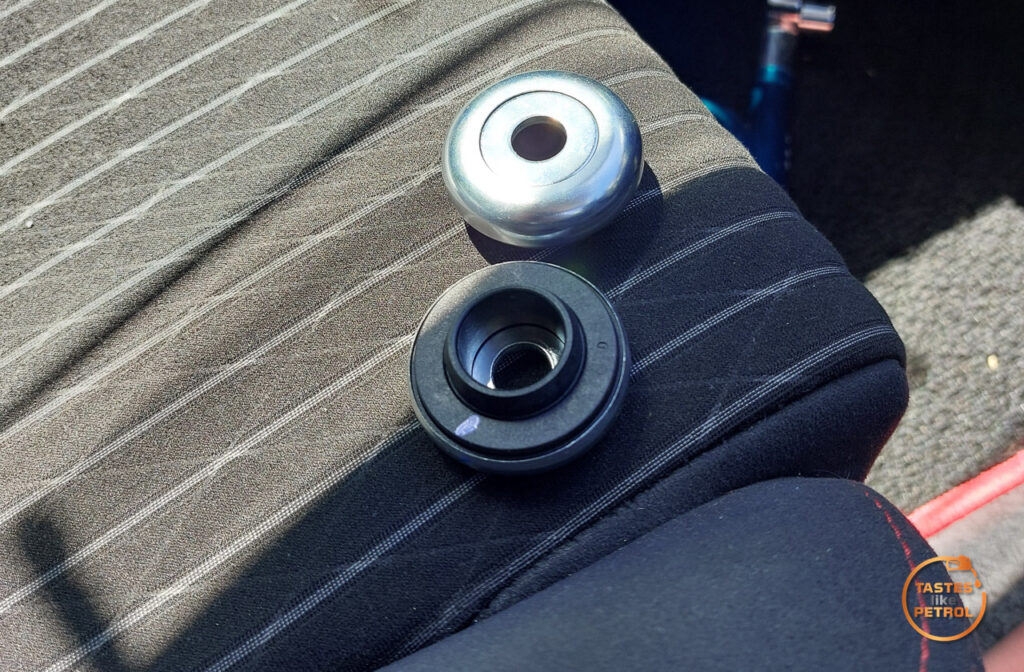
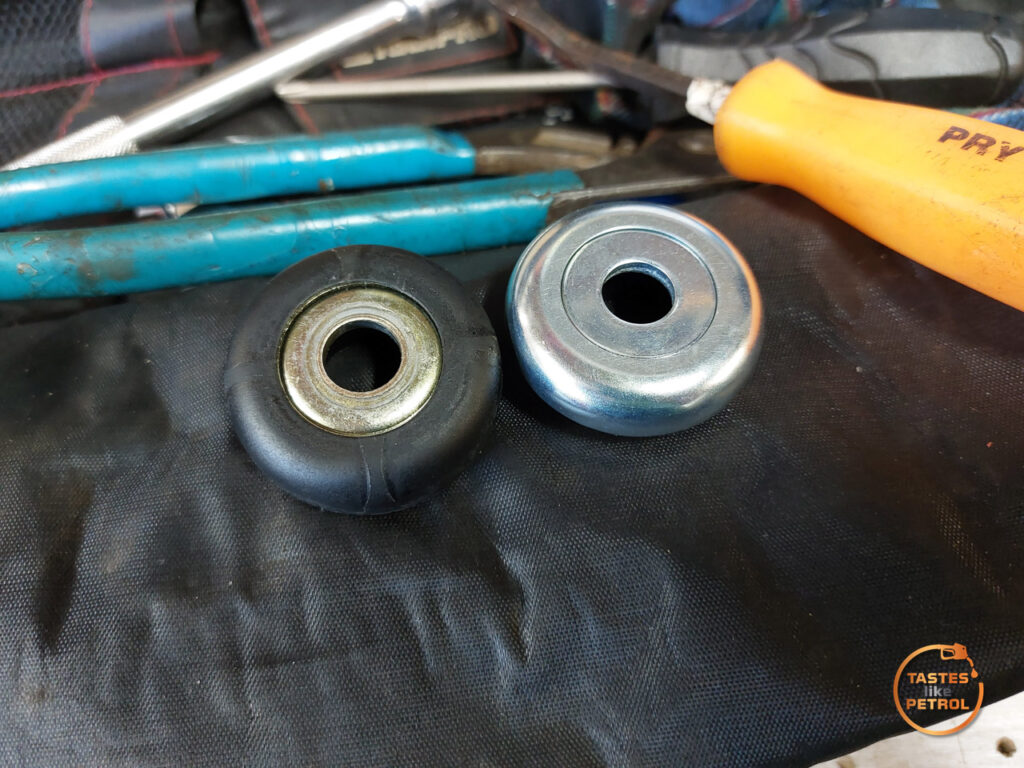
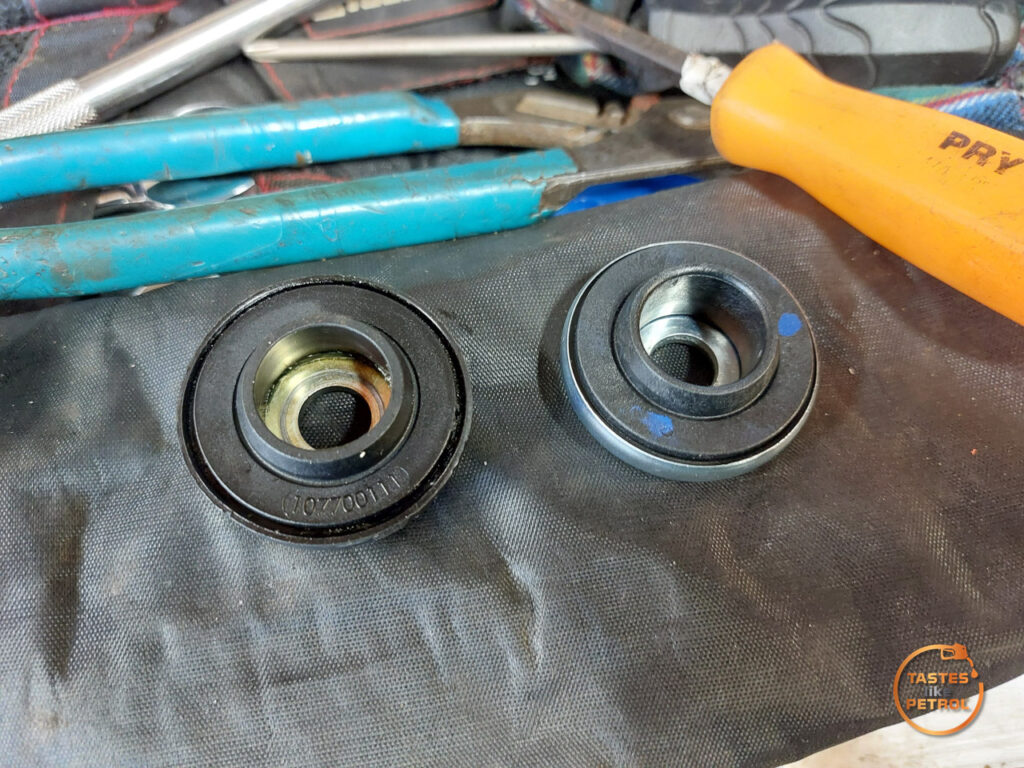
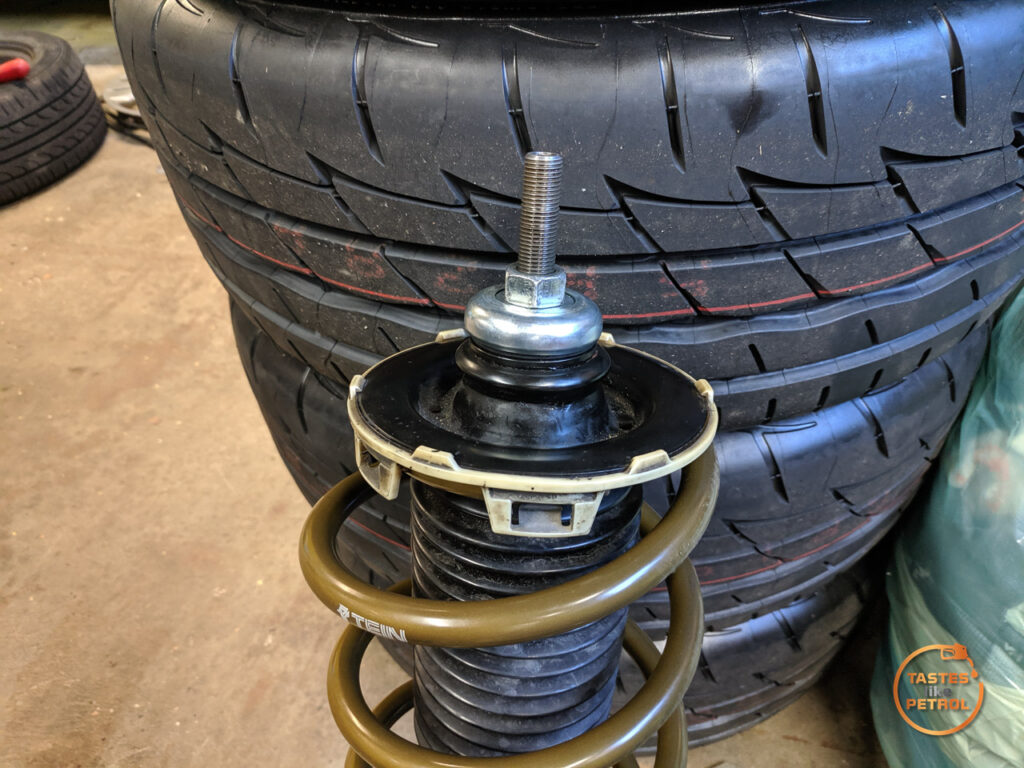
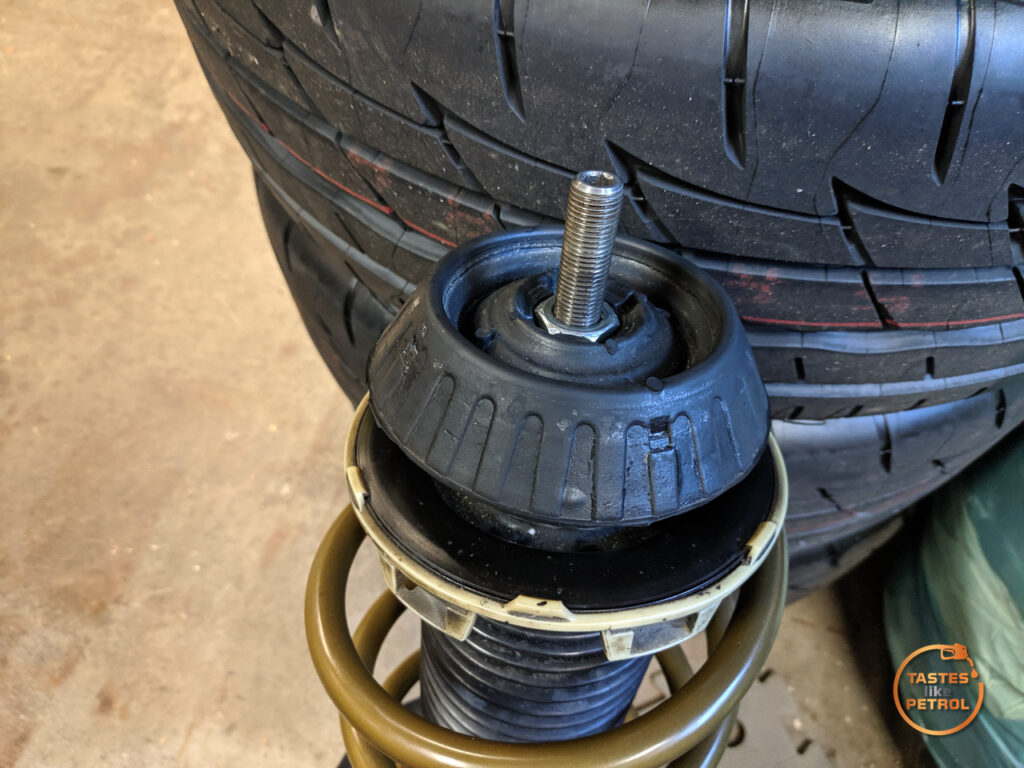
The new bearings seemed to be much better made, with metal top caps instead of plastic
I removed the old spring and swapped to the Tein spring, along with the new top bearing
Before I could button up the front, I had to modify the lower arm with the new bushes and ball joint. Now that I knew what the secret sauce was, it went much smoother.
The front arms on these are quite easy to remove and refit, just a bunch of bolts to remove
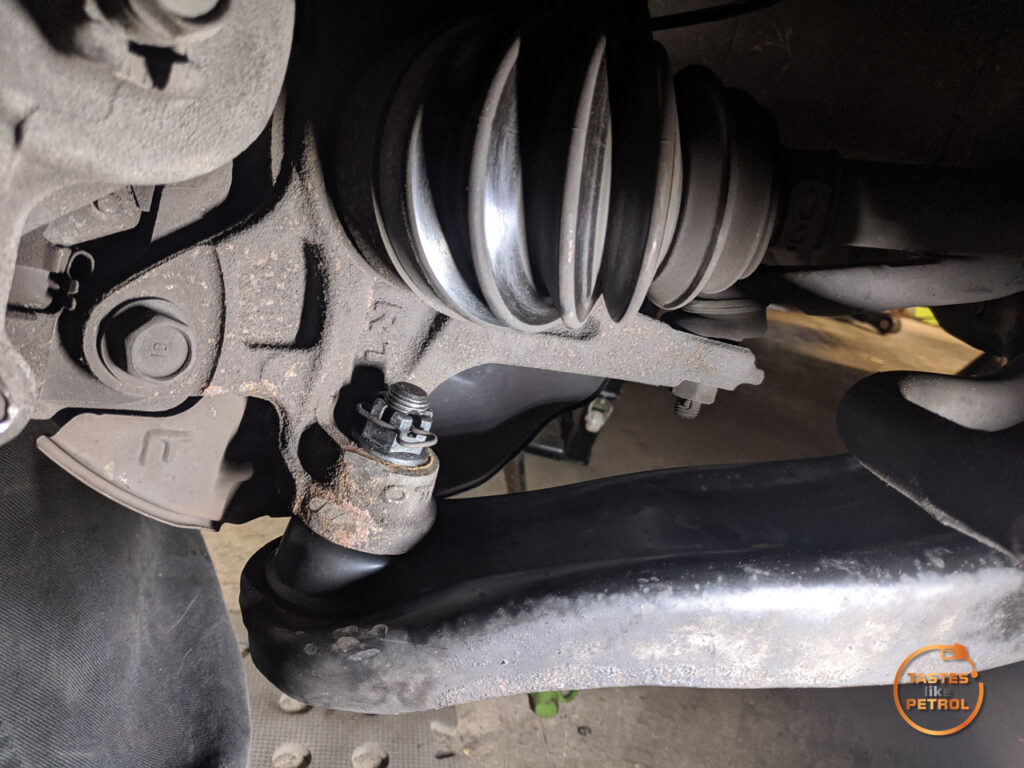
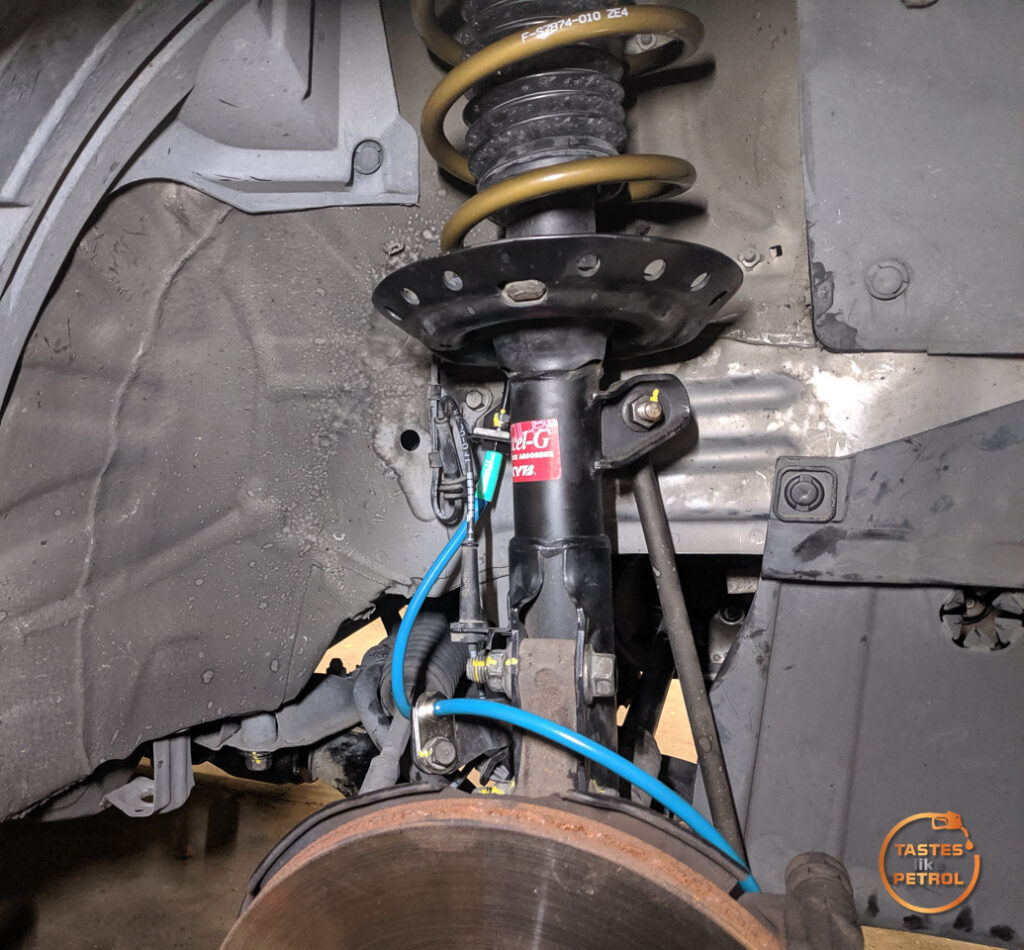
Along with the KYB shock, Tein spring and Project Mu braided lines, it’s all looking quite nice in there
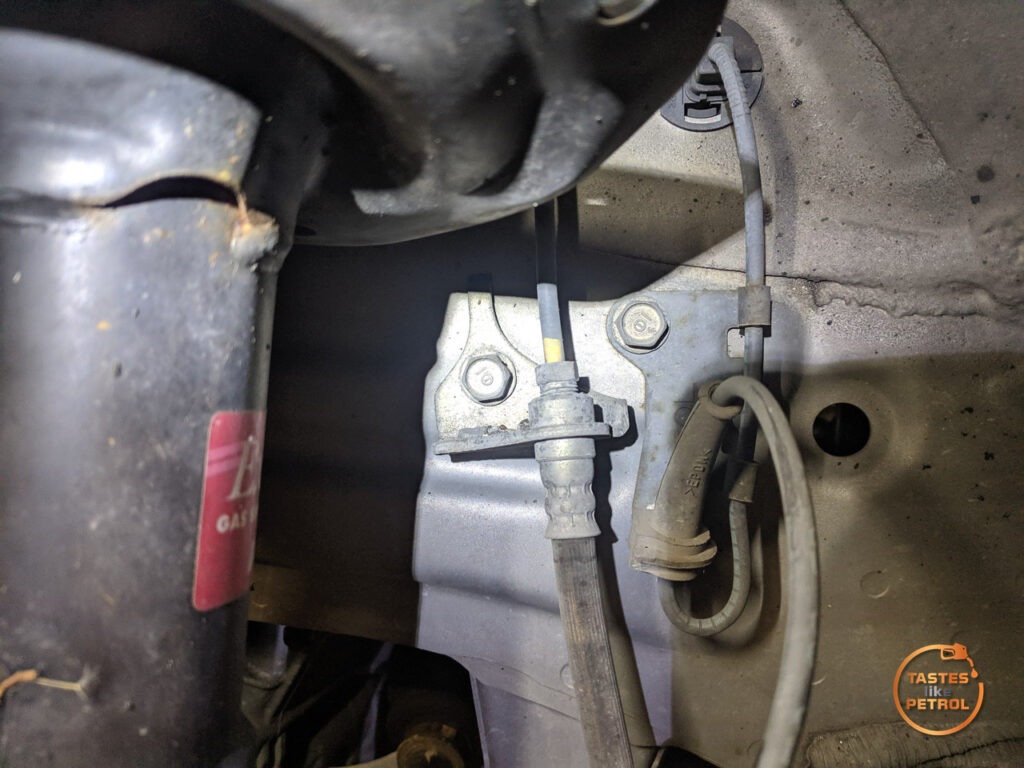
I found it interesting that the Project Mu brake lines come with their own bracket to attach them to the body, since the standard lines seem to have the bracket as part of the hose
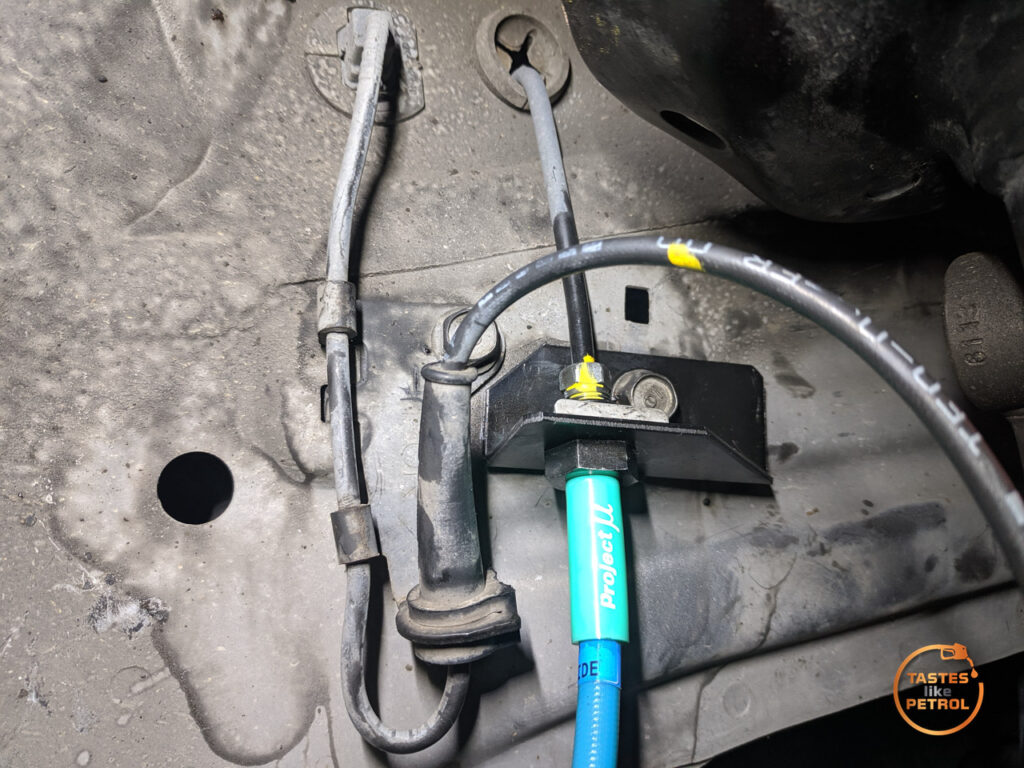
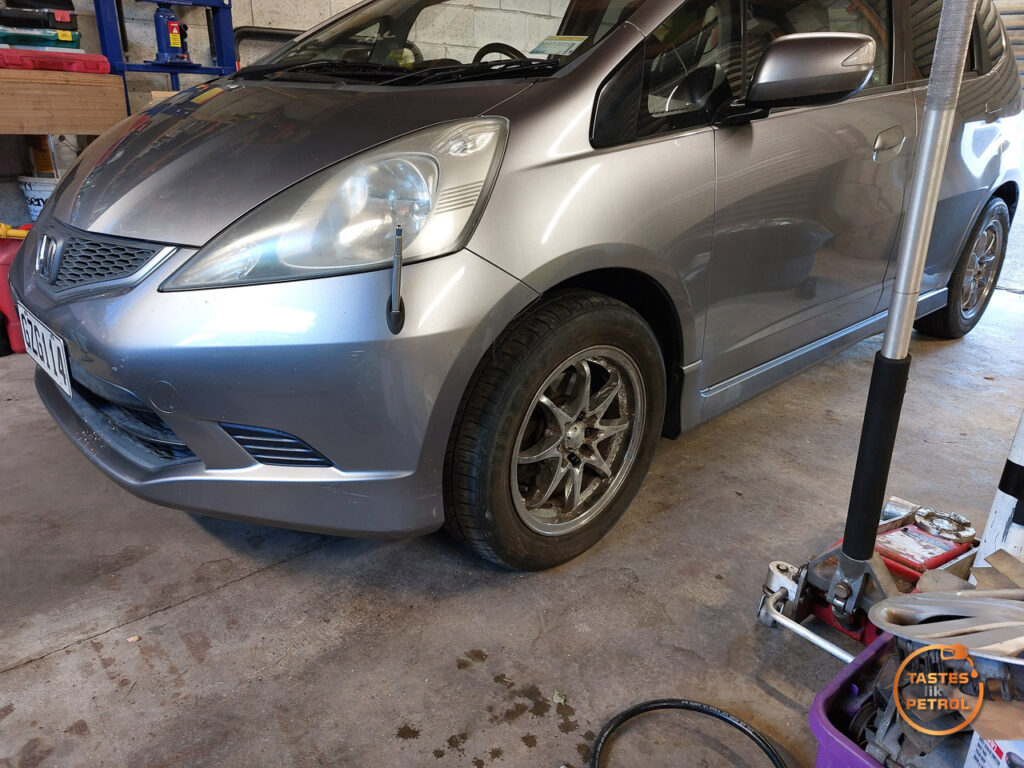
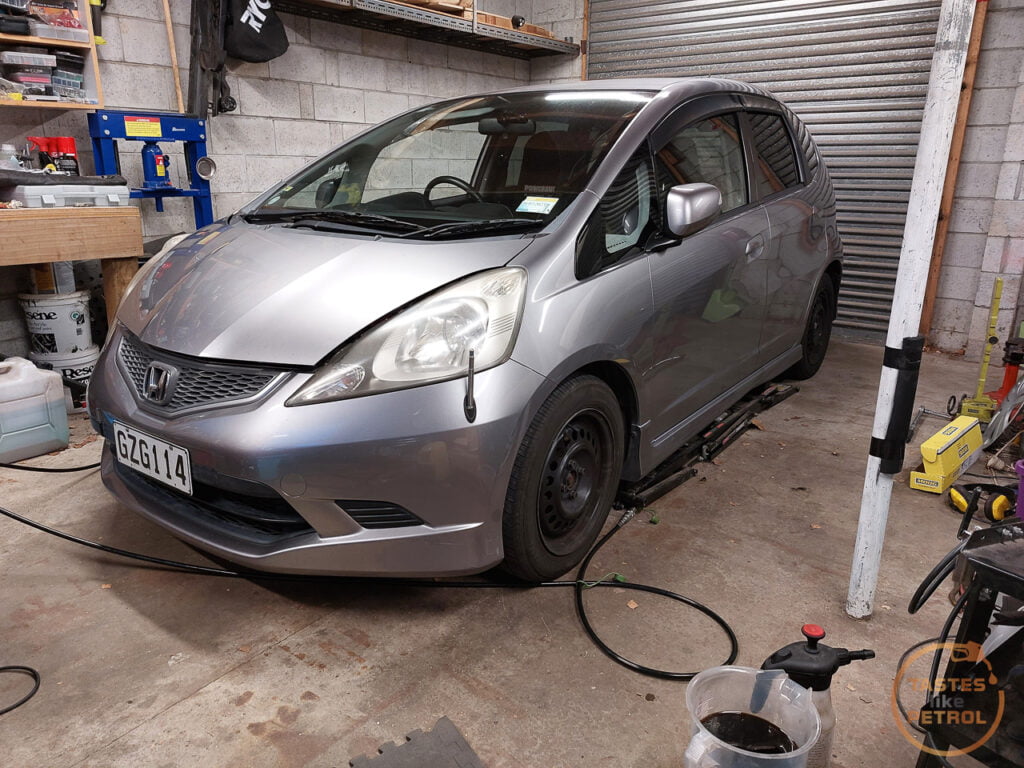
I bled the brakes, flushing through a good amount of fluid, and then with the hub centering rings fitted
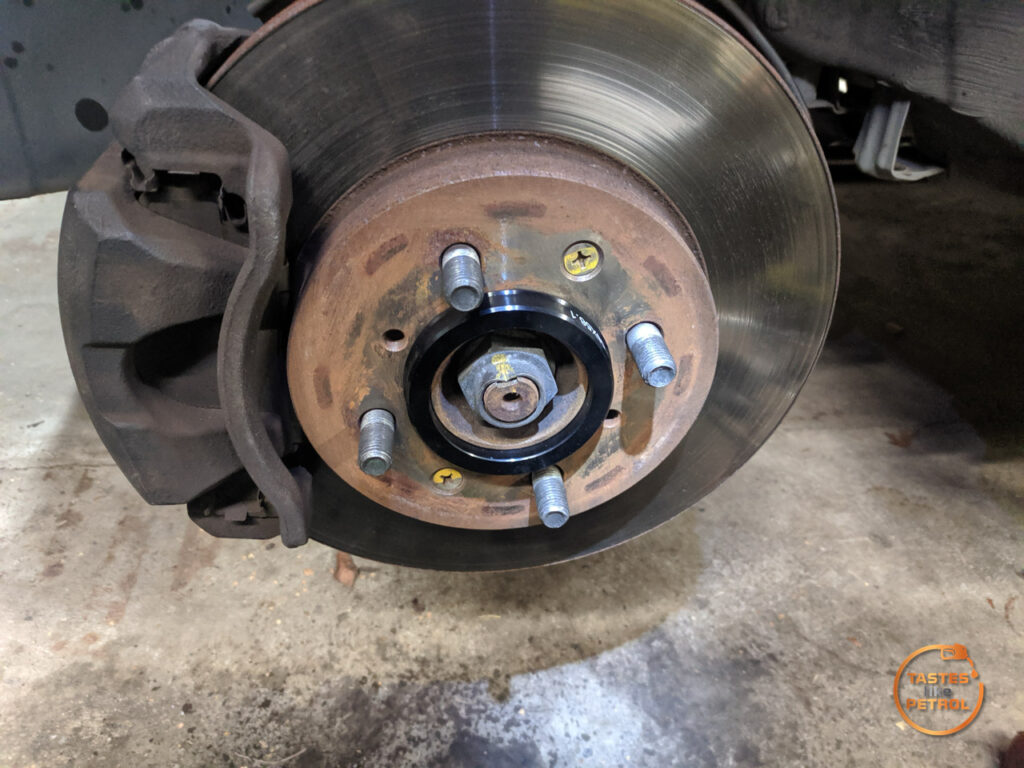
put the new wheels on, put the car on the ground and got my first look at it
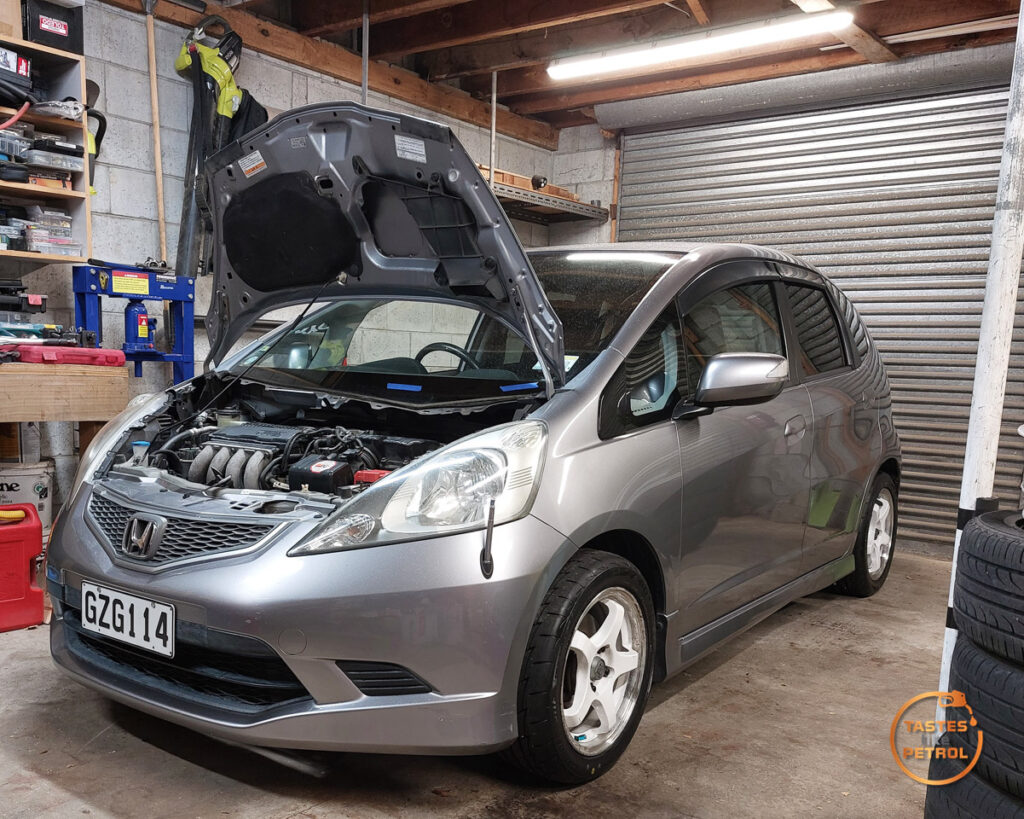
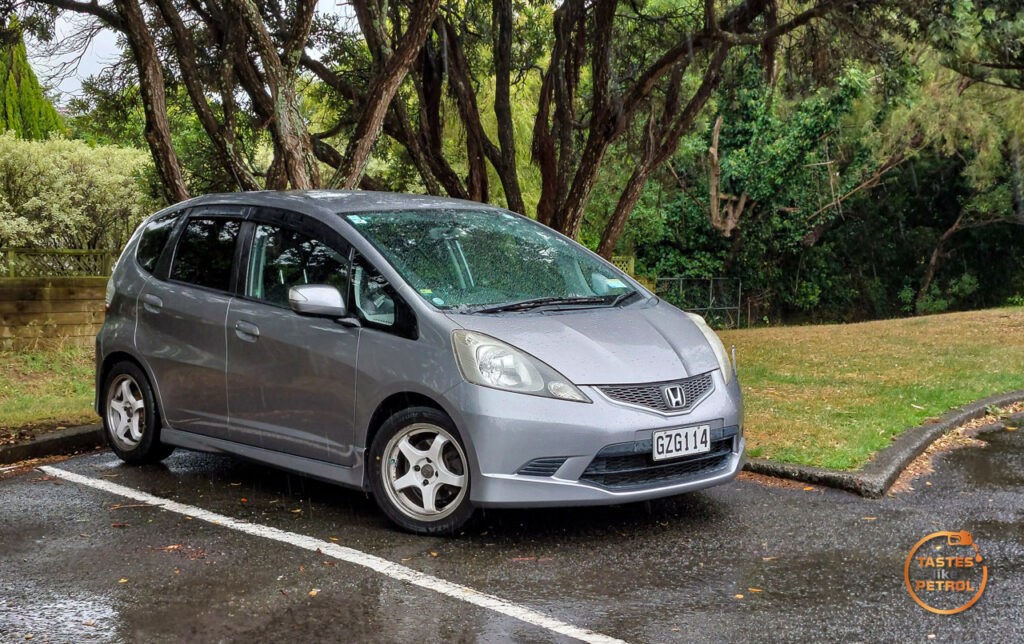
It was still sitting a bit high after being jacked up, and definitely wasnt as low as the RSR springs were
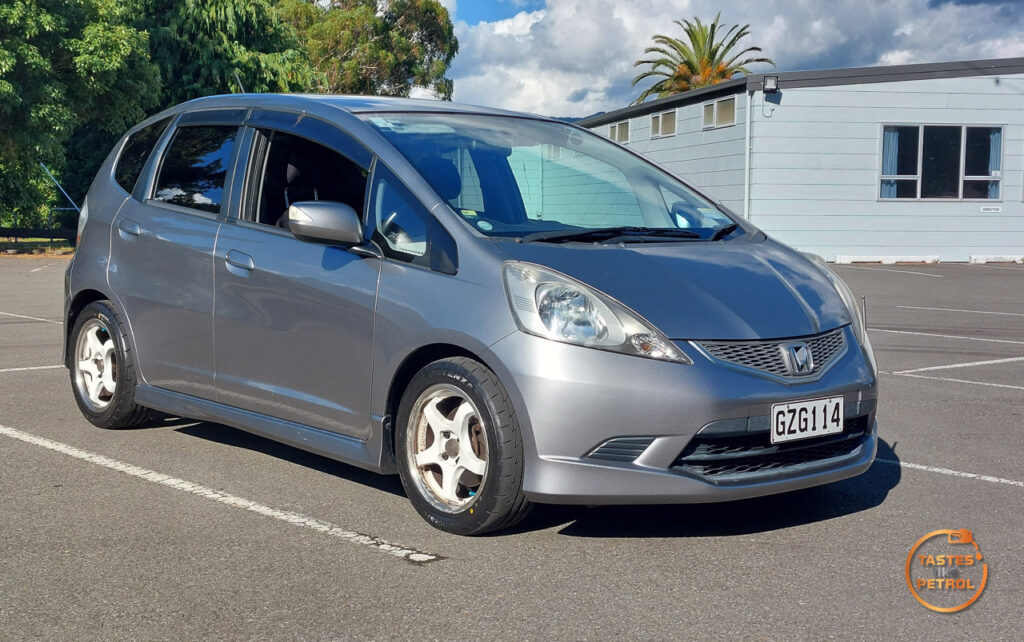
I took it for a quick drive to settle the suspension. Immediately, I noticed a huge improvement in ride quality over the last time I lowered it with the RSR springs, it didn’t feel jiggly and bouncy this time.
After a much-needed wheel alignment, the car is driving very well indeed. It handles flatter, and is more fun to drive. It reminds me a lot of when I first got the car, so I’m not sure if the old bushes and things were worn out (despite looking fine) or if it’s a placebo.
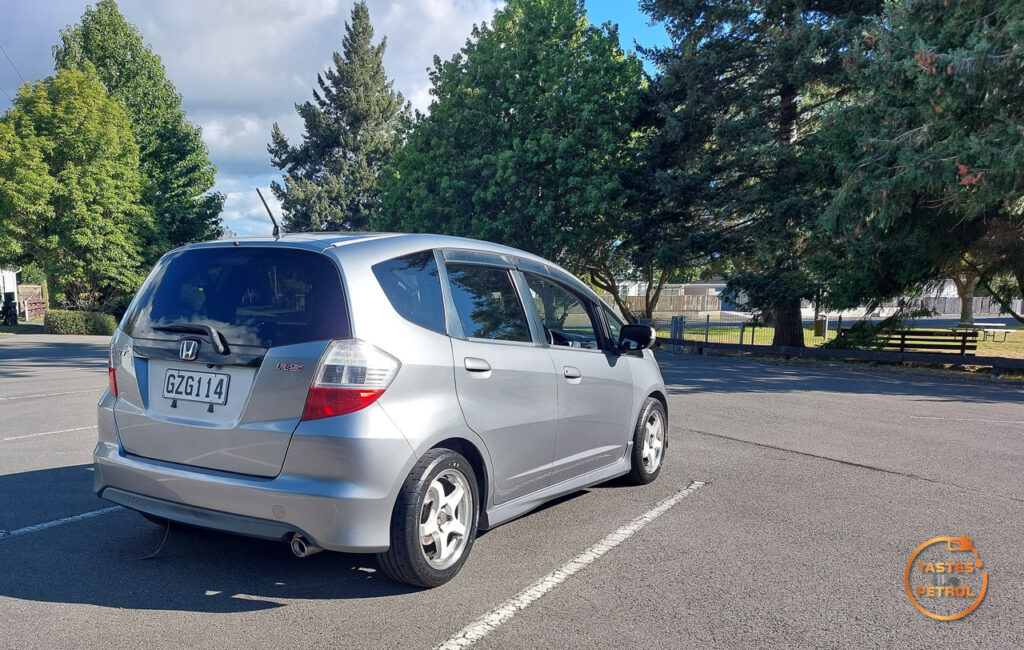
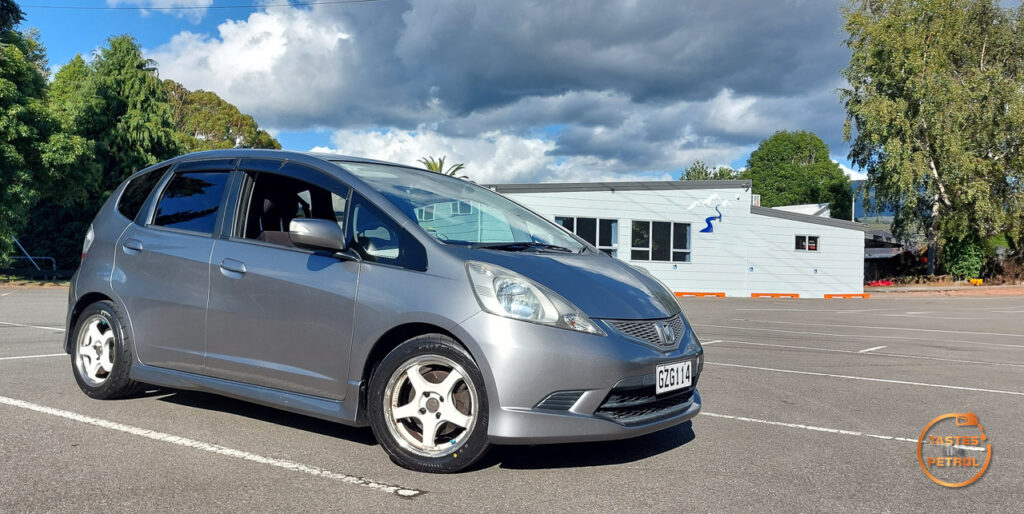
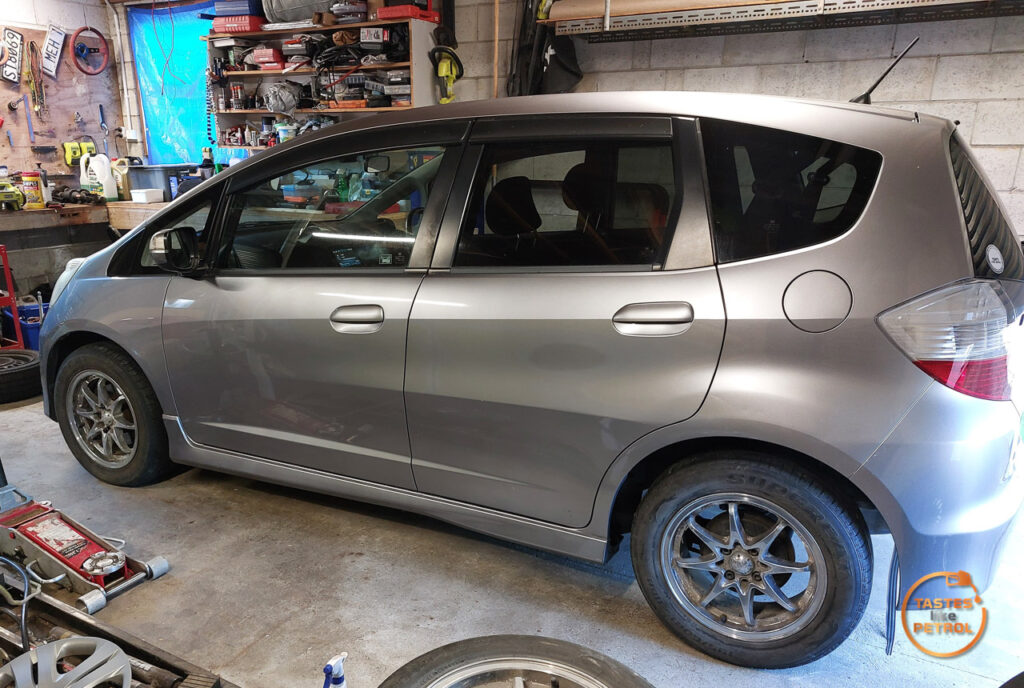
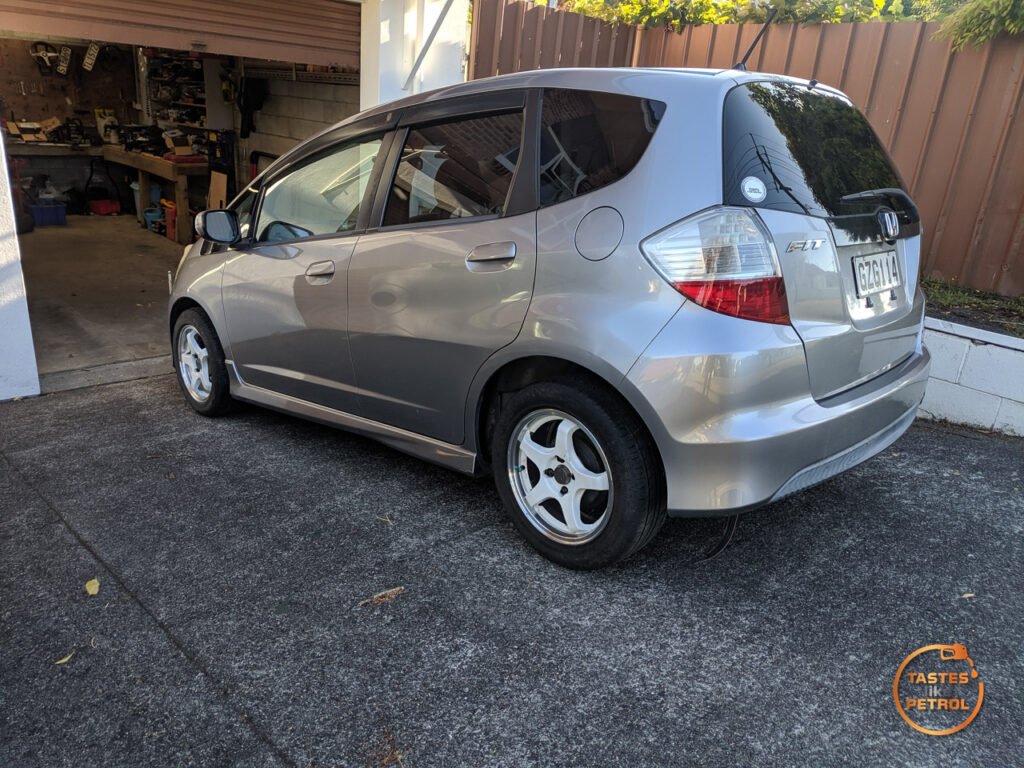
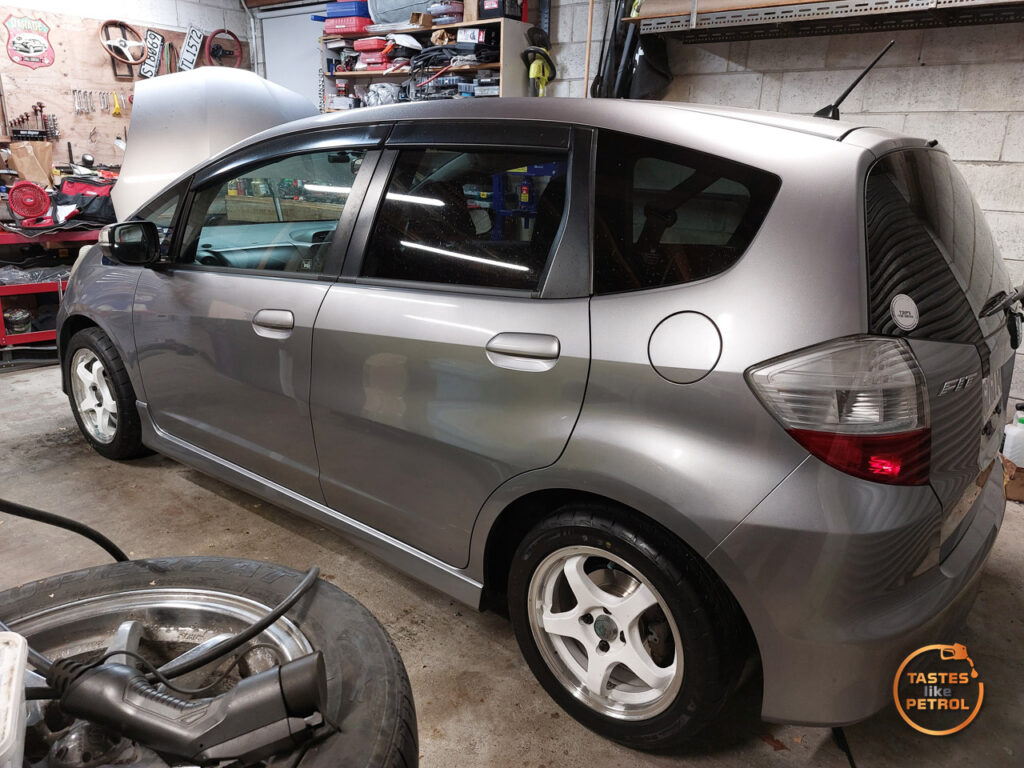
I kinda love how it looks from the rear with the chunky 195 wide tyres
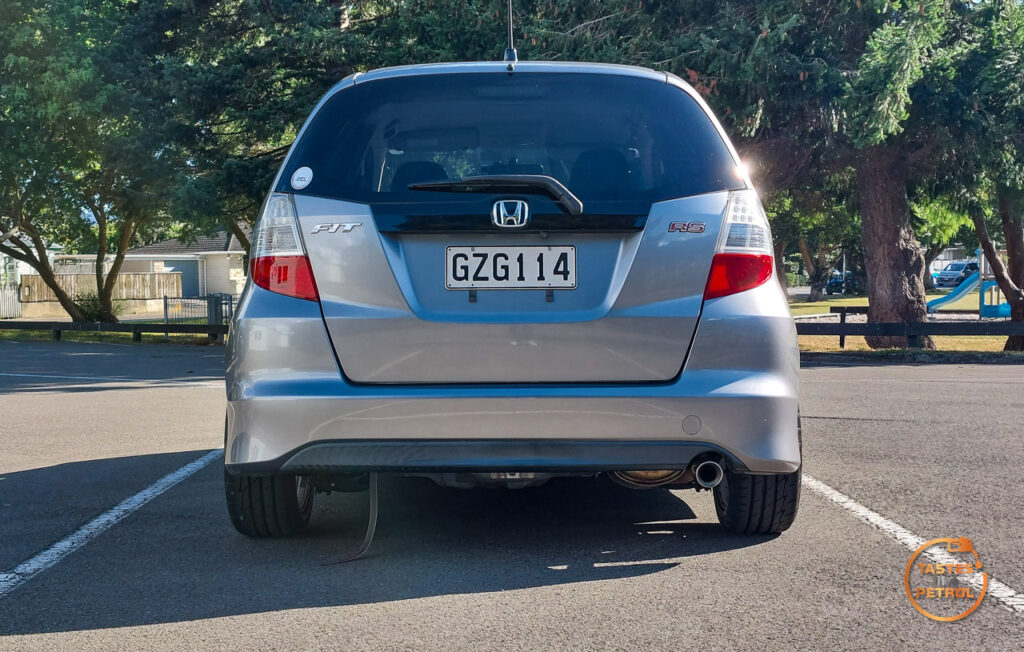
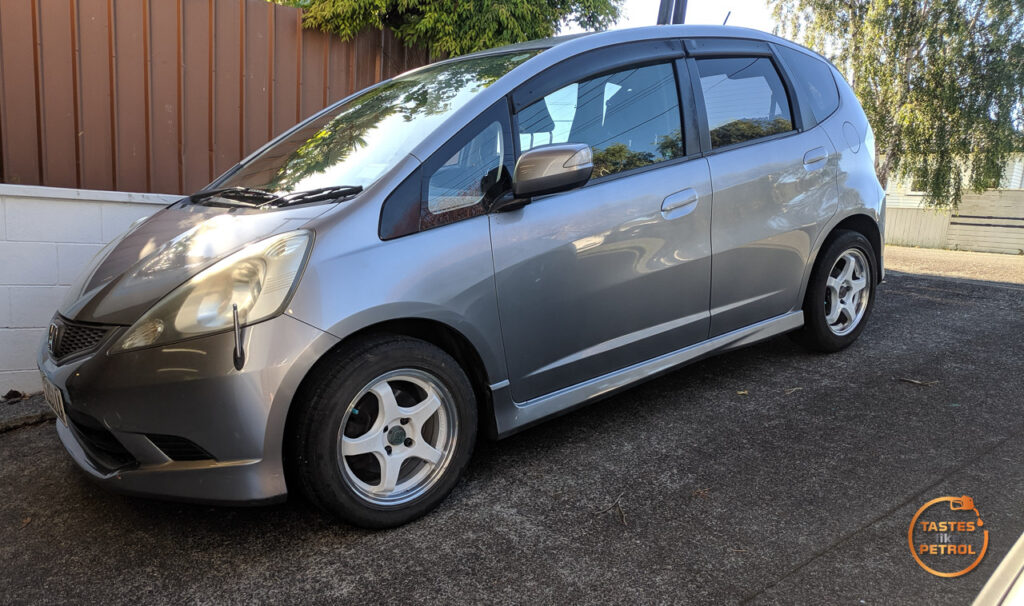
Over time, the more I drive it, the more the suspension has settled. It’s not perfect, the Tein springs only give a moderate low
but the main thing is that the 50 profile tyres are a bit too small and make the guard gap look bigger than it should. Either way, it can’t go lower as it scrapes the driveway as it is, and I think it still looks good.
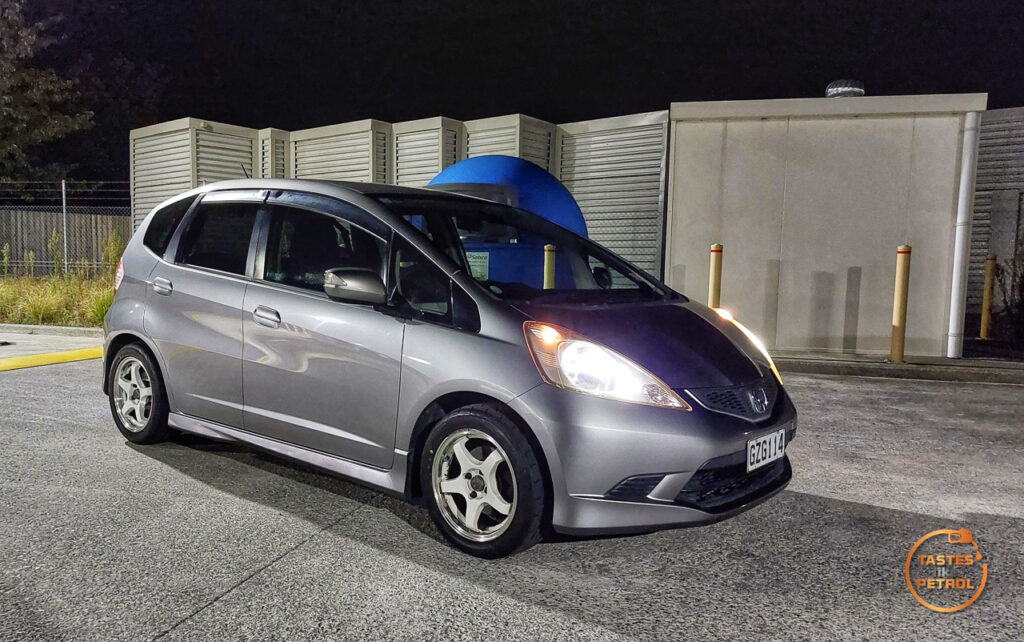
This is the latest photo, taken a couple of weeks ago, showing how it’s settled
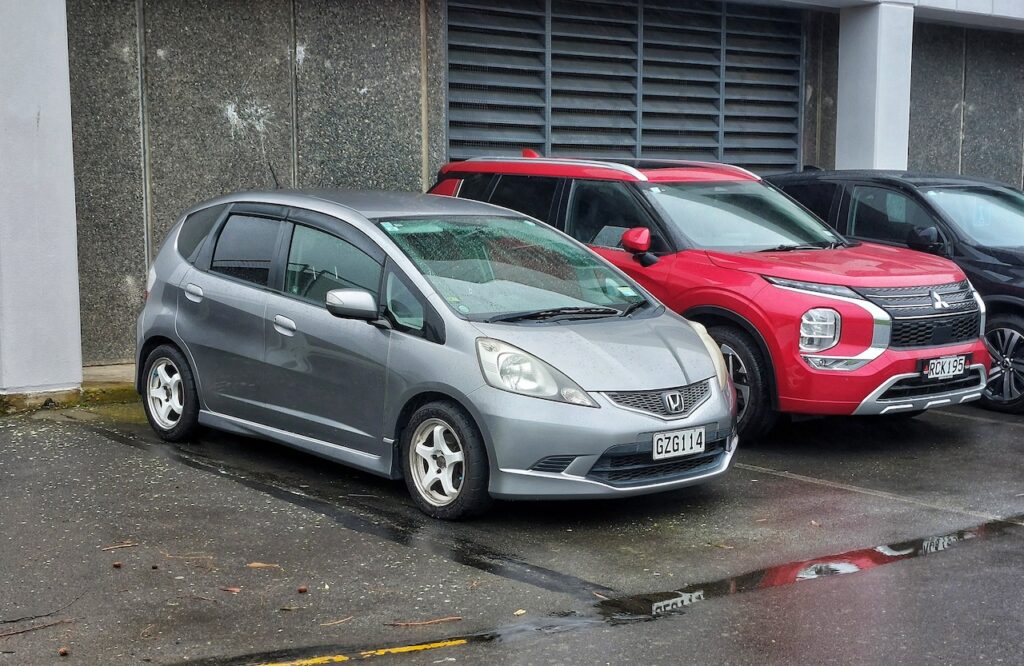
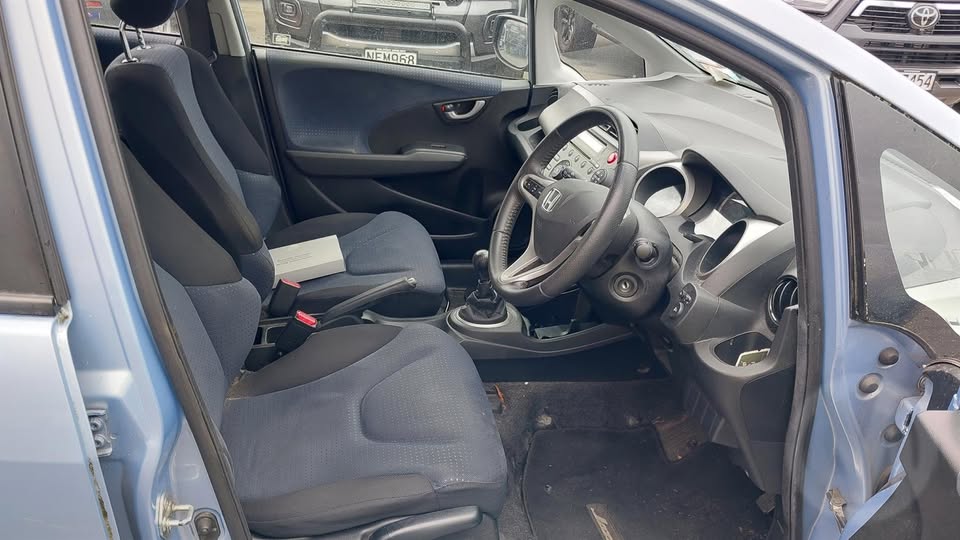
Considering it’s done over 240,000km now, it’s still a great-looking car, and getting in it is like putting on a good pair of comfy pants. It’s familiar, and kind of my spirit animal at this point. I love all my cars, but this is the one I would jump into, any time, and go anywhere.
I’m planning its motorsport debut in January, where I’ll take it to the next track day and put it through its paces there. Hopefully the CVT survives; if not, well, I guess that manual conversion will be coming out of the tub under the bench. It’d be a shame, though, I do like the car as a CVT.